
1. Introduction
This manual provides detailed instructions for the assembly, operation, and maintenance of your Garvee 11' x 8' Complete Golf Simulator Enclosure Package. This system is designed to create a dedicated indoor golf practice space, featuring a 4K-ready impact screen and a light-blocking enclosure. Please read this manual thoroughly before setup and use to ensure proper installation and safe operation.
2. Product Overview
The Garvee Golf Simulator Enclosure Package offers a comprehensive solution for an immersive golf practice experience. It includes a durable frame, a high-quality impact screen, and light-blocking materials to optimize visual clarity and protect your surroundings.
- Complete Enclosure: Designed for an 11 x 8 ft space, providing a dedicated practice area.
- 4K-Ready Impact Screen: Delivers clear visuals and is built to withstand repeated golf ball impacts. The screen is approximately 1 inch smaller than the frame for a tight fit, reducing light leakage.
- Fully Enclosed Design: Features a 4:3 aspect ratio and is enclosed on the top, bottom, and sides (approximately 10.7 x 8 x 5 feet). The Oxford cloth effectively blocks external light for optimal focus.
- Protective Netting: Surrounding netting and side nets absorb impact and prevent balls from flying out, safeguarding your environment.
- Stable Structure: Constructed with sturdy frame poles and includes sandbags for enhanced stability.
- Easy Assembly: Tool-free setup allows for quick installation and dismantling.

Image: A golfer using the Garvee Golf Simulator Enclosure, demonstrating its multi-compatible design with various swing monitors and projectors. Note: Monitors, projectors, hitting mats, and simulator software are purchased separately.
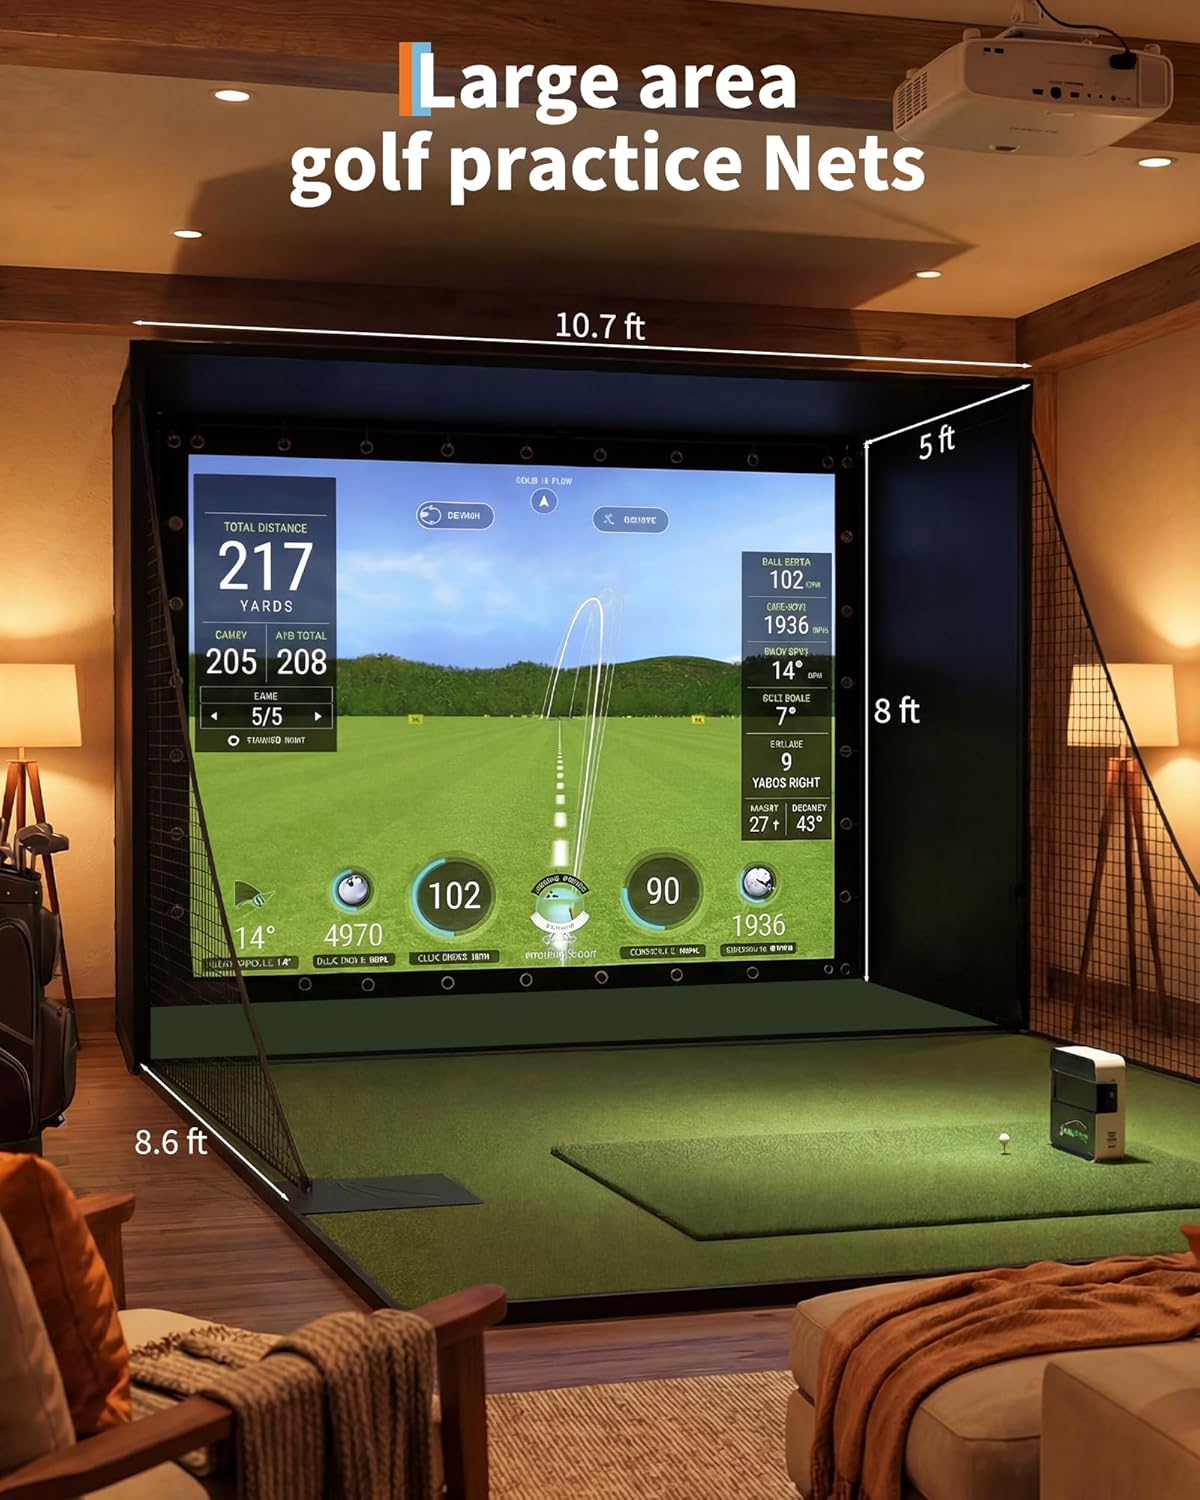
Image: Diagram illustrating the dimensions of the Garvee Golf Simulator Enclosure, showing a large practice area measuring approximately 10.7 ft wide, 8 ft high, and 5 ft deep.
Video: An overview of the Garvee Complete Golf Simulator Enclosure Package, highlighting its 4K-ready screen and overall design.
3. Package Contents
Verify that all components are present and undamaged before proceeding with assembly. If any parts are missing or damaged, please contact customer support.
- Frame Poles (various lengths and shapes)
- Steel Connectors
- 4K-Ready Impact Screen
- Light-Blocking Oxford Cloth (for blackout cage)
- Side Protection Netting
- Bottom Ball Containment Net
- Sandbags (for stability)
- Elastic Ropes/Bungees (for screen attachment)
- Convenient Fixing Bag (for storage/transport)

Image: Close-up views of key components including sturdy metal frame poles with padding, shading Oxford fabric, high-definition projection screen, high-quality nylon protective net, safe and highly elastic rope connections, and a convenient fixing bag.
4. Setup Instructions
The Garvee Golf Simulator Enclosure is designed for easy, tool-free assembly. Follow these steps carefully for a secure setup.
- Prepare the Area: Choose a flat, clear indoor or garage space with sufficient height and width for the 11' x 8' x 5' enclosure. Ensure there is enough room for your swing and any additional equipment (hitting mat, launch monitor, projector).
- Assemble the Frame: Connect the frame poles using the steel connectors. Follow the included diagram (if provided separately) to build the rectangular structure. Ensure all connections are secure. The poles are designed with pearl cotton padding for protection.
- Attach the Blackout Cloth: Drape the light-blocking Oxford cloth over the frame, ensuring it covers the top and sides to create the blackout cage. Secure it to the frame using the integrated fasteners or ties.
- Install the Impact Screen: Carefully attach the 4K-ready impact screen to the front of the frame. Use the elastic ropes or bungees to secure it tightly, ensuring an even tension across the screen. The screen is designed to be slightly smaller than the frame for a taut fit.
- Add Side Nets: Attach the side protection netting to the sides of the enclosure. These nets are crucial for containing errant shots and protecting the surrounding area.
- Place Bottom Containment Net: Position the bottom ball containment net to catch balls after impact.
- Stabilize with Sandbags: Fill the provided sandbags and place them at the base of the frame poles to enhance stability and prevent movement during use.
For a visual guide, please refer to the installation video below:
Video: A detailed installation guide for the Garvee Golf Simulator Enclosure, demonstrating the step-by-step assembly process.
Video: A short preview video demonstrating the Garvee Golf Simulator Enclosure set up in a garage environment, showing its practical application.
5. Operating Instructions
Once the enclosure is fully assembled, you can integrate your golf simulation equipment.
- Position Your Equipment: Place your hitting mat, launch monitor, and projector according to the manufacturer's recommendations for optimal performance within the enclosure.
- Projector Setup: Ensure your projector is positioned to fill the impact screen completely without casting shadows from your swing. The blackout design of the enclosure helps maximize image clarity.
- Safety Check: Before each use, verify that all frame connections are secure, the screen is taut, and the side nets are properly positioned. Ensure no obstructions are within your swing path.
- Practice Safely: Always use appropriate golf balls (e.g., foam or limited-flight balls for initial practice, or standard balls with proper safety precautions). Maintain a safe distance from the screen and side nets.
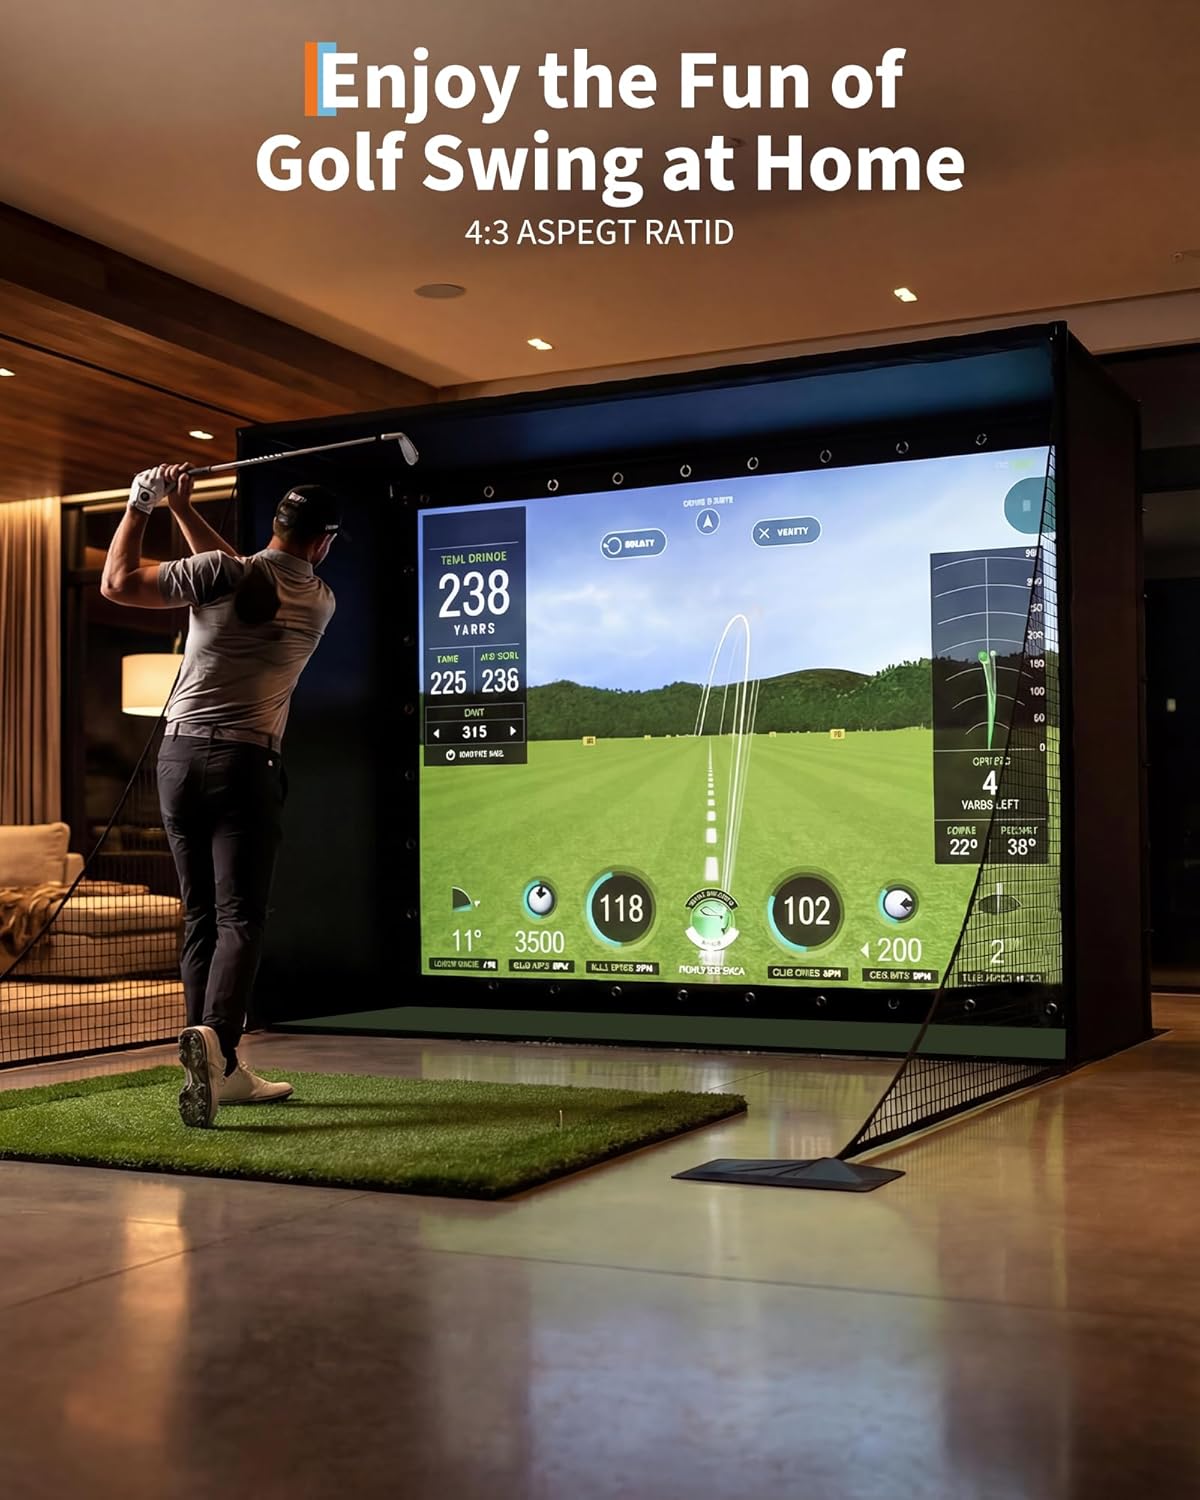
Image: A golfer enjoying a practice session within the Garvee Golf Simulator Enclosure at home, showcasing the 4:3 aspect ratio screen.

Image: Multiple views of the Garvee Golf Simulator Enclosure set up in different environments, including modern living spaces and outdoor patios, demonstrating its versatility.
6. Maintenance
Regular maintenance will extend the life of your golf simulator enclosure.
- Cleaning the Screen: Gently wipe the impact screen with a soft, damp cloth to remove any marks or dust. Avoid abrasive cleaners or harsh chemicals.
- Cleaning the Fabric: The Oxford cloth and netting can be spot cleaned with mild soap and water. Allow to air dry completely before storage.
- Frame Inspection: Periodically check all frame poles and connectors for any signs of wear, damage, or loosening. Tighten connections as needed.
- Storage: When not in use for extended periods, or if moving, disassemble the enclosure and store all components in a dry, protected area, ideally in the provided fixing bag.
7. Troubleshooting
Here are some common issues and their potential solutions:
- Screen Sagging or Wrinkled:
- Ensure the impact screen is attached evenly and tightly with the elastic ropes/bungees.
- Check that the frame is assembled correctly and is not warped.
- Enclosure Feels Unstable:
- Verify all frame pole connections are fully engaged.
- Ensure sandbags are filled and properly placed at the base of the frame for maximum stability.
- Confirm the enclosure is on a flat, level surface.
- Light Leakage Around Screen:
- Ensure the blackout Oxford cloth is properly secured and covers all sides and top.
- Adjust the impact screen tension to minimize gaps.
- Balls Escaping Enclosure:
- Check that side nets are fully extended and properly secured.
- Ensure the bottom ball containment net is correctly positioned.
- Verify the enclosure dimensions are appropriate for your swing and ball speed.
8. Specifications
| Model Number | 7832785287 |
| Dimensions (L x W x H) | Approximately 10.7' x 8' x 5' (129"L x 96"W) |
| Impact Screen | 4K-Ready, Durable (620G material) |
| Frame Material | Sturdy Metal with Pearl Cotton Padding |
| Enclosure Fabric | Thick 420D Eugene Oxford Cloth (light-blocking) |
| Netting Material | High-Quality Nylon |
| Color | Black |
| Item Weight | 76.6 Pounds |
| UPC | 800068319782 |
9. Warranty and Support
Warranty: This Garvee Golf Simulator Enclosure Package comes with a 30-day manufacturer's warranty from the date of purchase. This warranty covers defects in materials and workmanship under normal use. It does not cover damage resulting from misuse, accidents, unauthorized modifications, or improper installation.
Customer Support: For any questions, missing parts, or warranty claims, please contact Garvee customer support. You can visit the official Garvee Store on Amazon for more information and contact options: Garvee Store.