
Introduction
This manual provides instructions for the setup, operation, and maintenance of your La Crosse Technology Equity 617-546 Digital Alarm Clock. This device features a 2-inch red LED display, indoor temperature display, and a crescendo alarm function. Please read these instructions thoroughly before using your new alarm clock.
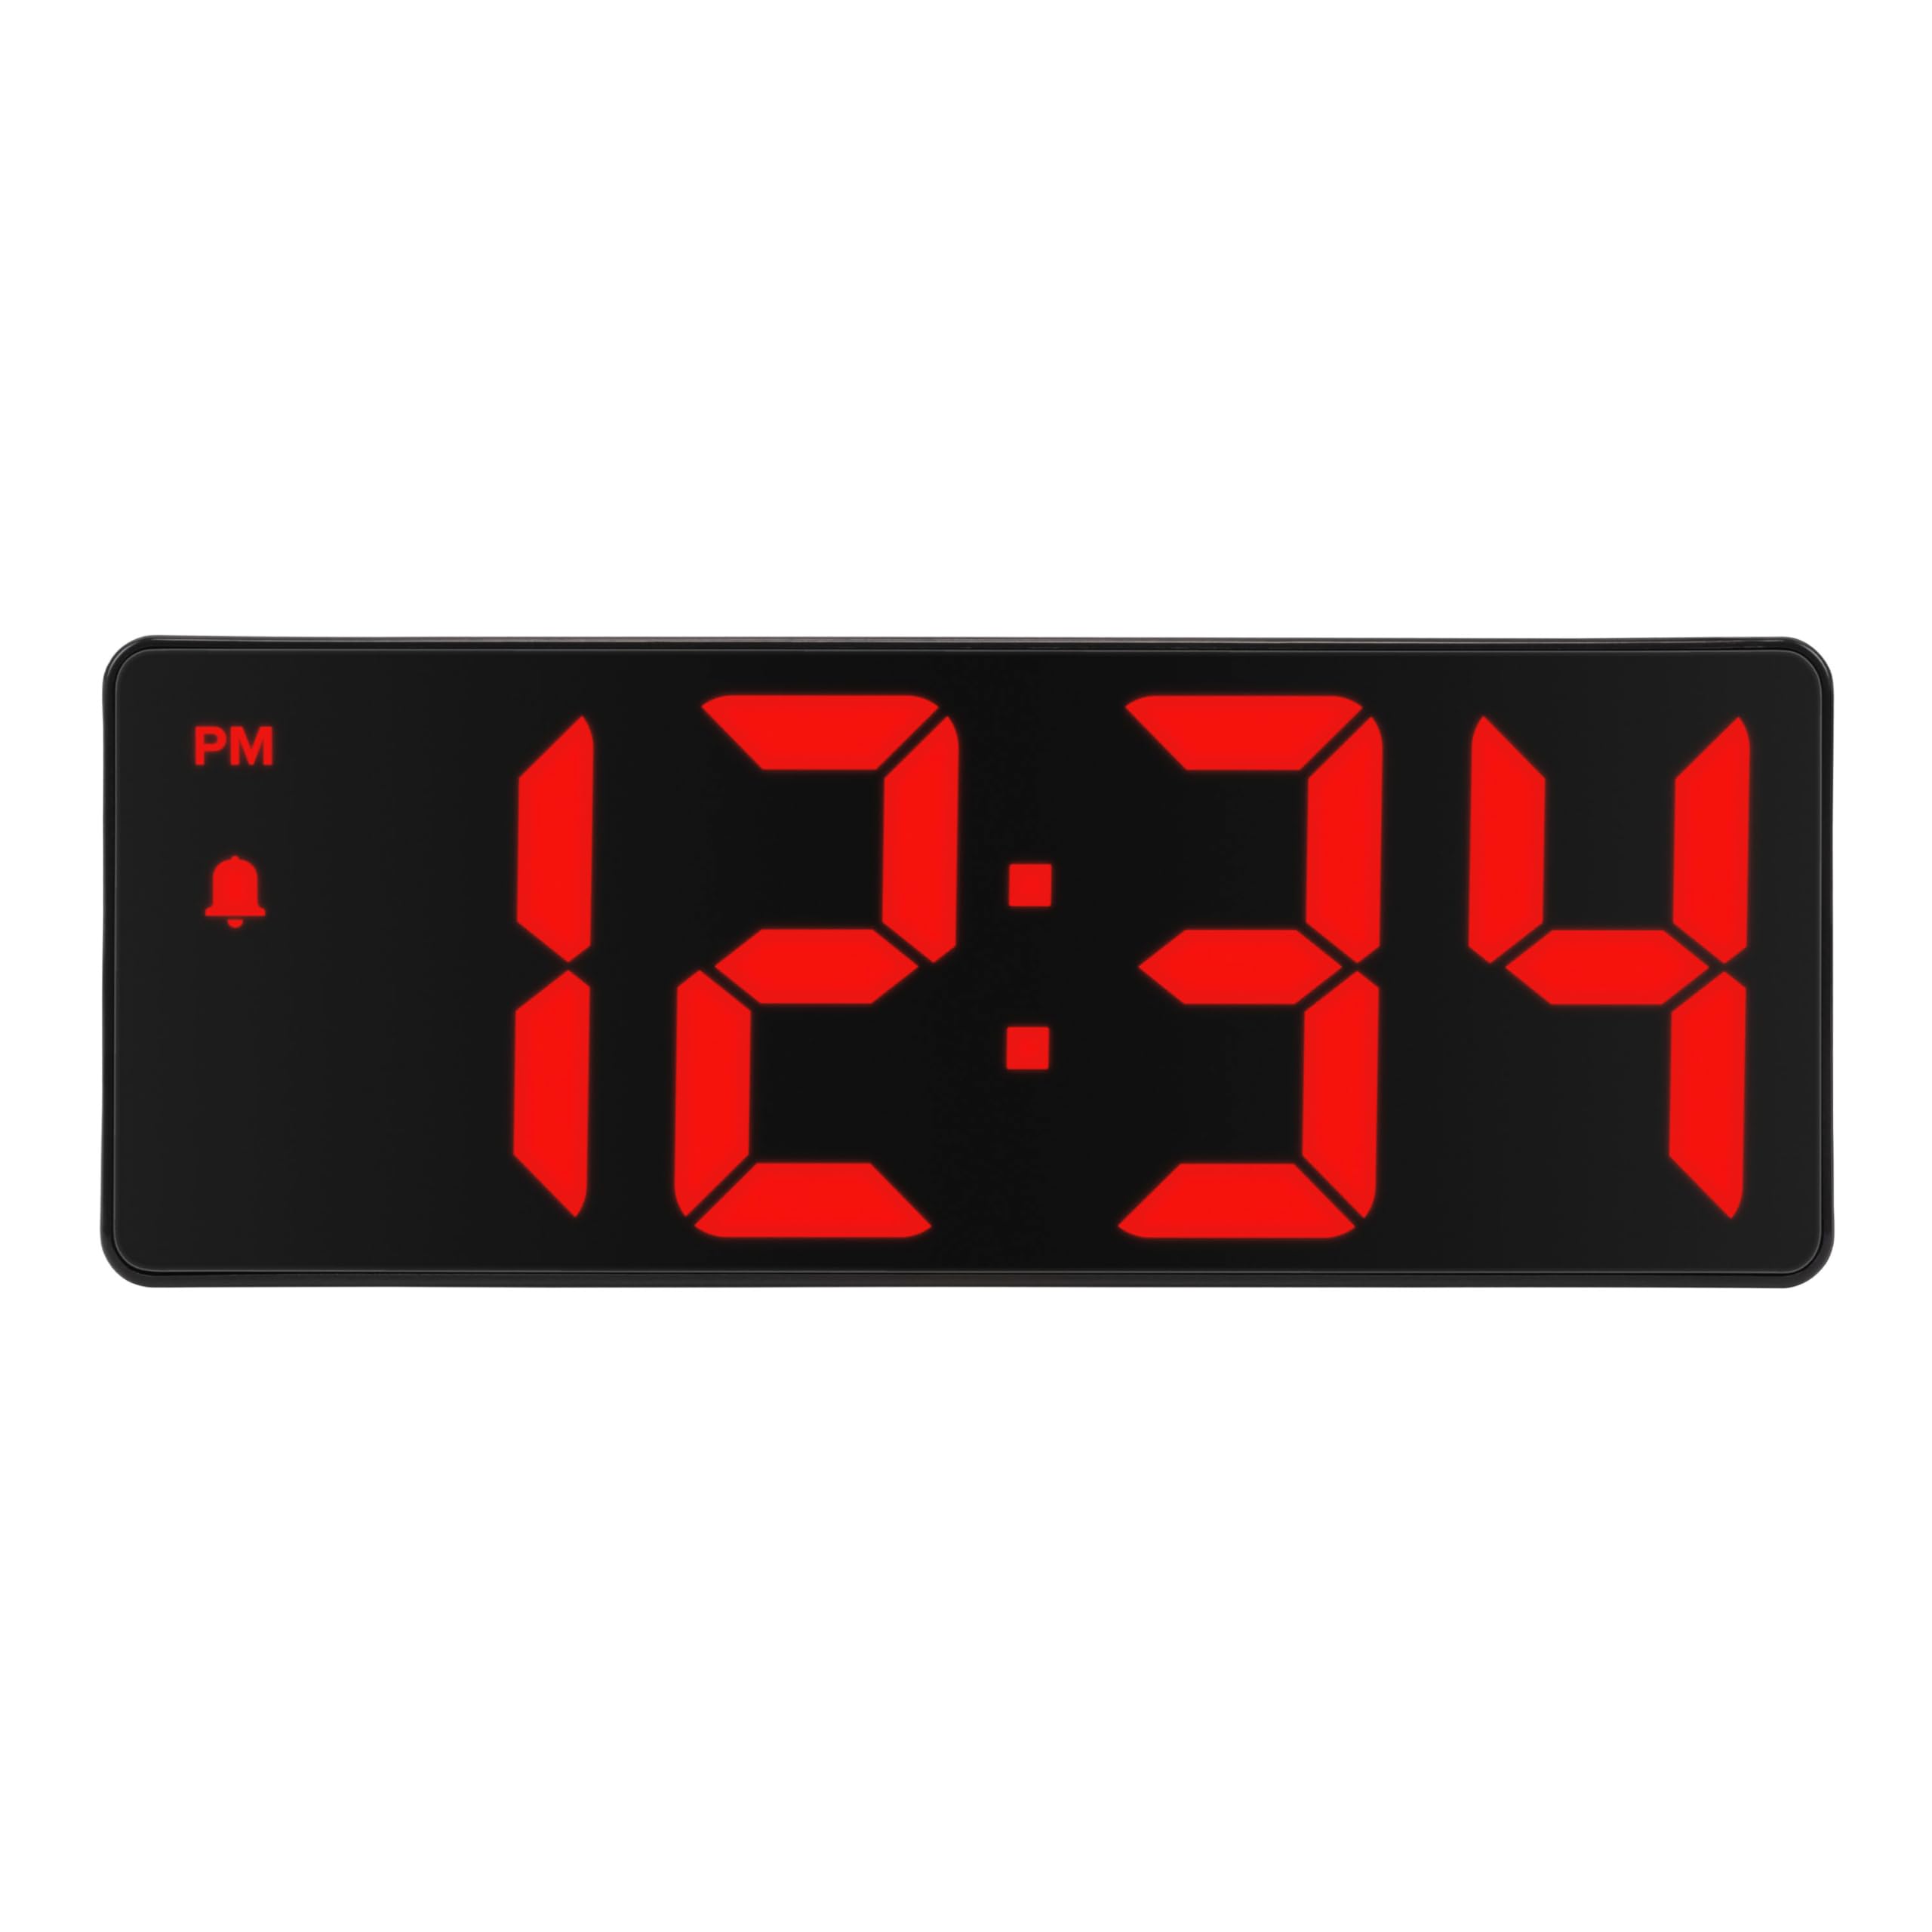
Figure 1: Front view of the 617-546 Digital Alarm Clock.
Package Contents
- La Crosse Technology Equity 617-546 Digital Alarm Clock
- Power Adapter (Corded Electric)
- User Manual (this document)
Note: 3 AAA batteries (not included) are required for battery backup functionality.
Features
- Crescendo Alarm: Gradually increases in volume and frequency.
- Alarm Schedule Options: Daily, weekdays (Mon-Fri), or Monday through Saturday.
- Sound Activated Display: On battery backup, the screen activates with a sound.
- Custom Snooze: Programmable from 1 to 60 minutes.
- Large Red LED Display: 2-inch digits for easy readability.
- Adjustable Brightness: Three brightness levels (High, Medium, Low) plus OFF.
- Programmable Auto-Dim: Automatically adjusts display brightness.
- Multi-Display: Shows time, indoor temperature (°F or °C), and calendar (month/date).
- Auto-Scroll Feature: Cycles through time, temperature, and calendar displays.
Setup
1. Connect Power Adapter
Plug the included power adapter into the DC 5V port on the back of the alarm clock and then into a standard wall outlet. The clock will power on and the display will illuminate.

Figure 2: Back view of the alarm clock with power input and control buttons.
2. Install Backup Batteries
Open the battery compartment cover on the back of the clock. Insert 3 new AAA batteries (not included) according to the polarity markings (+ and -). Close the compartment cover. These batteries provide backup power to maintain time and alarm settings during a power outage. The display will not remain continuously lit on battery power alone; it will activate with sound.
Operating Instructions

Figure 3: Control buttons on the back of the alarm clock.
Setting Time
- Press and hold the SET/MODE button until the hour digits begin to flash.
- Use the + or - buttons to adjust the hour. Pay attention to the PM indicator.
- Press SET/MODE again to confirm the hour and move to minutes.
- Use the + or - buttons to adjust the minutes.
- Press SET/MODE to confirm the minutes and exit time setting.
Setting Alarm
- Press and hold the ALARM button until the alarm hour digits begin to flash.
- Use the + or - buttons to adjust the alarm hour.
- Press ALARM again to confirm the alarm hour and move to alarm minutes.
- Use the + or - buttons to adjust the alarm minutes.
- Press ALARM again to select the alarm schedule (Daily, Weekdays, Mon-Sat). Use + or - to cycle through options.
- Press ALARM to confirm and exit alarm setting. The alarm icon will appear on the display when the alarm is active.
To turn the alarm ON/OFF, press the ALARM button once (do not hold). The alarm icon will appear or disappear from the display.
Using Snooze
When the alarm sounds, press the SNOOZE/BRIGHTNESS button to activate snooze. The alarm will pause for the set snooze duration (default is 9 minutes, adjustable from 1 to 60 minutes). To adjust snooze duration:
- While the alarm is sounding and snoozed, press and hold the SNOOZE/BRIGHTNESS button until the snooze time flashes.
- Use the + or - buttons to set the desired snooze duration (1-60 minutes).
- Press SNOOZE/BRIGHTNESS to confirm.
To stop the alarm completely, press any button other than SNOOZE/BRIGHTNESS when the alarm is sounding. The alarm will automatically shut off after one minute if not silenced or snoozed.
Adjusting Brightness
Press the SNOOZE/BRIGHTNESS button (do not hold) to cycle through the display brightness levels: High, Medium, Low, OFF.
Programmable Auto-Dim
The clock features an auto-dim function that can be programmed to reduce brightness during specific hours. Refer to the full manual for detailed instructions on setting the auto-dim schedule.
Sound Activated Display (Battery Backup Mode)
When operating on battery backup only (power adapter disconnected), the display will be off to conserve power. To view the time, make a quick sound (e.g., clap) near the clock, and the display will illuminate temporarily.
Display Modes (Time, Temperature, Calendar)
Press the SET/MODE button (do not hold) to cycle through the display modes: Time, Indoor Temperature, Calendar (Month/Date), and Auto-Scroll (cycles through all modes). The default is Auto-Scroll.
Temperature Unit Selection
When the indoor temperature is displayed, press the + button to switch between Celsius (°C) and Fahrenheit (°F).
Maintenance
Cleaning
Wipe the clock with a soft, damp cloth. Do not use abrasive cleaners or chemicals that may damage the display or casing.
Battery Replacement
Replace the 3 AAA backup batteries annually or when the clock fails to retain settings during a power outage. Ensure correct polarity when inserting new batteries.
Troubleshooting
| Problem | Solution |
|---|---|
| Clock loses time or settings after power outage. | Ensure fresh AAA batteries are installed correctly in the battery compartment for backup power. |
| Display is dim or off. | Check power adapter connection. Press SNOOZE/BRIGHTNESS to adjust brightness levels. If on battery backup, make a sound to activate the display. |
| Alarm does not sound. | Verify the alarm is activated (alarm icon visible on display). Ensure the alarm time is set correctly. |
| Difficulty setting time or alarm. | Refer to the "Operating Instructions" section and ensure you are pressing and holding the correct buttons for setting modes. |
Specifications
- Model: 617-546
- Display Type: 2-inch Red LED Digital
- Power Source: Corded Electric (DC 5V adapter)
- Battery Backup: 3 x AAA batteries (not included)
- Product Dimensions (W x H): 6.28" x 2.33" (15.94 cm x 5.91 cm)
- Item Weight: 6.4 ounces (181.4 grams)
- Material: Plastic
- Indoor Temperature Range: Not specified, but displays indoor temperature.

Figure 4: Product dimensions.
Warranty
This La Crosse Technology product is covered by a 2-year limited warranty from the date of purchase. This warranty covers manufacturing defects in materials and workmanship. It does not cover damage caused by misuse, accident, unauthorized modifications, or improper installation. For full warranty details, please refer to the official La Crosse Technology website or contact customer support.
Support
For additional assistance, troubleshooting, or to inquire about replacement parts, please visit the official La Crosse Technology website or contact their customer support. You can find contact information on their website or within the product packaging.
Website: www.lacrossetechnology.com


