
1. Introduction
This manual provides essential instructions for the safe and efficient assembly, operation, and maintenance of your Benass 12x20 Heavy Duty Metal Carport Canopy, Model F1220TP. Please read this guide thoroughly before beginning assembly or use to ensure proper installation and longevity of your product.
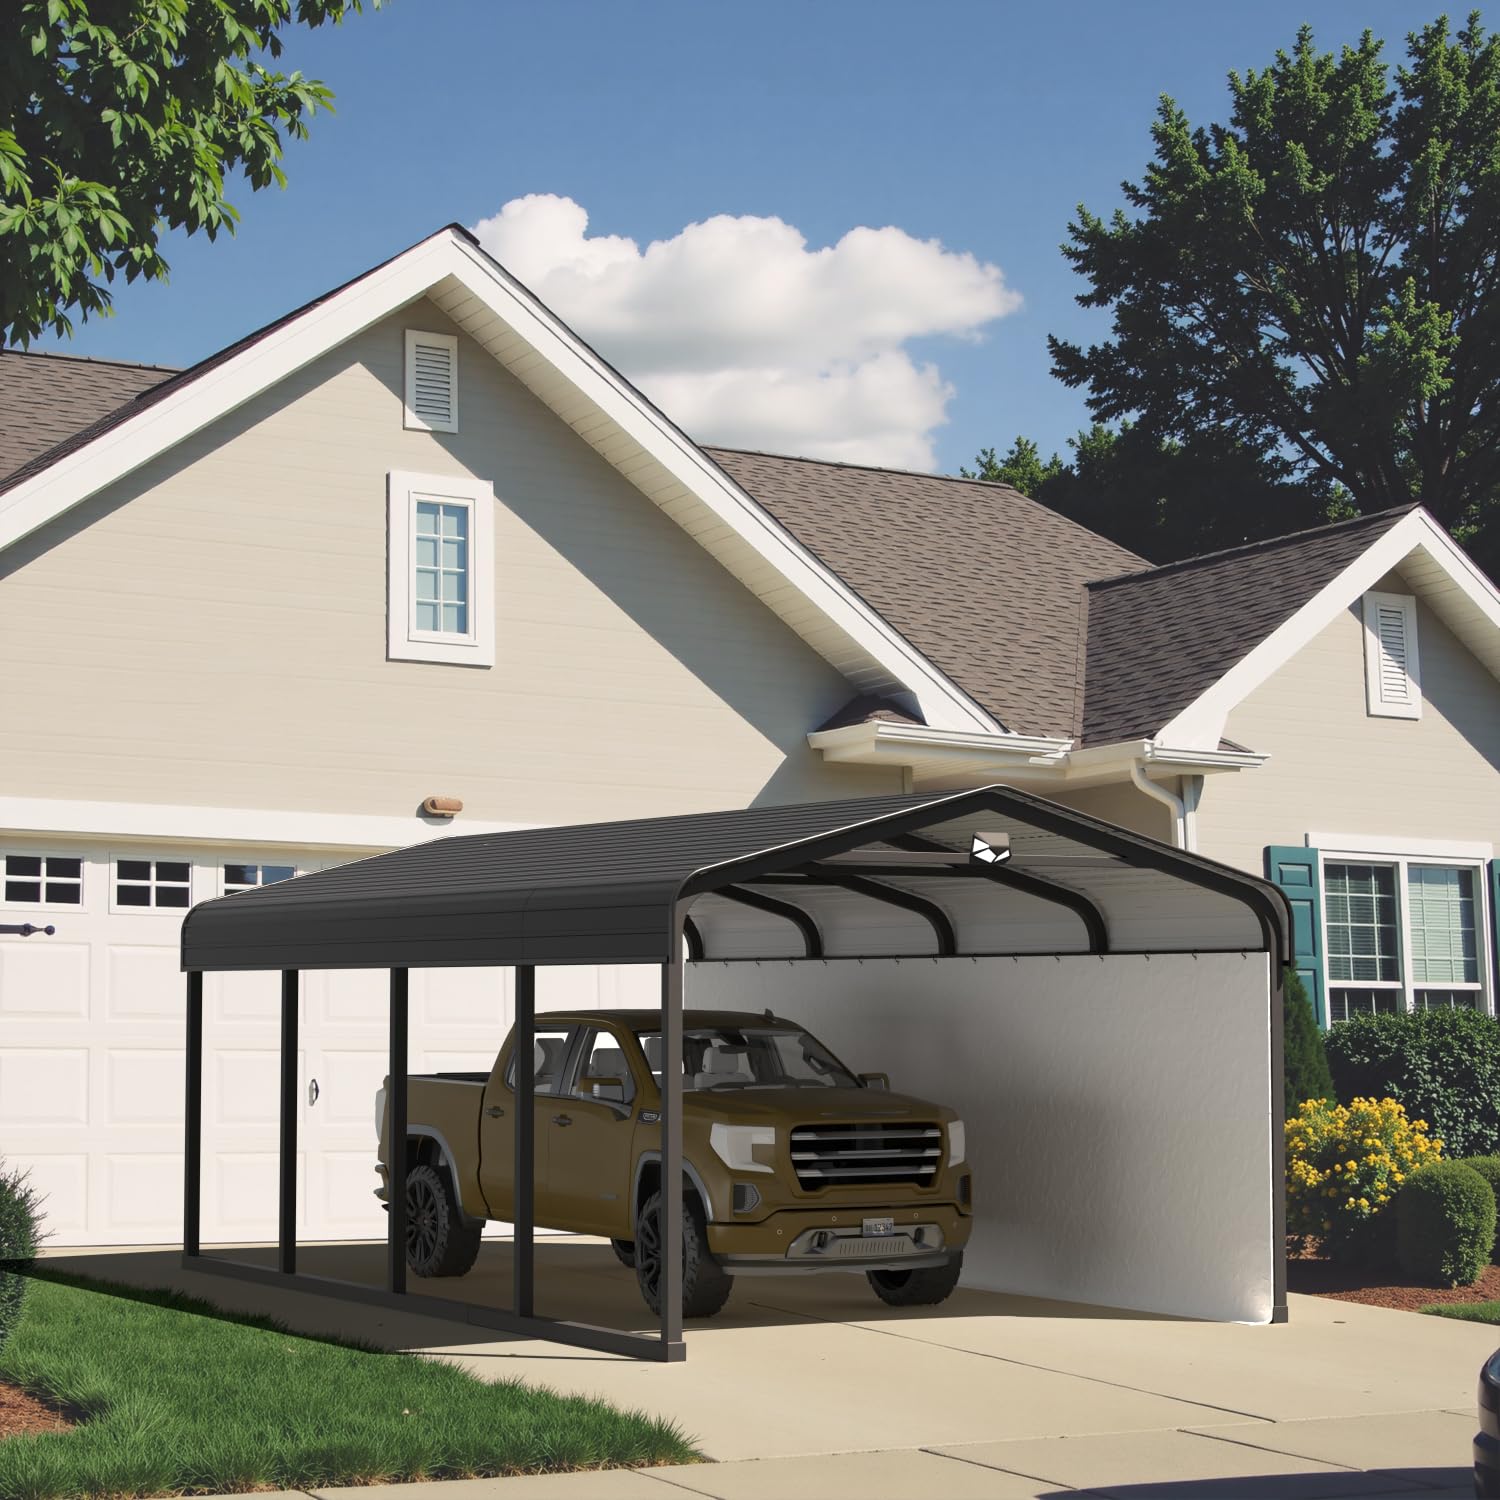
Image: The Benass 12x20 Heavy Duty Metal Carport Canopy providing shelter for a vehicle.
2. Safety Information
Always prioritize safety during assembly and use. Failure to follow these guidelines may result in injury or damage to the product.
- Site Selection: Choose a level, stable surface for installation. Ensure adequate clearance from power lines, trees, and other structures.
- Assembly Team: Assembly requires at least two adults. Do not attempt to assemble alone.
- Personal Protective Equipment (PPE): Wear gloves and eye protection during assembly to prevent injury from sharp edges or falling components.
- Component Inspection: Before assembly, inspect all parts for damage. Do not use damaged components.
- Weather Conditions: Do not assemble in high winds, heavy rain, or lightning. High winds can cause serious injury or damage.
- Anchoring: Securely anchor the carport to the ground using appropriate methods for your soil type. This carport is designed to withstand 120 MPH winds and 10.3 PSF snow loads when properly anchored.
- Edge Protection: All metal edges are equipped with rubber edge banding for safety. Ensure these are properly installed and maintained.
- Children and Pets: Keep children and pets away from the assembly area.

Image: The carport designed to withstand snow, highlighting its robust build.
3. Package Contents
Verify that all components are present and undamaged before beginning assembly. Refer to the detailed parts list included in your product packaging for exact quantities and identification.
- Steel Frame Components (2"x2" square steel tubes, legs, crossbeams)
- Galvanized Steel Roof Panels
- Removable PE Sidewalls
- Sealing Kit (Stack adhesive tape, gap sealant, waterproof tape)
- Solar-Powered LED Light
- Rubber Edge Banding
- Fasteners (Bolts, nuts, screws, bungee cords, hook-and-loop fasteners)
- Drill Sleeve (for assembly)
- Instruction Manual

Image: Key components and accessories included with the carport, such as the solar light and rubber edge banding.
4. Setup & Assembly
Follow the step-by-step instructions provided in the separate assembly manual included with your product. The following provides general guidance and highlights key features.
4.1. Frame Assembly
Begin by assembling the robust 2"x2" square steel tube frame. Ensure all connections are secure. The frame includes 8 heavy-duty legs and 4 T-shaped reinforced crossbeams for structural integrity.

Image: Illustration of the 2x2 alloy steel tube frame, emphasizing its strength.
4.2. Roof Installation
Install the galvanized steel roof panels, ensuring they overlap correctly. Apply the provided sealing kit (stack adhesive tape, gap sealant, and waterproof tape) to all seams to ensure 100% leak-proof protection.

Image: Detail of the metal roof construction, showing overlapping panels for waterproofing.
4.3. Sidewall Attachment
Attach the removable PE sidewalls using the hook-and-loop fasteners and bungee cords. These provide additional protection and can be easily removed or adjusted.
4.4. Final Checks
After assembly, double-check all connections for tightness and ensure the carport is securely anchored to the ground. Verify that all rubber edge banding is correctly in place.

Image: Product dimensions illustrating the 12x20 foot footprint and height.
5. Operating Instructions
5.1. Vehicle Parking
The carport is designed for drive-through access, allowing easy parking and retrieval of vehicles. Ensure your vehicle fits within the dimensions of the carport (12x20 feet).

Image: The carport configured for drive-through access with removable sidewalls.
5.2. Using Removable Sidewalls
The PE sidewalls can be attached or removed as needed for varying weather conditions or privacy. Use the hook-and-loop fasteners and bungee cords to secure them. Remove sidewalls during extreme wind conditions if advised by local regulations or if the structure shows signs of instability.
5.3. Solar-Powered LED Light
The included solar-powered LED light provides illumination within the carport. Position the solar panel to receive maximum sunlight for optimal charging. The light typically features automatic sensing for nighttime operation.

Image: The carport illuminated by its solar-powered LED light at night.
6. Maintenance
Regular maintenance ensures the longevity and performance of your carport.
- Cleaning: Clean the roof and sidewalls periodically with mild soap and water. Avoid abrasive cleaners or brushes that could damage the materials.
- Fastener Checks: Periodically check all bolts, screws, and anchoring points for tightness. Re-tighten as necessary.
- Sealing Integrity: Inspect the roof seams and sealing kit components (tape, sealant) annually, or after severe weather, to ensure continued waterproofing. Reapply sealant or tape if wear is observed.
- Snow Removal: While designed for snow loads up to 10.3 PSF, it is recommended to remove excessive snow accumulation to prevent structural stress, especially during heavy snowfall.
- Rubber Edge Banding: Ensure all rubber edge banding remains securely in place to protect against sharp edges.

Image: The carport's waterproofing features, including stack adhesive tape, gap sealant, and waterproof tape, ensuring protection from rain.
7. Troubleshooting
This section addresses common issues you might encounter.
- Carport Instability:
- Ensure all frame connections are tightened.
- Verify that the carport is securely anchored to the ground.
- Check for level ground. Uneven surfaces can affect stability.
- Water Leaks:
- Inspect roof panel overlaps and sealing kit application. Reapply waterproof tape or sealant as needed.
- Ensure roof panels are correctly aligned and secured.
- Solar Light Not Working:
- Ensure the solar panel is clean and receiving direct sunlight for several hours daily.
- Check for any obstructions blocking light to the solar panel.
- Verify the light switch is in the "ON" position (if applicable).
- Missing or Damaged Parts:
- Refer to the package contents list. Contact Benass customer support for replacement parts.
8. Specifications
| Feature | Detail |
|---|---|
| Brand | Benass |
| Model Number | F1220TP |
| Product Dimensions (L x W x H) | 233.62"L x 143.7"W x 105.51"H (approx. 19.5'L x 12'W x 8.8'H) |
| Floor Area | 240 square feet |
| Frame Material | Alloy Steel (2"x2" square steel tube) |
| Roof Material | Galvanized Steel |
| Sidewall Material | Polypropylene (PE) |
| Color | Gray |
| Water Resistance Level | Waterproof |
| Ultraviolet Light Protection | Yes |
| Wind Resistance | Up to 120 MPH |
| Snow Load Capacity | Up to 10.3 PSF |
| Total Weight | Over 820 lbs (for the 12x20x8.8 model) |
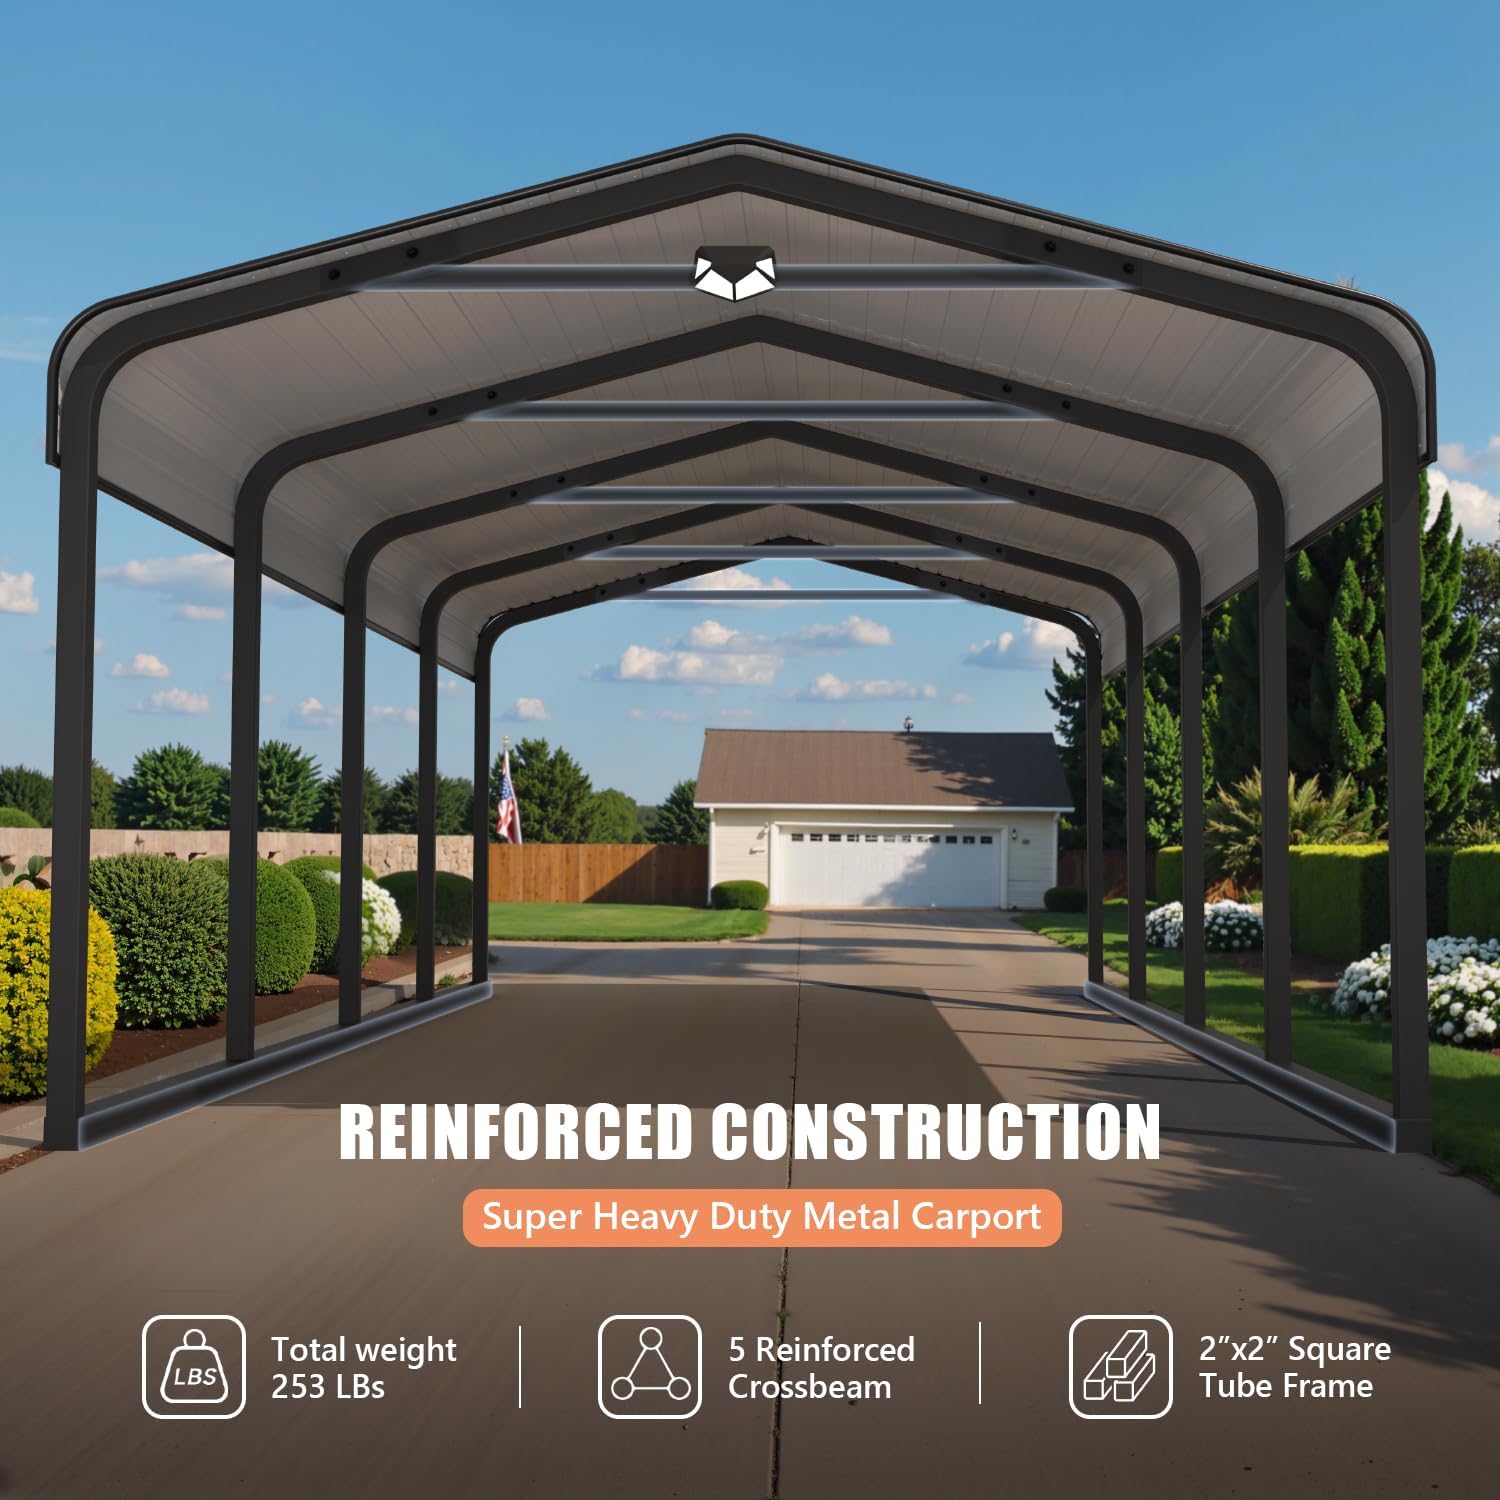
Image: Visual representation of the carport's reinforced construction and key structural specifications.
9. Warranty & Support
Benass provides a 100% satisfaction-guaranteed after-sales service for one year from the date of purchase. This warranty covers manufacturing defects and ensures product quality.
For warranty claims, technical assistance, or to order replacement parts, please contact Benass customer support through the retailer where you purchased the product or visit the official Benass website for contact information.
When contacting support, please have your model number (F1220TP) and proof of purchase readily available.