
Important Safety Instructions
To reduce the risk of fire, electric shock, or injury when using your appliance, follow these basic precautions:
- Read all instructions before using the appliance.
- Connect only to a properly grounded outlet.
- Do not immerse the appliance, power cord, or plug in water or other liquids.
- Supervise children to ensure they do not play with the appliance.
- Do not operate the appliance with a damaged cord or plug.
- Ensure adequate ventilation around the unit.
- Do not store explosive substances such as aerosol cans with a flammable propellant in this appliance.
- This appliance is intended for commercial and household use.
1. Setup
1.1 Unpacking
Carefully remove all packaging materials, including foam and tape. Inspect the unit for any shipping damage. Report any damage to your dealer immediately. Keep packaging materials until you are satisfied with the product's operation.
1.2 Location Requirements
- Place the unit on a firm, level surface capable of supporting its weight when full.
- Ensure at least 2 inches (5 cm) of clearance around the sides and back for proper ventilation.
- Avoid direct sunlight or heat sources. The ambient temperature should be between 50°F (10°C) and 90°F (32°C).
- This appliance is designed for under-counter installation or freestanding use.
1.3 Electrical Connection
Connect the appliance to a dedicated, grounded 115V/60Hz electrical outlet. Do not use extension cords or adapter plugs. Ensure the electrical circuit is protected by a fuse or circuit breaker.
1.4 Water Connection
This unit requires a continuous water supply and a drain. Connect the provided water inlet hose to a potable water supply with a pressure between 15-80 PSI. Connect the drain hose to a suitable floor drain or standpipe. Ensure all connections are secure and leak-free.
1.5 Initial Cleaning
Before first use, clean the interior of the ice maker and beverage refrigerator sections with a mild detergent and warm water. Rinse thoroughly and dry with a soft cloth. Run a self-cleaning cycle (refer to Section 3.2) before making ice for consumption.
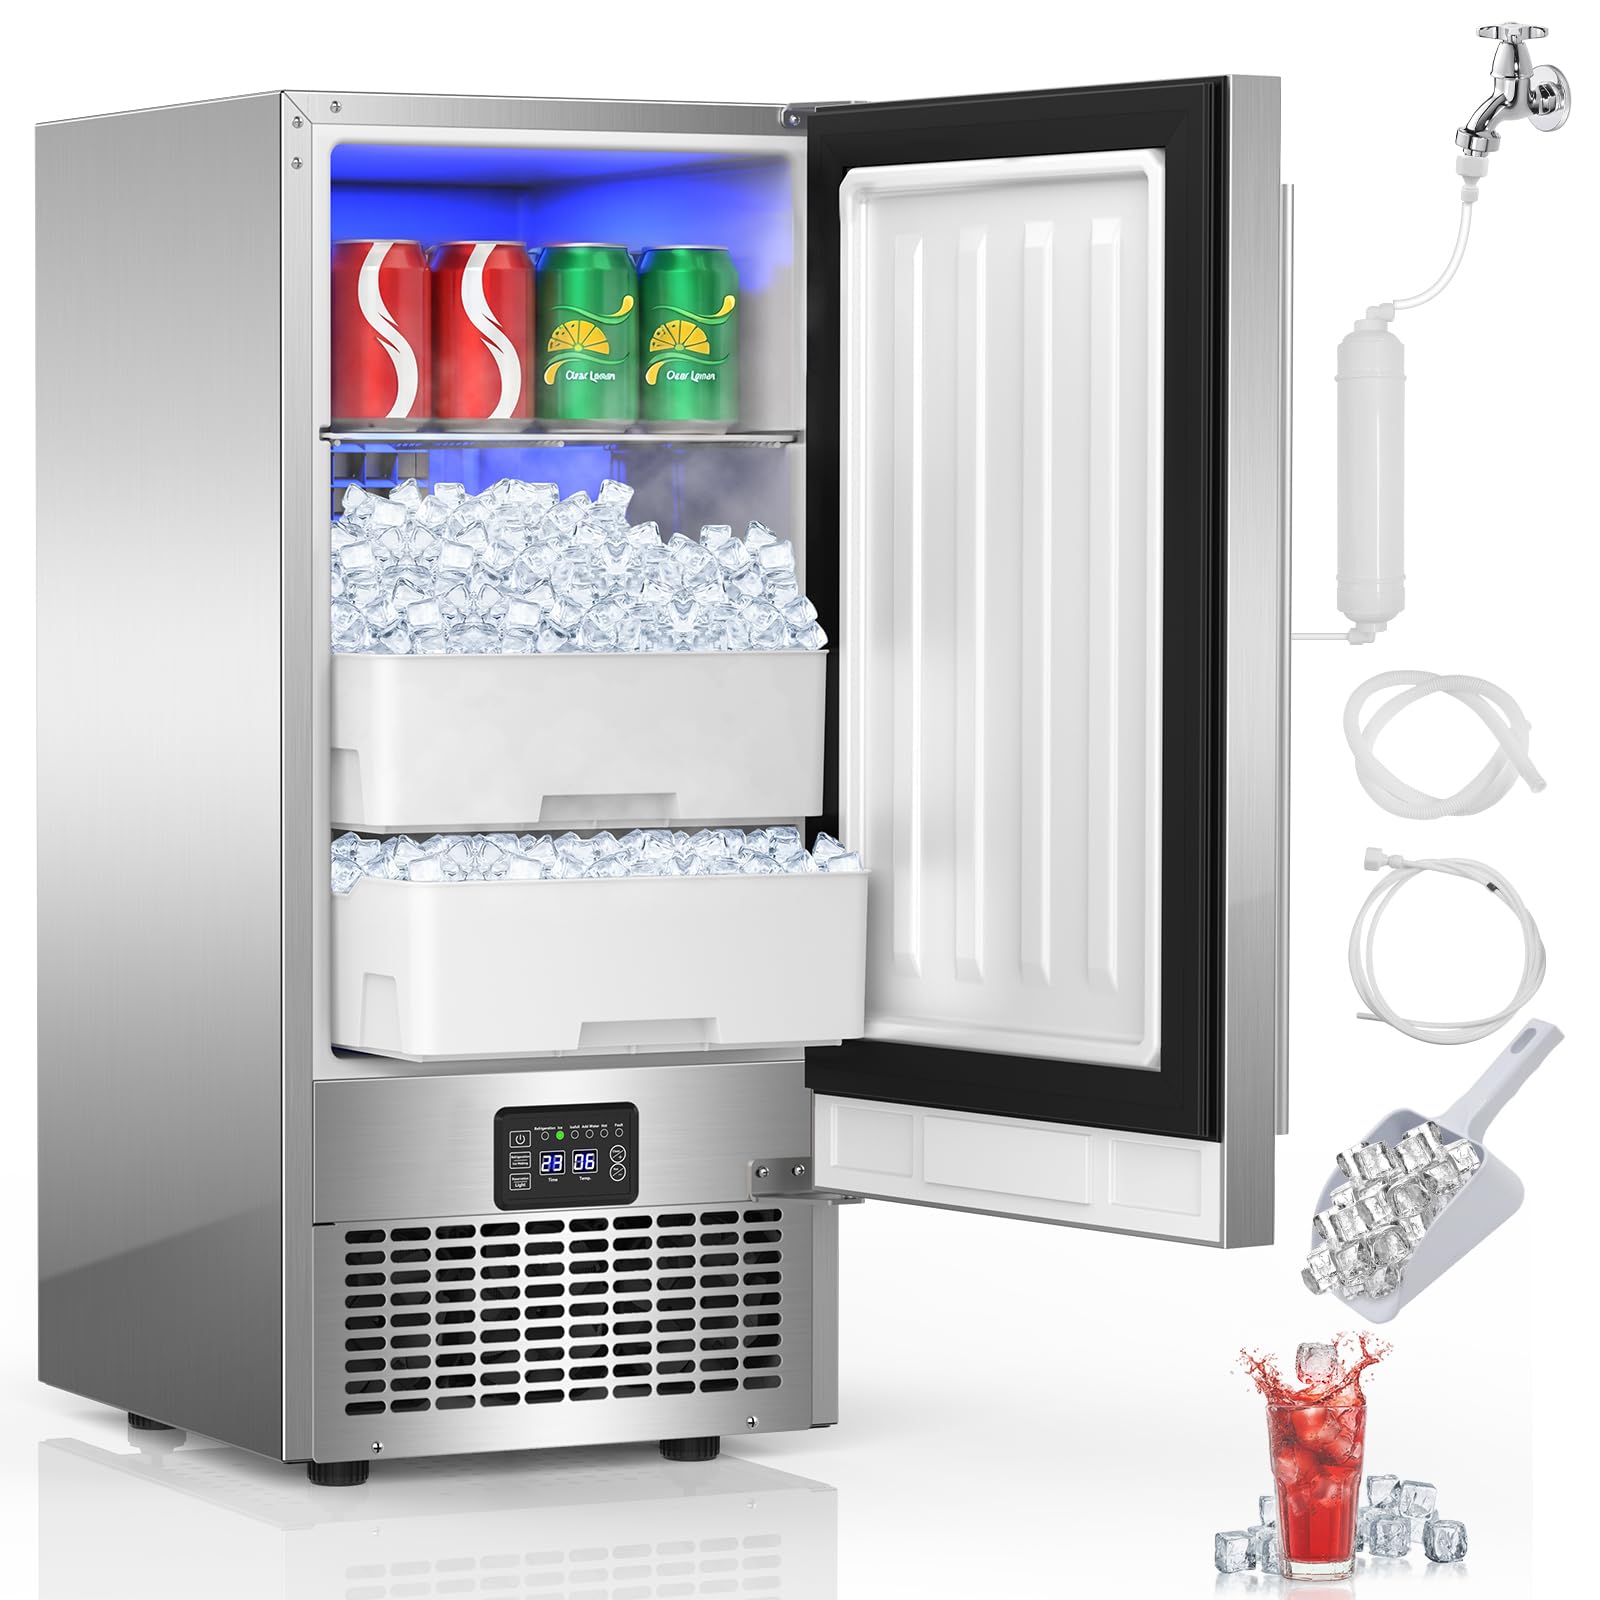
Image 1.1: FoMup Under Counter Ice Maker and Beverage Refrigerator. This image shows the overall appearance of the unit, featuring its stainless steel finish and dual-door design for the ice maker and beverage refrigerator sections.
2. Operating Instructions
2.1 Control Panel Overview
The control panel is located on the front of the unit. It features a digital display and several buttons for controlling ice production and beverage refrigerator settings.
- POWER Button: Turns the unit on/off.
- ICE/CLEAN Button: Initiates ice making or the self-cleaning cycle.
- +/- Buttons: Adjust ice thickness or beverage refrigerator temperature.
- TEMP/TIMER Button: Switches between temperature setting and timer functions.
- DISPLAY: Shows current temperature, ice making status, or error codes.
2.2 Making Ice
- Ensure the unit is connected to power and water supply.
- Press the POWER button to turn on the unit.
- Press the ICE/CLEAN button to start the ice making cycle. The ice indicator light will illuminate.
- The unit will automatically produce ice until the ice storage bin is full or the unit is turned off.
2.3 Adjusting Ice Thickness
While the unit is making ice, use the +/- buttons to adjust the ice thickness. A higher number typically corresponds to thicker ice. Allow a few cycles for the change to take effect.
2.4 Beverage Refrigerator Operation
The beverage refrigerator section operates independently. Press the TEMP/TIMER button to enter temperature setting mode. Use the +/- buttons to set the desired temperature between 43°F (6°C) and 65°F (18°C). The display will show the set temperature, then revert to the actual internal temperature.
2.5 Smart Ice Full Sensor & 24-Hour Timer
The unit features a smart sensor that automatically pauses ice production when the ice storage bin is full. Production resumes when ice levels decrease. The 24-hour timer can be set to automatically start or stop ice production at a specified time.
3. Maintenance
3.1 Regular Cleaning
- Exterior: Clean the exterior with a soft cloth and mild detergent. Avoid abrasive cleaners.
- Interior (Ice Maker): Regularly empty the ice bin and clean with a solution of water and white vinegar (1:1 ratio). Rinse thoroughly.
- Interior (Beverage Refrigerator): Wipe down with a damp cloth and mild soap.
- Condenser: Periodically clean the condenser coils at the back or bottom of the unit with a soft brush or vacuum cleaner to ensure efficient operation. Disconnect power before cleaning.
3.2 One-Touch Self-Cleaning Function
The unit features an automatic self-cleaning cycle. To activate:
- Ensure the ice bin is empty.
- Add a recommended ice maker cleaning solution (or a mixture of water and white vinegar) to the water reservoir.
- Press and hold the ICE/CLEAN button for 3-5 seconds until the cleaning indicator light illuminates.
- The cycle will run automatically. Once complete, drain any remaining cleaning solution and rinse the interior thoroughly with fresh water.
3.3 Defrost Function
The unit has an automatic defrost function for the beverage refrigerator section. If excessive frost builds up in the ice maker section, manually defrost by turning off the unit and allowing the ice to melt naturally. Ensure the drain is open to collect water.
4. Troubleshooting
Before contacting customer service, review the following common issues and solutions:
| Problem | Possible Cause | Solution |
|---|---|---|
| Unit does not turn on. | No power, tripped breaker, loose plug. | Check power supply, reset breaker, ensure plug is secure. |
| No ice production. | No water supply, water inlet valve closed, ice bin full, ambient temperature too high. | Check water connection, open valve, empty ice bin, ensure proper ventilation. |
| Ice is too thin or too thick. | Ice thickness setting incorrect. | Adjust ice thickness using the +/- buttons (refer to Section 2.3). |
| Beverage refrigerator not cooling. | Temperature setting too high, door not closed properly, poor ventilation. | Adjust temperature, ensure door is sealed, check ventilation. |
| Unit is noisy. | Unit not level, fan obstruction, normal operating sounds. | Ensure unit is level. Check for obstructions. Some operational noise is normal. |
5. Specifications
| Feature | Detail |
|---|---|
| Brand | FoMup |
| Model Name | QRSS32F-NM |
| Product Dimensions (D x W x H) | 21.06" x 14.96" x 33.07" |
| Ice Storage Capacity | 40 Pounds |
| Voltage | 115 Volts |
| Ice Production per Day | 100 Pounds |
| Refrigerant | R290a |
| Included Components | Scoop |
6. Warranty and Customer Support
For warranty information or technical assistance, please contact FoMup customer support. Refer to your purchase documentation for specific warranty terms and contact details. You can typically find support information on the manufacturer's official website or through your retailer.
When contacting support, please have your model number (QRSS32F-NM) and purchase date available.