
Magicshine EVO 1700 PRO
MagicShine EVO 1700 Pro Bike Headlight User Manual
Model: EVO 1700 Pro
Introduction
The MagicShine EVO 1700 Pro is a high-performance bike headlight designed for night riding on various terrains. It features a 1700-lumen output, anti-glare low beam, and a remote control for convenient operation. This manual provides essential information for the proper setup, operation, and maintenance of your EVO 1700 Pro bike headlight.
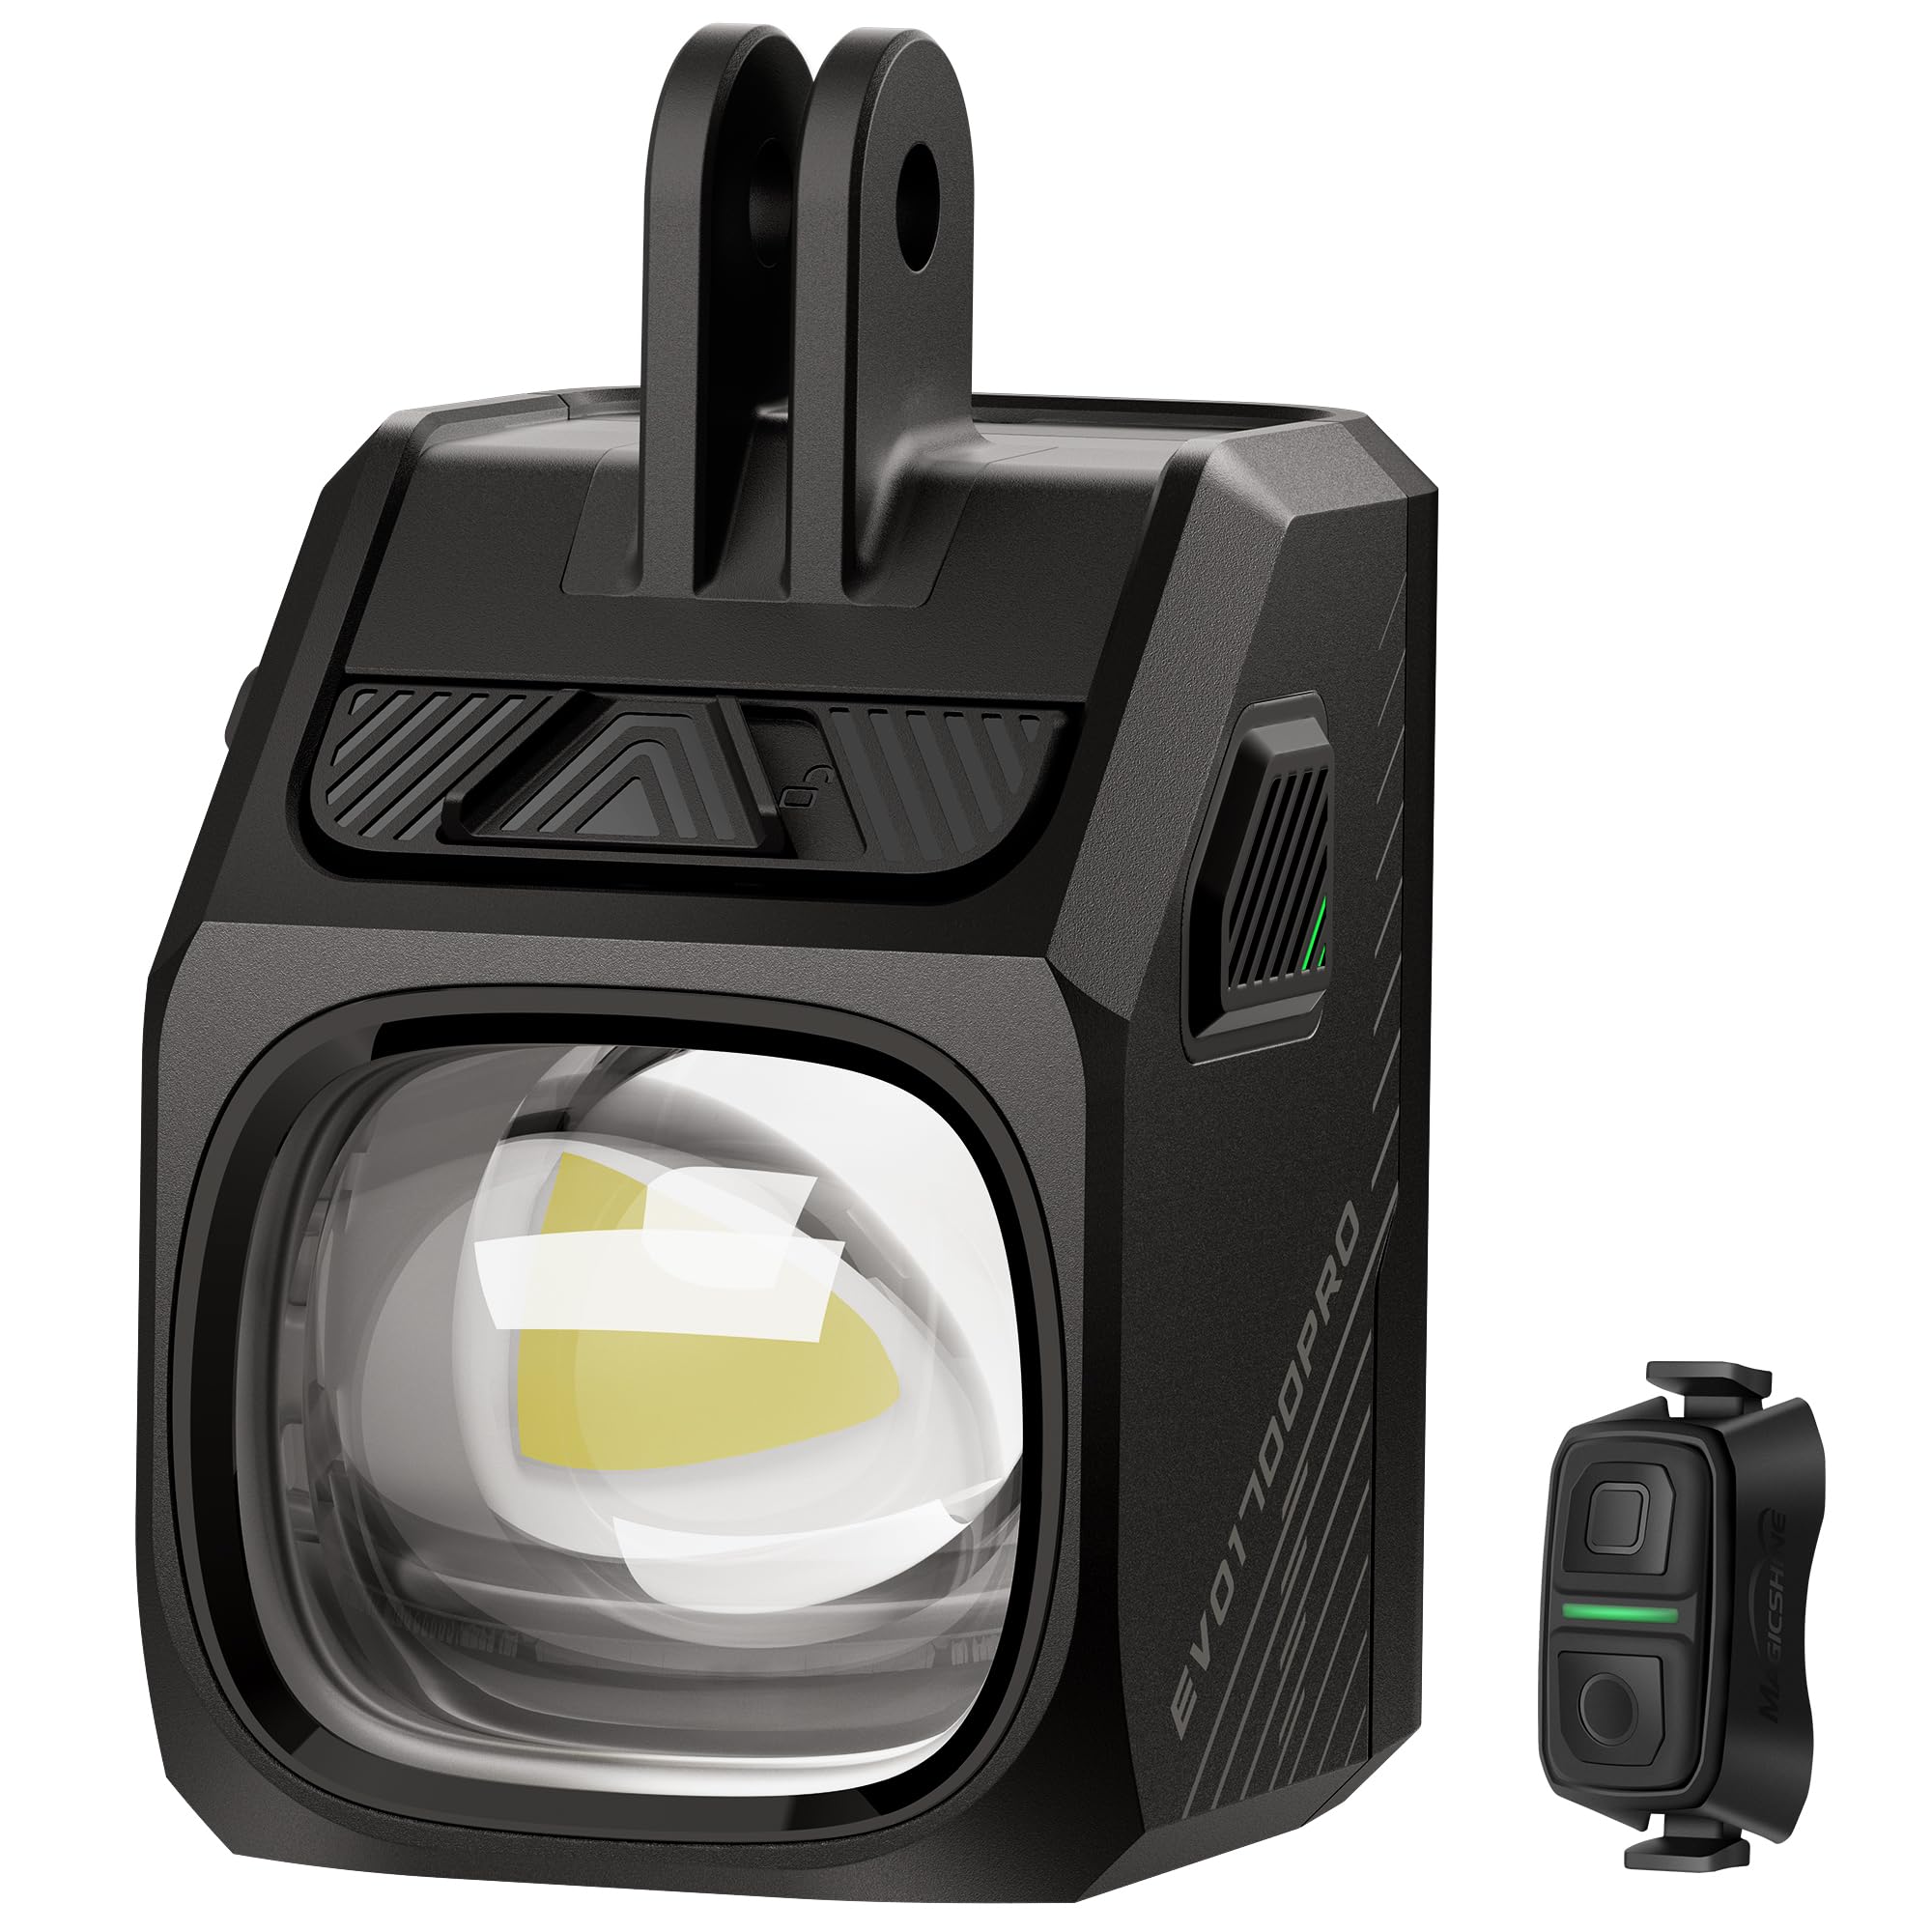
Image: The MagicShine EVO 1700 Pro bike headlight, showcasing its compact design.
Package Contents
Verify that all items are present in the package:
- EVO 1700 Pro Headlight
- MJ-6558 Remote Control
- Handlebar Out-Front Mount
- Wahoo Mount Adapter
- Garmin Mount Adapter
- USB-C Charging Cable
- User Manual
- Nylon Washers (28mm/32mm/35mm) x3
- 2mm/3mm Star Wrench
- Screws x1

Image: A visual representation of all components included in the EVO 1700 Pro package.
Setup
1. Mounting the Headlight
- Attach the handlebar out-front mount to your bicycle handlebar. Use the appropriate nylon washers (28mm, 32mm, or 35mm) to ensure a secure fit.
- If using a bike computer, attach the Garmin or Wahoo adapter to the top of the out-front mount.
- Align the EVO 1700 Pro headlight with the mount. The MagicLock magnetic alignment system will guide it into place.
- Slide the light forward until the mechanical lock engages, securing it to the mount.

Image: The EVO 1700 Pro headlight mounted underneath a bike computer, demonstrating the out-front mount setup.

Image: Close-up view of the MagicLock magnetic alignment and sliding mechanical lock mechanism for secure attachment.
2. Charging the Headlight
Before first use, fully charge the headlight. Connect the USB-C charging cable to the light's charging port and to a USB power source. The indicator light will show charging status.
3. Remote Control Pairing (FTR LightSync)
The included MJ-6558 remote control can be paired with the headlight and compatible MagicShine taillights (sold separately) for synchronized control.
- Ensure both the headlight and remote control are powered off.
- Press and hold the power button on the headlight until the indicator flashes blue.
- Hold the remote control close to the headlight.
- Press and hold any button on the remote until the headlight's indicator turns solid blue, indicating successful pairing.
Video: Instructions on how to connect the headlight and a compatible taillight using the FTR LightSync function.
Video: Installation guide for the EVO 1700 Pro bike light, including mounting and a demonstration of its performance during a night ride.
Operating Instructions
Power On/Off
Press and hold the power button on the headlight for 1 second to turn it on or off.
Changing Modes
The EVO 1700 Pro offers 8 lighting modes, including low beam, high beam, and flash modes. Short press the power button on the headlight to cycle through the modes. The remote control also allows for mode changes.

Image: Illustration of the cut-off low beam, designed to illuminate the path without blinding oncoming traffic.

Image: Demonstration of the instant high beam feature, providing extended visibility when needed.
Remote Control Functions
The MJ-6558 remote control provides convenient access to light functions:
- Single Click (Top Button): Adjusts brightness levels.
- Double Click (Top Button): Toggles between low beam and high beam.
- Single Click (Bottom Button): Activates Turbo mode (instant 1700 lumens).
- Double Click (Bottom Button): Switches between daytime flash and nighttime flash.
- Single Press (Any Button, FTR LightSync): Turns both headlight and paired taillight on or off simultaneously.

Image: Diagram illustrating the various functions of the remote control buttons for the EVO 1700 Pro.

Image: A cyclist using the FTR LightSync remote to control both front and rear lights, emphasizing hands-on-bars control.
Lockout Feature
To prevent accidental activation and conserve battery during transport or storage:
- Lock: With the light off, press and hold the power button for 3 seconds. The indicator will flash red.
- Unlock: Press and hold the power button for 3 seconds. The indicator will flash green.

Image: A hand placing the EVO 1700 Pro into a bag, demonstrating the lockout feature for safe transport.
Maintenance
- Cleaning: Wipe the light body and lens with a soft, damp cloth. Avoid abrasive cleaners.
- Charging: Recharge the battery regularly, especially if not used for extended periods, to maintain battery health.
- Storage: Store the light in a cool, dry place when not in use.
- Water Resistance: The EVO 1700 Pro has an IPX6 water resistance rating, meaning it is protected against high-pressure water jets. Avoid submerging the light in water.

Image: The EVO 1700 Pro headlight in various outdoor conditions, highlighting its durable aluminum alloy housing.
Troubleshooting
- Light not turning on: Ensure the battery is charged. Check if the lockout feature is activated.
- Remote control not working: Verify that the remote is paired correctly with the headlight. Check the remote's battery.
- Light flickering or dim: The battery may be low. Recharge the light.
- Mount not secure: Ensure the correct size nylon washers are used and the mechanical lock is fully engaged.
Specifications
| Feature | Detail |
|---|---|
| Model Number | EVO 1700 PRO |
| Max Brightness | 1700 Lumens |
| Battery Capacity | 4400mAh |
| Max Runtime | Up to 14 hours (at 200 lumens) |
| Charging Time | Approx. 3 hours (via USB-C) |
| Water Resistance | IPX6 |
| Material | Aluminum, Plastic |
| Mounting Type | Handlebar Mount |

Image: A chart detailing the runtime of the EVO 1700 Pro across different lumen outputs.
Warranty
The MagicShine EVO 1700 Pro is backed by a 2-year manufacturer's warranty. Please retain your proof of purchase for warranty claims.
Support
For technical assistance, warranty inquiries, or other support needs, please contact Magicshine USA:
Ask a question about this manual
Ask about setup, troubleshooting, compatibility, parts, safety, or missing instructions. Manuals+ will review the question and use this page’s manual context to help answer it.