
1. Important Safety Information
Please read and understand all instructions and safety warnings before beginning assembly and use of your Greesum storage shed. Failure to follow these instructions may result in injury or property damage.
- Always wear appropriate safety gear, including gloves and eye protection, during assembly.
- Ensure the assembly area is clear of obstructions and children.
- Do not attempt to assemble the shed alone. Two or more people are recommended for safe and efficient assembly.
- Secure the shed to a level, stable foundation to prevent tipping, especially in windy conditions.
- Do not store flammable liquids or hazardous materials inside the shed.
- Regularly inspect the shed for damage and perform necessary maintenance.
- Check local homeowner association (HOA) policies and building codes regarding outdoor storage structures before installation.
2. Package Contents
Your Greesum storage shed is shipped in 12 separate boxes, which may arrive at different times. Please ensure all boxes are received before starting assembly. The detailed step-by-step instruction manual is located in Box #12.
The package includes:
- All wall panels (blow-molded HDPE plastic)
- Roof components (including skylights)
- Floor panels
- Door assembly with lockable hardware
- All necessary screws, bolts, and fasteners
- Detailed step-by-step instruction manual (in Box #12)
3. Tools Required
The following tools are recommended for assembly (not included):
- Rubber Mallet
- Phillips Screwdriver
- Measuring Tape
- Level
- Safety Gloves
- Safety Glasses
4. Site Preparation
Proper site preparation is crucial for the stability and longevity of your shed.
- Level Surface: The shed must be assembled on a completely flat and level surface. An uneven surface can lead to difficulties in assembly, door misalignment, and structural instability.
- Foundation: A concrete slab, paved patio, or a well-compacted gravel base is recommended. Ensure the foundation is larger than the shed's footprint (118"W x 144"D).
- Clearance: Allow sufficient space around the shed for assembly, door opening, and future maintenance.
- Drainage: Ensure the site has good drainage to prevent water accumulation around the shed base.
5. Setup and Assembly Instructions
Follow the detailed, numbered instructions provided in Box #12. The assembly process is designed for efficiency with 30% fewer screws compared to standard models.
- Unpack and Organize: Carefully unpack all components and lay them out. Group similar parts together and verify against the parts list in the manual.
- Assemble Base: Connect the floor panels according to the manual. Ensure they are securely interlocked and form a stable base on your prepared level surface.
- Install Wall Panels: Begin attaching the wall panels to the base channel. Pro Tip: Press downward firmly when connecting panels to the base channel to ensure they fully snap into place. Use a rubber mallet if necessary for a snug fit.
- Attach Roof Components: Once walls are secure, proceed with installing the roof structure and panels. The design includes integrated skylights for natural light.
- Install Doors and Windows: Mount the lockable door assembly and any additional windows. The three windows and six skylights can be customized in position according to your needs.
- Final Checks: Ensure all screws are tightened, panels are securely connected, and doors operate smoothly.

Image: The through-hole installation design simplifies assembly, allowing panels to connect securely to the base.

Image: Overall dimensions of the Greesum 10x12FT storage shed, showing height, width, and depth.
6. Operating Instructions
Your Greesum storage shed is designed for convenient and secure storage.
- Door Operation: The shed features a single hinged, lockable door. To open, turn the handle and pull. To close, push the door firmly until it latches, then use a padlock (not included) for security.
- Ventilation: The dual ventilation windows and triangular air vents prevent condensation and keep the interior fresh. Ensure these vents are not blocked by stored items.
- Natural Lighting: Integrated skylights and windows maximize natural light, reducing the need for artificial lighting during the day.

Image: Details of the shed's features, including the secure locking door mechanism and triangular air vent for circulation.

Image: The shed with its wide-opening doors, providing easy access to the interior for storage.
7. Maintenance
Regular maintenance will ensure the longevity and optimal performance of your Greesum shed.
- Cleaning: Clean the shed exterior periodically with mild soap and water. Avoid abrasive cleaners or harsh chemicals that could damage the HDPE material.
- Roof Inspection: Regularly check the roof for any debris accumulation, especially after heavy winds or storms. The waterproof roof is designed to shed water effectively.
- Ventilation: Ensure the triangular air vents and windows remain clear of obstructions to maintain proper airflow and prevent condensation.
- Door and Hardware: Lubricate door hinges and check the locking mechanism periodically to ensure smooth operation. Tighten any loose screws.
- Structural Integrity: Inspect all panels and connections for any signs of damage or loosening. Address any issues promptly to maintain the shed's structural integrity.
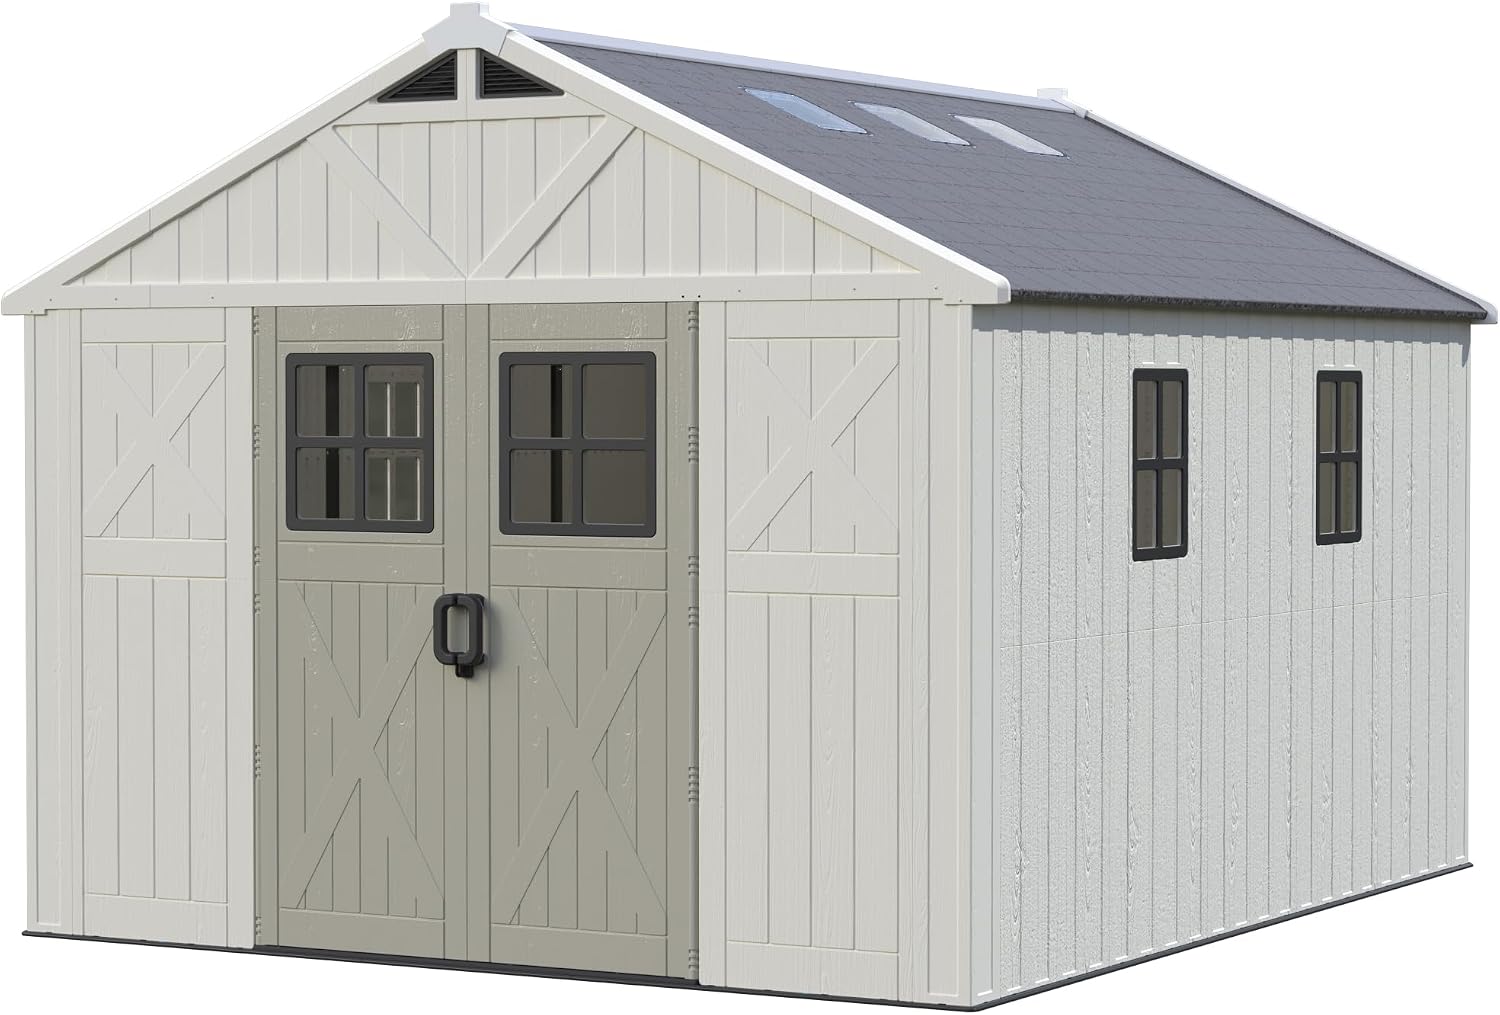
Image: The Greesum shed blends into an outdoor environment, showcasing its design and utility.

Image: Detail of the shed's heavy-duty construction, highlighting the 25mm wall thickness and robust roof capacity.
8. Troubleshooting
Here are solutions to common issues you might encounter:
| Problem | Possible Cause | Solution |
|---|---|---|
| Difficulty closing/locking door | Uneven foundation; door frame misalignment; debris in hinges. | Ensure shed is on a level surface. Adjust door hinges if possible. Clean hinges and lubricate. |
| Water leakage | Improperly sealed panels; damaged roof; poor site drainage. | Check all panel connections and roof seals. Ensure proper drainage around the shed. Inspect roof for damage. |
| Condensation inside shed | Blocked vents; high humidity. | Ensure all ventilation windows and triangular air vents are clear. Consider adding a dehumidifier in very humid climates. |
| Missing parts | Shipping error. | Refer to the parts list in your manual (Box #12) and contact Greesum customer support with the specific part numbers. |
9. Specifications
| Feature | Detail |
|---|---|
| Brand | Greesum |
| Model Number | GS-78112-0513 |
| Material | Blow-molded High-Density Polyethylene (HDPE) Plastic |
| Color | Beige |
| Product Dimensions (D x W x H) | 144" x 118" x 100" |
| Floor Area | 120 Square Feet |
| Roof Weight Capacity | 75 kg/m² (approximately 15.3 PSF) |
| Windows | 6 windows (customizable position) |
| Skylights | Multiple integrated skylights |
| Door Style | Single Hinged, Lockable |
| Water Resistance Level | Water Resistant |
| Assembly Required | Yes |
10. Warranty Information
Greesum products are manufactured to high-quality standards. For specific warranty details regarding your storage shed, please refer to the documentation included in Box #12 or visit the official Greesum website. Keep your proof of purchase for any warranty claims.
11. Customer Support
If you have any questions, require assistance with assembly, or need to report missing/damaged parts, please contact Greesum customer support. Have your model number (GS-78112-0513) and purchase information ready when contacting support.
For the most up-to-date contact information, please visit the official Greesum website or refer to the contact details provided in your instruction manual (Box #12).