
1. Introduction
Thank you for choosing the XIIW Cordless Electric Hand Planer. This tool is designed for smoothing rough lumber, trimming doors, and leveling wood edges with precision and efficiency. Featuring a powerful brushless motor and adjustable cutting depth, it is suitable for various woodworking and carpentry tasks. Please read this manual thoroughly before operation to ensure safe and effective use.
2. Safety Instructions
Always follow basic safety precautions when using electric tools to reduce the risk of fire, electric shock, and personal injury.
- Work Area Safety: Keep your work area clean and well-lit. Cluttered or dark areas invite accidents. Do not operate power tools in explosive atmospheres, such as in the presence of flammable liquids, gases, or dust.
- Electrical Safety: Avoid body contact with earthed or grounded surfaces such as pipes, radiators, ranges, and refrigerators. Do not expose power tools to rain or wet conditions.
- Personal Safety: Always wear eye protection. Use hearing protection when operating for extended periods. Dress properly; avoid loose clothing or jewelry that can get caught in moving parts.
- Tool Use and Care: Do not force the power tool. Use the correct power tool for your application. Disconnect the battery pack from the power tool before making any adjustments, changing accessories, or storing power tools.
- Battery Safety: This tool is compatible with Makita 18V batteries. Ensure the battery is fully charged before use. Do not expose batteries to extreme heat or water.
3. Product Components and Features
Familiarize yourself with the parts of your XIIW Cordless Electric Hand Planer for optimal use.

Image 3.1: Overview of the XIIW Cordless Electric Hand Planer, highlighting key components such as the ergonomic anti-slip handle, soft grip trigger, depth adjust knob, dust deflector lever, adjustable rebate fitting screw, and dual dust outlet. Dimensions are also indicated.
- Brushless Motor: Delivers up to 12,000 RPM for smooth and efficient material removal.
- Adjustable Depth: Cutting depth can be adjusted from 0 to 1/8 inch (3 mm) with 0.004 inch (0.1 mm) fine-tuning.
- Cutting Width: Features a 3-1/4 inch (82 mm) cutting width.
- Battery Compatibility: Designed to be compatible with Makita 18V batteries (battery and charger not included). Includes low-voltage protection.
- Dual Dust Outlets: Equipped with left and right dust exhaust ports and a dust chute for efficient chip removal.
- Edge Guide: Helps maintain straight cuts.
- V-Grooves: Three built-in V-grooves support chamfering and edge shaping.
4. Setup
Before operating the planer, ensure proper setup for safety and performance.
4.1. Battery Installation
- Ensure the planer is switched off.
- Align the Makita 18V battery pack with the battery port on the planer.
- Slide the battery pack into place until it clicks securely.
- To remove, press the release button on the battery pack and slide it out.
4.2. Dust Bag Attachment
The planer features dual dust outlets for efficient chip collection.

Image 4.1: The planer's dual chip exhaust ports, showing how wood shavings are expelled. The dust bag can be attached to either port.
- Select the desired dust exhaust port (left or right) based on your working direction.
- Attach the supplied dust bag securely to the chosen dust outlet.
- Alternatively, connect your workshop vacuum (adapter not included) to the dust outlet for larger debris collection.
5. Operating Instructions
Follow these steps for effective and safe operation of your hand planer.
5.1. Adjusting Cutting Depth
The cutting depth can be precisely adjusted to suit your material and desired finish.
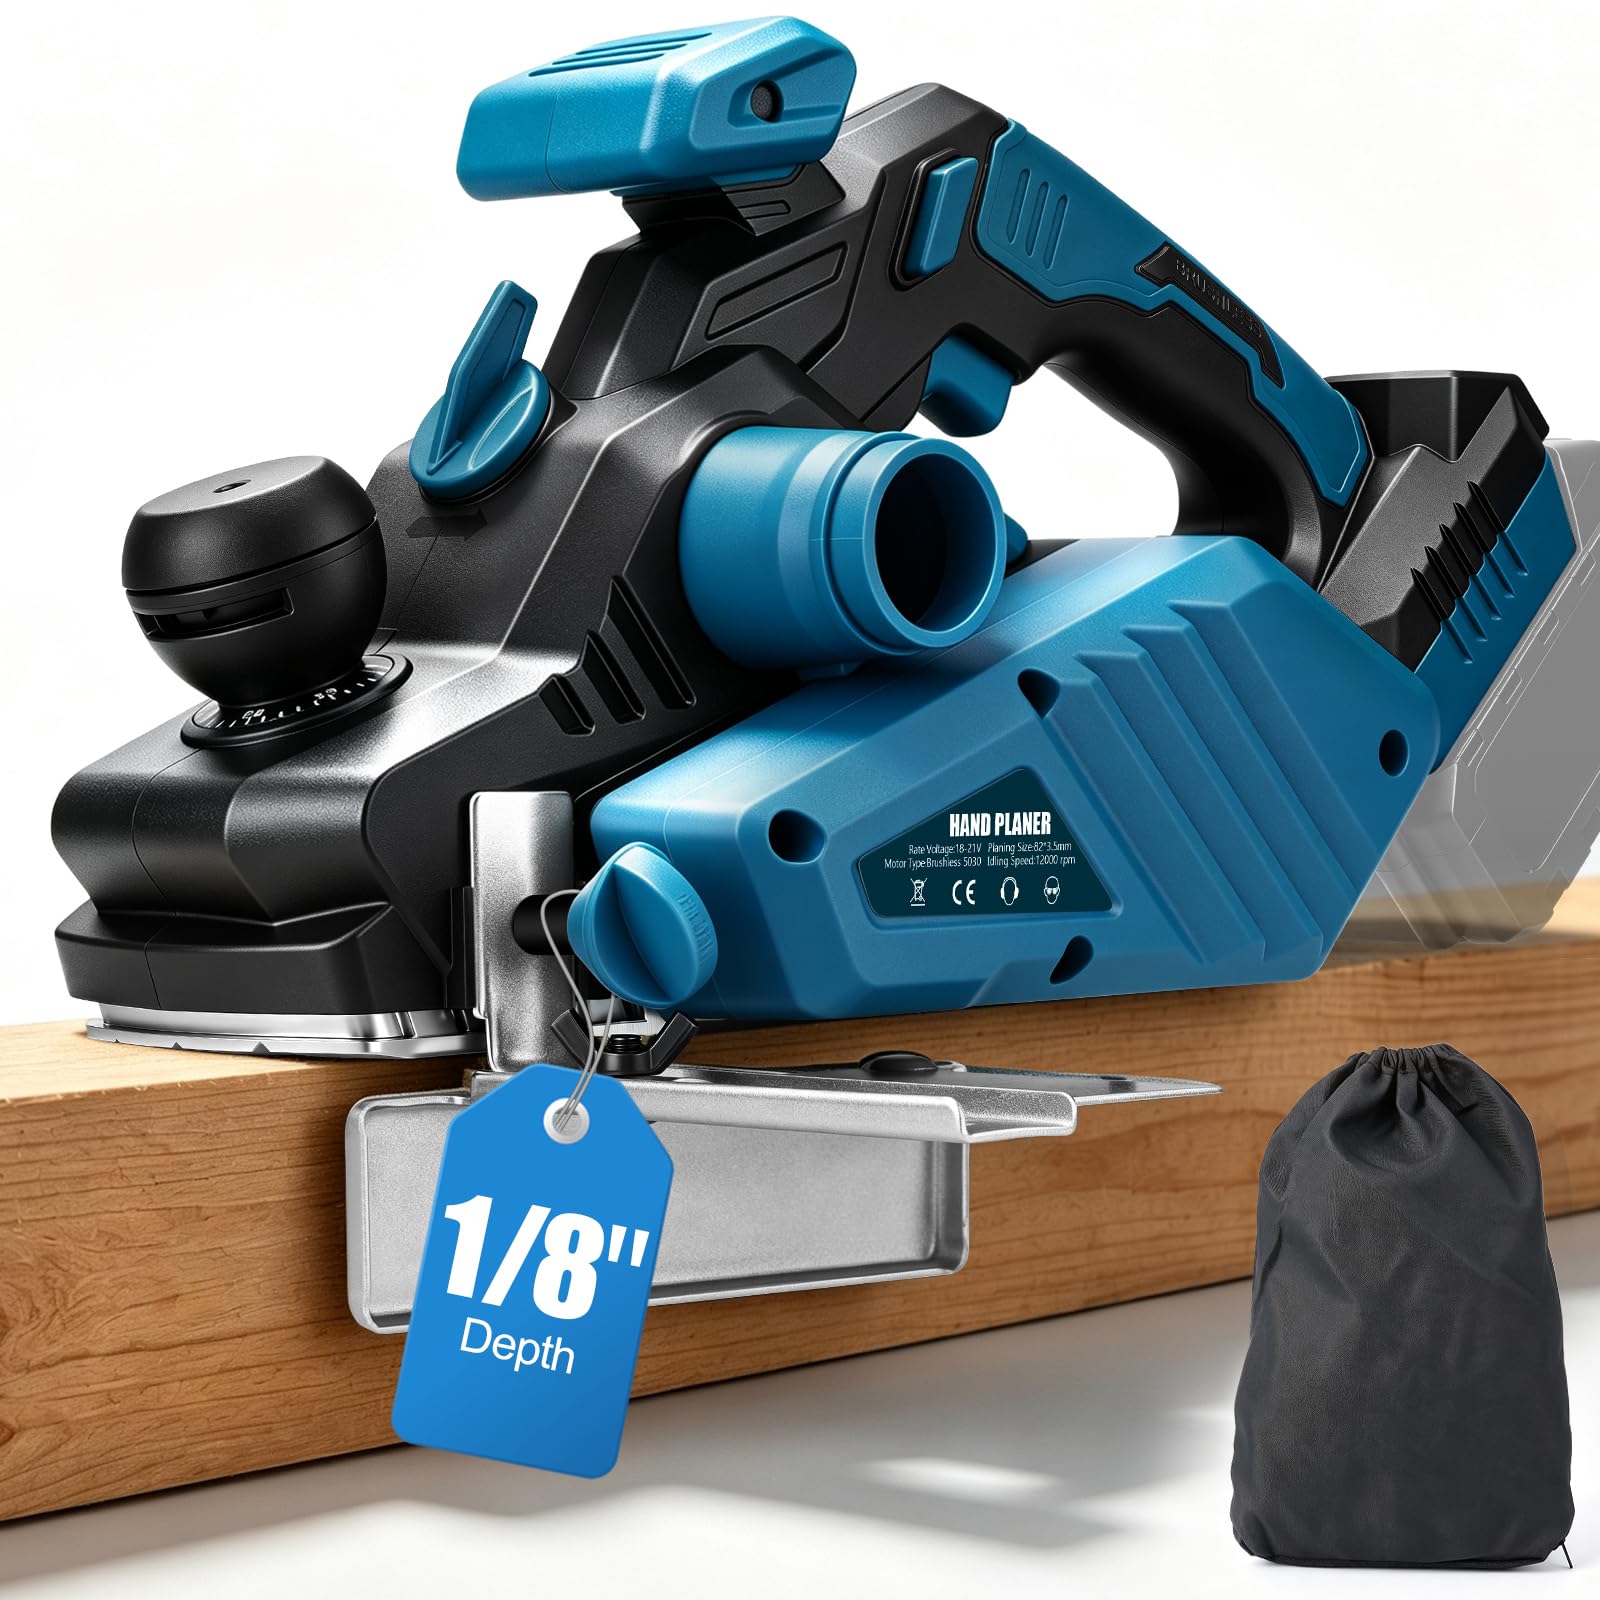
Image 5.1: Close-up of the depth adjustment knob, showing the markings for precise control of planing depth up to 1/8 inch (3.0 mm).
- Rotate the depth adjust knob located at the front of the planer.
- Align the indicator with the desired depth setting on the scale (0 to 1/8 inch or 0 to 3 mm).
- For fine adjustments, each increment on the scale represents 0.004 inches (0.1 mm).
5.2. Using the Edge Guide
The included edge guide helps ensure straight and consistent planing along the edge of your workpiece.
- Attach the edge guide to the side of the planer.
- Adjust the guide to the desired width from the cutting edge.
- Rest the edge guide against the side of your workpiece and push the planer forward, maintaining steady pressure.
5.3. Chamfering with V-Grooves
The planer features three V-grooves on the front shoe for creating angled chamfers on wood edges.

Image 5.2: Demonstration of the V-groove function, illustrating how different sized chamfers can be created along the edges of woodworking projects.
- Select the appropriate V-groove size for your desired chamfer.
- Place the V-groove over the edge of the workpiece.
- Apply even pressure and push the planer along the edge to create the chamfer.
5.4. General Planing Techniques

Image 5.3: Examples of the planer in use for various tasks, including trimming door edges, removing old paint, general edge trimming, and DIY woodworking projects.
- Ensure the workpiece is securely clamped.
- Start the planer before it contacts the workpiece.
- Apply steady, even pressure and move the planer smoothly across the surface.
- Avoid tilting the planer, as this can create uneven surfaces.
- For best results, take multiple shallow passes rather than one deep pass.
6. Maintenance
Regular maintenance ensures the longevity and optimal performance of your planer.
6.1. Cleaning
- Always disconnect the battery before cleaning.
- Regularly clear wood shavings and dust from the dust outlets and around the blade area.
- Use a soft brush or compressed air to remove debris.
- Wipe down the exterior of the tool with a damp cloth. Do not use harsh chemicals.
6.2. Blade Inspection and Replacement
- Inspect the planer blades regularly for sharpness and damage. Dull or chipped blades can lead to poor performance and kickback.
- Refer to the blade replacement instructions (not detailed in this manual, consult manufacturer for specific steps) when blades need sharpening or replacement. Always use genuine replacement blades.
6.3. Battery Care
- Store batteries in a cool, dry place away from direct sunlight.
- Do not store fully discharged batteries for extended periods. Recharge them periodically.
- The built-in low-voltage protection helps prevent over-discharge, but proper charging habits are essential for battery life.
7. Troubleshooting
If you encounter issues with your planer, refer to the following common problems and solutions.
| Problem | Possible Cause | Solution |
|---|---|---|
| Planer does not start | Battery not inserted correctly Battery discharged Tool malfunction | Ensure battery is fully seated Charge battery Contact customer support |
| Poor planing quality / Uneven surface | Dull or damaged blades Incorrect depth setting Inconsistent pressure/movement | Replace or sharpen blades Adjust depth setting Maintain steady pressure and smooth movement |
| Excessive dust/chips | Dust bag full or improperly attached Dust outlet blocked | Empty and reattach dust bag Clear any blockages from dust outlets |
| Tool overheats | Overloading the tool Poor ventilation | Reduce cutting depth or speed Ensure vents are clear; allow tool to cool |
8. Specifications
Detailed technical specifications for the XIIW Cordless Electric Hand Planer.
| Feature | Specification |
|---|---|
| Brand | XIIW |
| Model Number | M1B-SW01D-82x3 |
| Power Source | Battery Powered (Compatible with Makita 18V) |
| Motor Type | Brushless Motor |
| Maximum Rotational Speed | 12,000 RPM |
| Cutting Depth | 0 - 3 mm (0 - 1/8 inches) |
| Cutting Width | 8.2 cm (3-1/4 inches) |
| Item Weight | 6.3 pounds |
| Included Components | Cordless Electric Hand Planer, Dust Bag, Edge Guide |
9. Warranty and Support
For warranty information, technical support, or to purchase replacement parts, please contact the manufacturer or your retailer. Keep your purchase receipt as proof of purchase.
Manufacturer: DEYITONG COMPANY LIMITED