
1. Introduction
Thank you for choosing the Quictent Resin 6x4 FT Storage Shed. This manual provides essential information for the safe assembly, operation, and maintenance of your new storage shed. Please read all instructions carefully before beginning assembly and retain this manual for future reference.
2. Safety Information
- Always wear appropriate safety gear, including gloves and eye protection, during assembly.
- Ensure the assembly area is clear of obstructions and level.
- Do not attempt to assemble the shed in strong winds or adverse weather conditions.
- Keep children and pets away from the assembly area.
- Secure the shed to a solid, level foundation to prevent tipping.
- Do not store flammable liquids or hazardous materials inside the shed.
- Regularly inspect the shed for any damage or loose components and address them promptly.
3. Package Contents
Before beginning assembly, verify that all parts listed in the included parts list are present and undamaged. If any parts are missing or damaged, please contact customer support.
4. Setup and Assembly
The Quictent Resin Storage Shed features a design optimized for straightforward assembly. It is recommended that two people perform the installation, which typically takes approximately 2 hours.
4.1 Site Preparation
Select a level and stable location for your shed. The shed requires a base of approximately 5.3 x 3.5 feet (63.4"L x 41.7"W). Ensure adequate clearance around the shed for door operation and maintenance.
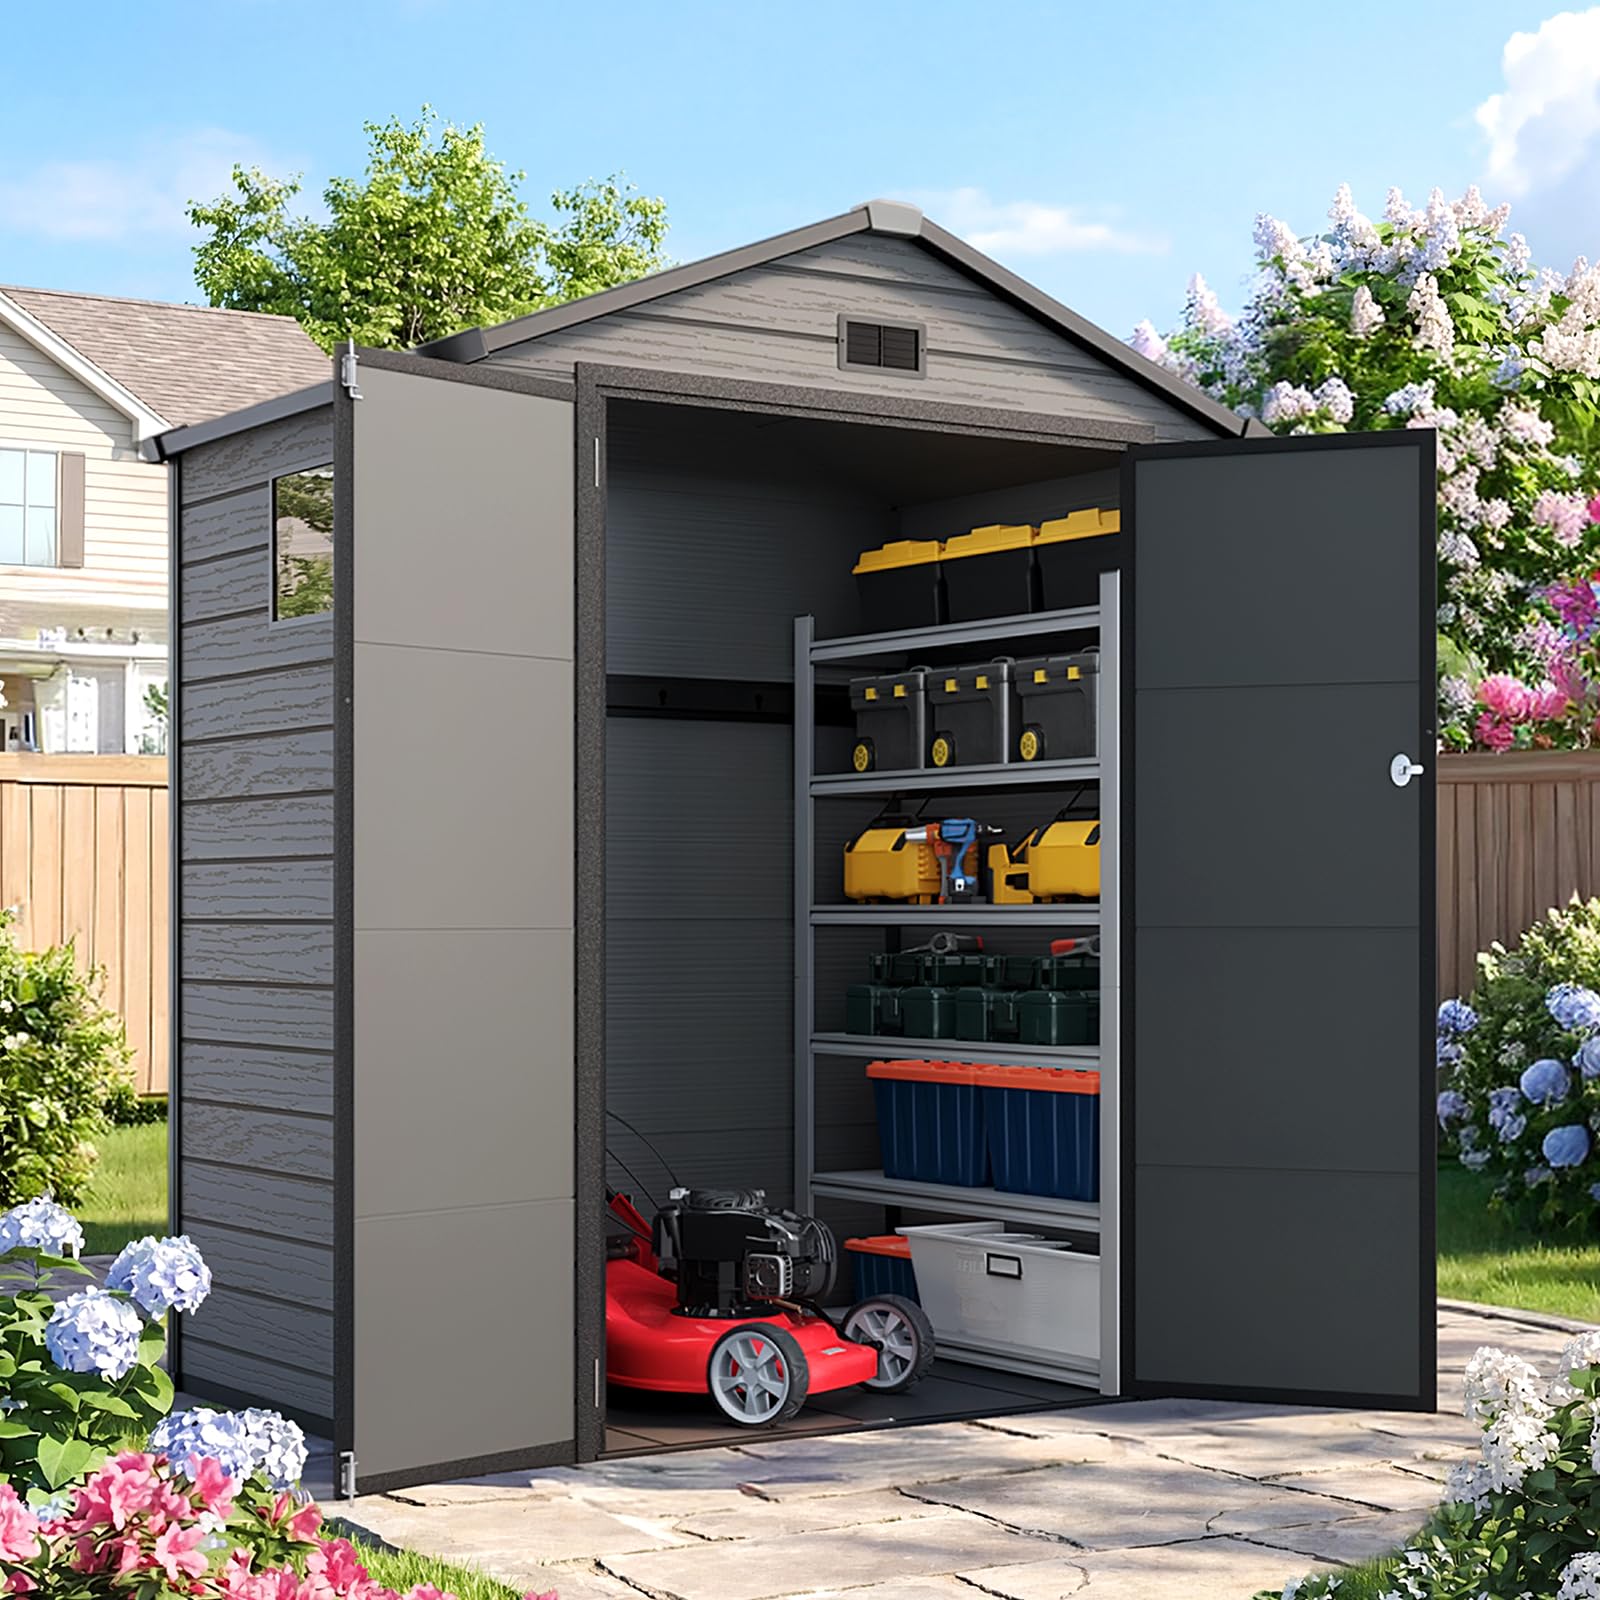
Figure 4.1: Product Dimensions. Verify these measurements against your chosen installation site.
4.2 Frame Assembly
The shed incorporates a reinforced steel frame, providing enhanced stability and resistance to elements like snow loads up to 8 inches. Assemble the frame components according to the detailed instructions provided in your package.

Figure 4.2: Reinforced Steel Frame. This frame provides structural integrity.
4.3 Panel and Floor Installation
The shed features a heavy-duty floor, 18% thicker than standard, with a 50 PSF load capacity, designed to support heavy items like riding lawn mowers. The one-piece assembly design simplifies the process, potentially reducing installation time by 30%.

Figure 4.3: One-Piece Assembly. This design streamlines the construction process.

Figure 4.4: Heavy-Duty Floor. Designed for durability and high load capacity.
4.4 Window Placement
The shed includes multiple flexible windows that provide natural daylight. These side wall windows can be moved to your desired position during the assembly process to optimize interior lighting.

Figure 4.5: Adjustable Window Placement. Customize for optimal natural light.
5. Operating Instructions
5.1 Door Access
The shed features wide-opening double doors that open a full 180 degrees, providing a 44.5-inch entrance. This extra-wide access ensures effortless entry and exit for larger items such as wheelbarrows and lawn mowers.

Figure 5.1: Wide-Opening Access. Facilitates easy storage of large equipment.
5.2 Security
The shed is equipped with lockable doors to secure your stored items. Utilize a padlock (not included) to ensure the safety of your patio furniture, garden tools, and other valuables.

Figure 5.2: Secure Lockable Doors. Provides peace of mind for your stored items.
5.3 Ventilation
Integrated mesh ventilation promotes constant airflow within the shed, reducing humidity and preventing heat buildup. This feature also effectively keeps debris out while maintaining a fresh interior environment.

Figure 5.3: Protective Mesh Vent. Ensures proper air circulation and debris filtration.
6. Maintenance
6.1 UV Protection
The shed's resin material is mixed with UV agents, not merely a coating. This ensures that the UV protection will not scratch or wear off over time, providing 10-year anti-aging durability against sun exposure.

Figure 6.1: Anti-Aging UV Protection. Ensures long-term material integrity.
6.2 Water Drainage
The roof features a 100% waterproof design with 4 integrated weeps. This quick-drain system prevents water pooling and ensures rapid drainage, keeping the shed's interior bone-dry even during heavy rainfall.

Figure 6.2: Quick-Drain Roof. Prevents water accumulation and keeps contents dry.
6.3 Winter Preparedness
The reinforced steel frame is designed to withstand snow loads up to 8 inches, ensuring year-round stability and durability, even in winter conditions.

Figure 6.3: Winter Resistance. The shed is built to endure snow loads.
7. Troubleshooting
- Difficulty during assembly: Ensure all parts are correctly oriented and aligned according to the manual. Do not force components together.
- Water leakage: Check that all roof panels are properly seated and secured, and that the quick-drain weeps are clear of debris. Ensure the shed is on a level surface.
- Door misalignment: Verify that the shed base is level. Adjust hinges if necessary, following the detailed assembly instructions.
- Shed instability: Confirm that the shed is anchored securely to its foundation. Ensure all frame connections are tightened.
For persistent issues, please refer to the detailed assembly guide or contact customer support.
8. Specifications
| Feature | Detail |
|---|---|
| Brand | Quictent |
| Model Number | 9910-03 |
| Color | Dark Gray |
| Material | Plastic (Resin) |
| Product Dimensions (D x W x H) | 63.4" x 41.7" x 79.5" |
| Item Weight | 121.3 pounds |
| Floor Load Capacity | 50 PSF |
| Snow Load Resistance | Up to 8 inches |
| UV Protection | 10-year anti-aging durability (built-in agents) |
| Water Resistance Level | Water Resistant (100% waterproof roof) |
| Door Style | Double Hinged Doors |
| Door Opening Width | 44.5 inches |
9. Warranty Information
For detailed warranty information, please refer to the documentation included with your product or visit the official Quictent website. Warranty terms and conditions may vary.
10. Customer Support
If you have any questions, require assistance with assembly, or need to report missing/damaged parts, please contact Quictent customer support. You can often find contact information on the manufacturer's website or through the retailer where you purchased the product.
Visit the Quictent Store for more information.