
1. Introduction
This manual provides essential instructions for the safe and efficient operation, maintenance, and troubleshooting of your Proscenic Q20 Plus Robot Vacuum and Mop. Please read this manual thoroughly before using the product and retain it for future reference.
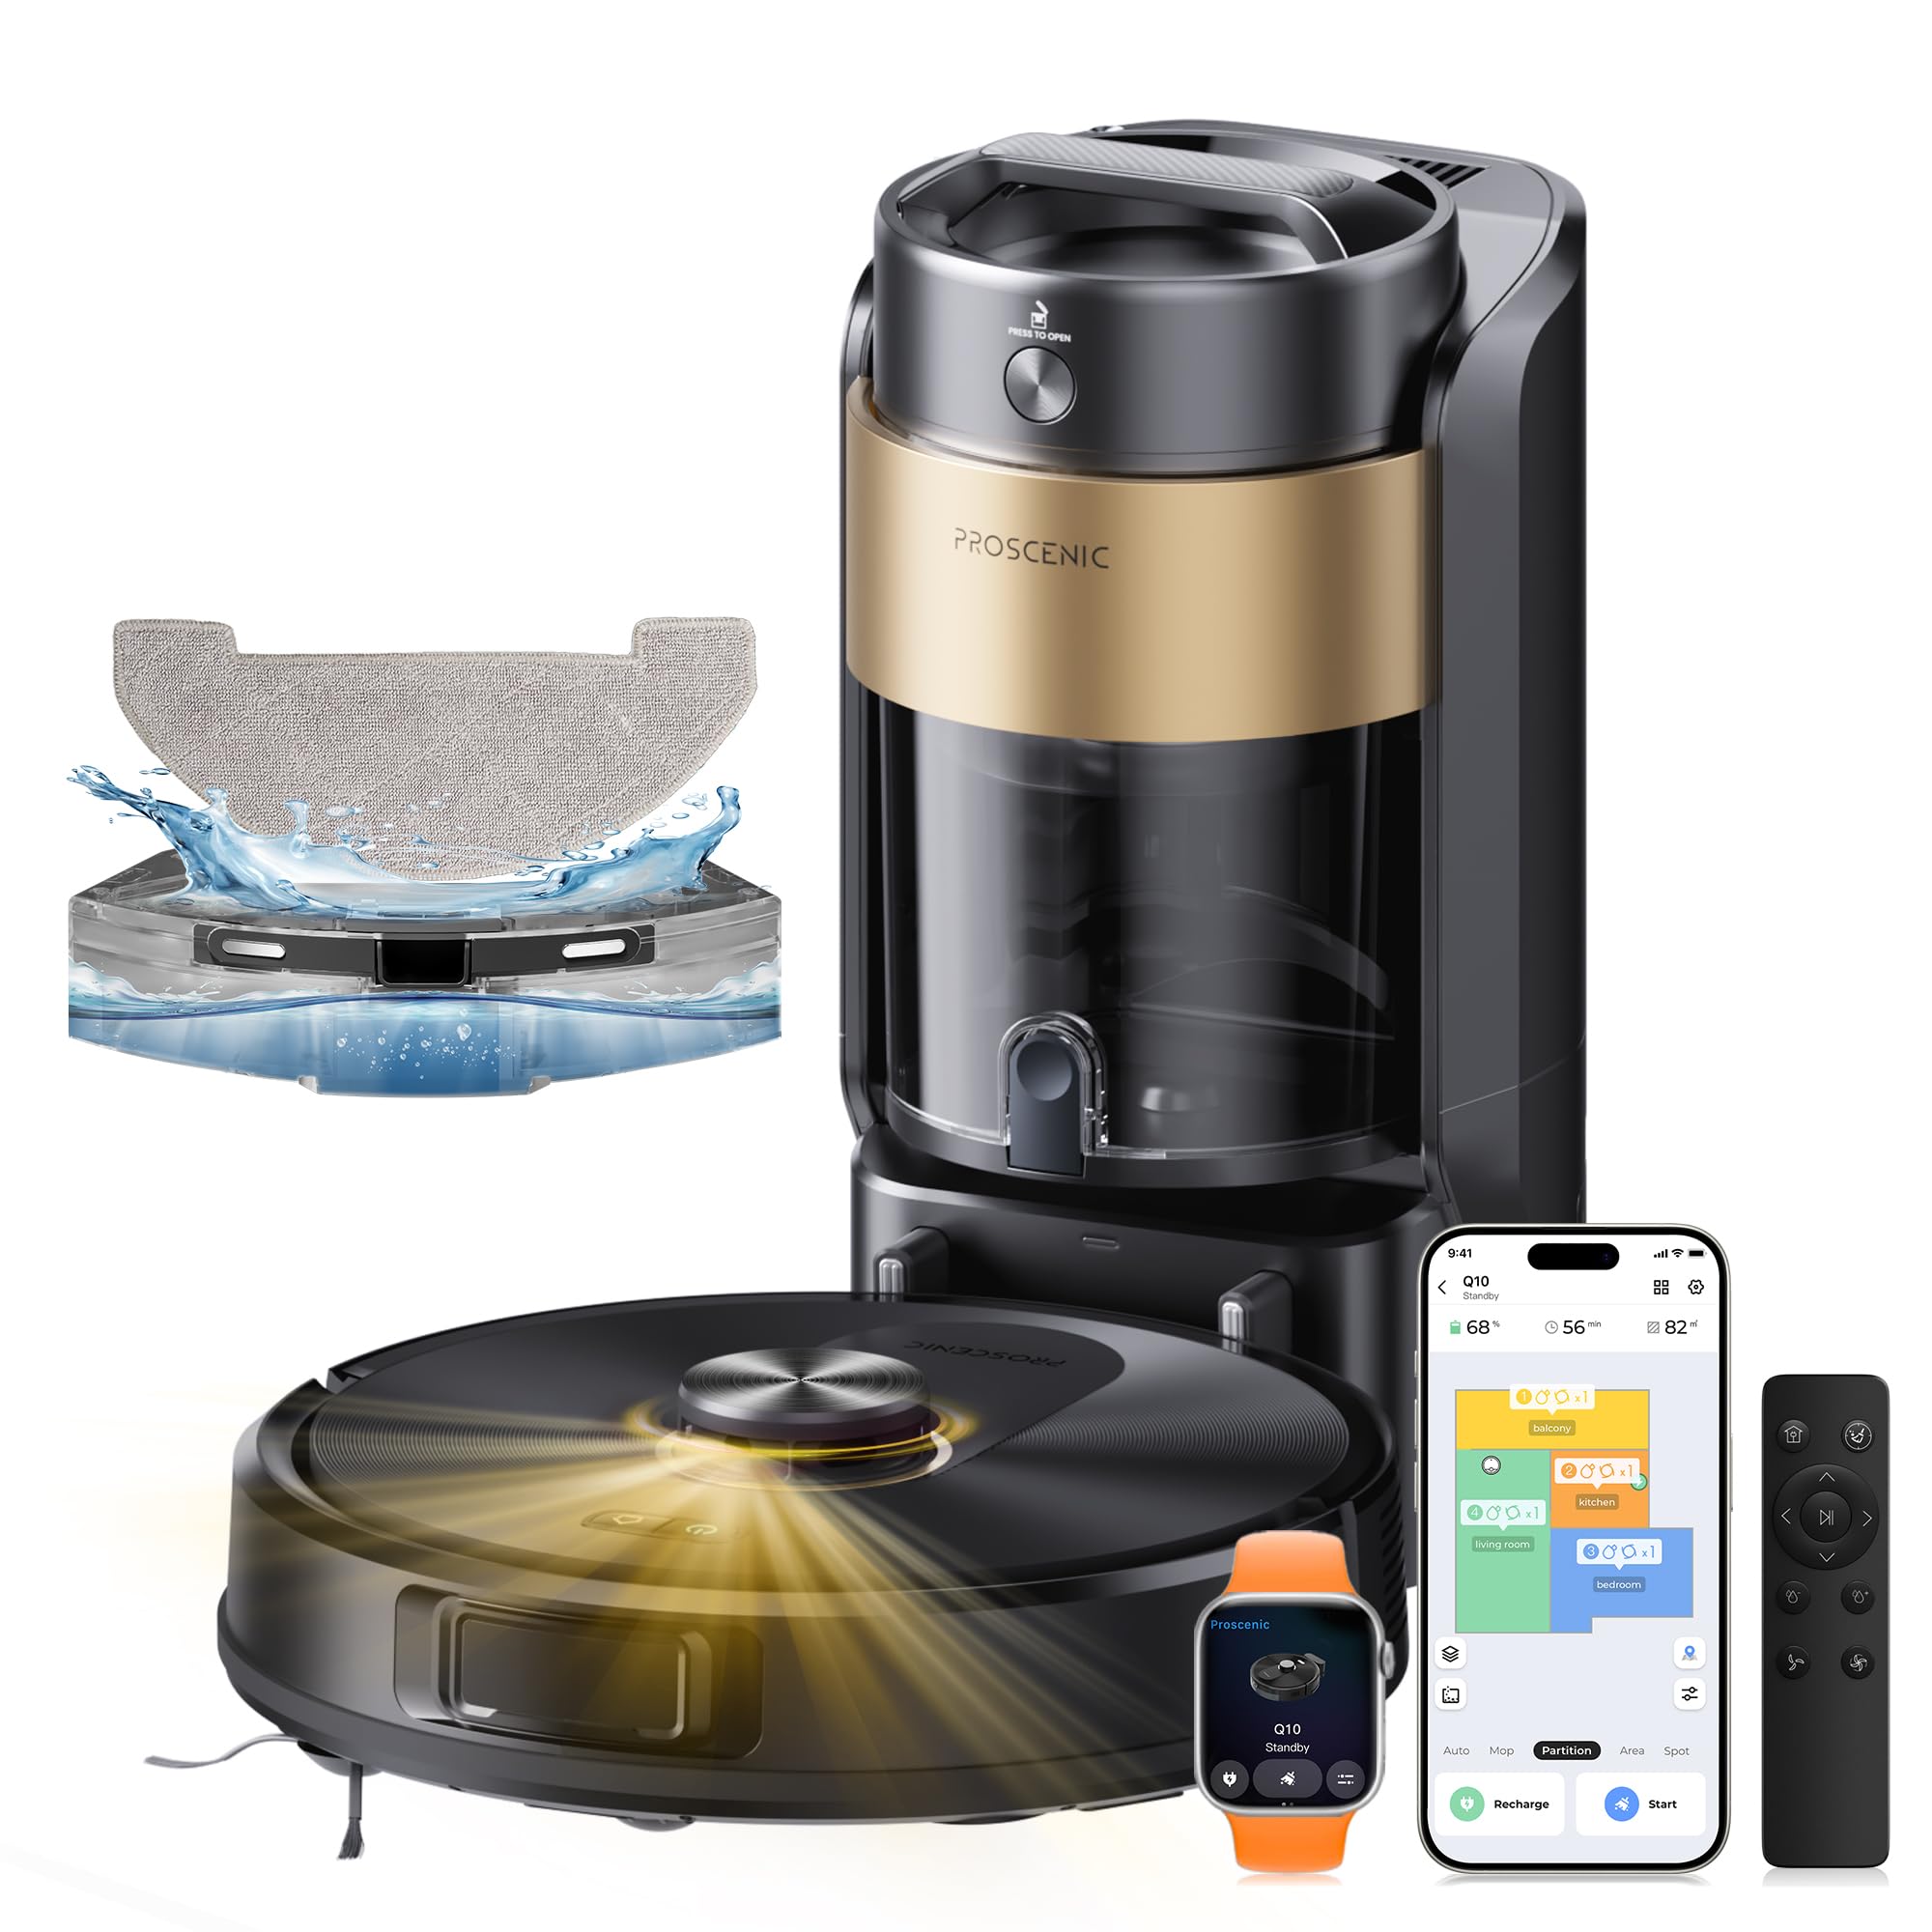
Image 1.1: Proscenic Q20 Plus Robot Vacuum and Mop with Auto-Empty Station.
2. Product Overview
2.1 Key Features
- Auto-Empty Station: The Q20 Plus features an optimized auto-empty station with a 4-liter dustbin, allowing up to 90 days of hands-free dust collection. This bagless system prevents particle dispersion and direct contact with dirt, offering an ecological and economical solution.
- Powerful Suction: Equipped with 10000Pa suction power, the robot effectively removes dust, debris, pet hair, and dirt from various surfaces, including hard floors and carpets. It includes an automatic power boost function for carpets.
- Advanced Navigation: Integrated LiDAR technology combined with AI provides precise mapping and navigation. A dual-laser system detects obstacles at a distance, reacting quickly to cables, low furniture, and stairs.
- 3-in-1 Cleaning: Offers vacuuming, sweeping, and mopping functionalities. The dustbin and water tank are combined into a single module for comprehensive cleaning. Features three suction levels and three water flow levels.
- Extended Battery Life: A 3200 mAh battery provides up to 200 minutes of cleaning time, covering areas up to 230 m². The robot automatically recharges when the battery is below 15% and resumes cleaning from where it left off.
- Multi-Map Memory: Capable of saving up to 5 editable maps, allowing customized cleaning settings for different floors and environments. Virtual walls can be created to avoid specific areas.
2.2 Components
The Proscenic Q20 Plus package includes the following components:
- Robot Vacuum Cleaner
- Auto-Empty and Charging Base
- Side Brush
- Power Adapter
- HEPA Filter (x2)
- Cleaning Brush
- Mop Pads (x2)
- User Manual (this document)
3. Setup
3.1 Unpacking and Placement
- Carefully remove all components from the packaging.
- Choose a suitable location for the auto-empty and charging base. Ensure it is placed against a wall, with at least 0.5 meters of clear space on either side and 1.5 meters in front. Avoid areas with direct sunlight or strong Wi-Fi signals.
- Connect the power adapter to the charging base and plug it into a wall outlet. Ensure the cable is neatly tucked away to prevent entanglement.

Image 3.1: Placing the auto-empty station and connecting power.
3.2 Initial Charging
Place the robot vacuum onto the charging base. The robot will automatically align and begin charging. For first-time use, ensure the robot is fully charged before its initial cleaning cycle. This typically takes 4-6 hours.
3.3 App Installation and Connection
- Download the Proscenic app from your smartphone's app store (iOS or Android).
- Open the app and create an account or log in.
- Follow the in-app instructions to add your Q20 Plus robot. This usually involves connecting to the robot's Wi-Fi hotspot temporarily and then connecting the robot to your home Wi-Fi network (2.4GHz only).
- Once connected, you can access all smart features, including mapping, scheduling, and cleaning mode selection.
4. Operating Instructions
4.1 Starting a Cleaning Cycle
- Via Robot Button: Press the power button on the robot once to start an automatic cleaning cycle. Press again to pause.
- Via Proscenic App: Open the app, select your Q20 Plus, and tap "Start Cleaning" or choose a specific cleaning mode.
- Via Voice Assistant: If integrated with Amazon Echo or Google Home, use voice commands (e.g., "Alexa, start cleaning with Proscenic").

Image 4.1: The robot vacuum in operation, demonstrating powerful suction.
4.2 Cleaning Modes
The Q20 Plus offers various cleaning modes accessible through the Proscenic app:
- Auto Cleaning: The robot intelligently maps and cleans your entire home.
- Zone Cleaning: Define specific areas on the map for the robot to clean.
- Spot Cleaning: Direct the robot to clean a concentrated area of dirt.
- Y-Shape Mopping: Simulates manual mopping for a deeper clean.
- Edge Cleaning: The robot cleans along walls and furniture edges.
4.3 Mopping Function
To use the mopping function:
- Fill the water tank (integrated with the dustbin) with clean water.
- Attach the mop pad to the designated slot on the robot.
- Select a mopping mode or a combined vacuum and mop mode via the app. Adjust water flow levels as needed.
4.4 Mapping and Virtual Walls
During its first cleaning cycle, the robot will create a map of your home using its LiDAR navigation. You can then use the app to:
- Edit and save up to 5 different maps for multi-floor homes.
- Set virtual walls or no-go zones to restrict the robot from entering certain areas.
- Divide or merge rooms for customized cleaning.

Image 4.2: Illustration of the Lidar navigation system mapping a room.
5. Maintenance
Regular maintenance ensures optimal performance and extends the lifespan of your robot vacuum.
5.1 Auto-Empty Station Dustbin
The 4-liter dustbin in the auto-empty station requires emptying approximately every 90 days, depending on usage.
- Open the lid of the auto-empty station.
- Pull out the internal dustbin.
- Empty the collected debris into a trash can.
- The dustbin is fully washable; rinse it with clean water and allow it to air dry completely before reinserting.

Image 5.1: The 4-liter dustbin of the auto-empty station.
5.2 Robot Dustbin and Filter
The robot's internal dustbin and HEPA filter should be cleaned weekly.
- Remove the dustbin from the robot.
- Empty the contents into a trash can.
- Remove the HEPA filter and tap it gently to dislodge dust. Do not wash the HEPA filter with water.
- Rinse the dustbin with water and let it air dry completely.
- Reassemble the filter and dustbin, then reinsert into the robot.
5.3 Main Brush and Side Brushes
Inspect and clean the main brush and side brushes regularly (weekly or bi-weekly).
- Main Brush: Remove the main brush cover and lift out the brush. Use the cleaning tool provided to cut and remove any tangled hair or debris.
- Side Brushes: Check for tangled hair or debris. If damaged, replace them.
5.4 Mop Pads
After each mopping session, remove and wash the mop pad. It can be hand-washed or machine-washed. Allow it to air dry completely before reuse.
5.5 Sensors and Charging Contacts
Wipe the robot's sensors (Lidar, cliff sensors) and charging contacts on both the robot and the base with a clean, dry cloth monthly to ensure proper function.
6. Troubleshooting
| Problem | Possible Cause | Solution |
|---|---|---|
| Robot does not start or respond. | Low battery; power switch off; robot stuck. | Charge the robot; ensure power switch is ON; clear any obstructions. |
| Robot cannot return to charging base. | Charging base obstructed; robot too far; dirty charging contacts. | Ensure clear path to base; manually place robot on base; clean charging contacts. |
| Poor cleaning performance. | Full dustbin; clogged filter; worn brushes. | Empty dustbin; clean/replace filter; clean/replace brushes. |
| Robot gets stuck frequently. | Obstacles (cables, rugs); dirty cliff sensors. | Clear obstacles; clean sensors; use virtual walls in app. |
| App connection issues. | Incorrect Wi-Fi password; 5GHz Wi-Fi network; router issues. | Verify Wi-Fi password; ensure 2.4GHz network; restart router and robot. |
For further assistance, refer to the Proscenic app's help section or contact customer support.
7. Specifications
| Feature | Detail |
|---|---|
| Model Name | Q20 Plus |
| Brand | Proscenic |
| Suction Power | 10000 Pa |
| Battery Life | 200 minutes |
| Battery Type | Lithium-ion |
| Dustbin Capacity (Auto-Empty Station) | 4 liters |
| Navigation Type | LiDAR 360° with AI Obstacle Avoidance (Dual Laser System) |
| Control Type | App Control, Remote Control, Voice Control (Amazon Echo, Google Home) |
| Noise Level | 60 Decibels |
| Dimensions (Robot) | 32L x 32W x 9.7H cm |
| Filter Type | HEPA |
| Surface Recommendation | Bamboo, Concrete, Wood, Engineered Wood, Tile, Laminate, Linoleum, Marble, Upholstery, Carpet, Glass, Vinyl |
| Cleaning Modes | Vacuum, Sweep, Mop (3-in-1) |
| Multi-Map Support | Up to 5 editable maps |
8. Warranty and Support
For detailed warranty information, please refer to the warranty card included with your product or visit the official Proscenic website. Warranty terms may vary by region.
If you encounter any issues not covered in the troubleshooting section, or require further assistance, please contact Proscenic customer support through the following channels:
- Proscenic App: Access the support section within the application.
- Official Website: Visit www.proscenic.com for FAQs, support contact information, and service centers.


