
TuTu TU25Q1FQ-T8
Contents
TuTu 25-inch Full HD QLED Smart TV (Model TU25Q1FQ-T8) User Manual
Model: TU25Q1FQ-T8
1. Introduction and Safety Information
Thank you for purchasing the TuTu 25-inch Full HD QLED Smart TV. This manual provides essential information for setting up, operating, and maintaining your television. Please read it thoroughly before using the device and keep it for future reference.
Important Safety Instructions:
- Do not expose the TV to rain or moisture.
- Do not block ventilation openings.
- Protect the power cord from being walked on or pinched.
- Unplug the TV during lightning storms or when unused for long periods.
- Refer all servicing to qualified service personnel.
2. What's in the Box
Carefully unpack the box and ensure all items are present:
- TuTu 25-inch Smart TV
- Remote Control
- Remote Control Batteries (2x AAA)
- TV Stand (2 pieces)
- User Manual (this document)
- Warranty Card
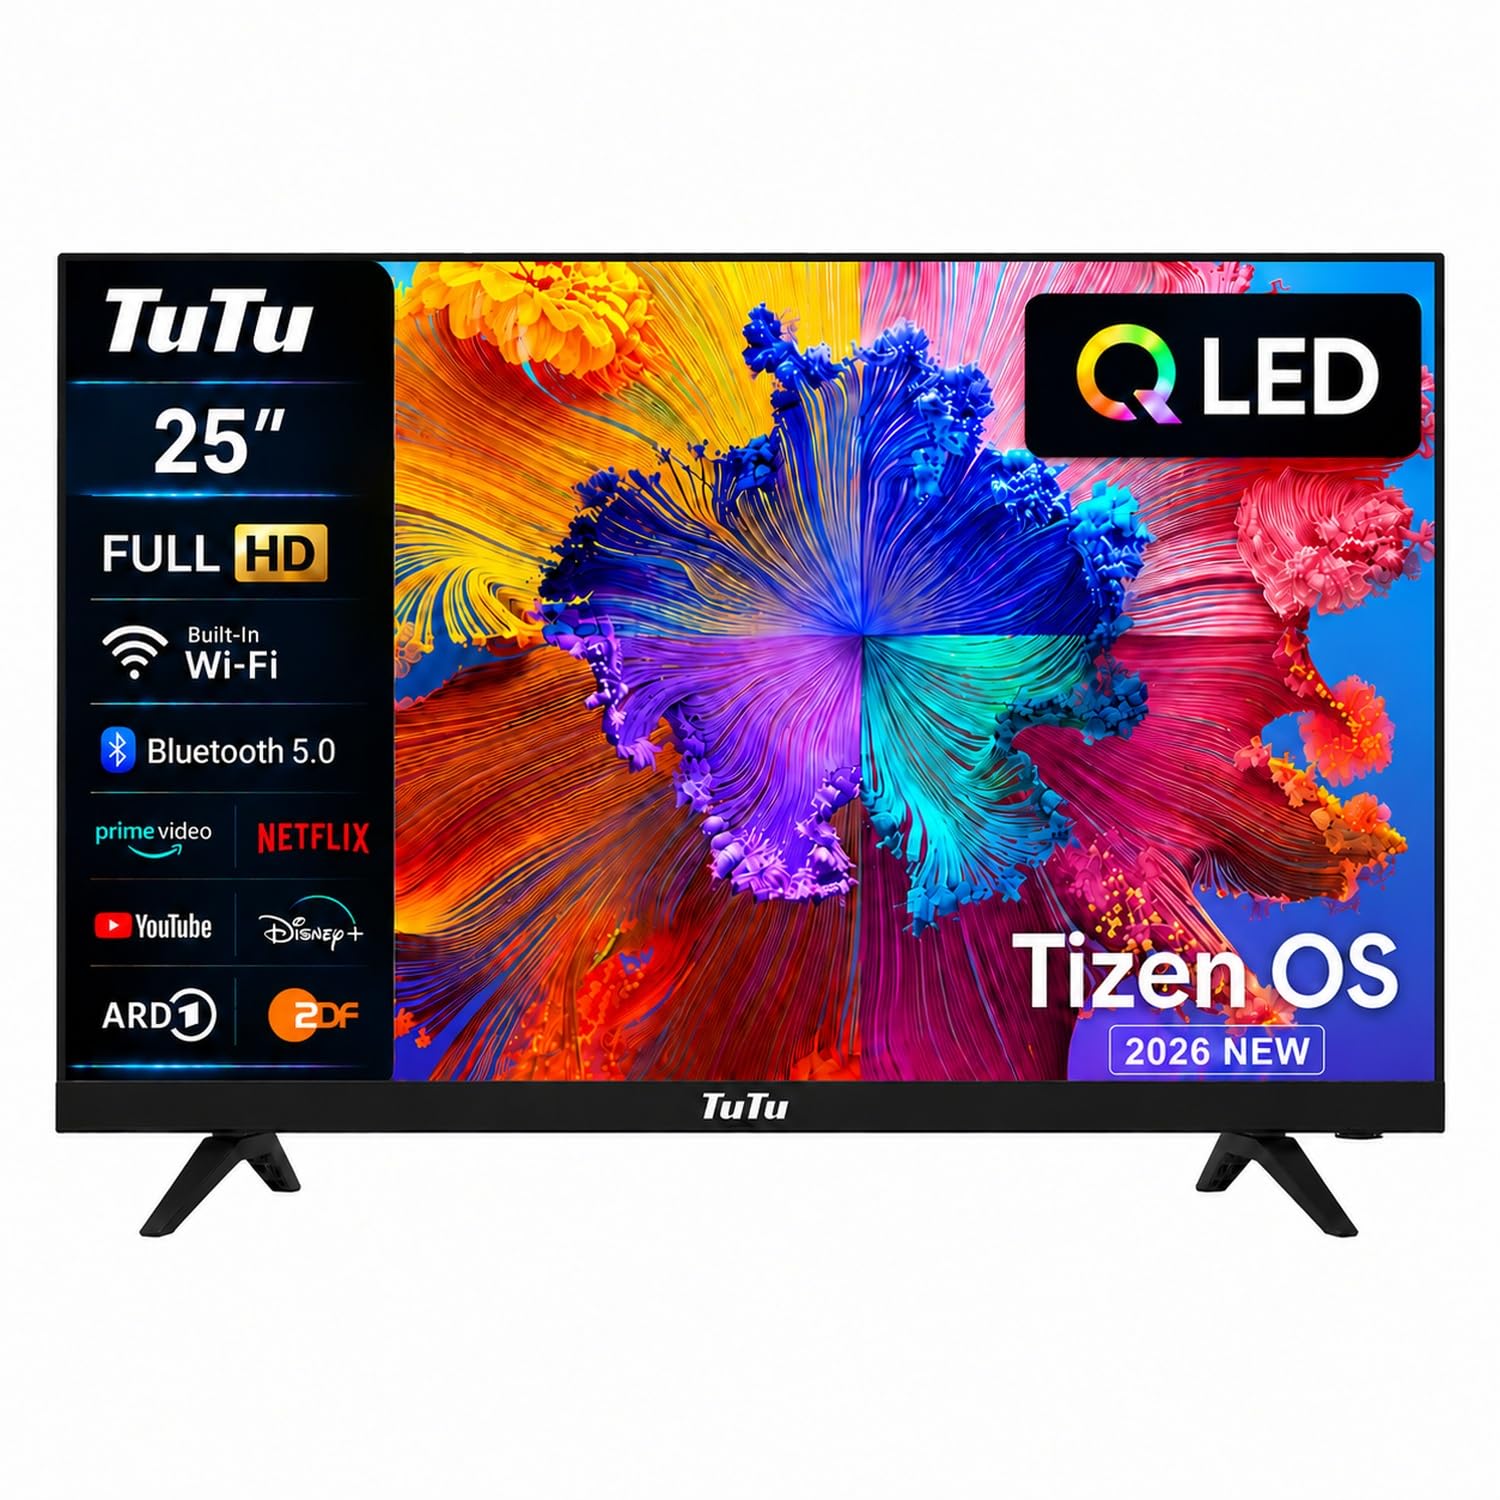
Image: Front view of the TuTu 25-inch Smart TV with its stand.
3. Setup
3.1 Installing the TV Stand
- Place the TV screen face down on a soft, flat surface to prevent damage.
- Align each stand piece with the corresponding slots on the bottom of the TV.
- Secure the stands using the provided screws.

Image: Front view of the TuTu 25-inch Smart TV.
3.2 Wall Mounting (Optional)
This TV supports VESA 100 x 100 mm wall mounts. Ensure you use a compatible wall mount bracket and follow the instructions provided with the mount. Professional installation is recommended.

Image: Rear view of the TuTu 25-inch Smart TV, showing the VESA mounting holes.
3.3 Connecting Devices
Your TV offers various connection ports:
- HDMI (x3): For connecting Blu-ray players, game consoles, set-top boxes, etc.
- USB (x2): For connecting USB storage devices (flash drives, external hard drives) for media playback or DVR recording.
- RF (x2): For connecting terrestrial (DVB-T/T2) or satellite (DVB-S/S2) antennas/cables.
- CI/CI+ Slot (x1): For inserting a Conditional Access Module (CAM) and smart card for encrypted channels.
- RJ45 (Ethernet) (x1): For a wired internet connection.
- Optical (x1): For connecting to an external audio system.
- AV (Composite) (x1): For connecting older devices with RCA cables.
- Headphone Jack (x1): For connecting headphones.

Image: Detailed view of the TV's versatile connection ports.
3.4 Initial Power On and Setup Wizard
- Connect the power cord to the TV and then to a power outlet.
- Press the Power button on the remote control or on the TV.
- The TV will display the initial setup wizard. Follow the on-screen prompts to:
- Select your language.
- Select your country/region.
- Connect to a network (Wi-Fi or Ethernet).
- Perform a channel scan.
3.5 Network Connection
To access Smart TV features, connect your TV to the internet:
- Wi-Fi: During the setup wizard, select your Wi-Fi network from the list and enter the password.
- Ethernet: Connect an Ethernet cable from your router to the RJ45 port on the TV. The TV will automatically detect the wired connection.

Image: Illustration of Wi-Fi and Bluetooth connectivity range within a home.
3.6 Channel Scan
After connecting your antenna or satellite dish, perform a channel scan:
- During the initial setup, select the appropriate tuner type (Antenna, Cable, or Satellite).
- The TV will automatically search for available channels. This may take several minutes.
- You can also perform a channel scan later via the TV's settings menu.

Image: Visual representation of the three digital reception types supported by the TV: Satellite (DVB-S/S2), Cable (DVB-C), and Terrestrial (DVB-T/T2).
4. Operating Your TV
4.1 Remote Control Functions
Familiarize yourself with the remote control buttons:

Image: Layout of the TV remote control, highlighting quick access buttons for popular streaming services and the Home button.
- Power (Red button): Turns the TV on or off.
- Source: Selects input sources (HDMI, AV, TV).
- Number Buttons (0-9): Direct channel selection.
- Volume (+/-): Adjusts volume.
- Channel (CH +/-): Changes channels.
- Home (House icon): Accesses the Smart Hub/Home screen.
- Navigation Buttons (Up/Down/Left/Right): Navigates menus.
- Enter (Center button): Confirms selections.
- Back/Return: Returns to the previous screen.
- Exit: Exits the current menu or application.
- Quick Access Buttons: Dedicated buttons for Netflix, Prime Video, YouTube, and Samsung TV Plus.
- Settings (Gear icon): Accesses TV settings.
- Info: Displays information about the current program.
4.2 Tizen OS Smart Features
Your TV is powered by Samsung's Tizen OS, offering a user-friendly interface and access to a wide range of applications and services.

Image: Tizen OS home screen displaying logos for popular streaming services like Netflix, Prime Video, YouTube, Disney+, HBO Max, and more, along with Samsung TV Plus and Samsung Gaming Hub.
- Smart Hub: Press the Home button to access the Smart Hub, where you can find your installed apps, input sources, and recommended content.
- App Store: Download and install additional applications from the integrated App Store.
- Pre-installed Apps: Enjoy popular streaming services like Netflix, Disney+, and Prime Video directly.
4.3 Samsung TV Plus
Samsung TV Plus offers over 800 free live channels across various genres including news, sports, movies, and lifestyle, without any subscription fees.

Image: Samsung TV Plus interface displaying a selection of free live and on-demand content, categorized by news, sports, movies, entertainment, kids, and lifestyle.
4.4 Samsung Gaming Hub
The Samsung Gaming Hub provides instant access to cloud gaming services and your favorite gaming apps, supporting various Bluetooth controllers.

Image: Samsung Gaming Hub interface showcasing various cloud gaming titles and popular gaming apps like Xbox, NVIDIA GeForce NOW, and Twitch.
4.5 AirPlay Functionality
Stream photos, videos, and music directly from your Apple devices (iPhone, iPad, Mac) to your TV using AirPlay.

Image: Illustration of AirPlay functionality, demonstrating how content from an iPhone or iPad can be wirelessly mirrored or streamed to the Tizen TV.
- Ensure your Apple device and TV are connected to the same Wi-Fi network.
- On your Apple device, open the content you wish to share and tap the AirPlay icon.
- Select your TuTu TV from the list of available devices.
4.6 Media Playback via USB
Insert a USB storage device into one of the USB ports. The TV will usually prompt you to open the Media Player. You can browse and play photos, videos, and music files.
The TV also supports USB recording (DVR) for live TV programs. Consult the on-screen menu for DVR setup and operation.
5. Maintenance
- Screen Cleaning: Gently wipe the screen with a soft, lint-free cloth. For stubborn marks, use a screen cleaning solution specifically designed for TVs, applied to the cloth, not directly to the screen.
- Cabinet Cleaning: Wipe the TV cabinet with a soft, dry cloth. Do not use abrasive cleaners or solvents.
- Ventilation: Ensure the ventilation openings on the back of the TV are not blocked to prevent overheating.
6. Troubleshooting
If you encounter problems with your TV, refer to the following common issues and solutions:
| Problem | Possible Solution |
|---|---|
| No power |
|
| No picture, but sound is present |
|
| No sound, but picture is present |
|
| Cannot connect to Wi-Fi |
|
| Remote control not working |
|
7. Specifications

Image: Diagram showing the physical dimensions of the TuTu 25-inch Smart TV and VESA 100x100mm mounting standard.
| Feature | Detail |
|---|---|
| Model Name | TU25Q1FQ-T8 |
| Screen Size | 25 inches (64 cm) |
| Display Technology | QLED, LED Backlight |
| Resolution | Full HD (1920 x 1080p) |
| Refresh Rate | 60 Hz |
| Operating System | Tizen OS |
| Connectivity | Wi-Fi, Bluetooth, HDMI (x3), USB (x2), RF (x2), CI/CI+, RJ45, Optical, AV, Headphone Jack |
| Tuner Types | DVB-T/T2, DVB-C, DVB-S/S2 |
| Audio | Dolby Audio |
| Special Features | USB Recording (DVR), AirPlay, Samsung TV Plus, Samsung Gaming Hub |
| VESA Standard | 100 x 100 mm |
| Product Dimensions (W x H x D) | Approx. 60 x 37.87 x 11 cm (with stand) |
| Model Year | 2026 |
For detailed energy information, please refer to the EU Product Data Sheet and Energy Label:
- EU Product Database (EPREL): https://eprel.ec.europa.eu/qr/2593985
8. Warranty and Support
Your TuTu Smart TV comes with a two-year warranty from the date of purchase. Please retain your proof of purchase for warranty claims.
For technical support, service, or warranty inquiries, please contact your retailer or the manufacturer, INNO TECHNOLOGY BV.
Manufacturer: INNO TECHNOLOGY BV
For further assistance, visit the TuTu store on Amazon: TuTu Store
Ask a question about this manual
Ask about setup, troubleshooting, compatibility, parts, safety, or missing instructions. Manuals+ will review the question and use this page’s manual context to help answer it.