
ALERVITES AT1
Contents
ALERVITES AT1 5G POC Radio
Instruction Manual
Model: AT1
Introduction
This manual provides detailed instructions for the ALERVITES AT1 5G POC Radio, an advanced two-way radio designed for nationwide communication. It covers essential information for setup, operation, maintenance, and troubleshooting to ensure optimal performance and a seamless communication experience.
The ALERVITES AT1 features unlimited distance communication via 5G/4G networks, a 2200mAh rechargeable battery, Type-C charging, APP network management, and built-in GPS for real-time location tracking. Its compact and durable design makes it suitable for various applications, including outdoor activities, construction sites, security, and logistics.
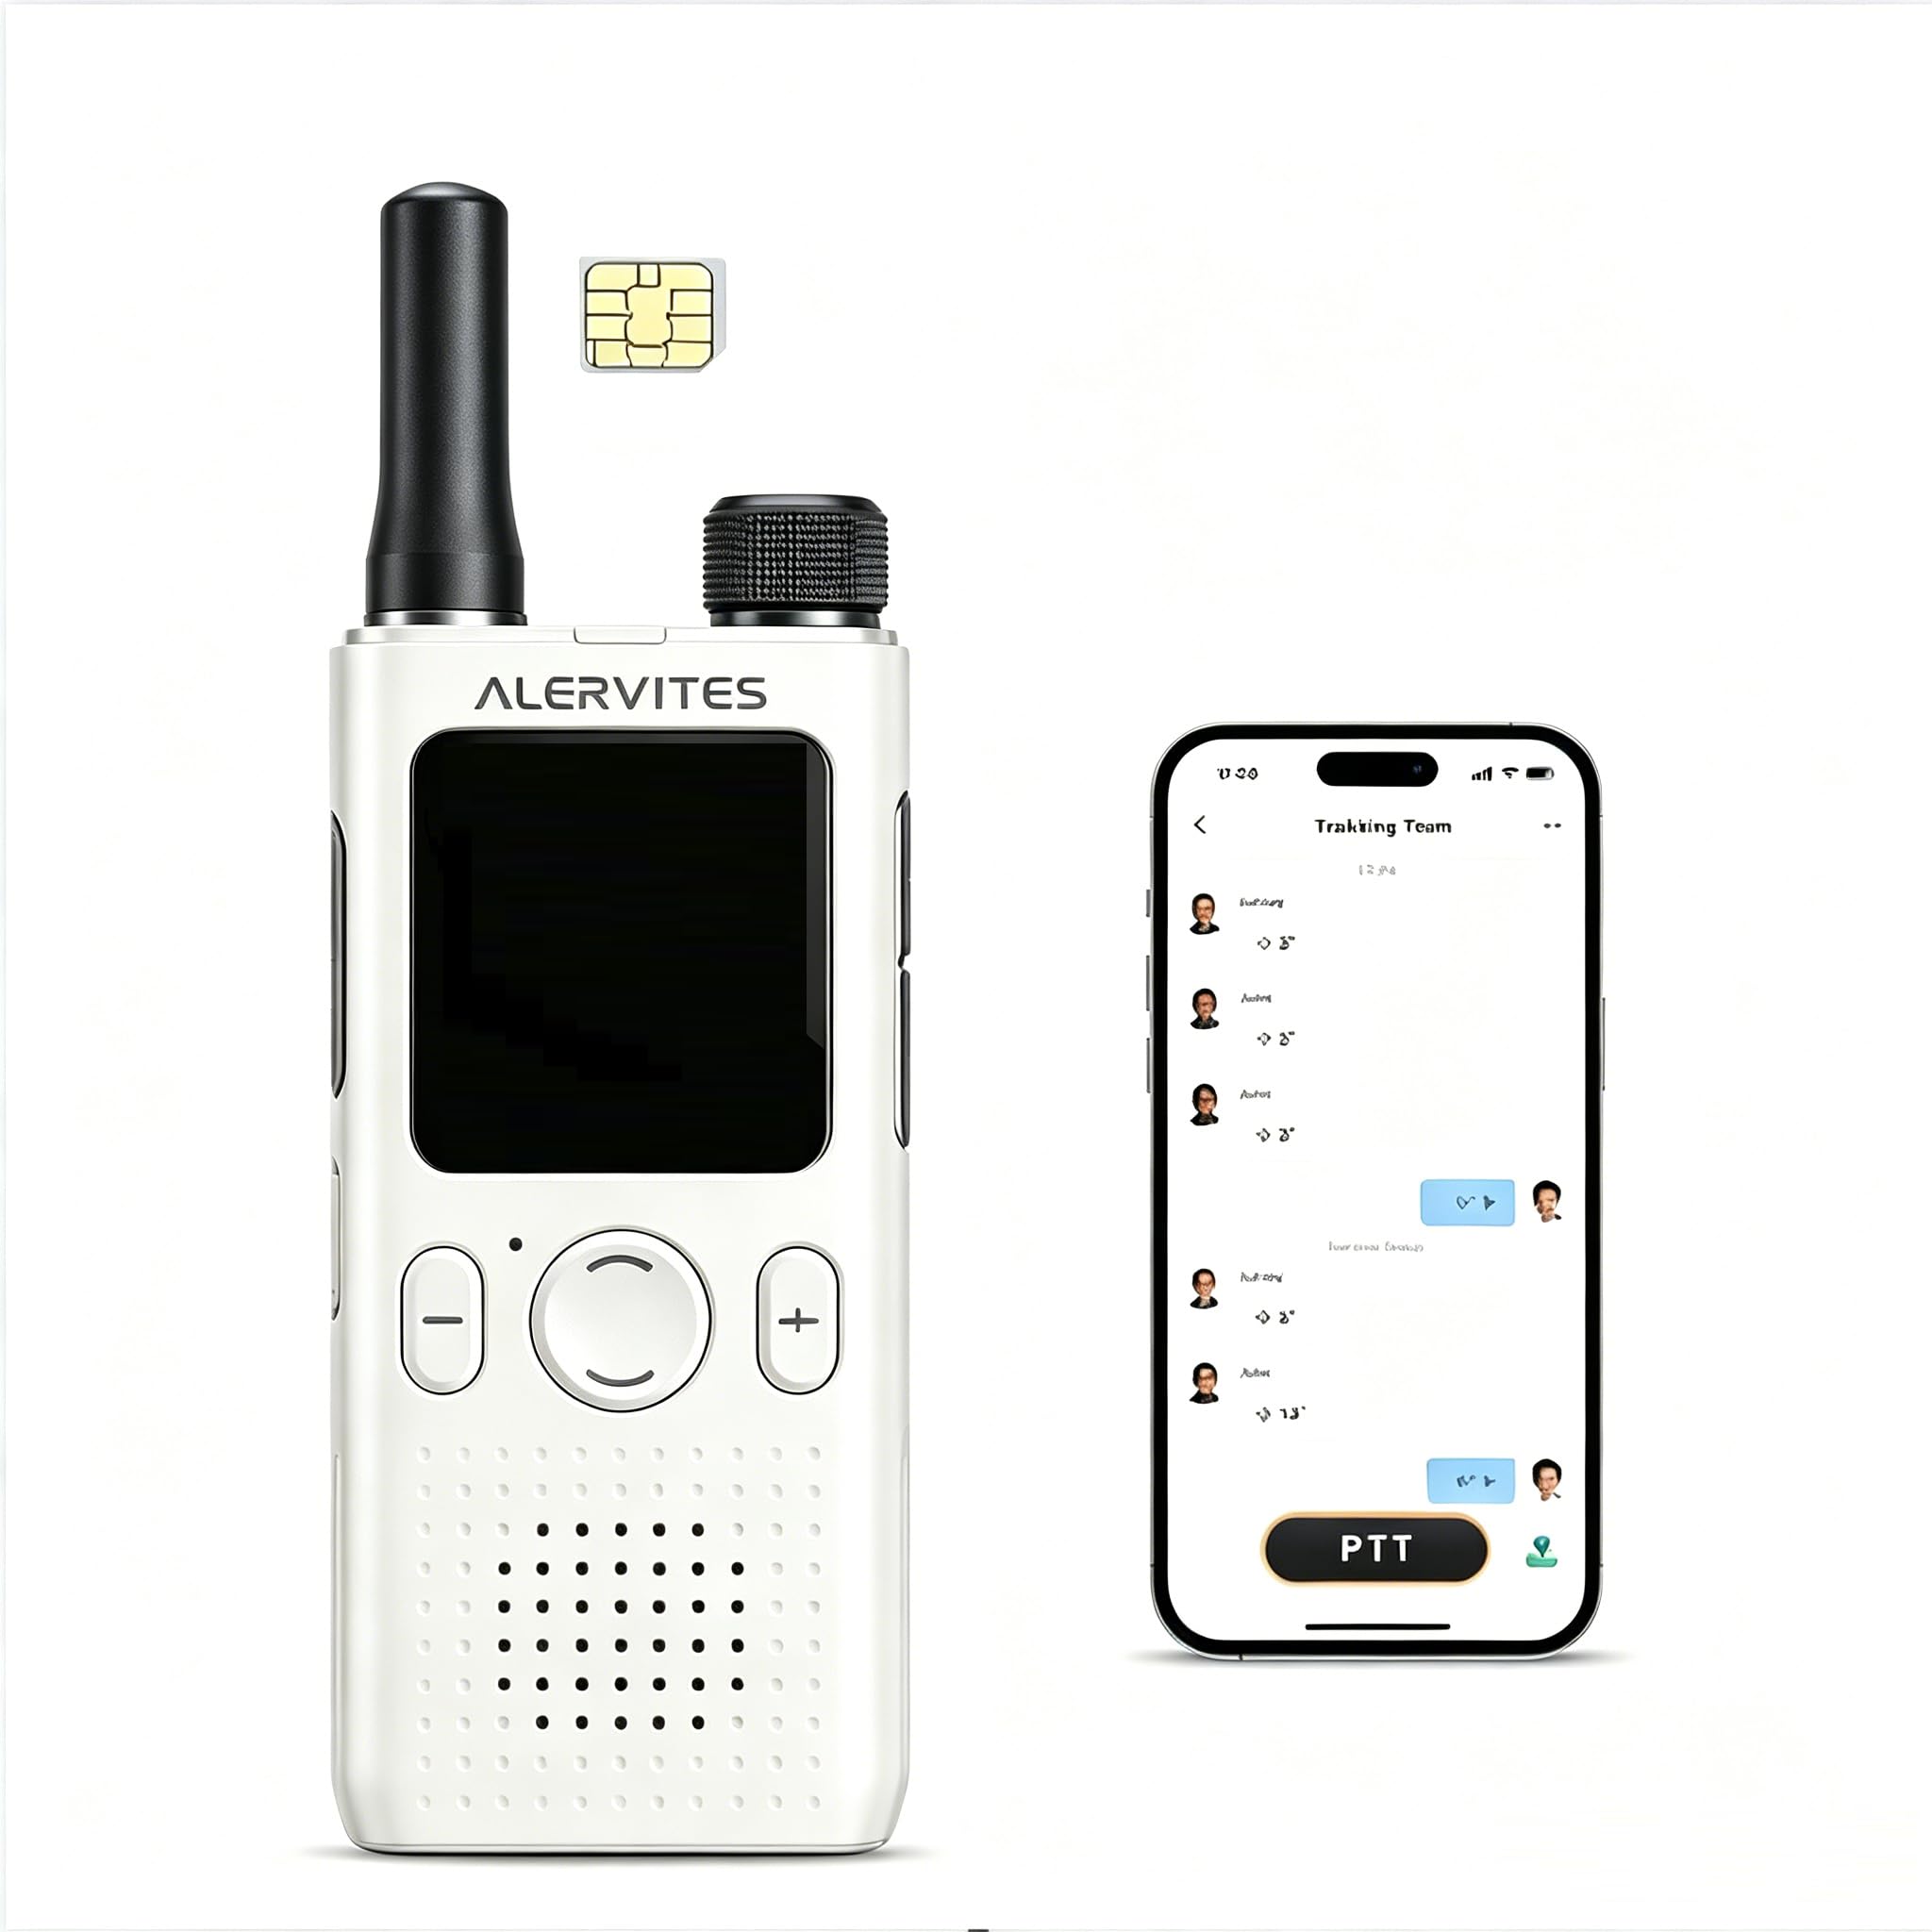
Image: Front view of the ALERVITES AT1 5G POC Radio, showcasing its display and control buttons.
Product Overview
Key Features
- Nationwide Unlimited Range Communication: Utilizes 5G/4G cellular networks for long-distance, stable communication without geographical limits.
- 2200mAh High-Capacity Battery: Provides extended standby and talk time, with convenient Type-C fast charging.
- Smart APP Remote Control & GPS Positioning: Manage channels, groups, and members via a mobile application, and track team locations in real-time.
- Durable and Portable Design: Compact, lightweight body with clear, noise-reduction audio for reliable calls in various environments.

Image: Diagram illustrating the key features of the ALERVITES AT1 POC Network Radio, including nationwide range, app control, self-grouping, multi-carrier support, 2200mAh battery, plug & play, lifetime data, and USB-C charging.
Setup
1. Unboxing and Initial Inspection
Carefully unpack your ALERVITES AT1 radio and check for the following components:
- ALERVITES AT1 Radio Unit
- 2200mAh Rechargeable Battery
- Type-C Charging Cable
- User Manual (this document)
Inspect the device for any visible damage. If any components are missing or damaged, contact customer support.
2. Battery Installation
- Ensure the radio is powered off.
- Locate the battery compartment cover on the back of the radio.
- Slide or unclip the cover to open the compartment.
- Insert the 2200mAh battery, ensuring the contacts align correctly with the terminals inside the compartment.
- Replace the battery compartment cover and secure it.

Image: Back view of the ALERVITES AT1 radio, indicating the area for battery installation.
3. Charging the Battery
Before first use, fully charge the radio's battery.
- Connect the Type-C charging cable to the charging port on the side of the radio.
- Connect the other end of the cable to a compatible USB power adapter (not included) or a computer's USB port.
- The charging indicator on the radio will typically show charging status. Refer to the radio's display for battery level.
- Charging is complete when the indicator changes or the display shows a full battery.

Image: The ALERVITES AT1 radio being charged via its Type-C port, highlighting the long-lasting power features.
4. Powering On/Off
- To Power On: Press and hold the Power button (usually marked with a power symbol) until the screen illuminates.
- To Power Off: Press and hold the Power button until the power-off prompt appears, then confirm.
5. SIM Card and Network Connection
The ALERVITES AT1 radio operates using a cellular network (5G/4G) via a pre-installed SIM card. Typically, no user installation of the SIM card is required. The device should automatically connect to the network upon power-on in an area with cellular coverage.
6. App Pairing and Configuration
The radio supports intelligent management via a mobile application. This app allows for advanced configuration, including channel settings, group management, and real-time GPS tracking.
- Download the official ALERVITES app from your smartphone's app store.
- Follow the in-app instructions to pair your AT1 radio with your smartphone. This usually involves scanning a QR code on the radio's display or entering a device ID.
- Once paired, you can use the app to create and manage communication groups, set individual channels, and monitor the location of other team members using the built-in GPS functionality.

Image: A smartphone displaying the ALERVITES app interface, demonstrating how to manage multiple radio devices, groups, and members.
Operating Instructions
1. Basic Controls
Familiarize yourself with the main controls of your AT1 radio:
- PTT (Push-to-Talk) Button: Located on the side, used to transmit your voice.
- Power Button: For turning the device on/off.
- Menu Button: Accesses the radio's settings and options.
- Shortcut Button: Customizable button for quick access to frequently used functions.
- Navigation Buttons: For scrolling through menus and selecting options.
- Volume Control: Adjusts the speaker volume.

Image: Side view of the ALERVITES AT1 radio, highlighting the PTT button and other side controls.
2. Adjusting Volume
Use the dedicated volume controls (buttons or knob, depending on model variation) to increase or decrease the audio output level. Adjust to a comfortable listening level, especially in noisy environments.
3. Making a Call (Push-to-Talk)
- Ensure the radio is powered on and connected to the network.
- Select the desired channel or group using the menu or app.
- Press and hold the PTT button. Speak clearly into the microphone.
- Release the PTT button when you have finished speaking to listen for a response.
Note: Only one person can speak at a time on a channel or group. Wait for others to finish speaking before pressing your PTT button.
4. Group Calls and One-to-One Calls
The ALERVITES AT1 supports both group and individual calls. These modes are typically managed through the mobile application:
- Group Calls: Communicate with all members assigned to a specific group. Ideal for team coordination.
- One-to-One Calls: Initiate a private conversation with a single contact.
Refer to the mobile app's guide for detailed instructions on switching between call modes and managing contacts.
5. GPS Functionality
The integrated GPS allows for real-time location tracking of team members. This feature is primarily accessed and managed through the ALERVITES mobile application, providing a map interface to view device locations.
Maintenance
1. Cleaning the Radio
- Use a soft, damp cloth to wipe the exterior of the radio.
- Do not use harsh chemicals, solvents, or abrasive cleaners.
- Ensure the charging port and speaker/microphone grilles are free of dust and debris.
2. Battery Care
- Avoid fully discharging the battery frequently.
- Charge the battery in temperatures between 0°C and 45°C (32°F and 113°F).
- If storing the radio for an extended period, charge the battery to approximately 50% and store in a cool, dry place.
3. Firmware Updates
Periodically check for firmware updates through the ALERVITES mobile application. Updates can improve performance, add new features, and resolve known issues. Follow the app's instructions carefully when performing an update.
Troubleshooting
If you encounter issues with your ALERVITES AT1 radio, refer to the following common problems and solutions:
1. Radio Does Not Power On
- Ensure the battery is correctly installed and fully charged.
- Try charging the radio for at least 30 minutes before attempting to power it on again.
2. "Searching for Network" Message
- Move to an area with better cellular signal coverage.
- Restart the radio.
- Verify that the SIM card is active and has data service (if applicable, though the product mentions a lifetime SIM).
3. Cannot Transmit or Receive
- Check if the radio is connected to the network (signal strength indicator).
- Ensure you are on the correct channel or group.
- Verify that the volume is not set to minimum.
4. Audio Quality Issues (e.g., too loud, unclear)
- Adjust the volume to a comfortable level.
- Ensure the microphone and speaker are not obstructed.
- If using the app, check for any audio settings that might be affecting output.
5. Incorrect Time or Date
- The radio typically synchronizes time and date from the network. Ensure a stable network connection.
- If issues persist, try removing and reinserting the battery, then restarting the device.
- Check for time zone settings within the radio's menu or the companion app.
6. App Connectivity Problems
- Ensure Bluetooth (if used for pairing) and internet connectivity are active on your smartphone.
- Restart both the radio and the smartphone app.
- Re-pair the device with the app if necessary.
Specifications
| Feature | Specification |
|---|---|
| Brand | ALERVITES |
| Model | AT1 |
| Connectivity Protocol | 5G (operates on 4G LTE networks) |
| Battery Capacity | 2200mAh |
| Charging Port | Type-C |
| Number of Channels | 1000 |
| Dimensions (Approx.) | Height: 6.1 in (155mm), Width: 2.0 in (50mm), Thickness: 0.6 in (16mm) |
| Weight (Approx.) | 120g |
| Display | 1.77-inch Industrial Display |
| UPC | 771732977525 |

Image: The ALERVITES AT1 radio with its approximate dimensions (height, width, thickness) clearly marked.
Warranty Information
The ALERVITES AT1 radio comes with a manufacturer's warranty. For specific details regarding the warranty period, coverage, and claims process, please refer to the warranty card included with your product or contact ALERVITES customer support directly. Keep your proof of purchase for warranty validation.
Customer Support
If you require further assistance, have questions not covered in this manual, or need technical support, please contact ALERVITES customer service. Contact information can typically be found on the product packaging, the official ALERVITES website, or your purchase documentation.
Product Video Overview
Video: An overview of the ALERVITES AT1 radio, highlighting its features such as lightweight design, slim profile, 1.77-inch display, and Type-C charging. This video provides a visual demonstration of the product's physical attributes and key functionalities.
Documents and downloads
Ask a question about this manual
Ask about setup, troubleshooting, compatibility, parts, safety, or missing instructions. Manuals+ will review the question and use this page’s manual context to help answer it.