
1. Introduction
Thank you for choosing the JALL Digital Calendar Clock, Model CH-12. This clock is designed to clearly display the time, day, date, month, and year, making it ideal for individuals who benefit from easy-to-read displays and helpful reminders. This manual provides detailed instructions to help you set up, operate, and maintain your new clock.
2. Product Overview
2.1 Display Features
The JALL Digital Calendar Clock features a 7-inch high-resolution IPS display, providing clear and vivid colors with wide viewing angles. The time, day, date, month, and year are shown in large, bold letters and numbers for enhanced readability.

Image 2.1.1: The 7-inch display of the JALL Digital Calendar Clock, showing its dimensions and clear time/date presentation.

Image 2.1.2: The clock displaying large, bold letters and numbers for easy readability from a distance.
2.2 Key Features
- Automatic Brightness Adjustment: The display automatically adjusts its brightness based on ambient light conditions (day/night).
- Daily Alarms and Reminders: Set multiple alarms for various daily activities such as medication, appointments, exercises, or meal times.
- Hourly Chime: An optional feature that announces the time every hour.
- Memory Function: All settings are saved automatically and retained even after a power outage.
- Remote Control: For convenient adjustment of settings.

Image 2.2.1: Illustration of the clock's memory function, retaining settings even after power interruptions.
3. Setup
- Unpack: Carefully remove the clock and all accessories from the packaging.
- Power Connection: Plug the provided power adapter into the DC input port on the back of the clock. Then, plug the adapter into a standard electrical wall outlet.
- Initial Power On: The clock will automatically power on and display the default time and date.

Image 3.1: The clock connected to power and being operated with its remote control.
4. Operating Instructions
All settings are adjusted using the included remote control.

Image 4.1: The remote control and the clock's user-friendly settings interface.
4.1 Setting Time and Date
- Press the MENU button on the remote control to access the settings.
- Use the arrow buttons (▲/▼) to navigate to Set Date, Time Mode, or Date Mode.
- Press OK to select an option.
- Use the arrow buttons (◄/►) and number buttons (if available) to adjust the values.
- Press OK to confirm your selection.
- Repeat for all necessary time and date settings.
4.2 Setting Alarms and Reminders
The clock supports multiple daily alarms for various reminders.
- From the main menu, navigate to Alarms.
- Select an alarm slot (e.g., Alarm 1, Alarm 2).
- Set the desired time for the alarm.
- Choose the alarm type or message (e.g., Medicine, Clinic, Exercise, Afternoon Tea).
- Enable or disable the alarm.
- Press OK to save.

Image 4.2.1: Examples of daily alarms and reminders that can be set on the clock.

Image 4.2.2: The clock assisting with various daily routines through its reminder functions.
4.3 Adjusting Brightness
The clock features automatic brightness adjustment. You can also manually adjust it if desired.
- Navigate to Auto Dimming in the settings menu.
- Select On for automatic adjustment or Off for manual control.
- If Off, you may find options to set specific brightness levels for day and night.
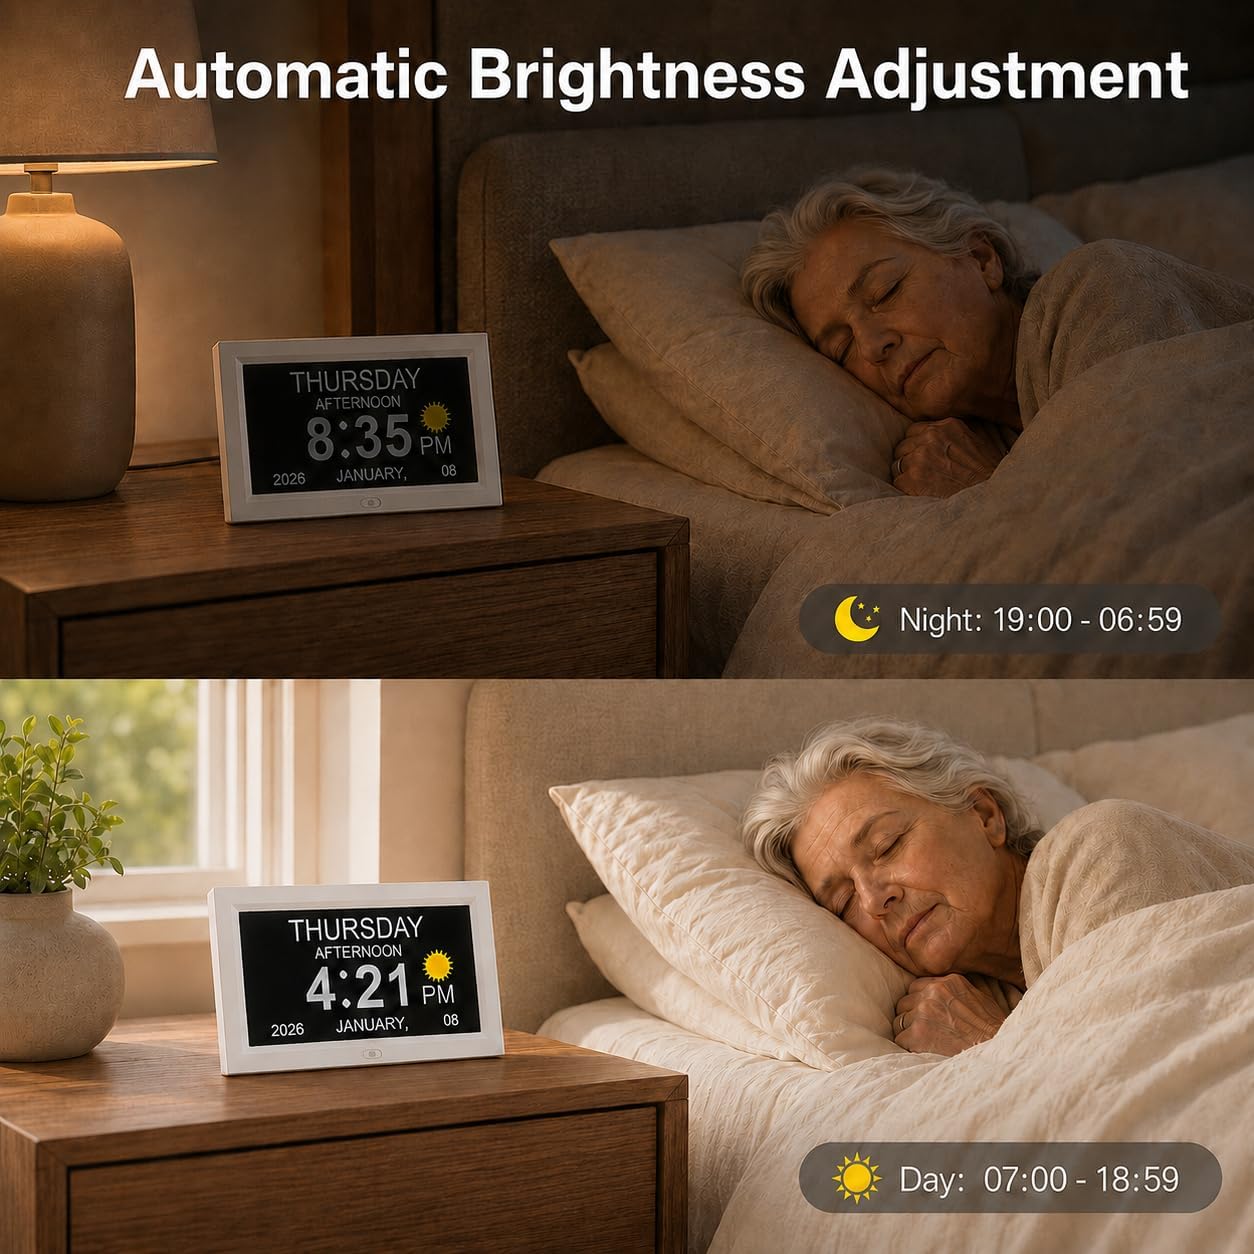
Image 4.3.1: The clock's display automatically adjusting brightness for day and night viewing.
4.4 Language Settings
- Navigate to Language in the settings menu.
- Use the arrow buttons to select your preferred language.
- Press OK to confirm.
4.5 Hourly Chime
The hourly chime feature provides an audible announcement of the time every hour.
- Navigate to Hourly Chime in the settings menu.
- Select On to enable or Off to disable.
- Press OK to confirm.

Image 4.5.1: The hourly chime feature providing gentle time announcements.

Image 4.5.2: The hourly chime feature is beneficial for individuals with impaired vision.
4.6 Color Mode
The clock may offer different display color modes (e.g., white or yellow text).
- Navigate to Color Mode in the settings menu.
- Use the arrow buttons to cycle through available color options.
- Press OK to confirm your selection.
5. Maintenance
- Cleaning: To clean the display and casing, gently wipe with a soft, dry, lint-free cloth. Do not use abrasive cleaners, solvents, or spray directly onto the clock.
- Power: Ensure the clock remains plugged into a stable power source for continuous operation.
- Placement: Place the clock on a stable, flat surface away from direct sunlight, extreme temperatures, and high humidity.
6. Troubleshooting
| Problem | Possible Cause | Solution |
|---|---|---|
| Clock does not turn on. | No power supply. | Check if the power adapter is securely plugged into the clock and the wall outlet. Try a different outlet. |
| Display is too dim or too bright. | Brightness settings are incorrect or automatic dimming is not optimal for environment. | Adjust the brightness settings in the menu. Ensure 'Auto Dimming' is set appropriately for your preference. |
| Alarms are not sounding. | Alarm is disabled or volume is too low. | Check alarm settings to ensure it is enabled and the time is correct. Verify volume settings if applicable. |
| Remote control is not working. | Batteries are dead or remote is not aimed correctly. | Replace remote control batteries. Ensure there are no obstructions between the remote and the clock's sensor. |
7. Specifications
| Feature | Detail |
|---|---|
| Brand | JALL |
| Model Number | CH-12 |
| Screen Size | 7 inches |
| Product Dimensions (W x H) | 7.87"W x 7.09"H |
| Item Weight | 245 g |
| Color | White |
| Power Source | AC Adapter (Plug-in) |

Image 7.1: Detailed dimensions of the JALL Digital Calendar Clock.
8. Warranty and Support
Your JALL Digital Calendar Clock is covered by a manufacturer's warranty. Please refer to the warranty card included in your product packaging for specific terms and conditions. For technical support, troubleshooting assistance, or warranty claims, please contact JALL customer service through the retailer where the product was purchased or visit the official JALL website for contact information.