
Introduction
This manual provides detailed instructions for the installation, operation, and maintenance of your YESYAMO 4MP AOV Outdoor WiFi Surveillance Camera, model C12F AOV. This camera features 4MP resolution, Always On Video (AOV) recording, AI detection with auto-tracking, a 9W solar panel, a 9000mAh battery, PTZ (Pan-Tilt-Zoom) capabilities, and an IP65 weather-resistant design for reliable outdoor security.
Safety Information
- Read all instructions carefully before use and retain for future reference.
- Ensure the camera is installed securely to prevent accidental falls.
- Do not expose the camera or solar panel to extreme temperatures outside the specified operating range.
- Use only the provided or recommended accessories.
- Keep the device away from strong magnetic fields.
- Do not attempt to disassemble or repair the device yourself. Contact customer support for assistance.
Package Contents
Please check the package for the following items:
- YESYAMO 4MP AOV Outdoor WiFi Surveillance Camera
- 9W Solar Panel
- Mounting Bracket and Screws
- USB-C Charging Cable
- User Manual
Product Overview
The YESYAMO C12F AOV camera is designed for comprehensive outdoor surveillance. It features a pan-tilt mechanism for wide coverage, a high-resolution lens, and integrated solar charging.

Key Components:
- Camera Lens: 4MP resolution for clear image capture.
- Infrared LEDs: For black and white night vision.
- Spotlights: For color night vision and alarm illumination.
- Microphone & Speaker: For two-way audio communication.
- Dual Antennas: For stable 2.4GHz Wi-Fi connectivity.
- MicroSD Card Slot: Supports up to 256GB for local storage.
- Reset Button: For factory reset.
- Solar Panel Port: For connecting the solar panel.
- USB-C Charging Port: For alternative power input.
Setup
1. Installation
The camera can be mounted on a wall or ceiling. Choose a location that provides optimal viewing angles and sufficient sunlight exposure for the solar panel.

- Mark the drilling positions using the mounting template.
- Drill holes and insert wall anchors if necessary.
- Attach the mounting bracket to the wall/ceiling using screws.
- Secure the camera to the mounting bracket.
- Mount the solar panel in a location that receives direct sunlight for most of the day and connect its cable to the camera.
2. Power Connection
The camera is primarily powered by its integrated 9000mAh battery, which is continuously recharged by the 9W solar panel. Ensure the solar panel is connected correctly to maintain continuous power.

3. App Download & Connection
To operate the camera, download the YesiHome app on your smartphone (Android or iOS).

- Open the YesiHome app and create an account or log in.
- Tap the '+' icon to add a new device.
- Follow the on-screen instructions to connect the camera via Bluetooth and then to your 2.4GHz Wi-Fi network.

4. MicroSD Card Installation
For local storage, insert a MicroSD card (up to 256GB, sold separately) into the designated slot on the camera. Ensure the camera is powered off before inserting or removing the card.

Operating Instructions
1. Live View & Playback
Access the live feed and recorded footage through the YesiHome app. You can view real-time video and review historical events stored on your MicroSD card or cloud.
2. PTZ Control
The camera offers 355° horizontal pan and 90° vertical tilt, allowing you to adjust the viewing angle remotely via the app for comprehensive coverage.

3. AI Detection & Auto Tracking
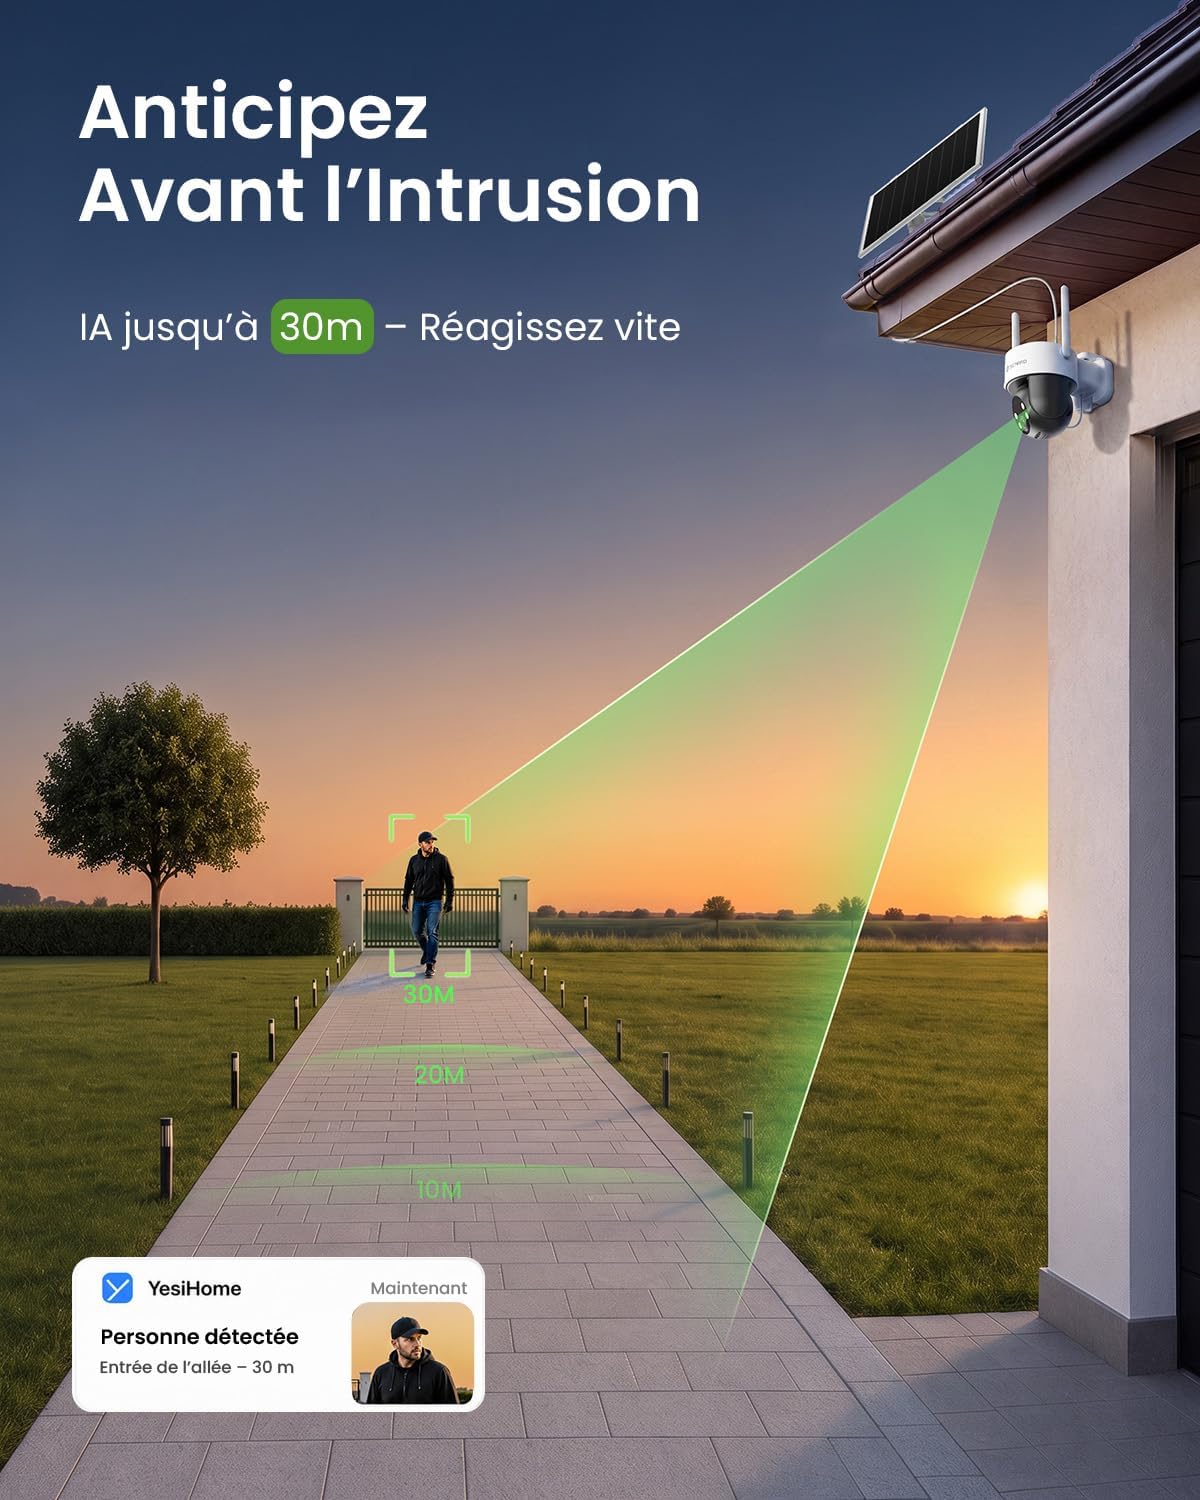
The camera's AI detection identifies people and vehicles up to 30 meters during the day and 25 meters at night. Once a target is detected, the auto-tracking feature manually activated will follow the subject, and the 12x digital zoom will magnify details.


4. AOV (Always On Video) Recording
Unlike traditional PIR cameras, the AOV mode records continuously at 2 frames/second in low power mode, capturing footage before, during, and after an event. When a person or vehicle is detected, it switches to HD video mode, providing a complete sequence of events.

5. Night Vision
The camera provides clear 2.5K 4MP images day and night. It supports color night vision, ensuring visibility in low-light conditions.

6. Alarm Functions
Upon detection of a person or vehicle, the camera can activate a spotlight and siren to deter intruders. You will also receive instant alerts on your smartphone.

7. Two-Way Audio
Communicate with visitors or deter unwanted guests using the built-in microphone and speaker through the YesiHome app.

8. Storage Options
The camera supports local storage via a MicroSD card (up to 256GB) and offers optional cloud storage. After manual activation, a 7-day loop cloud storage for 6-second event clips in standard definition is available.
9. Privacy Zone Settings
You can define specific privacy zones within the camera's field of view to exclude areas from surveillance, ensuring privacy for non-essential areas.

Maintenance
- Cleaning: Regularly clean the camera lens and solar panel with a soft, dry cloth to ensure optimal performance. Avoid abrasive cleaners.
- Solar Panel Check: Periodically check the solar panel for any obstructions (e.g., leaves, dirt) that might reduce its charging efficiency.
- Firmware Updates: Keep the camera's firmware updated through the YesiHome app to access new features and improvements, such as enhanced animal detection.
- Battery Health: The camera features automatic battery heating for cold weather to maintain charging performance. Ensure the camera is exposed to sufficient sunlight for consistent battery health.
Troubleshooting
| Issue | Possible Cause | Solution |
|---|---|---|
| Camera not connecting to Wi-Fi | Incorrect Wi-Fi password; 5GHz Wi-Fi network; camera too far from router. | Ensure correct 2.4GHz Wi-Fi password. Move camera closer to router or use a Wi-Fi extender. |
| Battery not charging | Solar panel obstructed or not receiving direct sunlight; faulty connection. | Clear obstructions from solar panel. Re-position panel for direct sunlight. Check cable connection. |
| No recording or missing footage | MicroSD card full or faulty; cloud storage not activated; detection settings too low. | Check MicroSD card status, format if necessary, or replace. Activate cloud storage. Adjust detection sensitivity. |
| Poor image quality | Lens dirty; poor lighting; network bandwidth issues. | Clean the camera lens. Ensure adequate lighting. Check network speed. |
| Auto-tracking not working | Feature not manually activated; detection zone issues. | Ensure auto-tracking is enabled in the app. Verify detection zones are correctly set. |
Specifications
| Feature | Detail |
|---|---|
| Model Name | C12F AOV |
| Resolution | 4MP (2.5K) |
| Connectivity | 2.4GHz Wi-Fi, Bluetooth |
| Power Source | 9W Solar Panel, 9000mAh Battery |
| PTZ Angles | Pan 355°, Tilt 90° |
| Night Vision | Color Night Vision, 20m Range |
| AI Detection Range | Up to 30m (Day), 25m (Night) |
| Digital Zoom | 12x |
| Storage | MicroSD (up to 256GB), Cloud Storage (optional) |
| Weather Resistance | IP65 |
| Alert Types | Siren, Light, Audio Alert |
| Compatible Devices | Smartphone (Android & iOS) |
| Dimensions | 10 x 10 x 8 cm |
Warranty & Support
Your YESYAMO camera comes with a 2-year warranty. For any installation, network connection, or daily use issues, please contact our technical support team directly through the in-app customer service. Our team will respond within 24 hours with a clear and appropriate solution.


