
VIPEK S2 Pro
Contents
VIPEK S2 Pro 13-Tier Adjustable Shoe Rack Instruction Manual
Model: S2 Pro
1. Introduction
Thank you for choosing the VIPEK S2 Pro 13-Tier Adjustable Shoe Rack. This heavy-duty metal storage solution is designed to organize your footwear efficiently, providing ample space for various shoe types, including boots and high heels. Its robust construction and adjustable design make it a versatile addition to any entryway, closet, or bedroom.
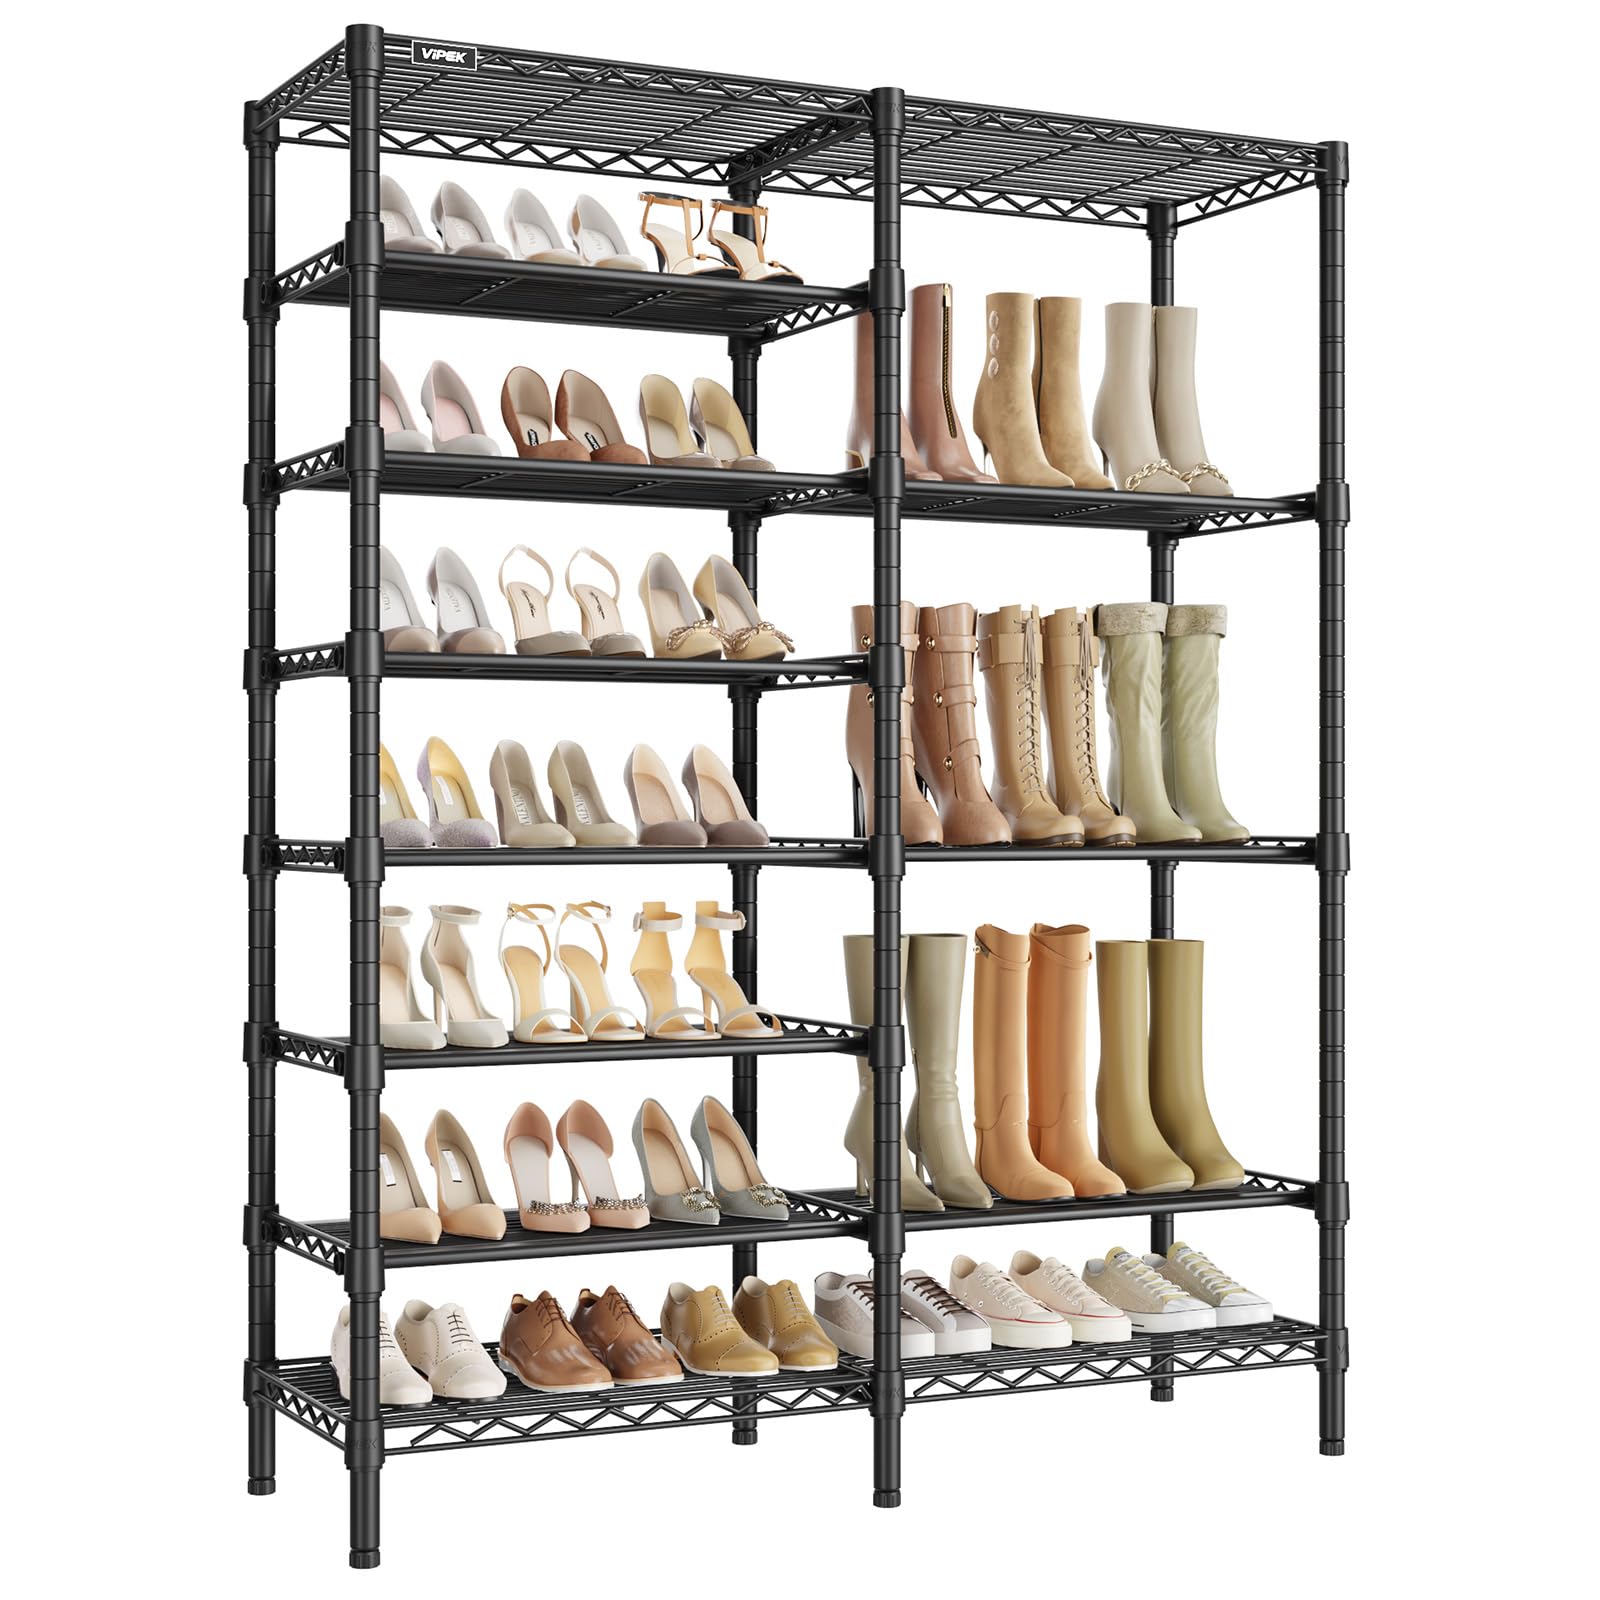
Image 1.1: The VIPEK S2 Pro Shoe Rack installed in an entryway, showcasing its capacity for various shoe types and boots.
2. Safety Information
- Anti-Tip Accessories: Always install the provided anti-tip accessories and secure the shoe rack to the wall. This prevents accidental tipping, especially in households with children or pets.
- Load Capacity: The shoe rack has an overall load capacity of 880 lbs (approximately 399 kg). Do not exceed this weight limit to ensure stability and prevent damage.
- Stable Placement: Ensure the rack is placed on a flat, stable surface. Adjust the leveling feet if necessary to achieve balance.
- Assembly: Follow all assembly instructions carefully. Incorrect assembly can compromise the stability and safety of the unit.
3. Package Contents
Before assembly, verify that all components are present and undamaged. The package includes:
- Vertical Support Poles (various lengths)
- Adjustable Wire Shelves (full-width and half-width)
- Shelf Clips/Sleeves
- Anti-Tip Wall Anchors and Straps
- Leveling Feet
- Assembly Manual (this document)
- Small parts and connectors (e.g., thumbscrews for middle shelves)
Note: Components are typically packed in separate categories for easier identification.
4. Setup and Assembly
Assembly of the VIPEK S2 Pro Shoe Rack is designed to be straightforward and can typically be completed by one person in approximately 15 minutes. No complex tools are required.
4.1. Assembly Steps
- Unpack and Identify Parts: Carefully unpack all components and lay them out. Refer to the parts list in the manual to ensure all pieces are present.
- Assemble Vertical Poles: Connect the pole sections by screwing them together. Ensure they are securely tightened.
- Attach Shelf Clips: Determine your desired shelf heights. Snap the two-piece shelf clips around the vertical poles at the desired grooves. Ensure the "TOP" arrow on each clip points upwards and the ridge aligns with the pole's groove.
- Install Shelves: Slide the wire shelves down over the installed clips. Apply gentle pressure until the shelf corners securely rest on the clips. Ensure the shelf is oriented correctly (e.g., with front and back wires for shoe retention).
- Adjust Shelf Height: To adjust a shelf, lift it off the clips, remove the clips, reposition them at the new desired height, and re-install the shelf.
- Install Anti-Tip Kit: For safety, attach the anti-tip straps to the top of the rack and secure them to a wall stud using the provided hardware.
- Level the Rack: Use the adjustable leveling feet at the bottom of the poles to ensure the rack stands firmly and without wobbling on uneven surfaces.

Image 4.1: Visual guide for assembling and adjusting the shelves, highlighting clip placement and shelf direction.
4.2. Multi-Style Assembly
The VIPEK S2 Pro allows for flexible configuration. You can adjust the number of shelves and their spacing to accommodate different shoe heights, including tall boots. The design supports creating varied shelf layouts to suit your specific storage needs.

Image 4.2: Example of multiple installation options, demonstrating how units can be combined or configured differently.
5. Operating Instructions (Usage)
The VIPEK S2 Pro Shoe Rack is designed for efficient and versatile storage.
5.1. Shoe Placement and Organization
- Adjustable Tiers: Utilize the 11 adjustable tiers to create custom spacing for different shoe types. Remove a shelf to create taller sections for boots or high-top sneakers.
- Heel Retention: The shelves feature extra front and back wire guards to prevent high heels, slippers, or smaller shoes from slipping through gaps, ensuring secure storage.
- Capacity: The double-column design can store approximately 39-45 pairs of adult shoes, depending on shoe size and configuration.

Image 5.1: Detail of the upgraded shelf design, illustrating how the wire spacing securely holds high heels.

Image 5.2: The rack configured with varying shelf heights to accommodate different types of footwear, including tall boots.
5.2. Multi-Scene Application
This shoe rack is suitable for various locations:
- Entryway: Keep daily footwear organized and easily accessible.
- Bedroom/Closet: Store seasonal shoes or expand your existing closet storage.
- Balcony/Storage Room: Can also be used for general storage of items like potted plants or storage boxes, maximizing vertical space.

Image 5.3: The shoe rack integrated into a bedroom, showing its capacity for shoes and other items like storage boxes.
6. Maintenance
To ensure the longevity and appearance of your VIPEK S2 Pro Shoe Rack, follow these simple maintenance guidelines:
- Cleaning: Wipe down the metal surfaces with a soft, damp cloth. Avoid abrasive cleaners or harsh chemicals that could damage the powder-coated finish.
- Rust and Scratch Resistance: The high-temperature powder-coated finish is designed to resist scratches and moisture, maintaining its appearance over time.
- Regular Checks: Periodically check all connections and screws to ensure they remain tight. Re-tighten if necessary.
- Relocation: If relocating the rack, disassemble it partially or fully to prevent stress on the joints and potential damage.
7. Troubleshooting
If you encounter any issues with your VIPEK S2 Pro Shoe Rack, consider the following common solutions:
- Wobbling/Instability:
- Ensure all pole connections are securely tightened.
- Verify that all shelf clips are properly seated in the pole grooves and the shelves are resting evenly.
- Adjust the leveling feet at the base of the poles to compensate for uneven flooring.
- Confirm the anti-tip kit is correctly installed and secured to the wall.
- Difficulty Assembling:
- Review the assembly instructions carefully, paying attention to the direction of shelf clips and shelves.
- Ensure you are using the correct parts for each step, as components are categorized.
- Shelves Not Holding Weight:
- Check that the shelf clips are fully snapped into place and the shelf is resting firmly on them.
- Ensure the total weight on the rack does not exceed the 880 lbs (399 kg) load capacity.
If problems persist, please contact VIPEK customer support for further assistance.
8. Specifications
| Brand | VIPEK |
| Model Number | S2 Pro |
| Product Dimensions (L x W x H) | 46.3" x 15.7" x 76.4" (117.6 cm x 39.9 cm x 194.1 cm) |
| Item Weight | 43 lbs (19.5 kg) |
| Load Capacity | 880 lbs (399.16 kg) |
| Number of Tiers/Shelves | 13-Tier design (11 adjustable shelves) |
| Material | Metal Carbon Steel |
| Finish Type | Powder Coated |
| Color | Black |
| Installation Type | Free Standing (with anti-tip wall attachment recommended) |
| Assembly Required | Yes |

Image 8.1: Detailed product dimensions including height, width, and depth, along with the weight capacity.
9. Warranty and Support
For warranty information, product support, or to inquire about replacement parts, please contact VIPEK customer service through the retailer where the product was purchased or visit the official VIPEK website.
Please have your model number (S2 Pro) and purchase details available when contacting support.
Ask a question about this manual
Ask about setup, troubleshooting, compatibility, parts, safety, or missing instructions. Manuals+ will review the question and use this page’s manual context to help answer it.