
1. Introduction
This manual provides essential instructions for the installation, operation, and maintenance of your new MilleLoom 33x22x10 Inch Stainless Steel Single Bowl Kitchen Sink. Crafted from high-quality T-304 stainless steel with a durable 16-gauge construction, this sink is designed for longevity and performance. Please read these instructions thoroughly before beginning installation or use to ensure proper function and safety.
2. Safety Instructions
- Always wear appropriate personal protective equipment, such as safety glasses and gloves, during installation.
- Ensure the water supply is turned off before disconnecting any plumbing or beginning installation.
- Handle the sink with care to avoid scratches or damage to the finish.
- If you are unsure about any step of the installation process, consult a qualified plumber or professional installer.
- Do not use harsh chemicals or abrasive cleaning tools on the sink surface, as this can damage the finish.
3. Package Contents
Verify that all components are present and undamaged before proceeding with installation:
- MilleLoom 33x22x10 Inch Stainless Steel Single Bowl Kitchen Sink
- Bottom Grid
- Drain Assembly with Basket Strainer
- Installation Hardware (clips, sealant, etc. - specific items may vary)
4. Specifications
| Feature | Specification |
|---|---|
| Brand | MilleLoom |
| Model Number | JX-PHO_14YA24NZb3RCSeq |
| Overall Dimensions (L x W x D) | 32.99" x 22" x 10" (33x22x10 Inch) |
| Installation Type | Drop-in (Top Mount) / Undermount (Versatile) |
| Material | T-304 Stainless Steel |
| Gauge | 16-Gauge |
| Rim Thickness | 2.0 cm |
| Wall Thickness | 1.0 mm |
| Bowl Depth | 10 inches |
| Item Weight | 31.4 Pounds |
| Drain Type | Grid |
| Finish | Brushed |
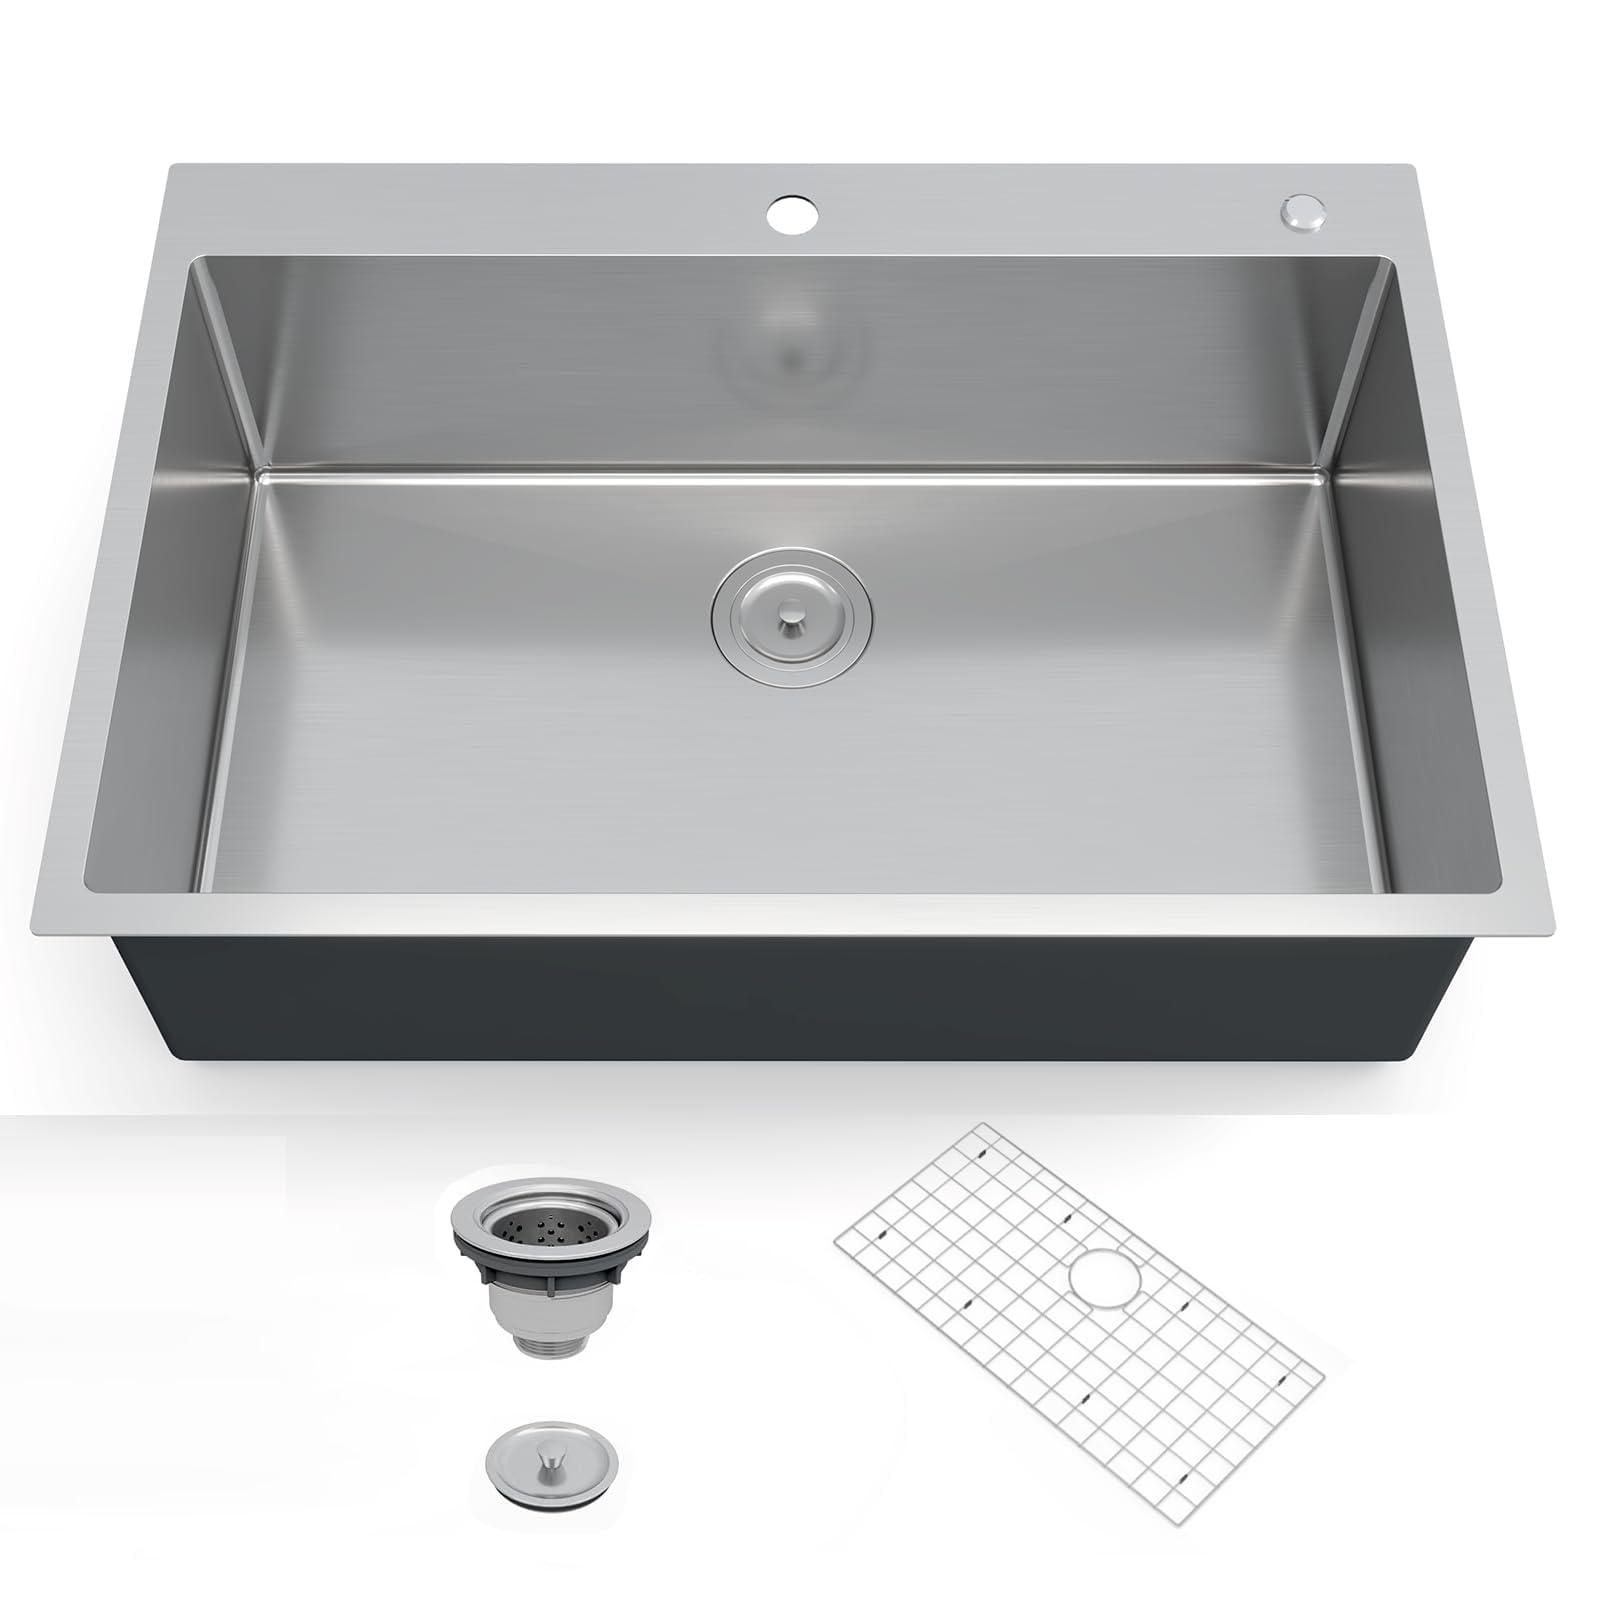
Image: Top, front, and side views of the MilleLoom kitchen sink, illustrating its 33-inch length, 22-inch width, and 10-inch depth, along with detailed drain and corner radius measurements.
5. Setup and Installation
5.1 Pre-Installation Checks
- Inspect the sink for any damage before installation.
- Ensure you have all necessary tools: safety glasses, gloves, sealant, screwdriver, wrench, jigsaw (for countertop cut-out), measuring tape, pencil.
- Confirm cabinet dimensions are suitable for the 33x22 inch sink.
5.2 Countertop Preparation (for Drop-in Installation)
- Place the sink upside down on the countertop in the desired location.
- Trace the outer edge of the sink onto the countertop with a pencil.
- Measure and mark an inner line, typically 0.5 to 1 inch inside the traced line, to create the cut-out template. Refer to the sink's specific template if provided.
- Carefully cut along the inner line using a jigsaw.
- Clean the cut edges and apply sealant if necessary to protect against moisture.
5.3 Sink Mounting
- Apply a bead of silicone sealant around the perimeter of the sink opening on the countertop.
- Carefully lower the sink into the opening, ensuring it is properly aligned.
- From underneath the countertop, attach the mounting clips to the sink rim and tighten them evenly to secure the sink. Do not overtighten.
- Wipe away any excess sealant immediately.
5.4 Drain Assembly Installation
- Apply plumber's putty or silicone sealant around the flange of the drain assembly.
- Insert the drain flange into the sink's drain opening from the top.
- From underneath the sink, attach the rubber gasket, friction washer, and locknut to the drain body.
- Tighten the locknut securely with a wrench.
- Connect the P-trap and other plumbing components to the drain assembly according to local plumbing codes.
5.5 Faucet Installation (if applicable)
If installing a faucet, follow the manufacturer's instructions for your specific faucet model. Typically, this involves:
- Mounting the faucet to the designated hole on the sink or countertop.
- Connecting the hot and cold water supply lines.
- Connecting the sprayer hose (if applicable).
5.6 Water Supply Connection and Leak Test
- Once all plumbing connections are made, slowly turn on the main water supply.
- Check all connections for leaks. Tighten any leaking connections as needed.
- Run water into the sink and check the drain for proper function and any leaks.
6. Operating (Usage)
Your MilleLoom kitchen sink is designed for efficient and comfortable use. The spacious 10-inch deep single bowl accommodates large pots and pans, minimizing splashing.
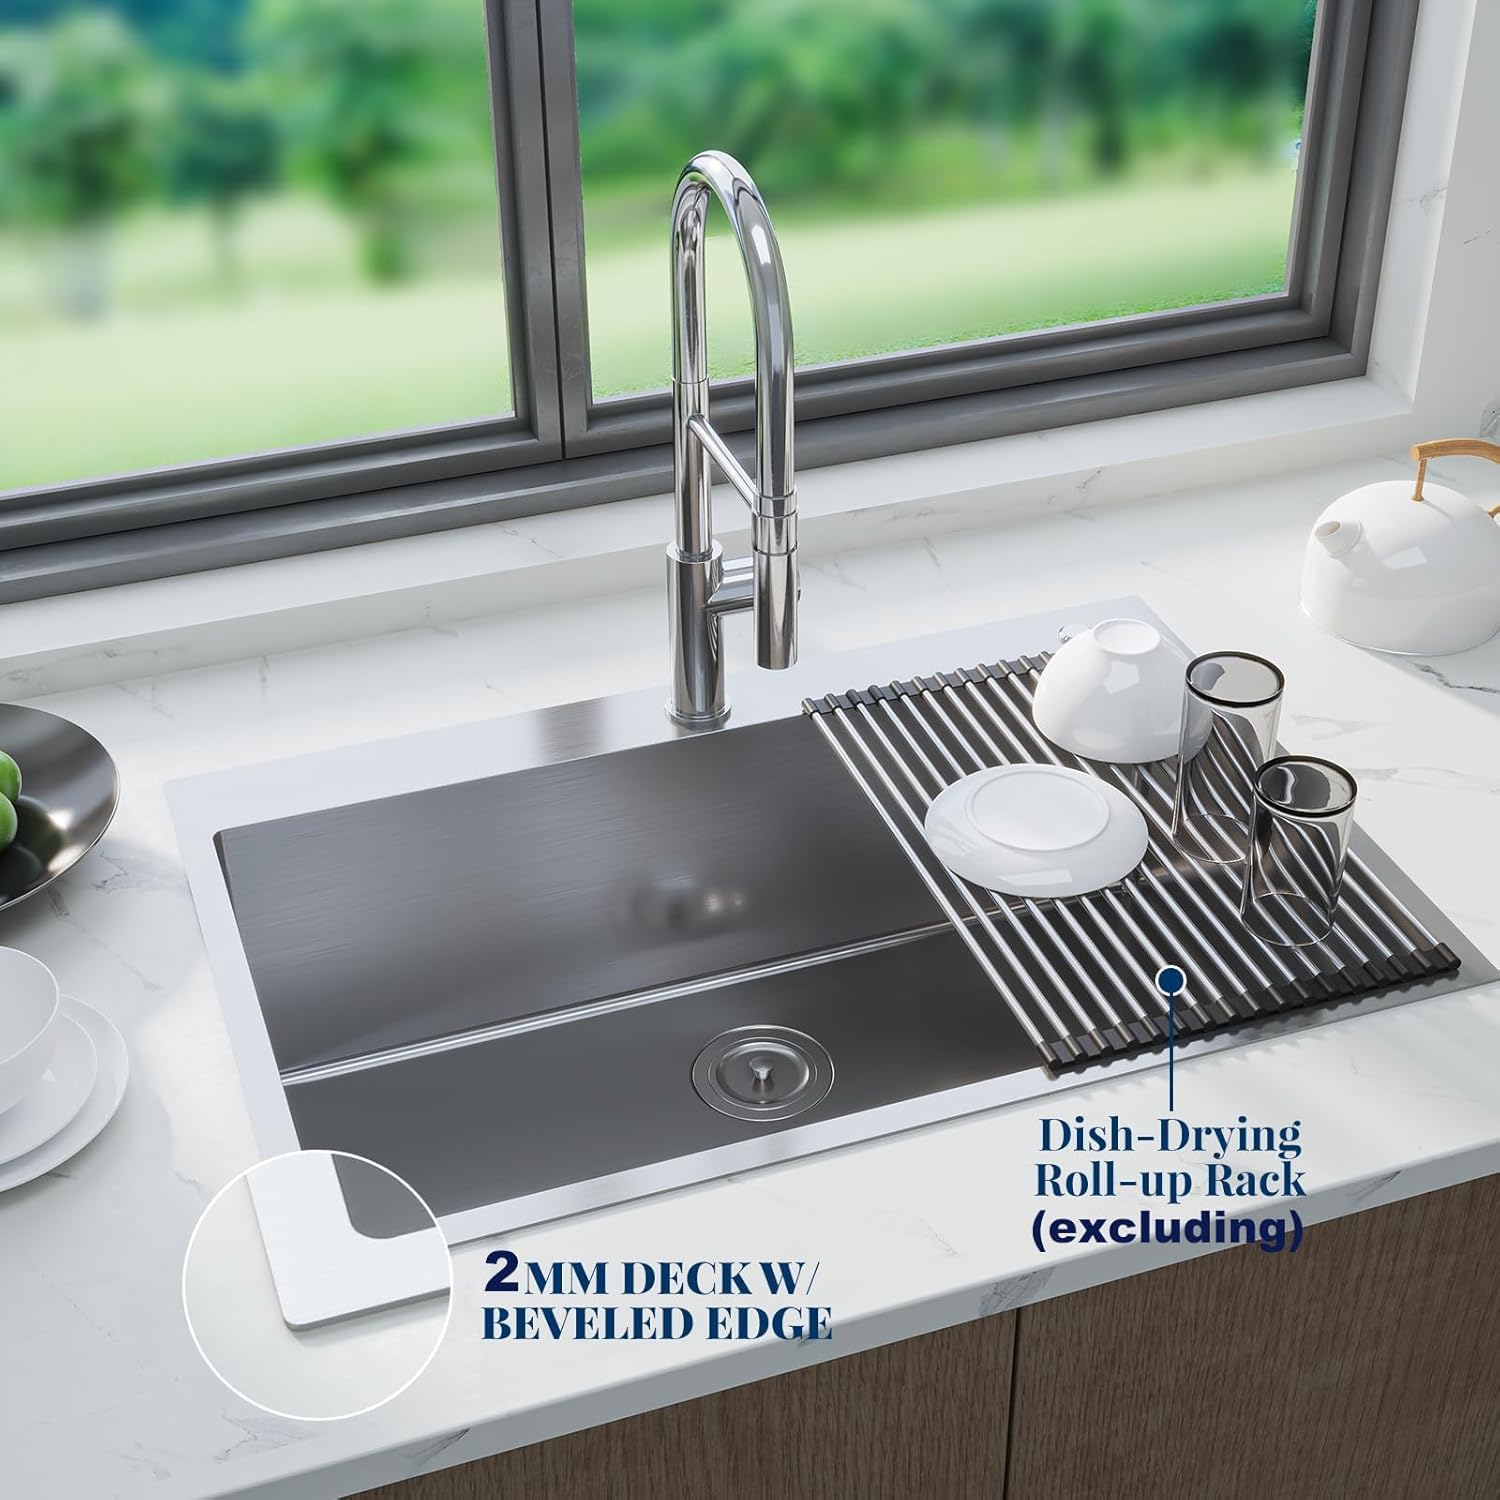
Image: The spacious single bowl design of the sink, demonstrating its capacity to hold multiple large kitchen items like pots and pans, with dimensions of 33" bowl length, 22" bowl width, and 10" bowl depth.
- Bottom Grid: Utilize the included bottom grid to protect the sink's surface from scratches and allow water to drain freely beneath dishes.
- Drain Assembly: The basket strainer in the drain assembly effectively catches food debris, preventing clogs in your plumbing. Empty it regularly.
- Sound Dampening: The integrated sound-absorbing pads and anti-condensation undercoating reduce noise from running water and clattering dishes, contributing to a quieter kitchen environment.

Image: A multifunction kitchen sink setup, showcasing a colander and a roll-up drying rack positioned over the sink, highlighting its versatility and accessory compatibility.
7. Maintenance
Proper care will ensure your MilleLoom stainless steel sink maintains its appearance and functionality for years.
- Daily Cleaning: After each use, rinse the sink thoroughly with water to remove food particles and residue. Wipe dry with a soft cloth to prevent water spots.
- Regular Cleaning: Use a mild dish soap and a soft sponge or cloth to clean the sink. For stubborn stains, a non-abrasive stainless steel cleaner can be used, always rubbing in the direction of the grain.
- Avoid: Do not use steel wool, abrasive scrubbers, bleach, ammonia-based cleaners, or harsh chemicals, as these can scratch or damage the stainless steel finish.
- Preventing Scratches: Always use the provided bottom grid to protect the sink base from heavy pots and sharp objects.
- Water Spots: The brushed finish helps resist water spots. To minimize them further, wipe the sink dry after each use. For existing spots, a solution of vinegar and water can be used, followed by rinsing and drying.

Image: Close-up views of key sink features: X-shaped diversion waterlines for efficient drainage, round corners for easy cleaning, and a bottom slope design to prevent water pooling. Also highlights the 16-gauge stainless steel construction.
8. Troubleshooting
8.1 Slow Drainage
- Cause: Clogged drain or P-trap.
- Solution: Remove the basket strainer and clear any debris. If the issue persists, inspect the P-trap for blockages.
8.2 Water Spots or Stains
- Cause: Hard water deposits or mineral buildup.
- Solution: Clean with a solution of equal parts white vinegar and water. Apply, let sit for a few minutes, then rinse thoroughly and dry with a soft cloth.
8.3 Excessive Noise During Use
- Cause: Improper installation, loose mounting clips, or damaged sound-dampening pads.
- Solution: Ensure all mounting clips are securely tightened. Verify the sink is properly seated and sealed to the countertop. The sink is equipped with thick sound-absorbing pads and anti-condensation undercoating to minimize noise.

Image: An illustration of the sink's underside, highlighting the full anti-condensation undercoating to prevent moisture and the 3mm thick sound-absorbing pads designed to reduce noise and vibration.
9. Warranty and Support
MilleLoom stands behind the quality of its products. For specific warranty details, product support, or to report any issues, please refer to the warranty information provided at the time of purchase or contact MilleLoom customer service directly. Keep your purchase receipt as proof of purchase.