
1. Introduction
This manual provides essential information for the safe and efficient use of your OTVOC V10 Max 10.5-inch Tablet. Please read it thoroughly before operating the device and retain it for future reference.
2. Product Overview
2.1 Key Features
- Processor: High-performance Unisoc T616 8-core CPU (up to 1.8GHz) with Mali-G57 GPU for smooth multitasking and graphics.
- Memory & Storage: 16GB RAM (8GB physical + 8GB virtual) and 256GB internal storage, expandable up to 1TB via microSD card.
- Display: 10.5-inch FHD+ (1920x1200) In-Cell IPS display with 400cd/m² brightness and 178° viewing angle. Widevine L1 support for HD streaming.
- Battery: 7500mAh large-capacity battery, providing up to 6 hours of continuous video playback.
- Cameras: 13MP rear camera and 8MP front camera with face recognition support.
- Connectivity: 4G LTE SIM card slot, 2.4G/5G dual-band Wi-Fi, Bluetooth 5.0, and GPS/Glonass/Beidou.
- Operating System: Android 13.
2.2 Package Contents
- OTVOC V10 Max Tablet
- Charger
- User Manual
3. Setup
3.1 Initial Charging
Before first use, fully charge the tablet using the provided charger and USB-C cable. The charging port is located on the side of the device.

Image: The OTVOC V10 Max tablet highlighting its 7500mAh battery capacity and Type-C charging port.
3.2 Powering On/Off
- To Power On: Press and hold the Power button until the screen lights up.
- To Power Off: Press and hold the Power button, then select 'Power off' from the options on the screen.
3.3 SIM Card and MicroSD Card Installation
Locate the SIM/microSD card tray on the side of the tablet. Use the ejector tool (not included, but typically a small pin) to open the tray. Insert your 4G LTE SIM card and/or microSD card into the designated slots, ensuring correct orientation. Close the tray securely.
3.4 Initial Configuration
Upon first power-on, follow the on-screen prompts to set up your tablet. This includes selecting your language, connecting to a Wi-Fi network, and signing in with your Google account.
4. Operating Instructions
4.1 Basic Navigation
The tablet uses a touch-sensitive screen for navigation. Use gestures such as tapping, swiping, pinching, and spreading to interact with applications and content.
4.2 Wi-Fi Connection
- Go to Settings > Network & internet > Wi-Fi.
- Toggle Wi-Fi On.
- Select your desired network from the list and enter the password if prompted.
4.3 Bluetooth Pairing
- Go to Settings > Connected devices > Bluetooth.
- Toggle Bluetooth On.
- Ensure the device you wish to pair is in pairing mode.
- Select the device from the list to pair.
4.4 Using 4G LTE
If a 4G LTE SIM card is installed, mobile data will be available. You can manage mobile data settings under Settings > Network & internet > Mobile network. Note that SIM card compatibility may vary by region and carrier. For Japan, SoftBank is fully supported, NTT Docomo is recommended for urban areas, while KDDI (au) and Rakuten Mobile are not recommended or have limited urban-only support.

Image: The OTVOC V10 Max tablet demonstrating its versatile connectivity features, including 4G LTE, Bluetooth 5.0, dual-band Wi-Fi, and GPS.
4.5 Camera Usage
Open the Camera application to take photos or record videos. The tablet features an 8MP front camera for selfies and video calls, and a 13MP rear camera for general photography.

Image: Close-up view of the OTVOC V10 Max tablet's camera modules, indicating an 8MP front camera and a 13MP rear camera.
4.6 Media Playback
The 10.5-inch FHD+ IPS display provides a clear and vibrant viewing experience. With Widevine L1 support, you can stream high-definition content from services like Amazon Prime Video, Netflix, YouTube, and Disney+.
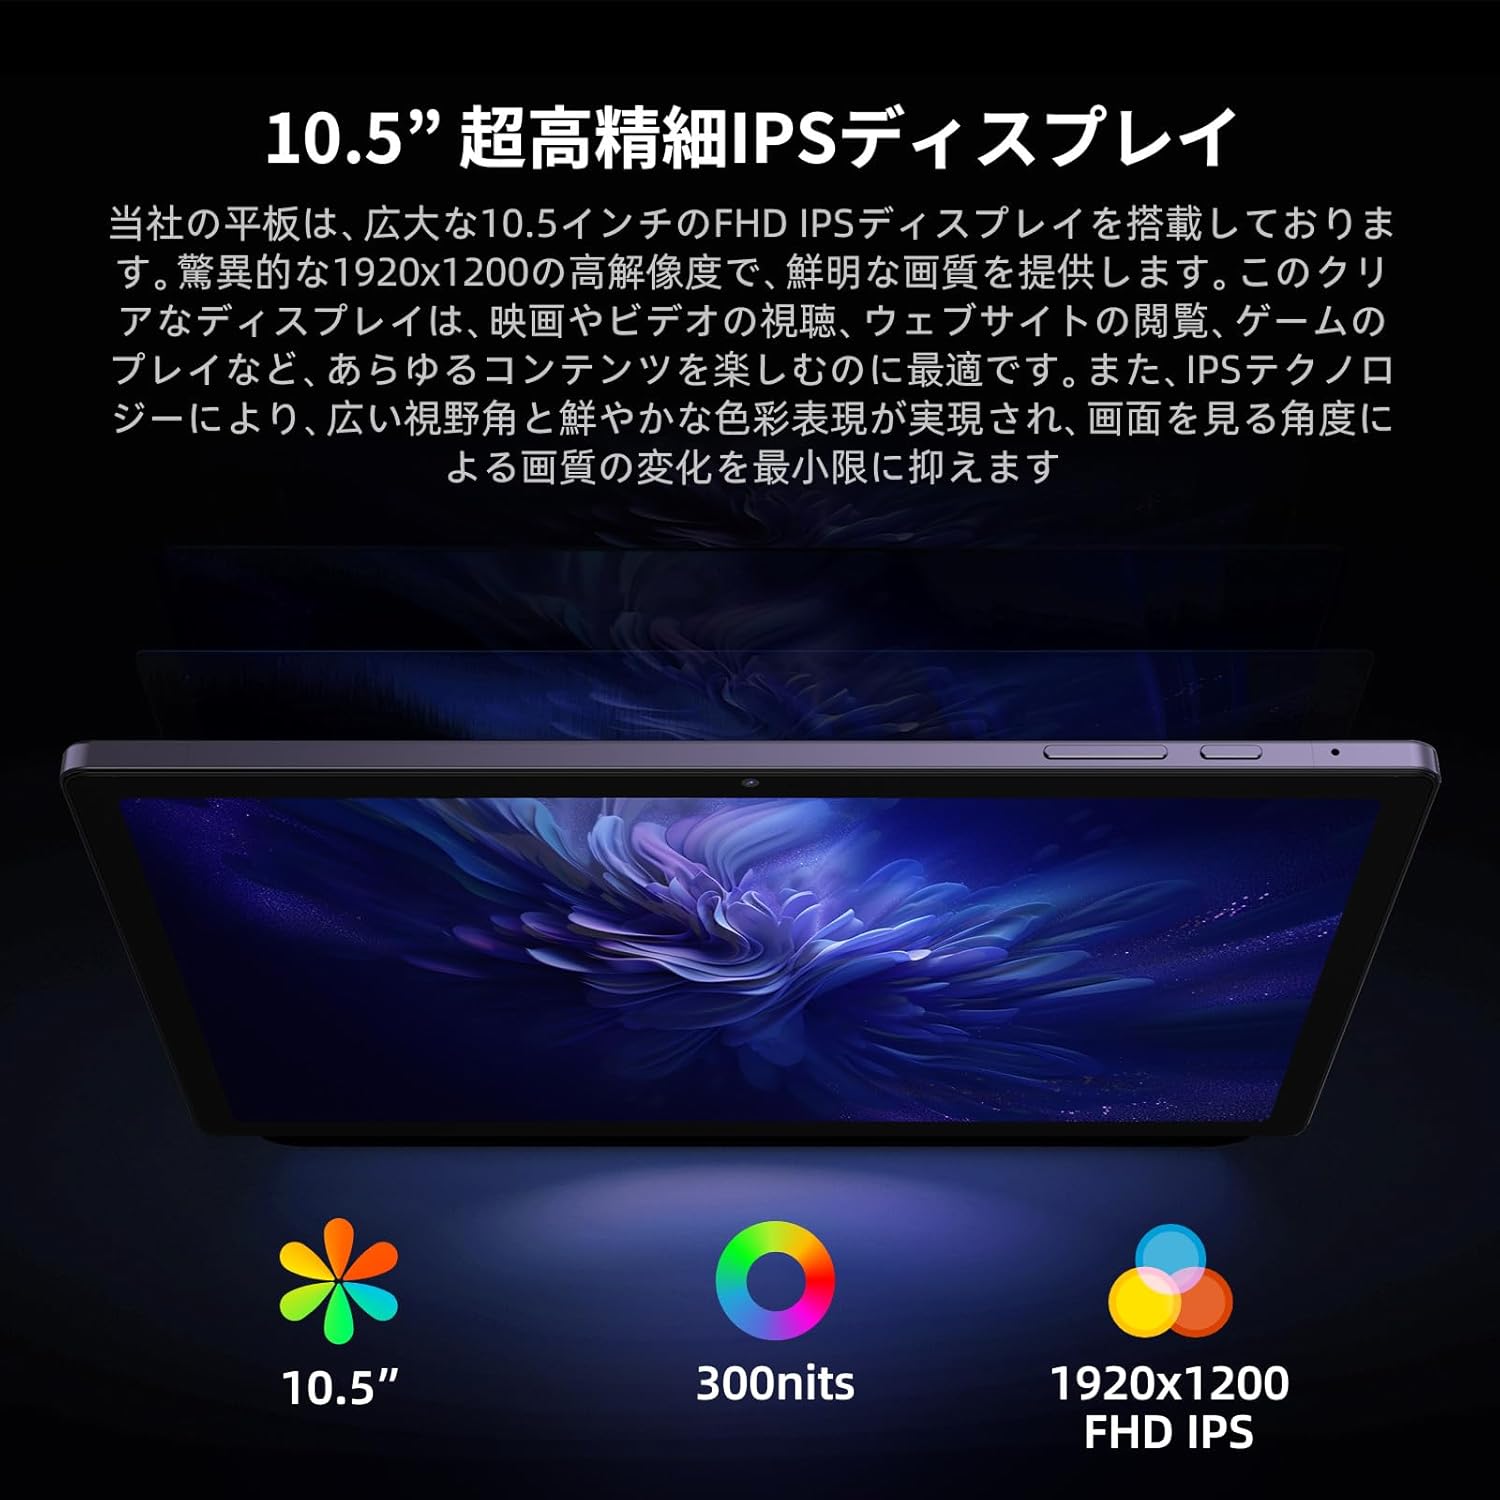
Image: The OTVOC V10 Max tablet showcasing its 10.5-inch Ultra High Definition IPS display with 1920x1200 resolution, emphasizing wide viewing angles and vibrant colors.
4.7 Face Recognition
Set up face recognition for convenient and secure unlocking of your tablet. Go to Settings > Security & privacy > Face unlock and follow the instructions.
5. Maintenance
5.1 Cleaning
Use a soft, lint-free cloth to clean the screen and body of the tablet. Avoid using harsh chemicals or abrasive materials that could damage the surface.
5.2 Battery Care
- Avoid exposing the tablet to extreme temperatures.
- Do not allow the battery to fully discharge frequently.
- Use only the provided charger or a certified compatible charger.
5.3 Software Updates
Regularly check for and install software updates to ensure optimal performance and security. Go to Settings > System > System update.
5.4 Storage Management
To maintain performance, periodically clear unnecessary files and applications. You can expand storage with a microSD card up to 1TB.

Image: The OTVOC V10 Max tablet illustrating its memory and storage capabilities, including 16GB RAM, 256GB internal storage, and support for up to 1TB microSD expansion.
6. Troubleshooting
6.1 Tablet Not Turning On
- Ensure the battery is charged. Connect the charger and wait a few minutes before attempting to power on.
- Press and hold the Power button for at least 10-15 seconds to force a restart.
6.2 Slow Performance
- Close unused applications running in the background.
- Clear cache data from apps in Settings > Apps.
- Ensure sufficient free storage space.
- Restart the tablet.
6.3 Wi-Fi/Bluetooth Connectivity Issues
- Toggle Wi-Fi/Bluetooth off and on again.
- Restart your router/modem for Wi-Fi issues.
- Forget the network/device and try reconnecting.
6.4 Apps Crashing
- Clear the app's cache and data in Settings > Apps.
- Update the app to the latest version from the Google Play Store.
- Uninstall and reinstall the app.
7. Specifications
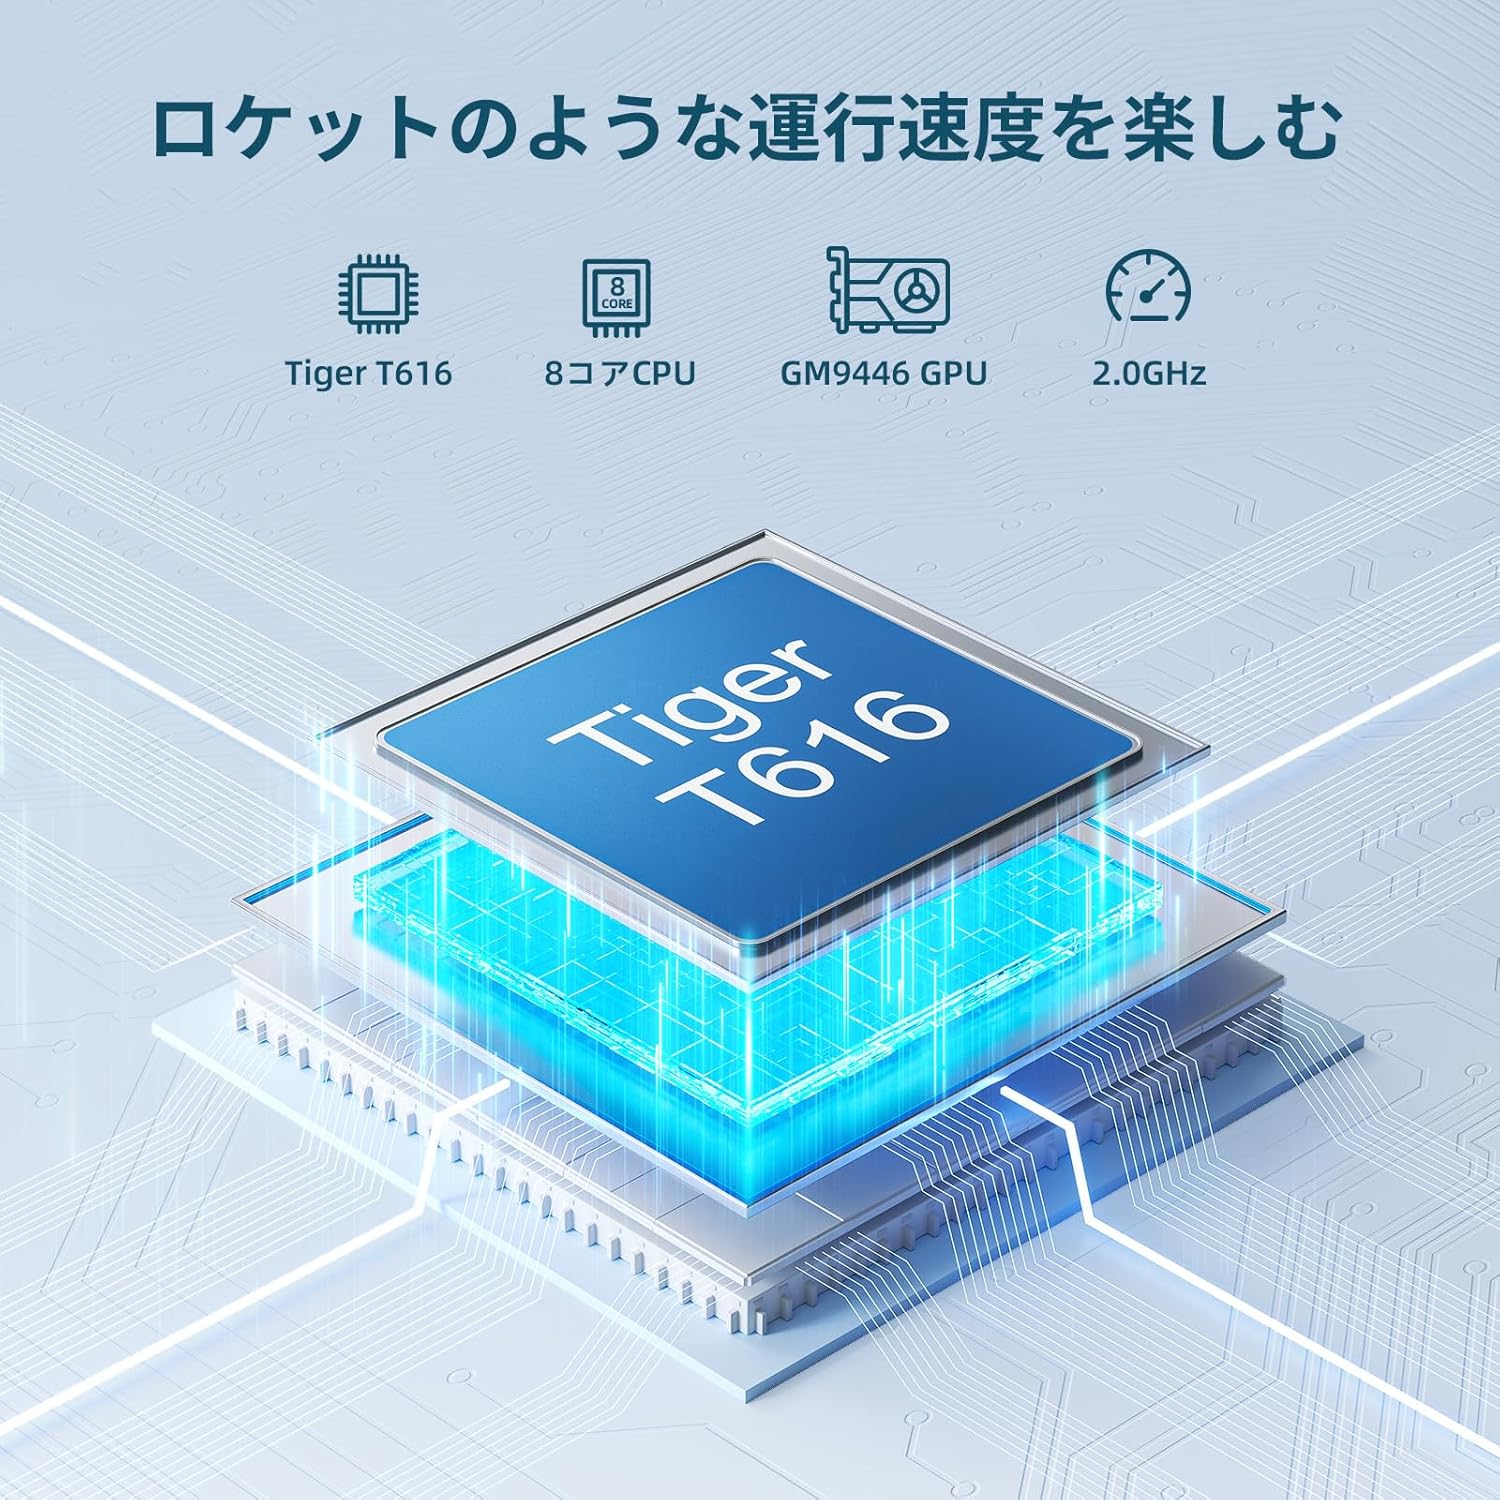
Image: A diagram illustrating the internal components of the OTVOC V10 Max tablet, focusing on the Unisoc Tiger T616 8-core CPU and its associated GPU for high performance.
| Feature | Detail |
|---|---|
| Brand | OTVOC |
| Model Name | V10 Max |
| Operating System | Android 13 |
| Processor | Unisoc T616 8-core CPU (up to 1.6 GHz) |
| GPU | Mali-G57 MP1 GPU |
| RAM | 16 GB (8GB physical + 8GB virtual) |
| Internal Storage | 256 GB |
| Expandable Storage | Up to 1 TB via microSDXC |
| Screen Size | 10.5 inches |
| Display Resolution | 1920 x 1200 (FHD+ IPS In-Cell) |
| Brightness | 400 cd/m² |
| Aspect Ratio | 16:10 |
| Refresh Rate | 60 Hz |
| Rear Camera | 13 MP with LED Flash |
| Front Camera | 8 MP |
| Battery Capacity | 7500 mAh (Lithium Polymer) |
| Average Battery Life | 6 hours (video playback) |
| Connectivity | 4G LTE, Wi-Fi (802.11ac, 2.4G/5G), Bluetooth 5.0, GPS/Glonass/Beidou |
| Ports | USB-C, 3.5mm Headphone Jack |
| Sensors | Face Recognition Sensor |
| Dimensions (LxWxH) | 24.5 x 16.2 x 0.7 cm |
| Weight | 500 grams |
8. Warranty and Support
8.1 Warranty Information
The OTVOC V10 Max Tablet comes with a 1-year manufacturer's warranty from the date of purchase. This warranty covers defects in materials and workmanship under normal use. It does not cover damage caused by misuse, accidents, unauthorized modifications, or normal wear and tear.
Please retain your proof of purchase for warranty claims.
8.2 Customer Support
For technical assistance, troubleshooting not covered in this manual, or warranty inquiries, please contact OTVOC customer support through the retailer where you purchased the product or visit the official OTVOC website for contact details.

