
Introduction
Thank you for choosing the Gamrombo Wired Controller. This manual provides detailed instructions for setting up, operating, and maintaining your controller. This controller is designed for use with Xbox Series X/S, Xbox One, and PC, offering a stable and responsive gaming experience with features like programmable macro functions, turbo mode, and a 3.5mm headphone jack.
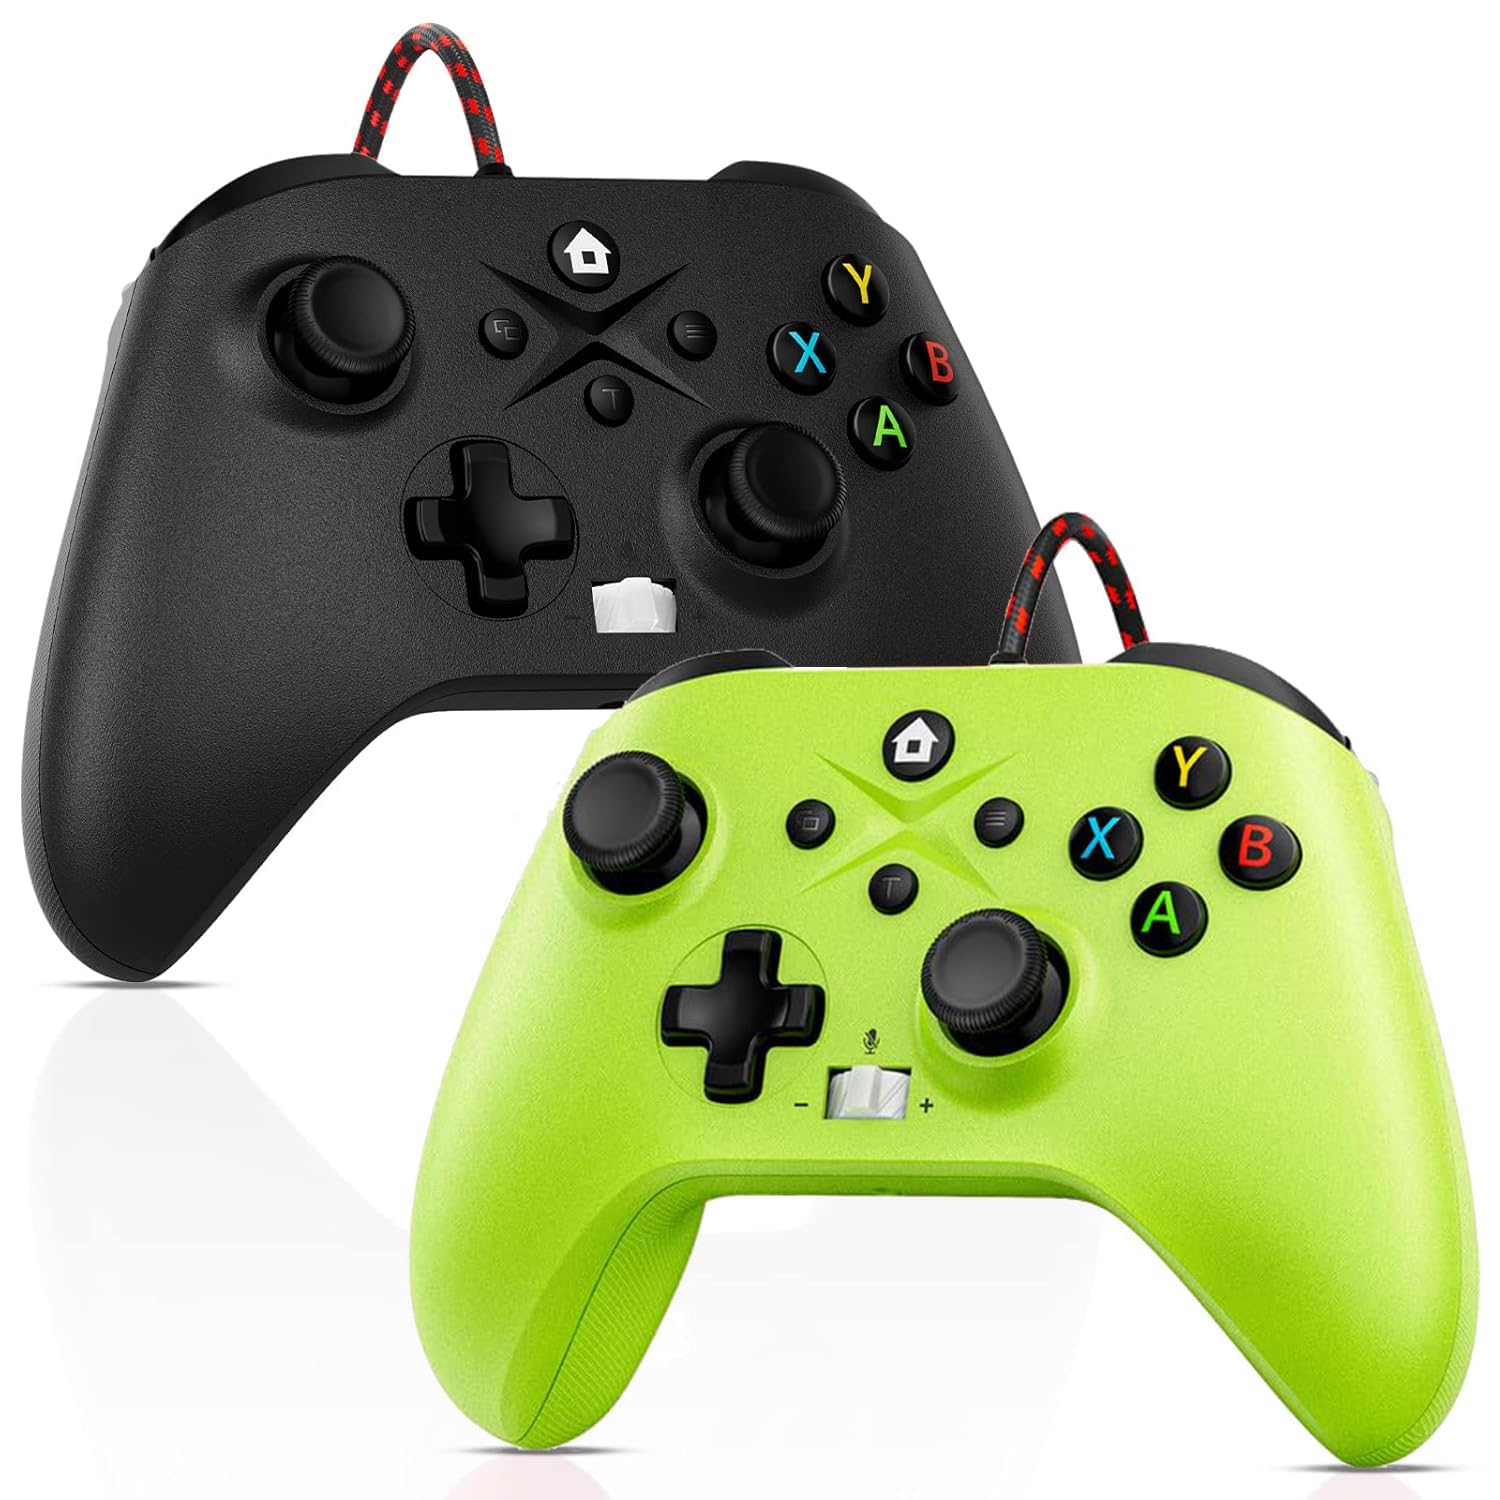
Image: Gamrombo Wired Controller in Black and Green.
Product Features
- Versatile Compatibility: Compatible with Xbox Series X/S, Xbox One (including One S/One X), and PC.
- Wired Connection: Provides a stable, low-latency gaming experience with a 10-foot (3-meter) durable, tangle-free cable. No batteries required.
- Programmable Macro Function: Two back mappable buttons (PR/PL) allow programming up to 16 button inputs for complex actions.
- Turbo Function: Enables rapid-fire for selected buttons.
- 3.5mm Headphone Jack: Supports audio output and microphone input for clear in-game communication.
- One-Touch Mic Mute: Quickly mute your microphone directly from the controller.
- Asymmetric Vibration Motors: Built-in motors provide varied vibration feedback for an immersive gaming experience.
- Precise 3D Gaming Joysticks: Offers 360-degree response with zero delay for accurate control.
- Ergonomic Design: Comfortable grip for extended gaming sessions.

Image: Diagram illustrating the wide compatibility of the Gamrombo Wired Controller with Xbox consoles and PC.
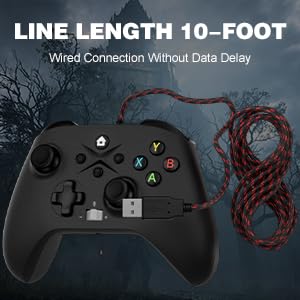
Image: The Gamrombo Wired Controller showcasing its 10-foot long braided cable for extended reach.
Package Contents
The package typically includes:
- 2 x Gamrombo Wired Controllers
- 1 x User Manual
Setup
- Connect to Xbox Console: Plug the USB connector of the controller into an available USB port on your Xbox Series X/S or Xbox One console. The controller will automatically be recognized and ready for use.
- Connect to PC: Plug the USB connector of the controller into an available USB port on your PC. The operating system (Windows 10/11 recommended) will typically install the necessary drivers automatically. The controller will be recognized as an Xbox controller.
- Initial Connection: Once connected, the controller's indicator light will illuminate, signifying a successful connection.
Operating Instructions
Controller Layout

Image: Detailed diagram of the Gamrombo Wired Controller showing all buttons and their labels, including Home, View, Menu, A/B/X/Y, D-pad, Joysticks (L3/R3), Bumpers (L1/R1), Triggers (L2/R2), Turbo, Programming Function Keys (PR/PL, Set), Adjustable Volume, and Headphone Jack.
Basic Controls
- Home Button: Powers on/off the console (Xbox) or opens the Xbox Game Bar (PC).
- View Button: Provides additional context-sensitive options in games or apps.
- Menu Button: Opens in-game menus or system settings.
- A/B/X/Y Buttons: Standard action buttons.
- D-Pad: Directional input.
- Left/Right Joysticks (L3/R3): Analog movement and camera control. Pressing them down activates L3/R3 buttons.
- L1/R1 (Bumpers): Shoulder buttons for various in-game actions.
- L2/R2 (Triggers): Analog triggers for precise control, often used for acceleration/braking or aiming/firing.
Turbo Function
The Turbo function allows a button to be pressed repeatedly as long as it is held down.
- Activate Turbo: Press and hold the Turbo button, then press the desired action button (e.g., A, B, X, Y, L1, R1, L2, R2, D-pad directions). The button will now have Turbo functionality.
- Deactivate Turbo: To remove Turbo from a specific button, press and hold the Turbo button again, then press the button with active Turbo.
Macro Function (Programmable Back Buttons)
The two back buttons (PR and PL) can be programmed to execute a sequence of up to 16 button presses.
- Enter Programming Mode: Press the SET button. The indicator light will start blinking.
- Select Macro Button: Press either the PR or PL button.
- Record Macro: Input the desired sequence of up to 16 button presses (e.g., A, B, X, Y, L1, R1, D-pad, etc.).
- Save Macro: Press the SET button again to save the macro. The indicator light will stop blinking.
- Use Macro: Press the programmed PR or PL button to execute the recorded sequence.
- Clear Macro: To clear a macro, enter programming mode (press SET), then press the PR or PL button you wish to clear, and then press SET again without inputting any sequence.
3.5mm Headphone Jack and Mic Mute
- Connect Headset: Plug any standard 3.5mm gaming headset into the headphone jack located at the bottom of the controller.
- Adjust Volume: Use the volume control buttons (+/-) on the controller to adjust headset audio levels.
- Mic Mute: Press the dedicated mic mute button to toggle your microphone on or off. An indicator light may show the mute status.
Vibration Feedback
The controller features asymmetric vibration motors in the grips, providing varied haptic feedback based on in-game events for enhanced immersion.

Image: Illustration of the asymmetric vibration motors within the grips of the Gamrombo Wired Controller.

Image: Depiction of the adjustable vibration feature and 6-axis gyro sensor in the Gamrombo Wired Controller.
3D Gaming Joysticks and Linear Triggers
The controller is equipped with high-precision 3D joysticks for accurate 360-degree movement and Hall Effect linear triggers that offer responsive and immersive control.

Image: Close-up view of the 3D gaming joystick on the Gamrombo Wired Controller, highlighting its precision.

Image: Visual representation of the precise 360-degree joystick and E-Sports level linear triggers with vibration function.
Maintenance
- Cleaning: Use a soft, dry cloth to wipe the controller. For stubborn dirt, slightly dampen the cloth with water. Avoid using harsh chemicals or abrasive materials.
- Storage: Store the controller in a cool, dry place away from direct sunlight and extreme temperatures.
- Cable Care: Avoid sharply bending or twisting the cable. Do not pull the controller by its cable.
- Avoid Liquids: Keep the controller away from liquids to prevent damage to internal components.
Troubleshooting
- Controller Not Responding:
- Ensure the USB cable is securely plugged into both the controller and the console/PC.
- Try plugging the controller into a different USB port.
- Restart your console or PC.
- Headset Audio Not Working:
- Check if the headset is fully plugged into the 3.5mm jack.
- Verify that the volume is not muted or set too low using the controller's volume controls and system settings.
- Test the headset with another device to ensure it is functioning correctly.
- Macro/Turbo Function Not Working:
- Review the programming steps in the 'Operating Instructions' section to ensure correct setup.
- Ensure no other conflicting software or settings are interfering.
- Vibration Not Working:
- Check in-game settings to ensure vibration feedback is enabled.
- Ensure the game supports vibration functionality.
Specifications
| Feature | Description |
|---|---|
| Compatible Devices | Xbox Series X, Xbox Series S, Xbox One, Xbox One S, Xbox One X, PC (Windows) |
| Controller Type | Wired |
| Connectivity Technology | USB Wired |
| Cable Length | 10 Feet (approximately 3 meters) |
| Additional Features | 3.5mm Headphone Jack, Turbo Function, Macro Function, Vibration Feedback, 6-Axis Gyro Sensor |
| Button Quantity | 21 |
| Hardware Platform | Xbox, PC |
Warranty Information
Gamrombo products are manufactured to high-quality standards. For specific warranty details, please refer to the warranty card included with your purchase or contact Gamrombo customer support. Keep your proof of purchase for warranty claims.
Support
If you encounter any issues or have questions not covered in this manual, please contact Gamrombo customer support through the retailer's platform or the official Gamrombo website for assistance.


