
1. Introduction and Safety Information
Thank you for purchasing the ZDK AE212B-01 Smart Projector. This manual provides essential information for setting up, operating, and maintaining your device. Please read it thoroughly before use and keep it for future reference.
Important Safety Instructions
- Electrical Safety: Always use the provided power adapter. Do not expose the projector to rain or moisture. Disconnect power during lightning storms or when unused for long periods.
- Ventilation: Ensure adequate ventilation around the projector. Do not block ventilation openings. Overheating can cause malfunction.
- Eye Protection: Do not look directly into the projector lens when the lamp is on. The bright light can cause eye damage.
- Placement: Place the projector on a stable, level surface. Avoid placing it in direct sunlight, near heat sources, or in dusty environments.
- Cleaning: Use a soft, dry cloth for cleaning. Do not use liquid or aerosol cleaners.
2. Package Contents
Please check that all items are present in your package:
- ZDK AE212B-01 Smart Projector
- Power Cable
- HDMI Cable
- Remote Control (batteries not included)
- User Manual
3. Product Overview
Familiarize yourself with the main components and ports of your ZDK AE212B-01 Smart Projector.
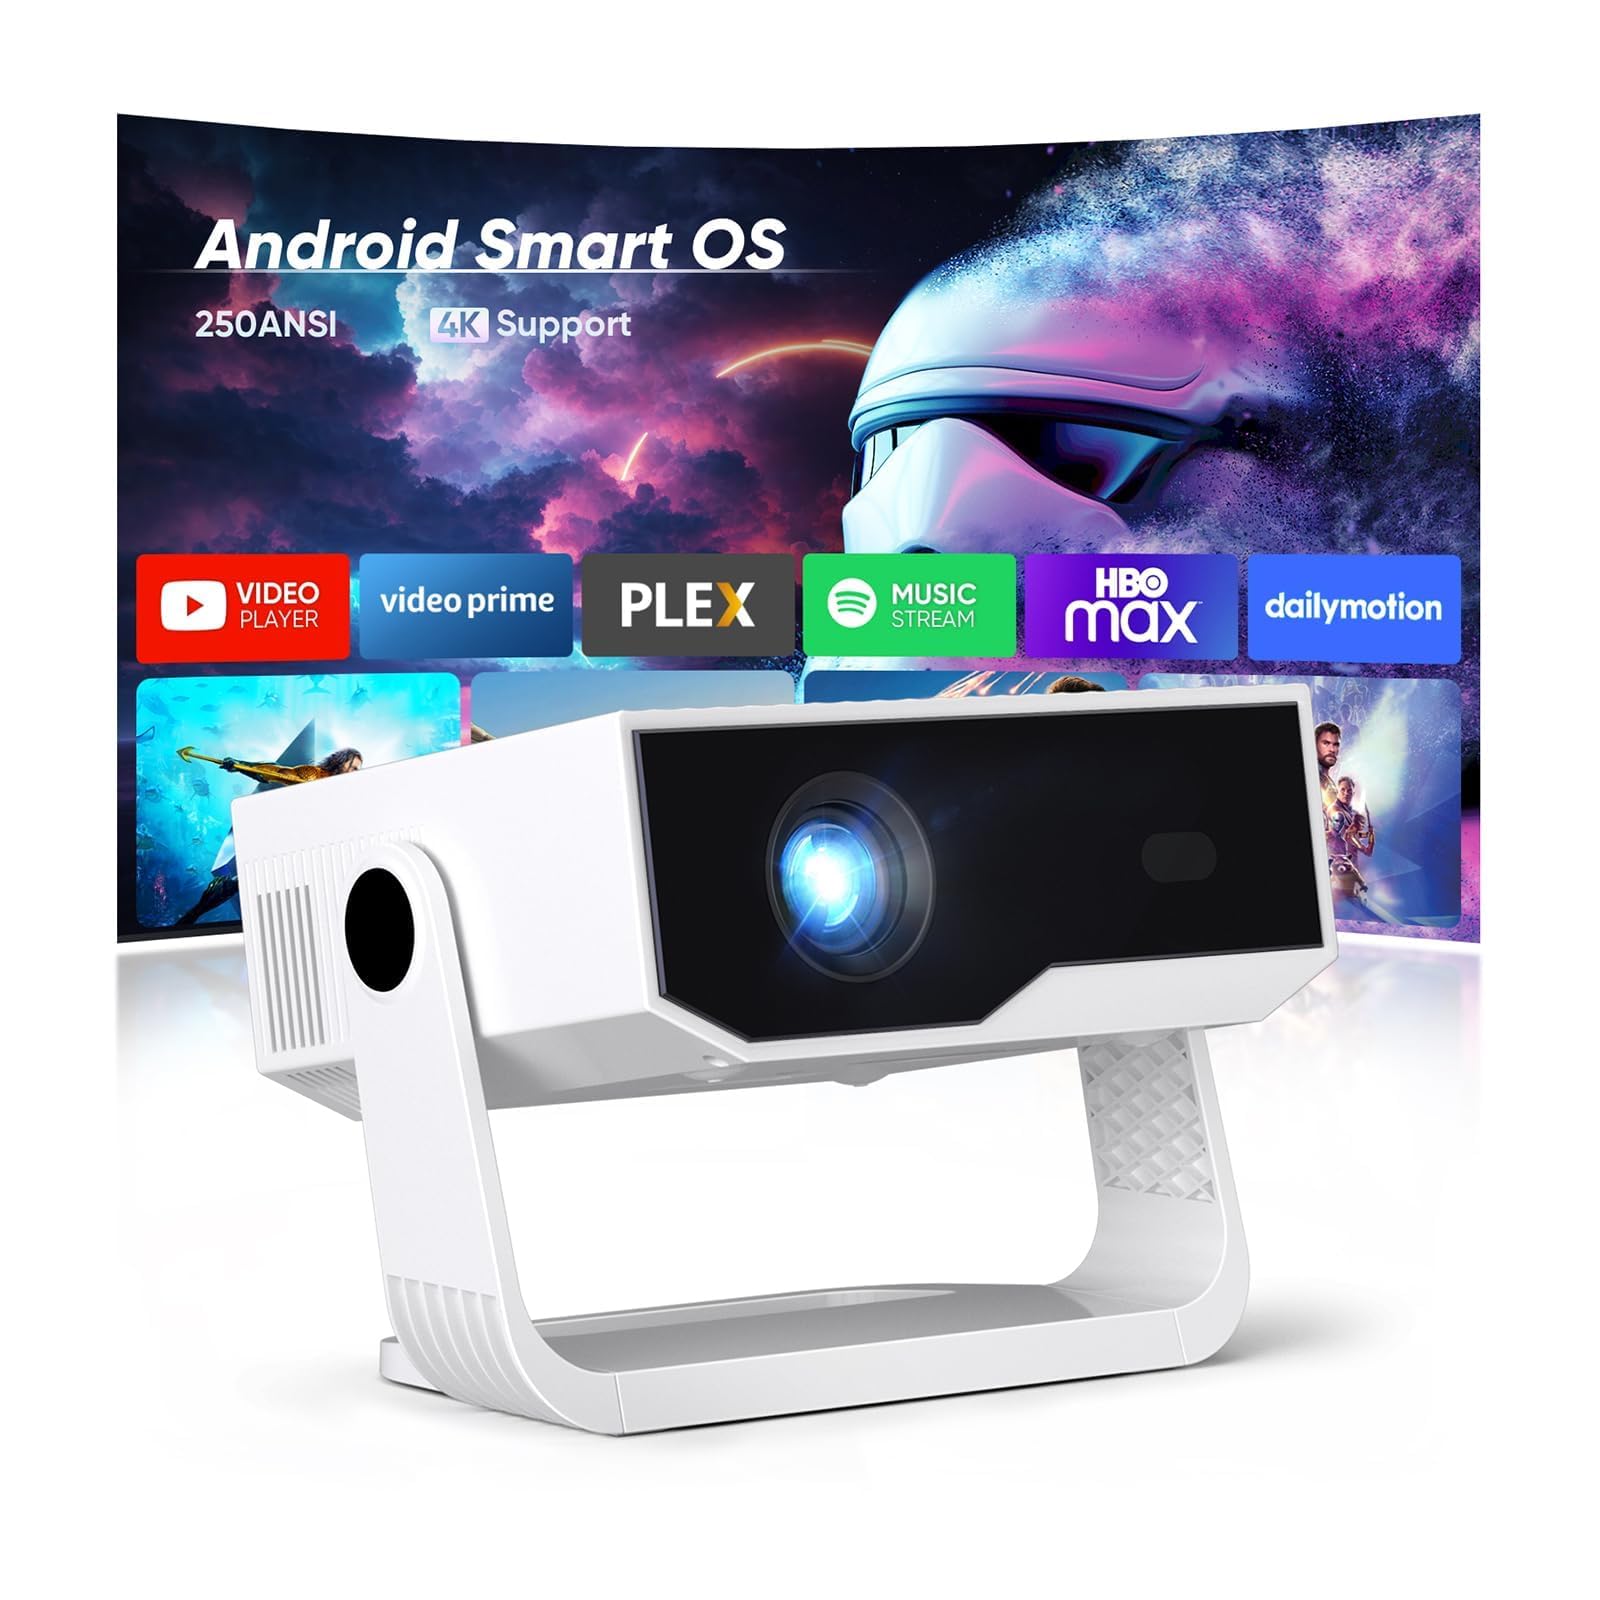
Image 1: Front view of the ZDK AE212B-01 Smart Projector, showing the projection lens and ventilation grilles.
Main Components
- Projection Lens: Emits the image onto the screen.
- Ventilation Grilles: Essential for heat dissipation. Do not obstruct.
- Control Panel: Basic buttons for navigation and power (usually on top or side).
Input/Output Ports
The projector features various ports for connecting external devices:
- HDMI Ports: For connecting devices like laptops, gaming consoles (Switch/PS5), Blu-ray players.
- USB Ports: For connecting USB drives to play media files or power external devices.
- Audio Out (3.5mm Jack): For connecting external speakers or headphones.
- Power Input: For connecting the power cable.
4. Setup
4.1 Placement
Choose a suitable location for your projector. The projection distance and angle will affect the image size and clarity.
- Projection Distance: The projector can project an image from 3.3 meters (10.8 feet) to 12.5 meters (41 feet). Adjust the distance to achieve your desired screen size.
- Screen Size: The maximum recommended image size is 240 inches.
- Surface: Project onto a flat, white wall or a dedicated projector screen for best results.
4.2 Power Connection
- Connect the power cable to the projector's power input port.
- Plug the other end of the power cable into a power outlet.
- Press the power button on the projector or remote control to turn it on.
4.3 Initial Setup and Focus
- Once powered on, the projector will display its home screen.
- Use the remote control to adjust the motorized focus until the image is clear and sharp. This feature allows for precise focus adjustment without manual lens rotation.
- If the image appears trapezoidal, use the keystone correction function (usually found in the projector's settings menu) to adjust it to a rectangular shape.
5. Operating Instructions
5.1 Basic Navigation
Use the remote control to navigate the projector's interface. The arrow keys allow movement, 'OK' confirms selections, and 'Back' returns to the previous screen.
5.2 Connecting External Devices
The ZDK AE212B-01 supports various connection methods:
- HDMI: Connect your device (e.g., laptop, game console) to an HDMI port on the projector using an HDMI cable. Select the corresponding HDMI input source from the projector's input menu.
- USB: Insert a USB flash drive into a USB port. The projector's media player will typically detect the drive, allowing you to browse and play supported media files (videos, photos, music).
- Bluetooth 5.2: To connect Bluetooth speakers or headphones, go to the projector's settings, find the Bluetooth menu, and pair with your desired audio device.
- WiFi 6: Connect the projector to your home Wi-Fi network via the settings menu. This enables internet access for streaming apps and screen mirroring features.
5.3 Screen Mirroring
The projector supports wireless screen mirroring from compatible smartphones and tablets. Refer to the projector's on-screen instructions or your device's manual for specific steps, which usually involve connecting both devices to the same Wi-Fi network and enabling a screen mirroring function (e.g., Miracast, AirPlay).
6. Maintenance
6.1 Cleaning the Lens
Use a soft, lint-free cloth specifically designed for optical lenses. Gently wipe the lens to remove dust or smudges. Avoid using abrasive materials or harsh chemicals.
6.2 Cleaning the Projector Body and Vents
Wipe the projector's exterior with a soft, dry cloth. Use a small brush or compressed air to carefully clean dust from the ventilation grilles to ensure proper airflow and prevent overheating.
6.3 Storage
When not in use for extended periods, store the projector in a cool, dry, dust-free environment. Consider using the original packaging or a protective case.
7. Troubleshooting
If you encounter issues with your projector, refer to the following common problems and solutions:
| Problem | Possible Cause / Solution |
|---|---|
| No image displayed |
|
| No sound |
|
| Image is blurry |
|
| Remote control not working |
|
| Overheating warning |
|
8. Specifications
Below are the technical specifications for the ZDK AE212B-01 Smart Projector:
- Brand: ZDK
- Model: AE212B-01
- Native Resolution: 1080P Full HD (Supports 4K input)
- Brightness: 28000 Lumens
- Connectivity: WiFi 6, Bluetooth 5.2, HDMI, USB
- Projection Distance: 3.3 meters (min) to 12.5 meters (max)
- Maximum Image Size: 240 inches
- Focus: Motorized
- Included Components: HDMI Cable
9. Warranty and Support
For warranty information, please refer to the documentation provided with your purchase or visit the official ZDK website. If you require technical support or have questions not covered in this manual, please contact ZDK customer service through their official channels.