
KitchenAid KES8453BM
KitchenAid KF3 Fully Automatic Espresso Machine (KES8453BM) User Manual
Model: KES8453BM
1. Important Safety Instructions
Please read all instructions before using the appliance. Keep this manual for future reference.
- Ensure the machine is placed on a stable, level surface.
- Do not immerse the appliance, power cord, or plug in water or other liquids.
- Unplug the machine from the outlet when not in use and before cleaning.
- Do not operate any appliance with a damaged cord or plug, or after the appliance malfunctions or has been damaged in any manner.
- Use only accessories recommended by the manufacturer.
2. Product Overview
The KitchenAid KF3 Fully Automatic Espresso Machine (KES8453BM) offers a range of coffee and espresso beverages with automated features for convenience.

Figure 2.1: Front view of the KitchenAid KF3 Espresso Machine.
Key Features:
- 2.4" Color Display: For intuitive control and customization.
- 15+ Hot and Iced Coffee Options: A variety of pre-set recipes.
- Built-in Steel Conical Burr Grinder: With IntelliGrind technology for optimal extraction.
- Auto Milk System: For barista-quality milk texture.
- QuietGrind Technology: Minimizes noise during grinding.
- Compact Design: Space-saving footprint.
3. Setup and First Use
3.1 Unboxing and Placement
- Carefully remove all packaging materials and accessories.
- Place the machine on a stable, flat, and dry surface, ensuring adequate ventilation around it.
- Ensure the power cord is accessible and not obstructed.
3.2 Water Tank and Filter Installation
- Remove the 1.8L water tank from the back of the machine.
- Install the provided water filter into the water tank according to the filter instructions.
- Fill the water tank with fresh, cold water up to the MAX line.
- Reinsert the water tank securely into the machine.

Figure 3.1: Machine dimensions and water tank location (right side).
3.3 Initial Setup and Rinsing
- Plug the machine into a grounded electrical outlet.
- The machine will guide you through an initial setup process on the 2.4" color display. This includes language selection and water hardness testing.
- Use the provided water hardness test strip and input the result into the machine settings.
- The machine will perform an automatic rinse cycle to prime the system. Place a cup under the dispenser to collect the rinse water.
4. Operation
4.1 Filling the Bean Hopper
- Open the lid of the bean hopper located on top of the machine.
- Pour fresh whole coffee beans into the hopper. Do not overfill.
- Close the lid securely.

Figure 4.1: Filling the bean hopper with whole coffee beans.
4.2 Using Pre-Ground Coffee
The machine includes a bypass chute for pre-ground coffee, allowing you to use decaf or different roasts without emptying the bean hopper.
- Locate the bypass chute, typically next to the bean hopper.
- When prompted by the machine or when selecting a pre-ground option, add one scoop of pre-ground coffee using the provided coffee spoon.
- Do not overload the chute, as this can cause blockages.
4.3 Selecting and Customizing Drinks
- Turn on the machine. It will perform a quick rinse.
- Use the 2.4" color display to navigate through the 15+ available hot and iced coffee options.
- Select your desired drink (e.g., Espresso, Americano, Latte, Cappuccino, Iced Coffee).
- The display allows you to customize parameters such as:
- Strength: Adjust coffee intensity.
- Size/Volume: Adjust the amount of coffee or milk.
- Temperature: For hot drinks, or lower temperature for iced drinks.
- Confirm your selections to start brewing.

Figure 4.2: The 2.4" color display showing drink selection and customization options.
4.4 Auto Milk System
The Auto Milk System creates frothed milk for lattes and cappuccinos directly into your cup.
- Connect the milk hose to the machine's milk spout.
- Place the other end of the milk hose into a container of cold milk.
- Select a milk-based drink from the menu. The machine will automatically draw milk, froth it, and dispense it with the coffee.

Figure 4.3: The Auto Milk System in operation, creating a latte.
4.5 User Profiles
Up to 4 user profiles can be created to save personalized drink settings for quick access.
- After customizing a drink, the machine will offer an option to save it to a user profile.
- Select an available profile slot to save your preferences.
- To access saved drinks, select your user profile from the main menu.
5. Maintenance and Cleaning
Regular cleaning ensures optimal performance and longevity of your espresso machine.
5.1 Daily Cleaning
- Automatic Rinsing: The machine performs a self-rinse cycle upon startup and shutdown. Always place a cup under the dispenser to collect this water.
- Drip Tray and Grounds Bin: After each use, or when prompted by the machine, empty and rinse the drip tray and the used coffee grounds bin. The grounds bin is designed to separate from the drip tray for easier cleaning.
- Milk System Rinse: After making any milk drink, the machine will prompt you to perform a milk system rinse. Follow the on-screen instructions. This is crucial to prevent milk residue buildup.
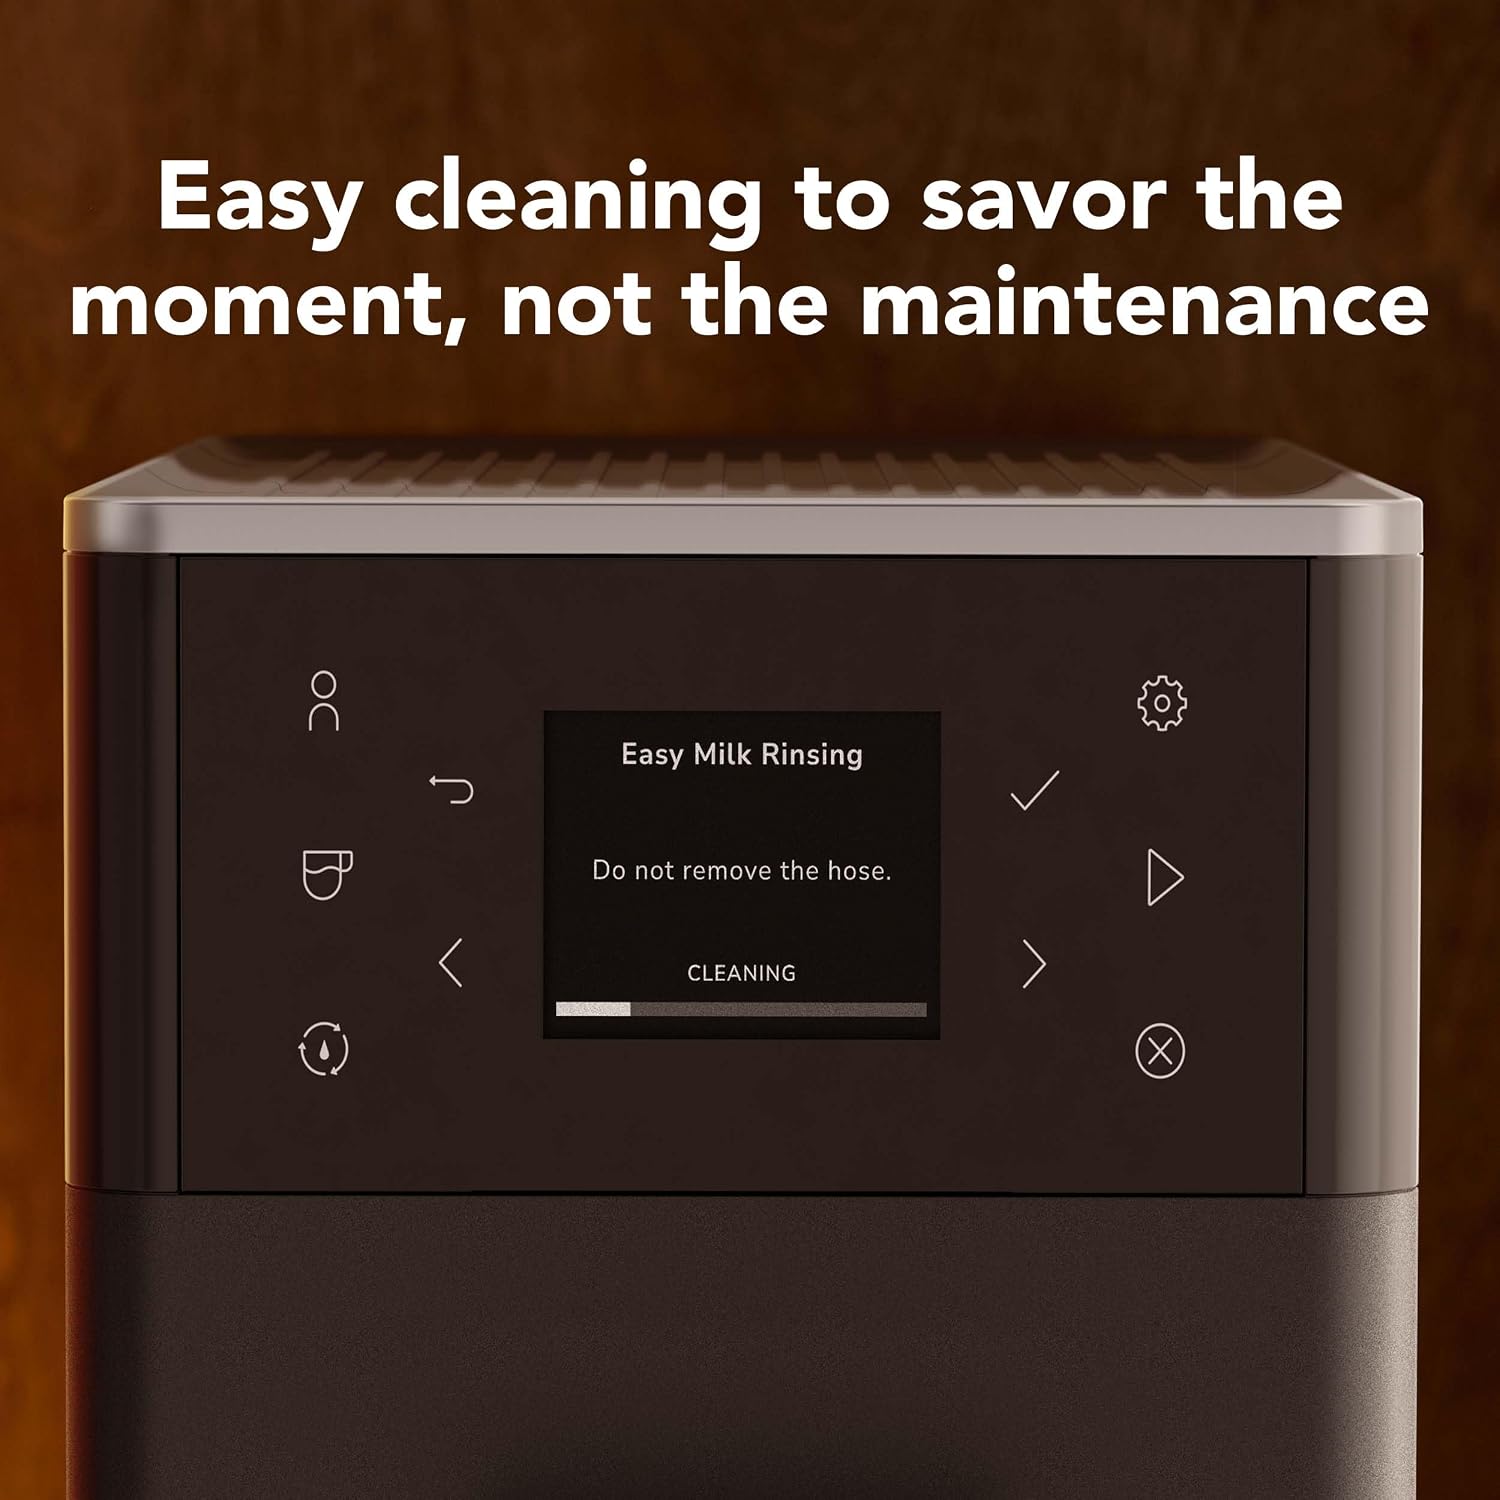
Figure 5.1: On-screen prompt for Easy Milk Rinsing.
5.2 Water Filter Replacement
The water filter has an effective capacity of approximately 50 liters. It should be replaced approximately every 2 months if used daily, or when prompted by the machine.
- Remove the water tank.
- Remove the old filter and dispose of it.
- Insert a new KitchenAid water filter according to its instructions.
- Refill the tank with fresh water and reinsert it into the machine.
- Reset the filter status in the machine's settings menu.
5.3 Descaling and Cleaning Tablets
The machine will prompt you when descaling is required, typically after brewing around 200 coffees. Use KitchenAid cleaning tablets for this process.
- Follow the on-screen instructions for the descaling program.
- Use the recommended descaling solution or cleaning tablets as directed by the machine.
- Ensure the drip tray is empty and a large container is placed under the dispenser during the cycle.
5.4 Removable Brew Unit
The brew unit is removable for thorough cleaning. Refer to the machine's display for instructions on how to remove, clean, and reinsert the brew unit.
6. Troubleshooting
This section addresses common issues you might encounter with your espresso machine.
| Problem | Possible Cause | Solution |
|---|---|---|
| Machine not turning on. | Power cord not properly connected. | Check power cord connection to both the machine and the outlet. Ensure the outlet is functional. |
| No coffee dispensed / Slow flow. | Water tank empty; coffee grounds chute blocked; brew unit clogged; descaling needed. | Refill water tank. Check and clear the coffee grounds chute. Clean the brew unit. Perform a descaling cycle if prompted. |
| Milk not frothing correctly. | Milk hose clogged; milk type unsuitable; milk too warm. | Perform a milk system rinse. Ensure the milk hose is clean. Use cold, fresh milk. Try different milk types (dairy/non-dairy). |
| "Empty Drip Tray" or "Empty Grounds Bin" message persists after emptying. | Sensors are wet or dirty; bin not fully reinserted. | Ensure the drip tray and grounds bin are completely dry and correctly reinserted. Clean any visible sensors. |
| Grinder is unusually loud or not grinding. | Foreign object in grinder; bean hopper empty. | Check bean hopper for foreign objects and remove them. Ensure there are enough beans. If the issue persists, contact customer support. |
| Water leaking from machine. | Water tank not seated correctly; internal component issue. | Ensure the water tank is fully and correctly inserted. If leaking continues, discontinue use and contact customer support. |
7. Specifications
| Feature | Detail |
|---|---|
| Brand | KitchenAid |
| Model Number | KES8453BM |
| Capacity | 1.8 liters (Water Tank) |
| Color | Black Matte |
| Product Dimensions (D x W x H) | 47D x 19.6W x 36.1H centimetres |
| Item Weight | 10.12 kg |
| Output Pressure | 15 bar |
| Display | 2.4" Color Display |
| Grinder Type | Integrated Steel Conical Burr Grinder (IntelliGrind) |
| Milk System | Auto Milk System (Dual Delivery) |
| Included Components | Espresso Machine, 1.8L Water Tank, (1) Water Filter, (2) Cleaning Tablets, (1) Coffee Spoon, (1) Milk Hose |
| Country of Origin | Portugal |
| UPC | 883049927251 |
8. Warranty and Support
8.1 Product Warranty
The KitchenAid KF3 Fully Automatic Espresso Machine (KES8453BM) is covered by:
- A 2-year limited warranty on the machine.
- An extended 3-year limited part warranty on the steel conical burr grinder.
- A 10-Year Parts and Service Availability Commitment.
Please retain your proof of purchase for warranty claims. For full warranty terms and conditions, refer to the documentation included with your product or visit the official KitchenAid website.
8.2 Customer Support
For assistance, troubleshooting, or to order replacement parts, please contact KitchenAid Customer Service. Contact information can typically be found on the official KitchenAid website or in the quick start guide provided with your machine.
Online Resources: www.kitchenaid.ca
Related documentsKES8453BM


Ask a question about this manual
Ask about setup, troubleshooting, compatibility, parts, safety, or missing instructions. Manuals+ will review the question and use this page’s manual context to help answer it.