
Introduction
Thank you for choosing the Eafurn Convertible Sleeper Chair Bed. This manual provides essential information for the safe assembly, operation, and maintenance of your new furniture. Please read these instructions carefully before use and retain them for future reference.
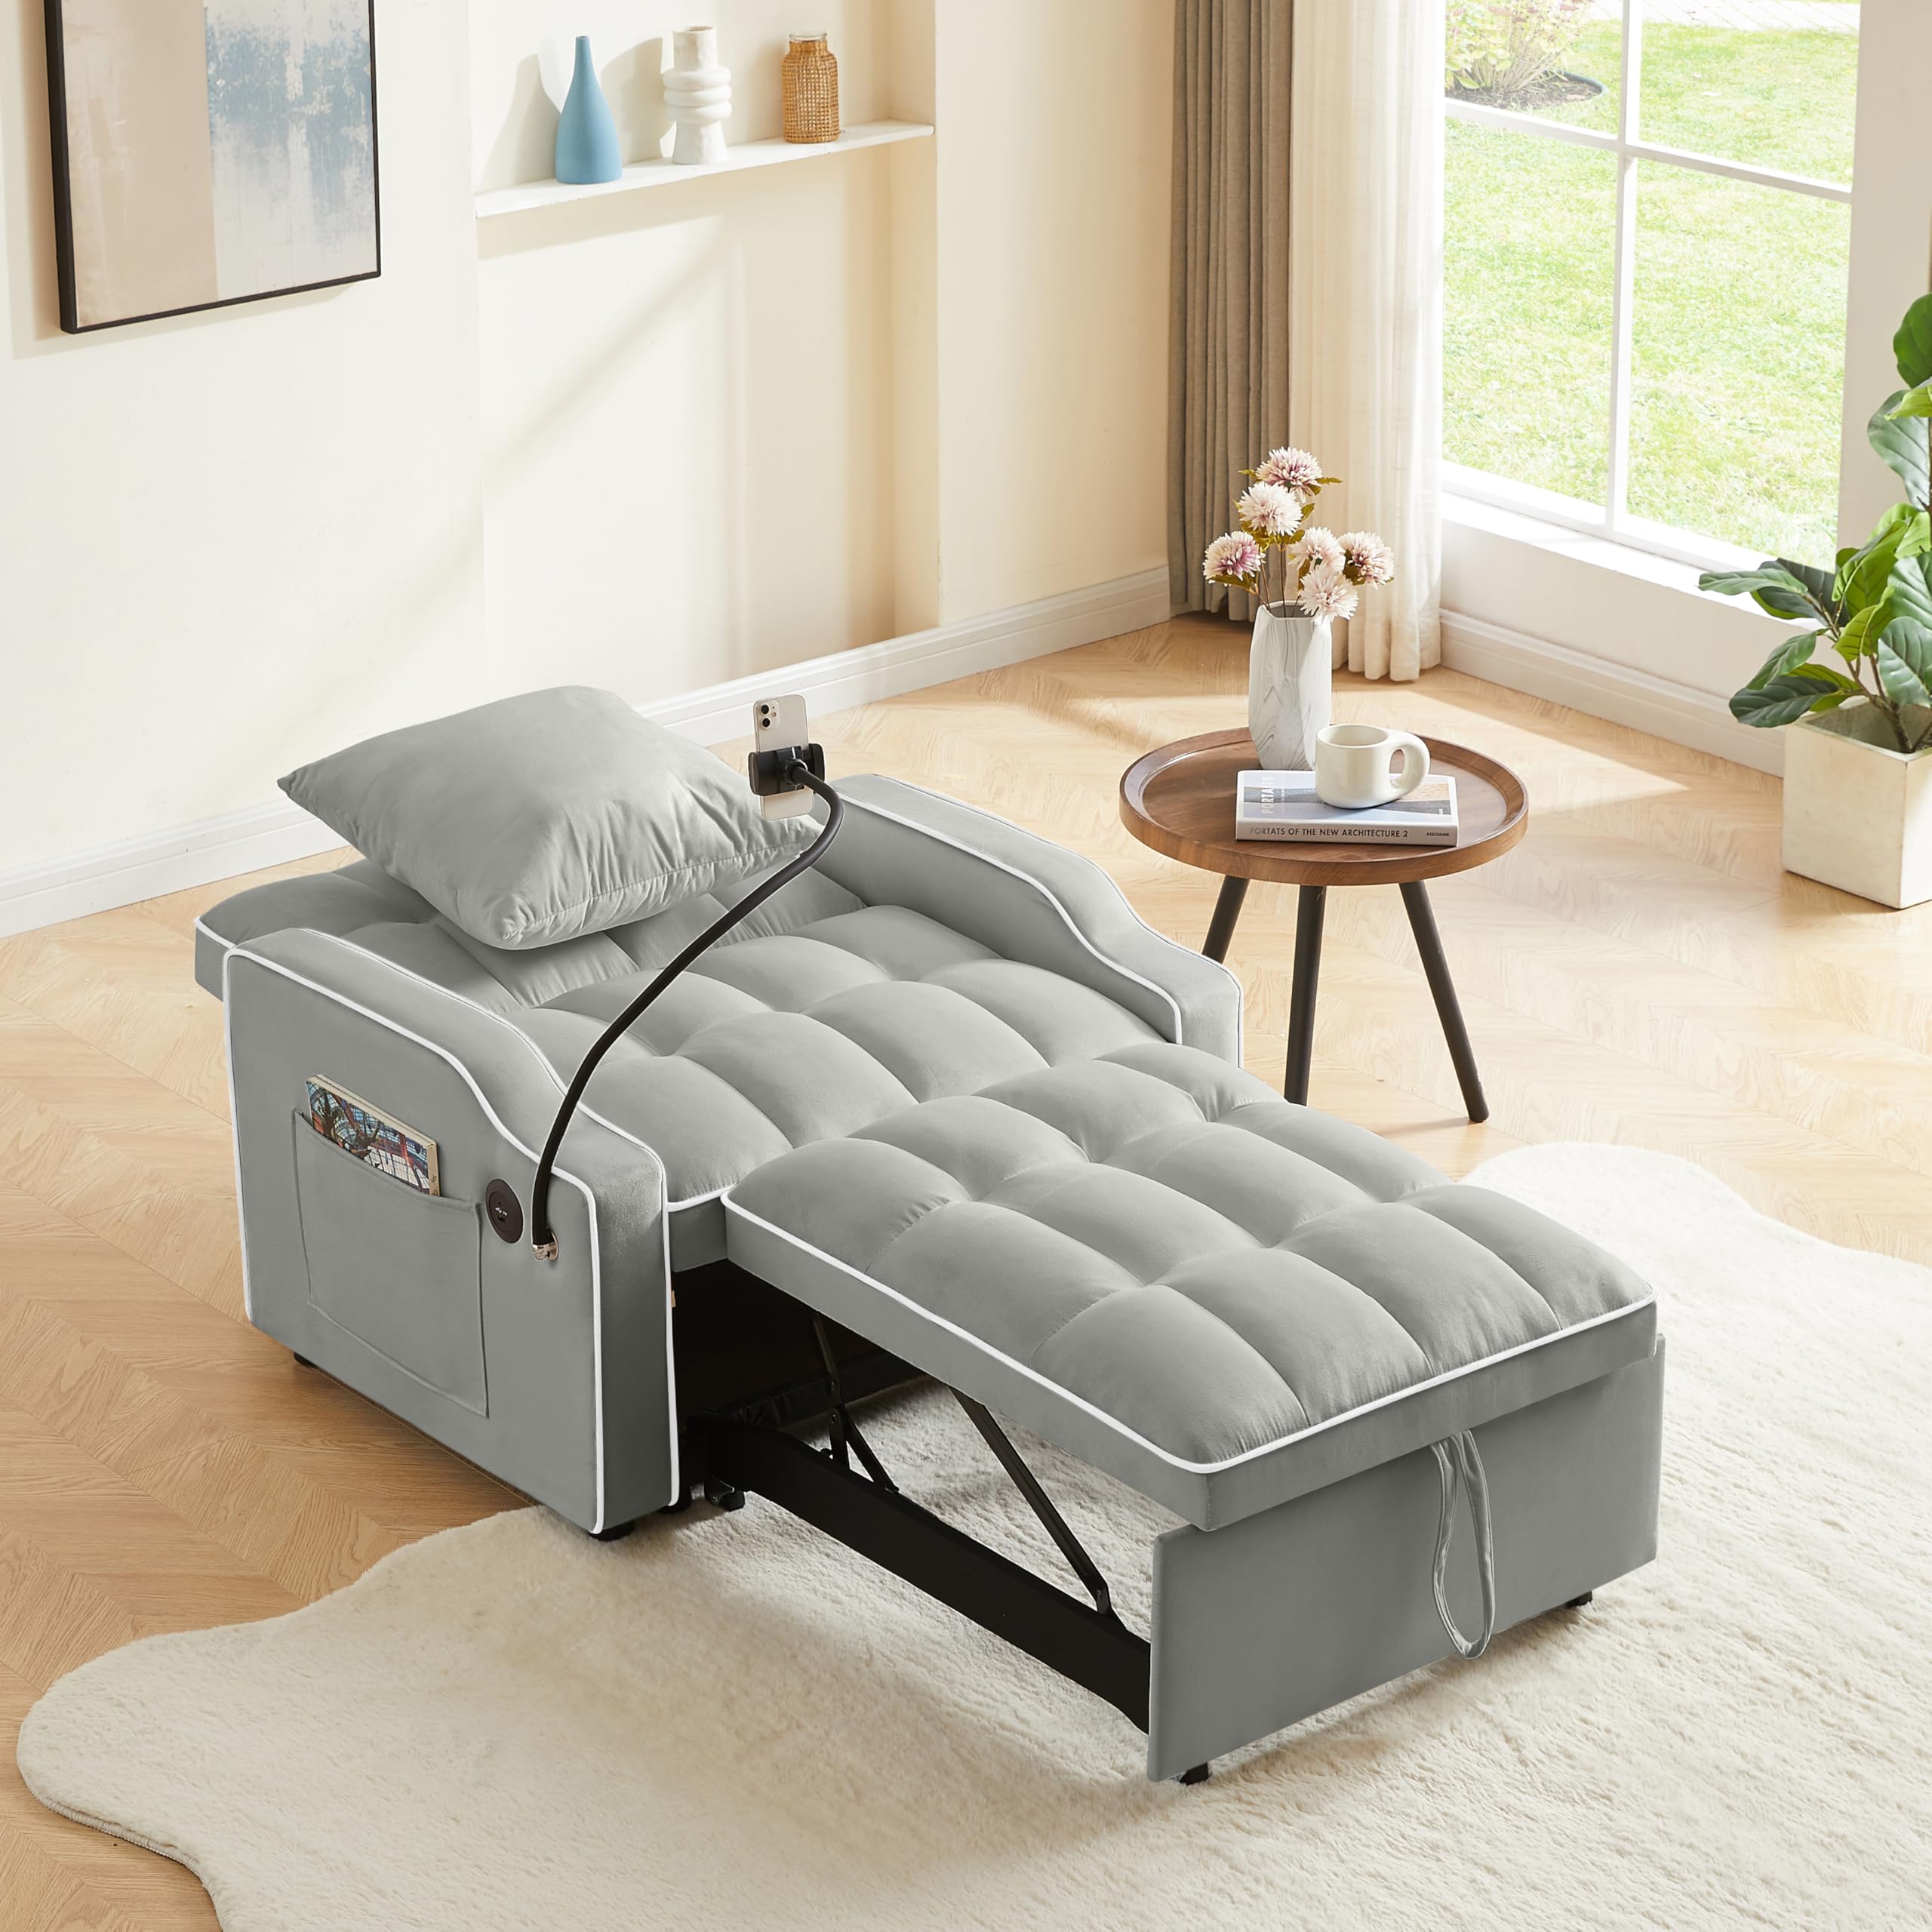
This versatile 3-in-1 unit functions as a comfortable chair, a relaxing chaise lounge, and a convenient single bed, designed to maximize space and utility in your home or office.
Safety Information
- Weight Capacity: Do not exceed the maximum weight capacity of 300 lbs (136 kg) for the chair or bed configuration.
- Assembly: Ensure all components are securely fastened before use. Periodically check and tighten all connections.
- Placement: Place the chair on a level, stable surface. Avoid placing near heat sources or in direct sunlight for prolonged periods.
- Children: Keep children away from moving parts during conversion. Do not allow children to play on or around the chair unsupervised.
- Moving: When moving the chair, lift it rather than dragging to prevent damage to the frame or floor.
- USB Port: Use the USB charging port only for compatible devices. Do not overload the port.
Package Contents
Please verify that all parts are present before beginning assembly. If any parts are missing or damaged, contact customer support.
- Main Chair Frame
- Backrest Cushion
- Seat Cushion (integrated with pull-out mechanism)
- Pillow
- Legs (if separate)
- USB Charging Port Assembly
- Phone Holder Assembly
- Hardware Pack (screws, washers, Allen wrench, etc.)
- Instruction Manual
Setup and Assembly
Assembly is required for this product. While designed for straightforward setup, it is recommended to have two people for easier handling. All necessary parts and instructions are included.
- Unpack Components: Carefully remove all parts from the packaging. Lay them out on a clean, soft surface to prevent scratches.
- Attach Legs: Securely attach the legs to the base of the chair frame using the provided hardware. Ensure they are tightened firmly.
- Install Backrest: Connect the backrest to the main chair frame. Follow the specific instructions in the included hardware pack for proper alignment and fastening.
- Install USB Port and Phone Holder: Integrate the USB charging port and phone holder into the designated locations on the armrest. Ensure the USB port is properly connected to its power source (if applicable, usually a cable to plug into a wall adapter, not included).
- Final Check: Once assembled, gently shake the chair to ensure stability. Retighten any loose connections.
Operating Instructions
Converting the Chair to Chaise Lounge or Bed
The Eafurn Convertible Sleeper Chair Bed offers three configurations: chair, chaise lounge, and bed.
- Chair to Chaise Lounge:
Locate the auxiliary pull strap positioned at the front base of the seat. Gently pull the strap upwards and outwards to extend the leg rest. The mechanism will lock into place, transforming the chair into a chaise lounge.

Image: A hand demonstrating the use of the auxiliary pull strap to extend the leg rest, converting the chair into a chaise lounge. 
Image: The Eafurn Convertible Sleeper Chair Bed fully extended into a chaise lounge, providing a comfortable reclining position. - Chaise Lounge to Bed:
From the chaise lounge position, continue to pull the auxiliary strap and gently push the backrest down until it lies completely flat (180° angle). This will convert the unit into a single bed.

Image: The Eafurn Convertible Sleeper Chair Bed fully flattened into a single bed, ready for sleeping. - Converting Back to Chair:
To return to the chaise lounge or chair position, lift the backrest to your desired angle. Then, push the leg rest back into the chair base until it locks securely.
Adjusting the Backrest
The backrest can be adjusted to three reclining angles: 110° (upright), 140° (relaxed), and 180° (flat bed). To adjust, gently push the backrest forward slightly, then recline it to the desired angle until it clicks into place.
Using the USB Charging Port and Phone Holder
- USB Charging Port:
A built-in USB charging port is located on the armrest. Connect your device's USB cable to the port to charge. Ensure the chair's power cable (if applicable) is plugged into a wall outlet for functionality.

Image: A detailed view of the USB charging port integrated into the armrest, featuring both USB-A and USB-C connections. - Phone Holder:
The 360° adjustable phone holder is designed for hands-free viewing. Insert your smartphone into the holder and adjust the flexible arm to your preferred viewing angle.

Image: The flexible arm phone holder attached to the chair, with a smartphone securely mounted for hands-free use. - Side Pockets:
Utilize the integrated side pockets for convenient storage of remote controls, magazines, or other small items.
Maintenance
- Cleaning Velvet Fabric:
For general cleaning, gently vacuum the velvet fabric using an upholstery attachment to remove dust and debris. For spills, blot immediately with a clean, dry cloth. For stubborn stains, use a mild fabric cleaner specifically designed for velvet, testing on an inconspicuous area first. Avoid harsh chemicals or excessive moisture.
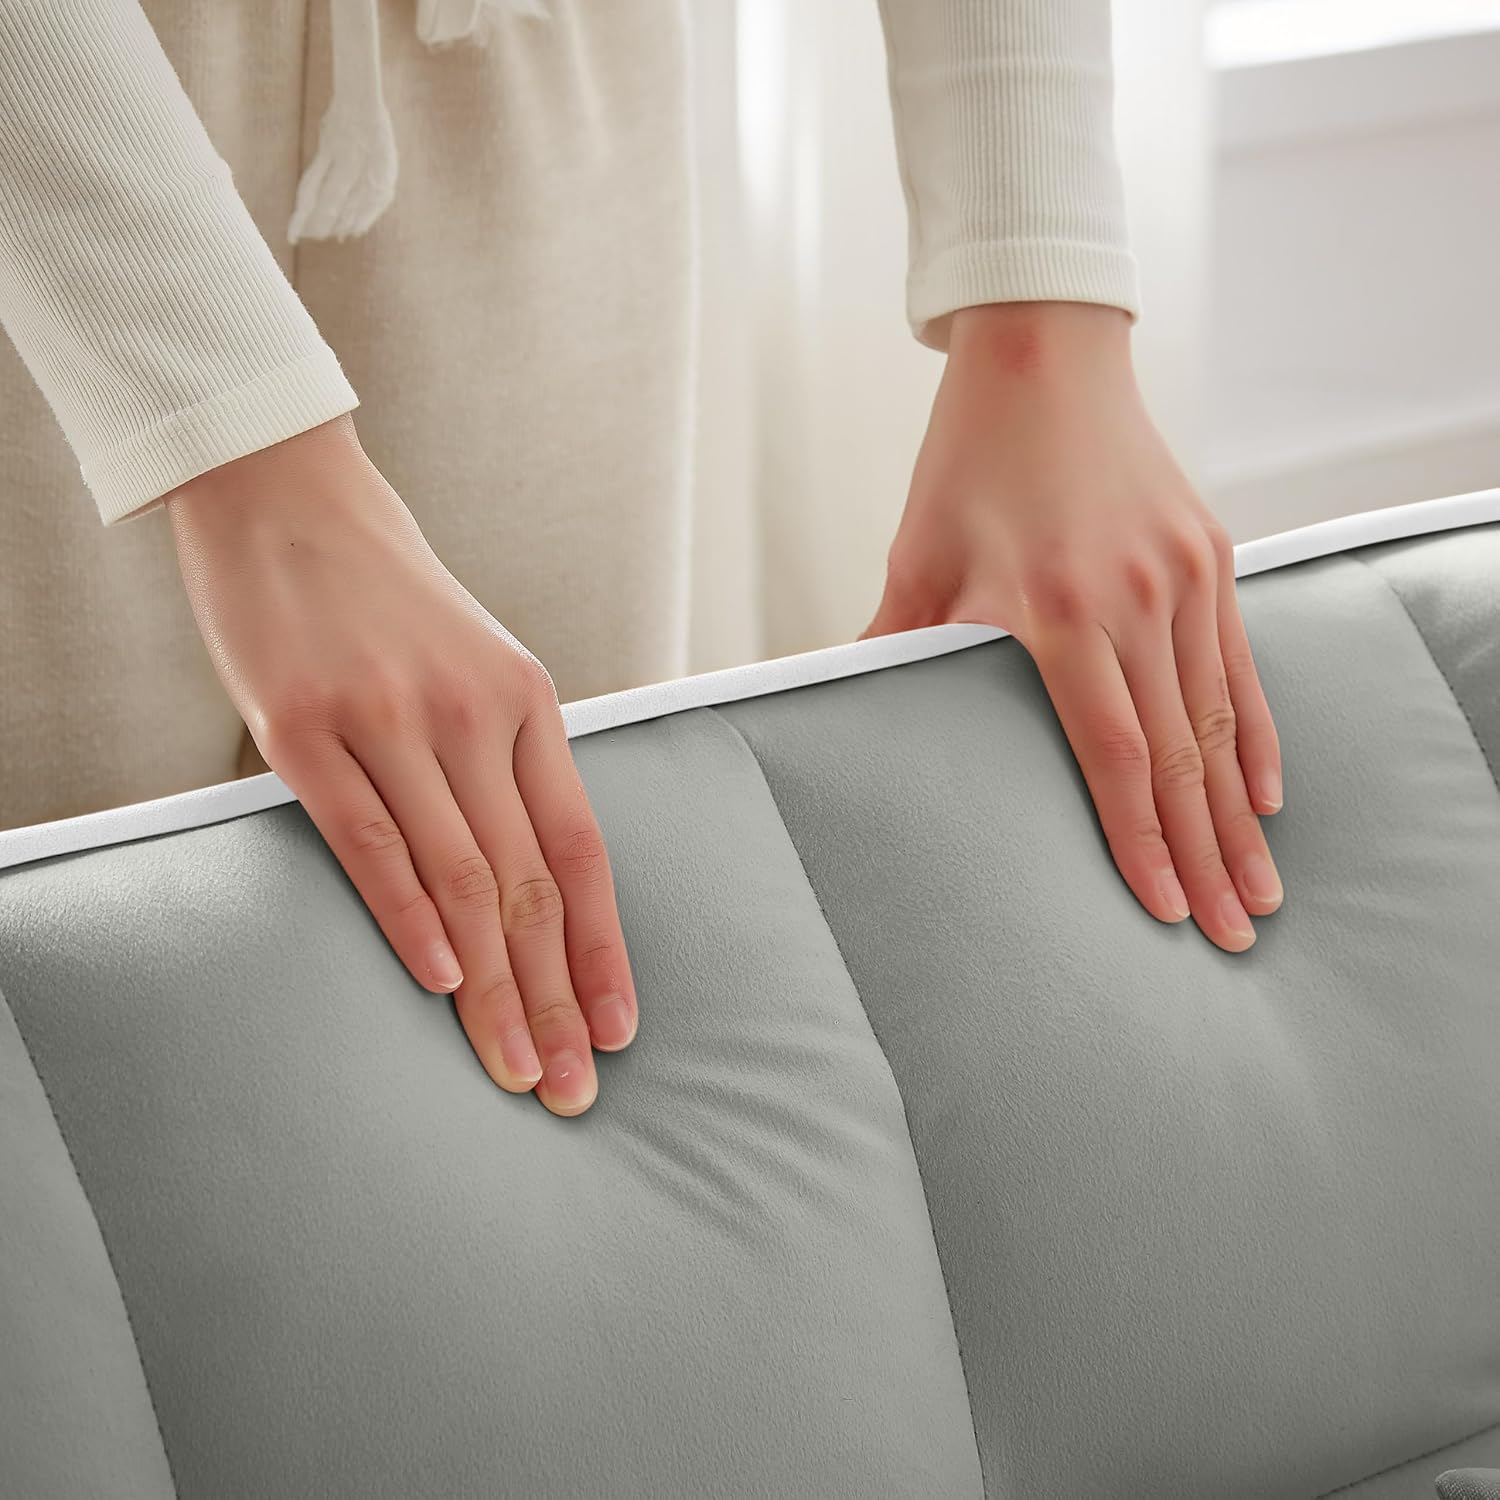
Image: A hand demonstrating the soft texture of the velvet fabric, highlighting its quality. - Frame Care: Wipe the metal and wood frame components with a soft, damp cloth. Avoid abrasive cleaners.
- Hardware: Periodically check all screws and bolts to ensure they remain tight. Tighten as needed to maintain stability.
- Avoid Direct Sunlight: Prolonged exposure to direct sunlight can cause fading of the fabric.
Troubleshooting
| Problem | Possible Cause | Solution |
|---|---|---|
| Chair feels unstable or wobbly. | Loose hardware or uneven placement. | Check and tighten all screws and bolts. Ensure the chair is on a level surface. |
| Difficulty converting between modes. | Mechanism obstruction or improper technique. | Ensure no objects are obstructing the mechanism. Refer to "Operating Instructions" for correct conversion steps. Apply gentle, even pressure. |
| USB port not charging. | Not plugged in, faulty cable, or device incompatibility. | Verify the chair's power cable (if any) is securely plugged into a working outlet. Try a different USB cable or device. |
| Fabric appears worn or discolored. | Improper cleaning or prolonged exposure to sunlight. | Follow recommended cleaning guidelines. Avoid direct sunlight. |
Specifications
| Feature | Detail |
|---|---|
| Product Type | 3-in-1 Convertible Sleeper Chair Bed |
| Overall Chair Dimensions (W x D x H) | 33.85" x 34" x 31.1" |
| Sleeper Dimensions (W x D x H) | 26.77" x 68.9" x 16.9" |
| Weight Capacity | 300 lbs (136 kg) |
| Fabric Material | Velvet |
| Frame Material | Wood & Metal |
| Assembly Required | Yes |
| Seat Depth | 20.27" |
| Seat Height | 16.9" |
| Arm Height | 20.4" |
| Pillow Size | 17.72" x 17.72" |
| Backrest Reclining Positions | 3 (110°, 140°, 180°) |
| Additional Features | Integrated USB Charging Port, 360° Adjustable Phone Holder, Side Pockets |
Warranty and Customer Support
For any questions, missing parts, or concerns regarding your Eafurn Convertible Sleeper Chair Bed, please contact Eafurn customer support. Refer to your purchase documentation for specific warranty details.
Contact Information: Please refer to the retailer's website or your purchase invoice for the most up-to-date customer service contact details.