
1. Introduction
The Contixo F15 Astro Mini Drone is designed for ease of use and stable flight, making it suitable for beginners. It features a 720P HD camera, a 2.4-inch screen remote for live video display, optical flow hovering, and one-key takeoff/landing. This manual provides detailed instructions for safe operation and maintenance of your drone.
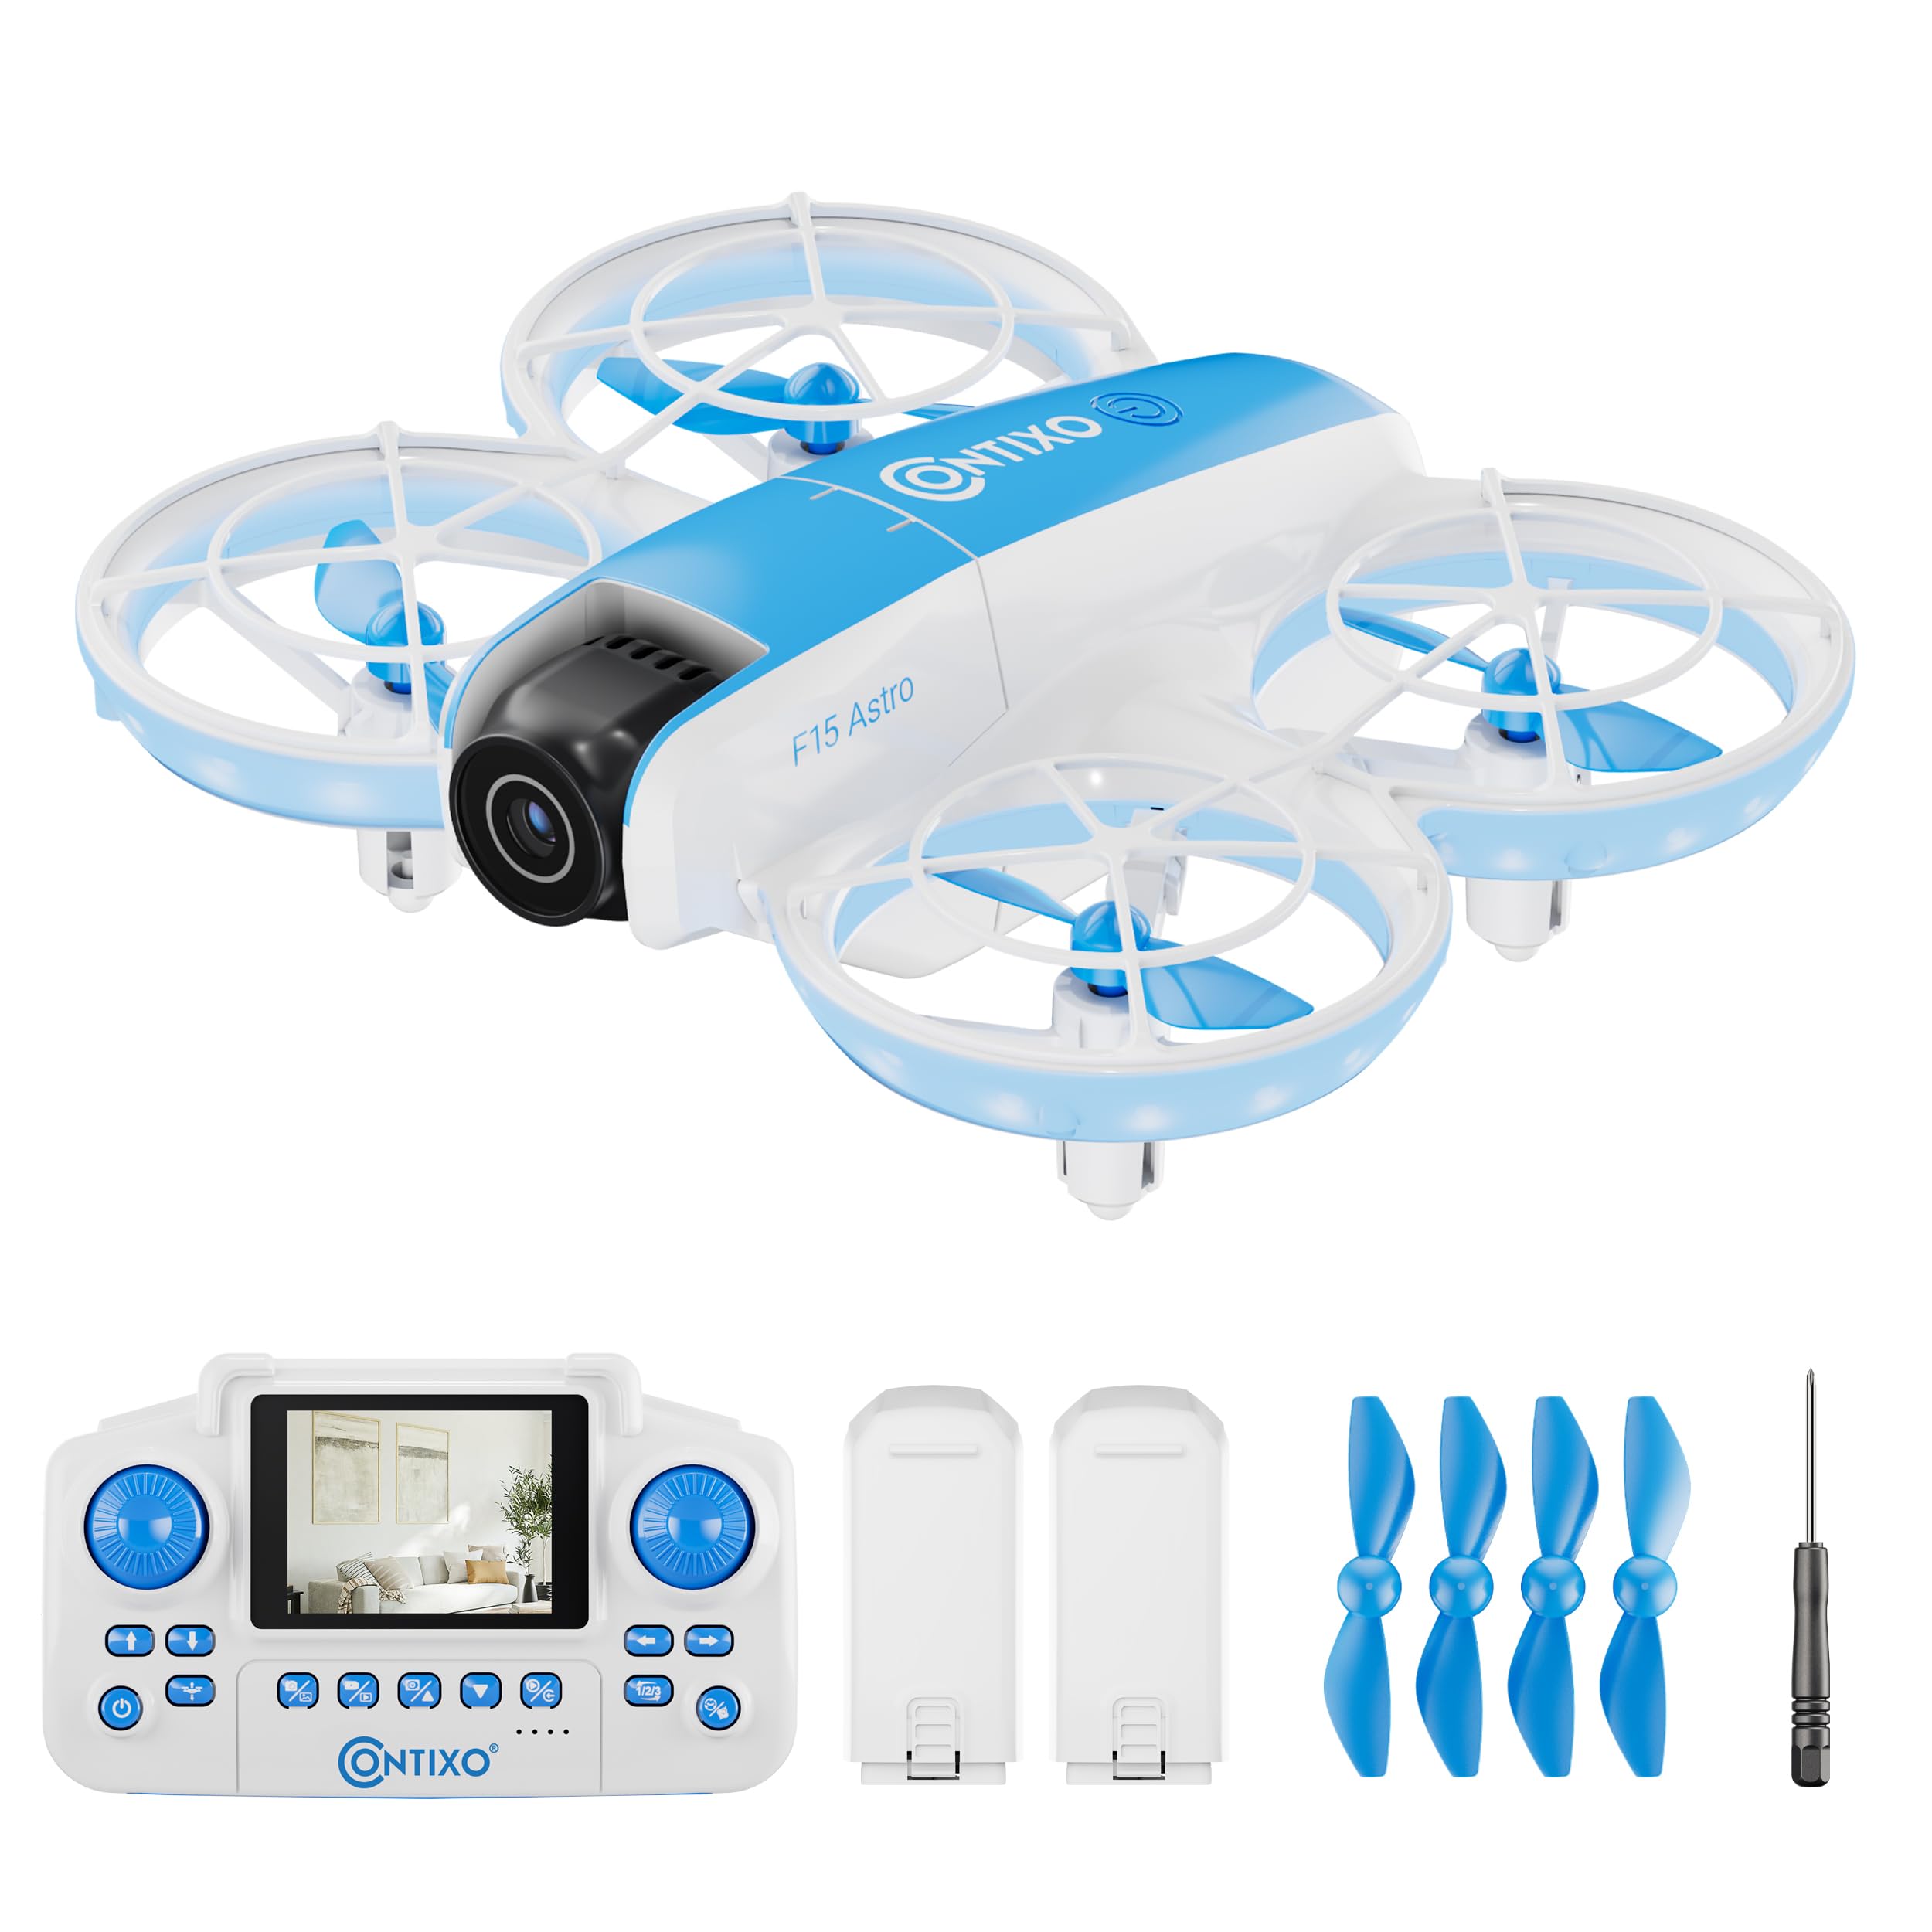
Image: The Contixo F15 Astro Mini Drone, showcasing its compact design and illuminated propellers.
Video: An introductory overview of the Contixo F15 Astro Drone, highlighting its main features and design.
2. Package Contents
Verify that all items are present in the package:
- Contixo F15 Astro Mini Drone
- 2.4-inch Screen Remote Controller
- Drone Batteries (x2)
- USB Charging Cable
- Propeller Guards (x4)
- Spare Propellers (x4)
- Screwdriver
- User Manual

Image: Visual representation of the drone, controller, batteries, propellers, screwdriver, and charging cable included in the package.
3. Product Overview
3.1 Drone Components
- Propellers: Four rotating blades for lift and movement.
- Propeller Guards: Protective frames around the propellers.
- Camera: 720P HD camera for photo and video capture, with adjustable angle.
- LED Lights: Indicator lights for status and visibility.
- Battery Compartment: Location for inserting the drone battery.
- Power Button: To turn the drone on/off.
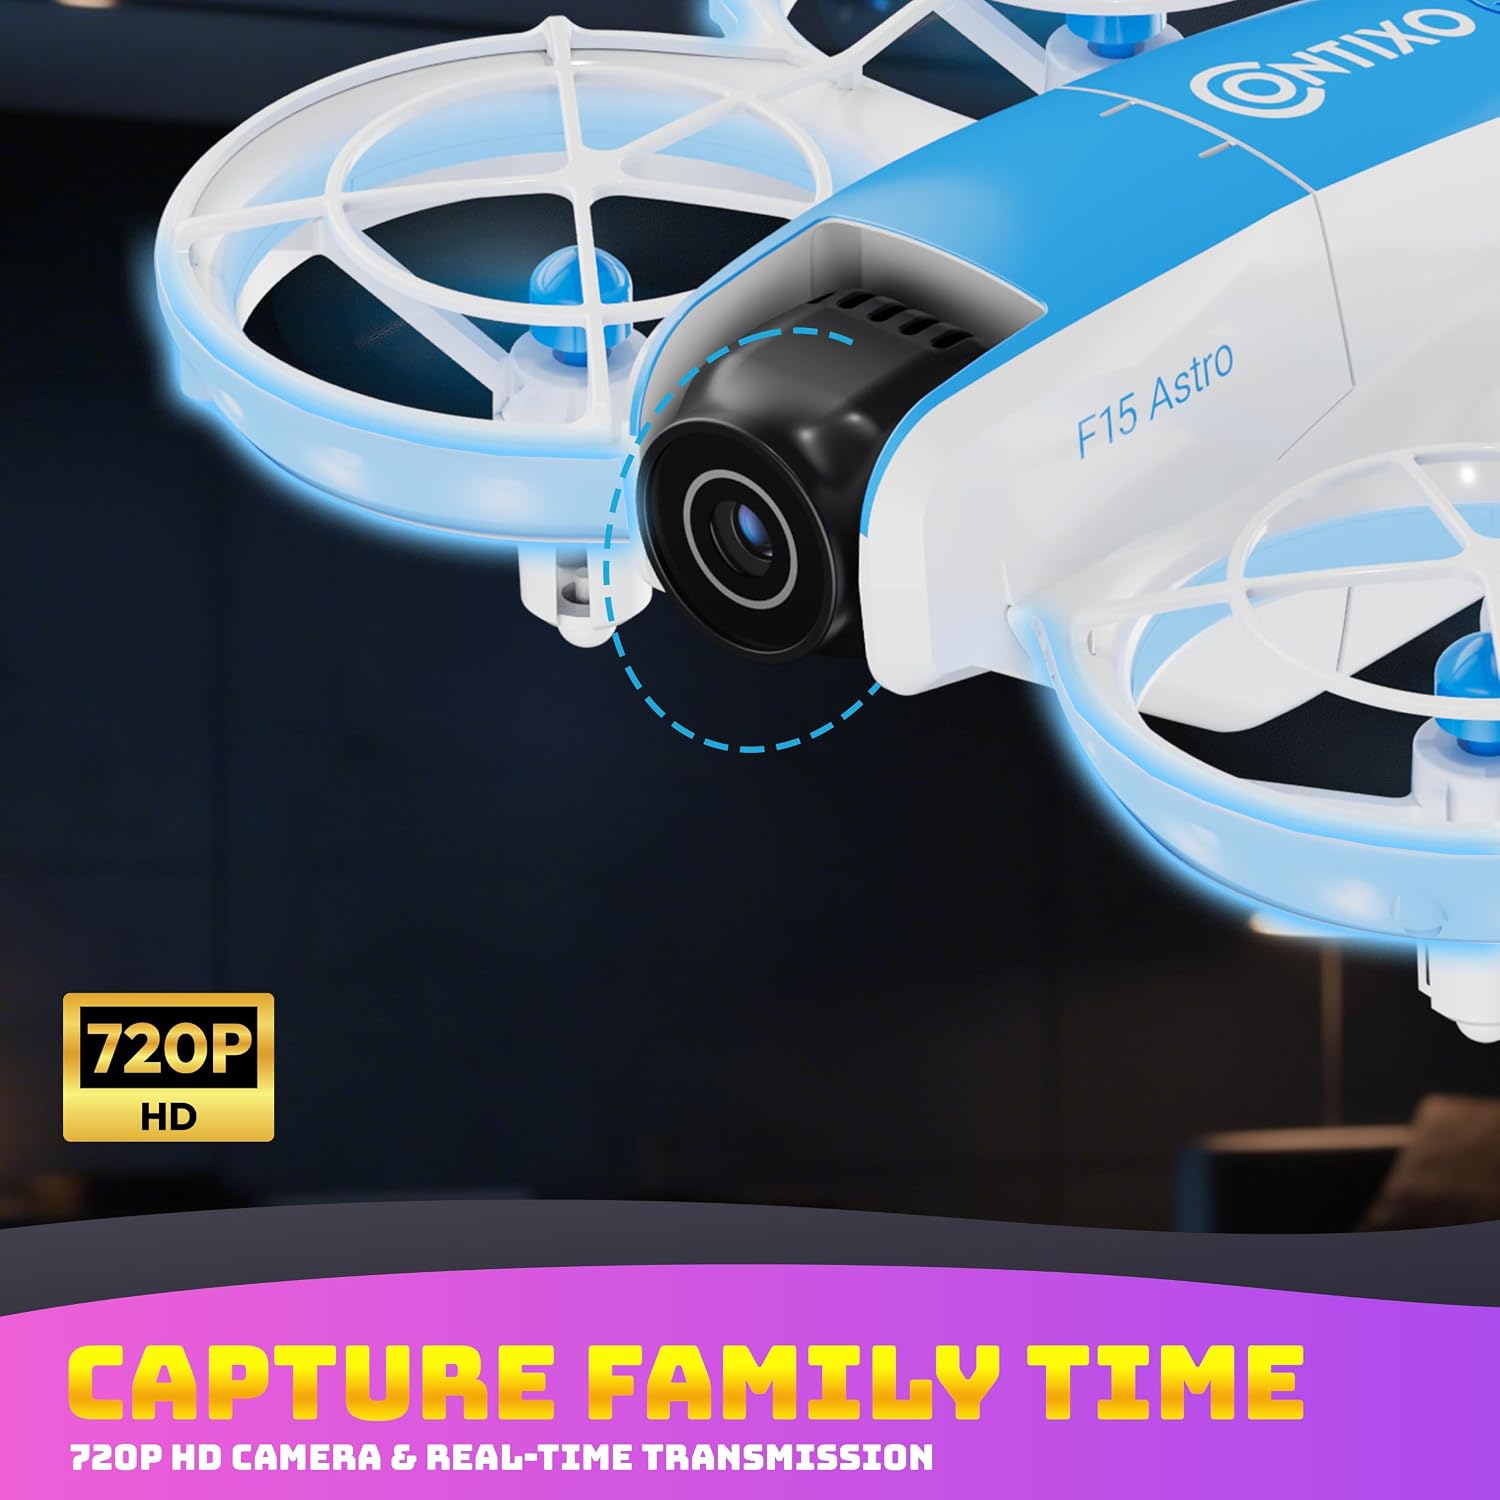
Image: A detailed view of the drone's front, highlighting the 720P HD camera with its adjustable tilt feature.
3.2 Remote Controller Components
- 2.4-inch Screen: Displays live video feed from the drone.
- Left Joystick: Controls altitude (up/down) and rotation (left/right).
- Right Joystick: Controls forward/backward and left/right movement.
- One-Key Takeoff/Landing Button: Initiates automatic takeoff or landing.
- Speed Switch Button: Adjusts flight speed (low/medium/high).
- 360° Flip Button: Activates stunt mode for aerial flips.
- Photo/Video Button: Captures images or starts/stops video recording.
- Calibration Button: Used for gyroscope and GPS calibration.
- Power Button: To turn the remote on/off.
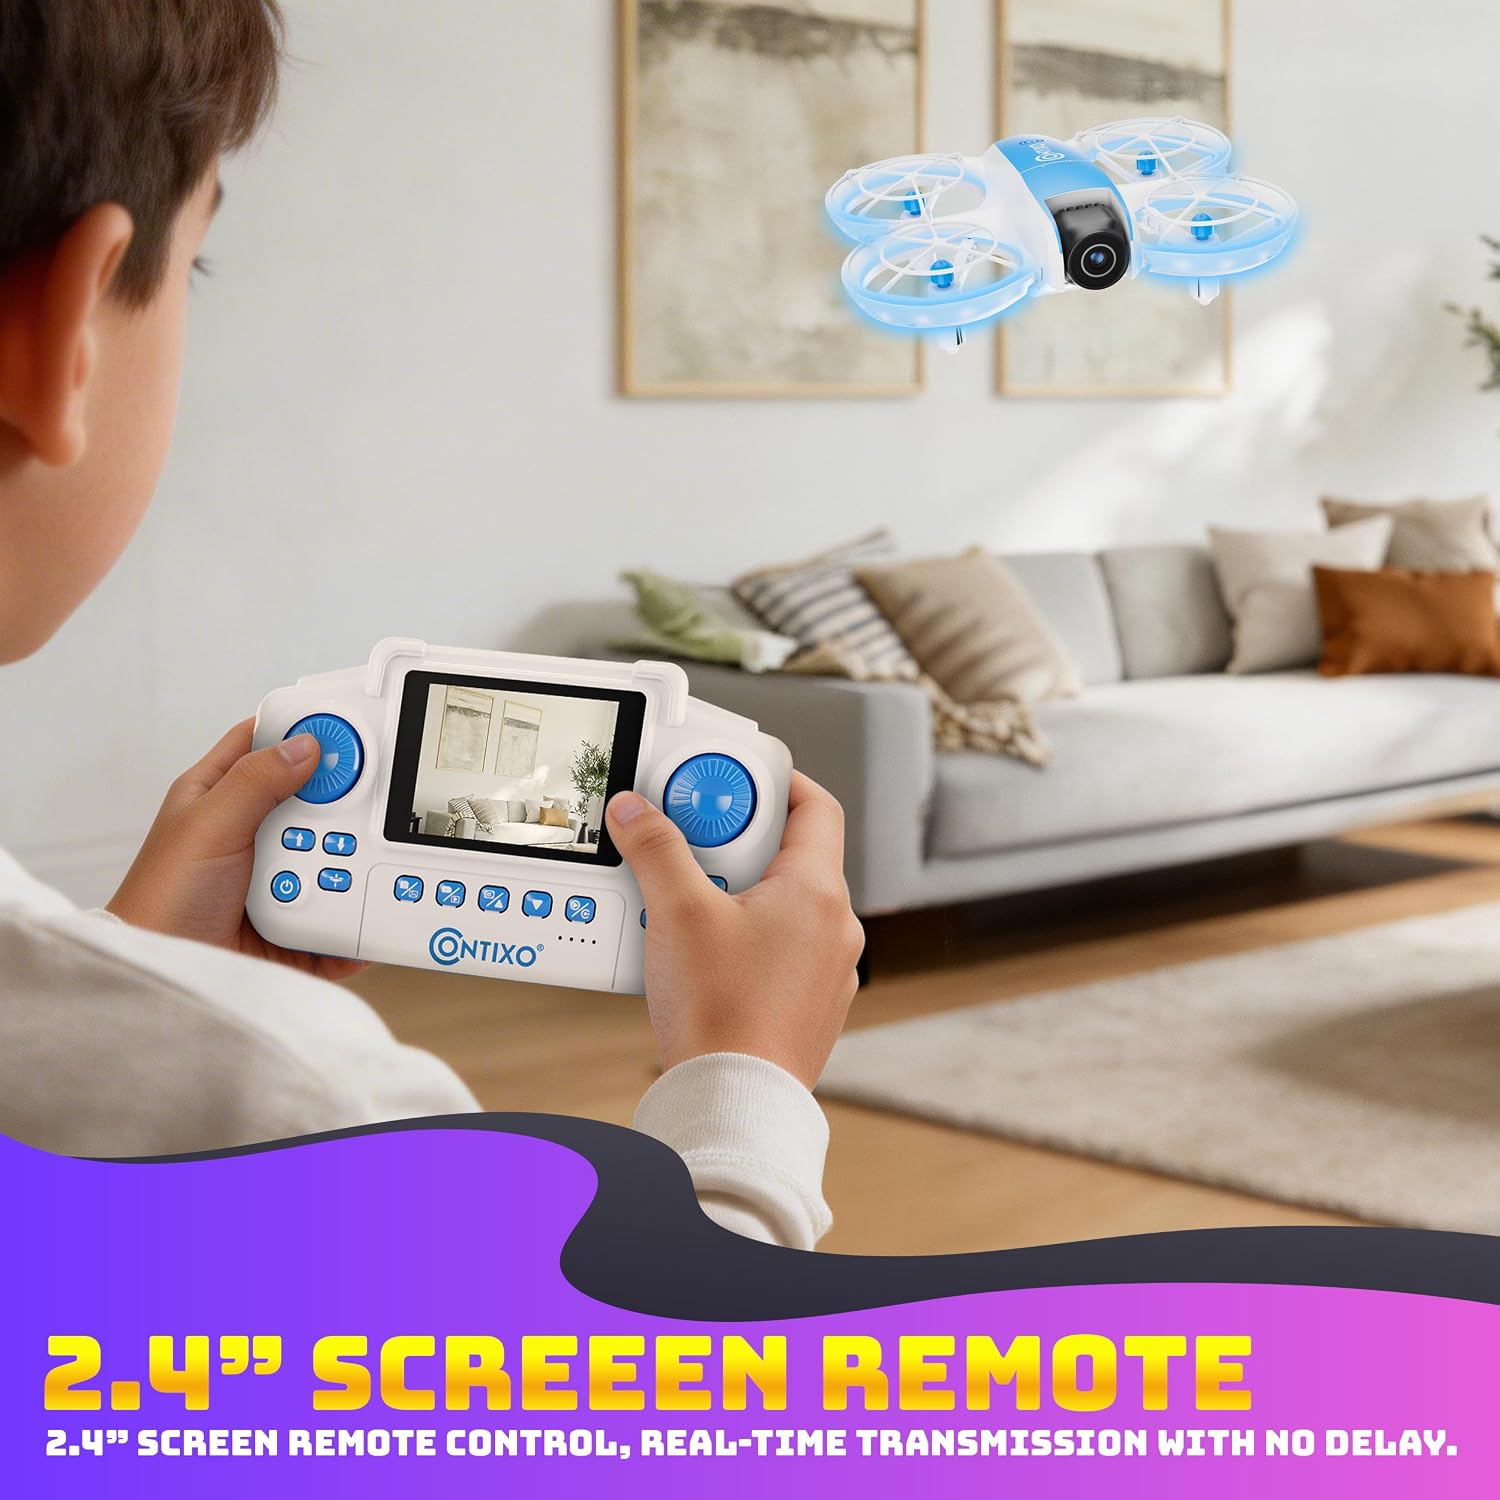
Image: A user holding the remote controller, demonstrating the integrated 2.4-inch screen displaying the drone's live video feed.
Video: A demonstration of the F15 drone's features and flight capabilities, including the remote control interface.
4. Charging Batteries
4.1 Drone Battery Charging
- Remove the drone battery from the drone.
- Connect the drone battery to the USB charging cable.
- Plug the USB charging cable into a USB power adapter (not included) or a computer USB port.
- The indicator light on the charging cable will show charging status (e.g., red for charging, green for fully charged).
- Charging typically takes approximately 60-90 minutes. Do not overcharge.
4.2 Remote Controller Charging
- Connect the USB charging cable to the charging port on the remote controller.
- Plug the USB charging cable into a USB power adapter or a computer USB port.
- The remote controller's indicator lights will show charging status.
- Charging typically takes approximately 45-60 minutes.
Important: Always use the provided USB charging cable. Do not leave charging batteries unattended.
5. Setup
5.1 Installing Propeller Guards
- Identify the four propeller guards.
- Align each guard with the corresponding arm of the drone.
- Gently snap or screw the guards into place. Ensure they are securely attached to prevent detachment during flight.

Image: The drone with its propeller guards fully installed, illustrating the protective design.
5.2 Installing Drone Battery
- Ensure the drone is powered off.
- Locate the battery compartment on the drone.
- Insert the fully charged drone battery into the compartment, ensuring it clicks into place.
5.3 Remote Control Preparation
- Ensure the remote controller is fully charged.
- If using a Micro SD card for recording, insert it into the designated slot on the drone (card not included).
6. Operating Instructions
6.1 Power On and Pairing
- Place the drone on a flat, level surface.
- Press and hold the power button on the drone until the LED lights illuminate.
- Press and hold the power button on the remote controller until it powers on.
- The drone and remote will automatically pair. The drone's LED lights will stop flashing and remain solid, and the remote screen will display the live video feed.
6.2 Calibration
- After pairing, press the Calibration button on the remote controller.
- The drone's lights will flash rapidly during calibration.
- Once calibration is complete, the lights will become solid. This ensures stable flight.
Video: A step-by-step guide on how to use the Contixo F15 Astro Drone, including pairing and calibration.
6.3 Takeoff and Landing
- One-Key Takeoff: Press the One-Key Takeoff/Landing button. The drone will automatically ascend to a stable hovering height.
- One-Key Landing: Press the One-Key Takeoff/Landing button again. The drone will automatically descend and land gently.

Image: The drone illustrating the simplicity of one-touch takeoff and landing with directional arrows.
6.4 Basic Flight Controls
- Altitude: Push the Left Joystick up to ascend, pull down to descend.
- Rotation: Push the Left Joystick left or right to rotate the drone counter-clockwise or clockwise.
- Forward/Backward: Push the Right Joystick up to fly forward, pull down to fly backward.
- Left/Right Movement: Push the Right Joystick left or right to fly sideways (strafe).
- Speed Adjustment: Press the Speed Switch Button to cycle through low, medium, and high-speed modes.
6.5 Advanced Flight Features
- Optical Flow Hover: The drone uses a downward-facing sensor to maintain its position stably, especially indoors.
- 360° Flips: While flying, press the 360° Flip Button, then push the Right Joystick in any direction to perform an aerial flip.
- Gesture Selfie: (If supported by firmware) Perform specific hand gestures in front of the camera to trigger photo or video capture. Refer to on-screen prompts or additional documentation for specific gestures.
- Flight Path Drawing: (If supported by firmware) On the remote's screen, you may be able to draw a flight path, and the drone will follow it.

Image: The drone performing a 360-degree flip, demonstrating its stunt capabilities.
6.6 Camera Operation
- Live Video: The 2.4-inch screen on the remote displays real-time video from the drone's camera.
- Take Photo: Press the Photo/Video button once to capture a still image.
- Record Video: Press and hold the Photo/Video button to start video recording. Press again to stop.
- Adjust Camera Angle: The camera's tilt can be manually adjusted before flight to achieve different perspectives.
7. Maintenance
7.1 Propeller Replacement
- If a propeller is damaged, carefully remove it using the provided screwdriver.
- Ensure to replace it with a new propeller of the correct type (A or B, usually marked on the propeller and drone arm).
- Securely fasten the new propeller with the screw.
7.2 Cleaning
- Use a soft, dry cloth to clean the drone and remote controller.
- Avoid using water or solvents, as they may damage electronic components.
- Gently clean the camera lens with a microfiber cloth if needed.
7.3 Storage
- Store the drone and remote in a cool, dry place away from direct sunlight.
- Remove batteries from the drone and remote if storing for extended periods.
- Charge batteries to approximately 50% before long-term storage to prolong battery life.
8. Troubleshooting
| Problem | Possible Cause | Solution |
|---|---|---|
| Drone does not power on | Battery not charged or incorrectly installed. | Ensure battery is fully charged and correctly inserted. |
| Drone does not respond to remote | Not paired or out of range. | Re-pair the drone and remote. Ensure drone is within operating range. |
| Unstable flight/Drifting | Drone not calibrated or uneven surface at takeoff. | Perform gyroscope calibration on a flat surface. |
| Poor video quality/No live feed | Weak Wi-Fi signal or camera issue. | Ensure drone is close to the remote. Check for obstructions. Restart drone and remote. |
| Short flight time | Battery not fully charged or aged battery. | Fully charge batteries before each flight. Consider replacing old batteries. |
9. Specifications
- Model Name: F15 Astro
- Brand: Contixo
- Video Capture Resolution: 720p
- Effective Still Resolution: 0.92 MP
- Connectivity Technology: Wi-Fi
- Control Type: Remote Control (2.4-inch screen)
- Battery Capacity: 580 mAh (per drone battery)
- Special Features: Optical Flow Hovering, One-Key Takeoff/Landing, Gesture Selfie, Flight Path Drawing, 360° Stunts
- Item Dimensions (L x W x H): 10" x 7" x 2"
- Age Range (Description): Kid (suitable for beginners)
10. Safety Guidelines
- Always operate the drone in open, clear areas, away from people, animals, and obstacles.
- Do not fly near airports, restricted airspace, or sensitive areas.
- Maintain a safe distance from the drone during operation.
- Ensure propeller guards are installed for added safety, especially for beginners.
- Do not fly in strong winds or adverse weather conditions.
- Supervise children during drone operation.
- Avoid touching the propellers when they are spinning.
- Turn off the drone and remote when not in use.
- Follow all local regulations and laws regarding drone operation.
11. Warranty and Support
For warranty information, technical support, or service inquiries, please refer to the official Contixo website or contact their customer service department. Keep your purchase receipt as proof of purchase for warranty claims.
Contixo Customer Service: Please visit www.contixo.com for contact details and support resources.
