
1. Introduction
This manual provides detailed instructions for the assembly, operation, maintenance, and troubleshooting of your RUOPSIGF Raised Garden Beds. Designed for durability and ease of use, this elevated planter box kit is suitable for various outdoor environments such as backyards, patios, and balconies. Please read this manual thoroughly before assembly and use to ensure proper setup and longevity of your product.
2. Safety Information
- Ensure all components are securely fastened during assembly to prevent instability.
- Place the garden bed on a flat, stable surface to avoid tipping.
- Do not overload the garden bed with excessive soil or heavy objects, as this may compromise its structural integrity.
- Keep small children and pets away from the assembly area to prevent accidents.
- Regularly inspect the garden bed for any signs of wear or damage. Discontinue use if significant damage is observed.
- This product is intended for outdoor use.
3. Package Contents
Verify that all parts listed below are present before beginning assembly. If any parts are missing or damaged, please contact customer support.

Image 3.1: Overview of all components included in the RUOPSIGF Raised Garden Bed kit. This includes the main planter panels, base plates with drainage holes, support legs, and connecting accessories.
- 4x Raised Garden Bed Sections (panels and bases)
- Support Legs and Connectors
- Sealing Strips
- English Installation Manual
- Other necessary accessories for installation
4. Assembly Instructions
Assembly of the RUOPSIGF Raised Garden Beds is designed to be straightforward. No specialized tools are required. Follow these steps carefully:
- Unpack Components: Carefully remove all parts from the packaging and lay them out on a clean, flat surface. Refer to Image 3.1 to identify each component.
- Assemble Planter Sections: Connect the side panels of each garden bed section. Ensure the interlocking mechanisms are fully engaged.
- Attach Base Plates: Securely attach the base plates to the bottom of each assembled planter section. These bases include drainage holes.
- Install Support Legs: Attach the elevated support legs to the designated points on the bottom of each planter section. Ensure they are firmly in place for stability.
- Connect Multiple Sections (Optional): If assembling multiple garden bed sections, use the provided connectors and sealing strips to join them together. The sealing strips enhance structural stability and aesthetic appeal.
- Final Check: Once assembled, gently shake the structure to ensure all connections are secure and the garden bed is stable.
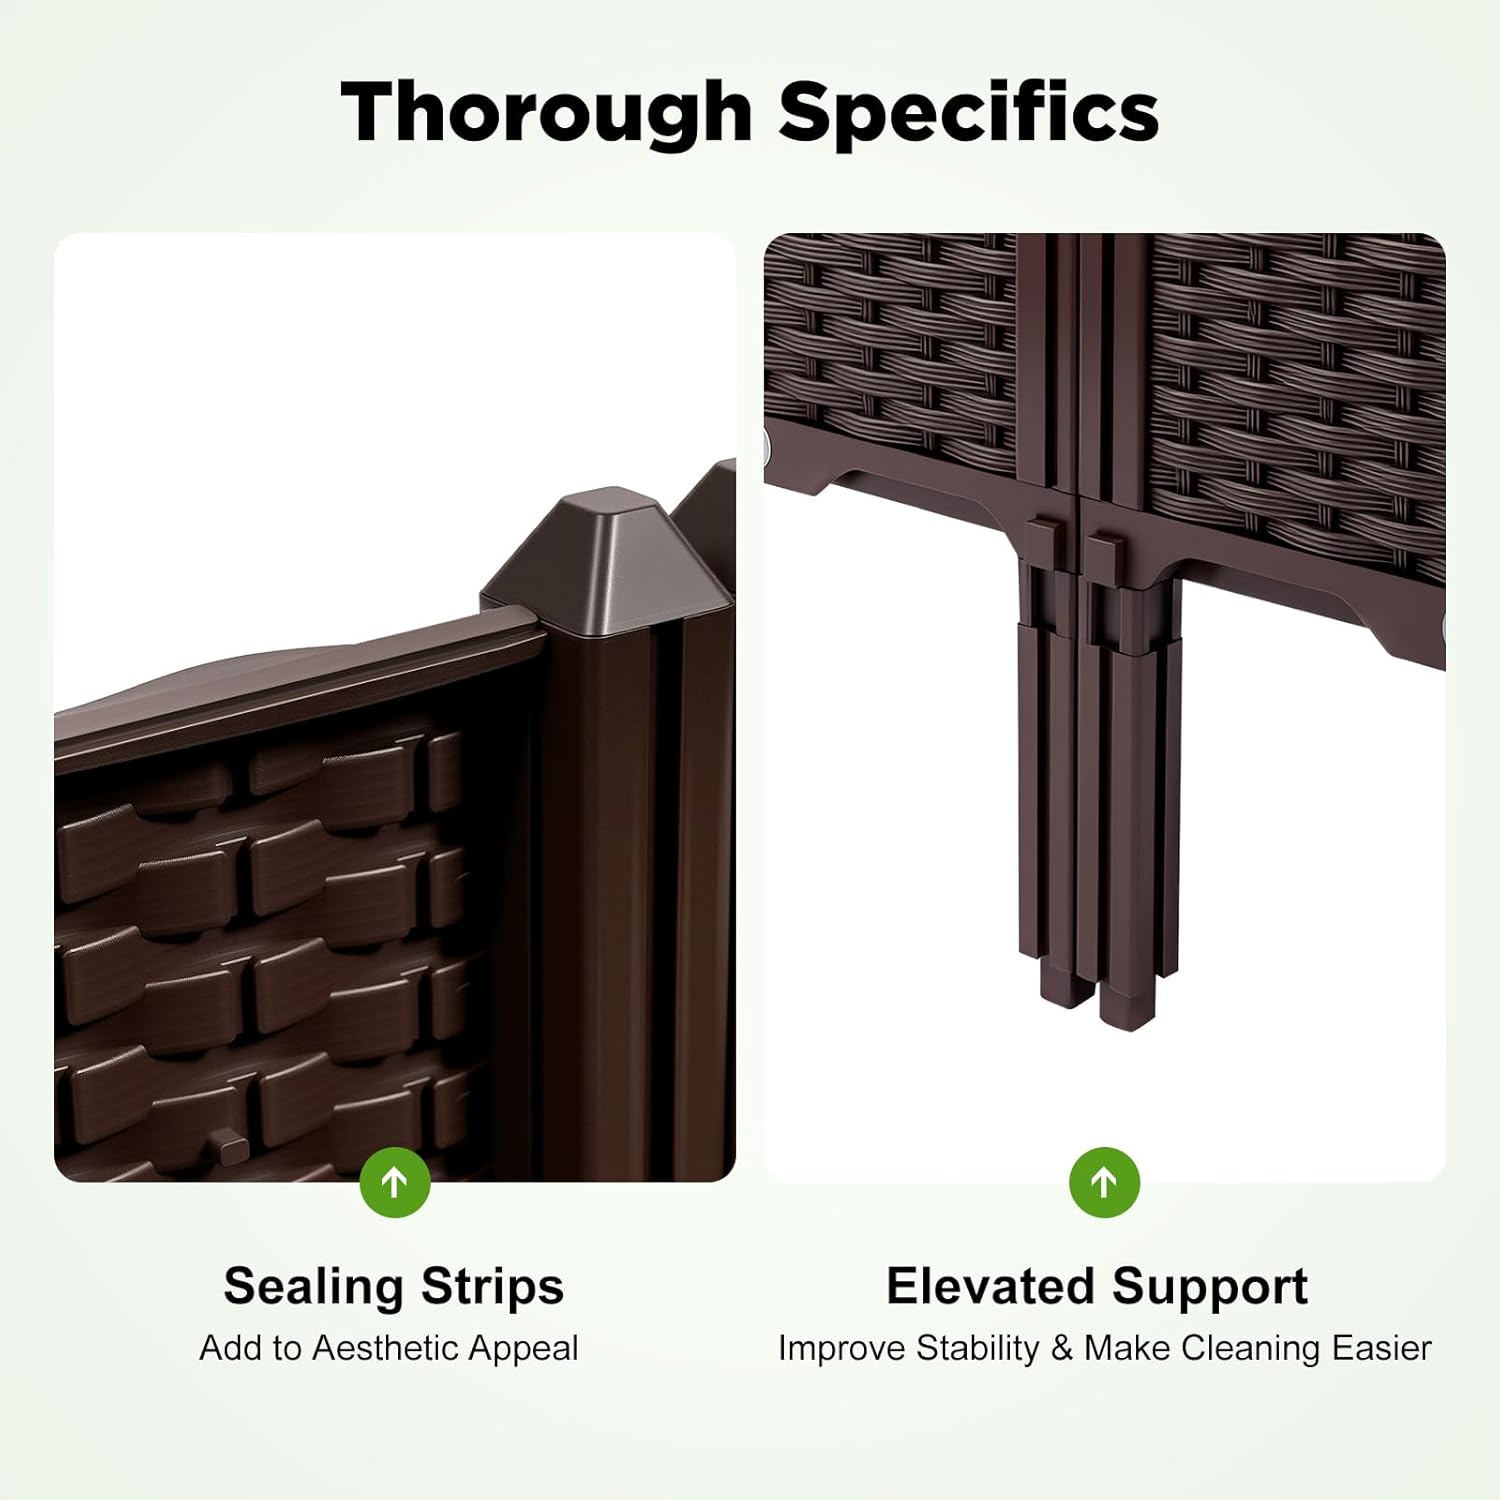
Image 4.1: Detail showing the sealing strips for enhanced structural integrity and the elevated support legs for stability and ease of cleaning.
5. Usage Guidelines
Your RUOPSIGF Raised Garden Beds provide an ideal environment for growing various plants, vegetables, fruits, and herbs.
- Filling with Soil: Fill the garden bed with an appropriate amount of soil. Ensure sufficient soil is used to provide stability for the structure.
- Planting: The spacious 61.4" x 14.96" x 15.35" planting area and 5.9" soil depth accommodate a wide variety of root systems. Plant your desired crops according to their specific needs.
- Drainage: Strategically placed drainage holes in the base prevent waterlogging by efficiently channeling excess moisture, promoting optimal plant health.
- Pest Protection: The elevated design creates a natural barrier against ground-dwelling pests such as rabbits and slugs, helping to protect your plants.
- Comfortable Access: The 15.35-inch height allows for comfortable planting and harvesting without excessive bending.

Image 5.1: Example of different types of plants, including vegetables, fruits, and herbs, thriving in the raised garden beds.

Image 5.2: The 15.35-inch height of the garden bed allows for easy access for gardening activities and helps safeguard crops from small animals.
6. Maintenance
The RUOPSIGF Raised Garden Beds are constructed from durable PP material, designed for low maintenance and long-lasting performance.
- Cleaning: The smooth surfaces and rounded edges make cleaning effortless. Simply wipe the garden bed with a damp cloth to remove dirt or debris.
- Material Durability: The premium-grade PP material is resistant to heat, cold, and water, ensuring it withstands various outdoor elements without rusting or rotting.
- Seasonal Care: While the material is robust, consider emptying the soil and storing the garden bed in a sheltered area during extreme winter conditions to prolong its lifespan.

Image 6.1: The PP material construction provides excellent heat endurance and cold prevention, making the garden bed suitable for various climates.
7. Troubleshooting
- Instability after Assembly:
Solution: Ensure all connecting points and support legs are fully engaged and tightened. Verify that the garden bed is placed on a level surface. Confirm that enough soil has been added to the box, as this contributes to overall stability. - Poor Drainage:
Solution: Check if the drainage holes at the bottom of the planter sections are clear of obstructions. Ensure the soil used is well-draining. - Parts Not Fitting:
Solution: Double-check the assembly instructions and ensure you are using the correct parts for each step. If a part appears defective, contact customer support.
8. Specifications
| Feature | Detail |
|---|---|
| Model Number | B0GTZ7P7V6 |
| Material | Polypropylene (PP) |
| Color | Brown |
| Shape | Rectangular |
| Product Dimensions (L x W x H) | 156 cm x 38 cm x 39 cm (61.41" x 14.96" x 15.35") |
| Planting Box Height | 15 cm (5.9") |
| Net Weight | 6.75 kg (14.88 lbs) |
| Mounting Type | Floor Standing |
| Special Feature | Raised Legs, Drainage Holes |
| Indoor/Outdoor Usage | Outdoor |

Image 8.1: Dimensional overview of the RUOPSIGF Raised Garden Bed, indicating length, width, and height measurements.
9. Customer Support
For any questions, concerns, or assistance regarding your RUOPSIGF Raised Garden Beds, please contact our customer service team. We are committed to providing reliable support for your purchase.
Please refer to your purchase documentation or the retailer's website for specific contact information.