
1. Introduction
Thank you for purchasing the VISSPL Mini Projector (Model V16). This manual provides essential information for the safe and efficient use of your projector. Please read it thoroughly before operation and retain it for future reference.
Safety Precautions
- Do not look directly into the projector lens when the lamp is on.
- Ensure proper ventilation around the projector to prevent overheating.
- Keep the projector away from water or other liquids.
- Use only the power adapter supplied with the projector.
- Avoid placing the projector on unstable surfaces.
2. Package Contents
Please check that all items are present in your package:
- VISSPL Mini Projector (Model V16)
- Power Adapter
- Remote Control
- HDMI Cable
- Mini Tripod
- User Manual
3. Product Overview
The VISSPL Mini Projector V16 is a compact and portable device designed for various entertainment and presentation needs. Its small size and lightweight design make it easy to transport and set up.
Projector Features
- Compact Design: Measuring approximately 6.1 x 5.08 x 2.4 inches and weighing 1.1 lb.
- Full HD 1080P Support: Delivers clear and vibrant visuals.
- Built-in HiFi Speaker: Provides integrated audio.
- Multiple Connectivity Options: HDMI, USB, AV, and Audio ports.
- Long Lamp Life: LED lamp designed for over 55,000 hours of use.
Projector Layout

Figure 3.1: Front view of the VISSPL Mini Projector, showing the lens and ventilation.
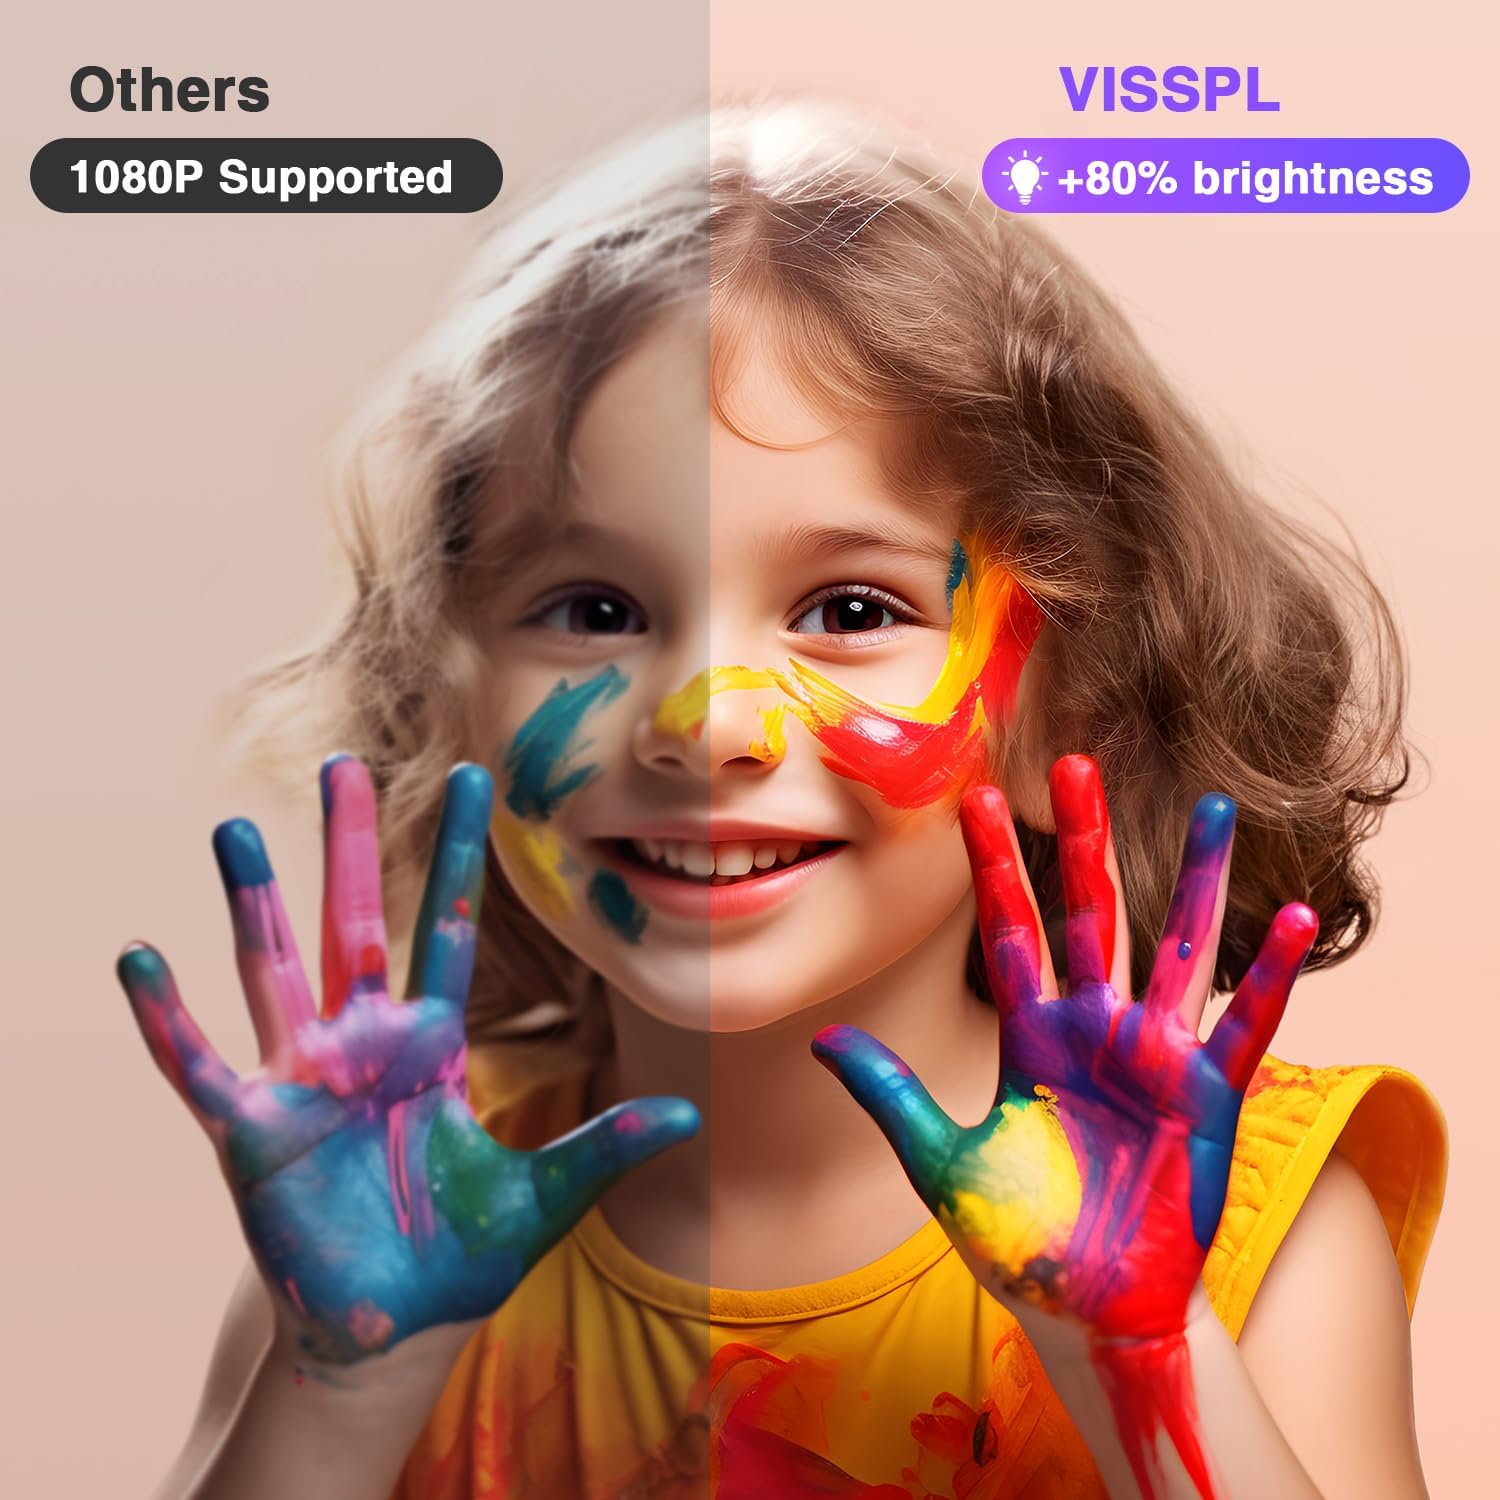
Figure 3.2: Side view of the VISSPL Mini Projector, highlighting the various input and output ports.
4. Setup
4.1 Placement
For optimal viewing experience, place the projector in a dark environment. The projector supports a screen size range of 35 to 160 inches. Adjust the distance from the projection surface to achieve your desired screen size.

Figure 4.1: Illustration of various projection screen sizes achievable with the VISSPL Mini Projector.
4.2 Power Connection
- Connect the power adapter to the projector's power input port.
- Plug the power adapter into a wall outlet.
- Press the power button on the projector or remote control to turn on the device.
4.3 Focus and Keystone Correction
After powering on, adjust the focus and keystone correction for a clear and rectangular image.
- Focus: Rotate the focus ring on the projector lens until the image appears sharp.
- Keystone Correction: Use the ±15° keystone correction feature to adjust the image shape if it appears trapezoidal. This can be done via a knob on the projector.

Figure 4.2: Visual representation of keystone correction, adjusting the image to be rectangular.
5. Operating the Projector
5.1 Basic Operation
- Power On/Off: Press the power button on the projector or remote.
- Source Selection: Use the 'Source' button on the remote or projector to select the input source (HDMI, USB, AV).
- Volume Control: Adjust the volume using the +/- buttons on the remote.
5.2 Menu Navigation
Use the arrow keys and 'OK' button on the remote to navigate the projector's on-screen menu for settings adjustments.
6. Device Connectivity
The VISSPL Mini Projector offers multiple input options for connecting various devices.

Figure 6.1: Diagram illustrating how to connect various devices such as smartphones, laptops, gaming consoles, and USB drives to the projector.
6.1 Connecting to Smartphones (Android/iOS)
To connect your smartphone, an external HDMI adapter is required (not included). Connect the adapter to your phone, then use an HDMI cable to connect the adapter to the projector's HDMI port.

Figure 6.2: The VISSPL Mini Projector connected to a smartphone, demonstrating a typical setup for mobile device projection.
6.2 Connecting to Laptops/PCs
Use an HDMI cable to connect your laptop or PC to the projector's HDMI port. Select 'HDMI' as the input source on the projector.
6.3 Connecting to Gaming Consoles (e.g., PS5)
Connect your gaming console to the projector via an HDMI cable. Select 'HDMI' as the input source.
6.4 Connecting to TV Sticks (e.g., Fire Stick)
Plug your TV stick directly into the projector's HDMI port. Power the TV stick if necessary (some may draw power from the USB port on the projector, others require external power). Select 'HDMI' as the input source.
Note: Due to HDCP copyright issues, streaming services like Netflix, Disney+, and Hulu prohibit direct playback from the projector when connected via certain methods. For these services, it is recommended to use a TV Stick.
6.5 Connecting to USB Drives
Insert a USB drive into the projector's USB port. Select 'USB' as the input source to browse and play media files.
6.6 External Audio Output
To connect external speakers, use an audio cable to connect the projector's Audio Out port to your speaker system.
7. Maintenance
7.1 Cleaning the Lens
Use a soft, lint-free cloth specifically designed for optical lenses to gently wipe the projector lens. Avoid using abrasive cleaners or excessive force.
7.2 Cleaning the Vents
Regularly check and clean the projector's ventilation openings to ensure proper airflow and prevent overheating. Use a soft brush or compressed air to remove dust accumulation.
7.3 Storage
When not in use, store the projector in a cool, dry place, away from direct sunlight and extreme temperatures. If storing for an extended period, consider using the original packaging or a protective case.
8. Troubleshooting
If you encounter issues with your VISSPL Mini Projector, refer to the following common problems and solutions:
| Problem | Possible Cause | Solution |
|---|---|---|
| No image on screen | Power not connected; Incorrect input source; Loose cable connection | Check power cable; Select correct input source (HDMI, USB, AV); Ensure cables are securely connected. |
| Image is blurry | Focus not adjusted; Projector too close/far | Adjust the focus ring; Adjust projector distance from screen. |
| Image is trapezoidal | Keystone not adjusted | Adjust the keystone correction knob. |
| No sound | Volume too low; External speakers not connected/powered; Muted | Increase volume; Check external speaker connection/power; Unmute projector. |
| Remote control not working | Batteries low/dead; Obstruction between remote and projector | Replace batteries (AAA required); Remove any obstructions. |
| Cannot play Netflix/Disney+/Hulu | HDCP copyright protection | Use a TV Stick (e.g., Fire Stick) for these streaming services. |
9. Specifications
The following table outlines the key technical specifications for the VISSPL Mini Projector (Model V16):
| Feature | Detail |
|---|---|
| Brand | VISSPL |
| Model Number | V16 |
| Display Resolution Maximum | 1920 x 1080 (1080P Supported) |
| Color | Cloud White |
| Light Source Operating Life | 55000 hours |
| Minimum Image Size | 35 inches |
| Maximum Image Size | 160 inches |
| Hardware Connectivity | AV Port, HDMI, USB |
| Unit Count | 1 Count |
| Manufacturer | VISSPL |
10. Warranty & Support
Technical Support
VISSPL offers Lifetime Technical Support for all its products. If you encounter any problems or have questions regarding your VISSPL Mini Projector, please contact our support team for assistance.
Contact Information
For technical support or warranty inquiries, please refer to the contact details provided on the VISSPL official website or your purchase documentation.
