
1. Introduction
Thank you for choosing the Candy BC4S495M4D8-S Built-in Front Load Washer Dryer. This appliance is designed to provide efficient washing and drying performance. To ensure safe and optimal operation, please read this instruction manual thoroughly before using the appliance. Keep this manual for future reference.
The Candy ProWash&Dry 400 simplifies washing and drying tasks. Key features include:
- AI Weight Sense: Automatically adjusts each cycle based on the load weight.
- ProMix System: Ensures uniform distribution of detergent for effective cleaning.
- hOn App Connectivity: Allows remote control of washing and drying cycles via a smartphone.
- 7 Rapid Cycles: Offers quick wash and dry options to save time.
2. Safety Information
Please observe the following safety precautions to prevent damage to the appliance or injury to yourself and others:
- Ensure the appliance is properly installed and grounded by a qualified technician.
- Do not allow children to play with or operate the appliance.
- Never force the door open during operation.
- Do not wash or dry articles that have been cleaned in, washed in, soaked in, or spotted with combustible or explosive substances such as wax, oil, paint, gasoline, degreasers, dry-cleaning solvents, kerosene, etc.
- Always unplug the appliance before cleaning or performing maintenance.
- Keep the area around the appliance clear of obstructions.
- Do not install or store this appliance where it will be exposed to the weather.
3. Product Overview
The Candy BC4S495M4D8-S is a built-in washer dryer designed for seamless integration into your kitchen or utility room. It features a front-loading design and an intuitive control panel.
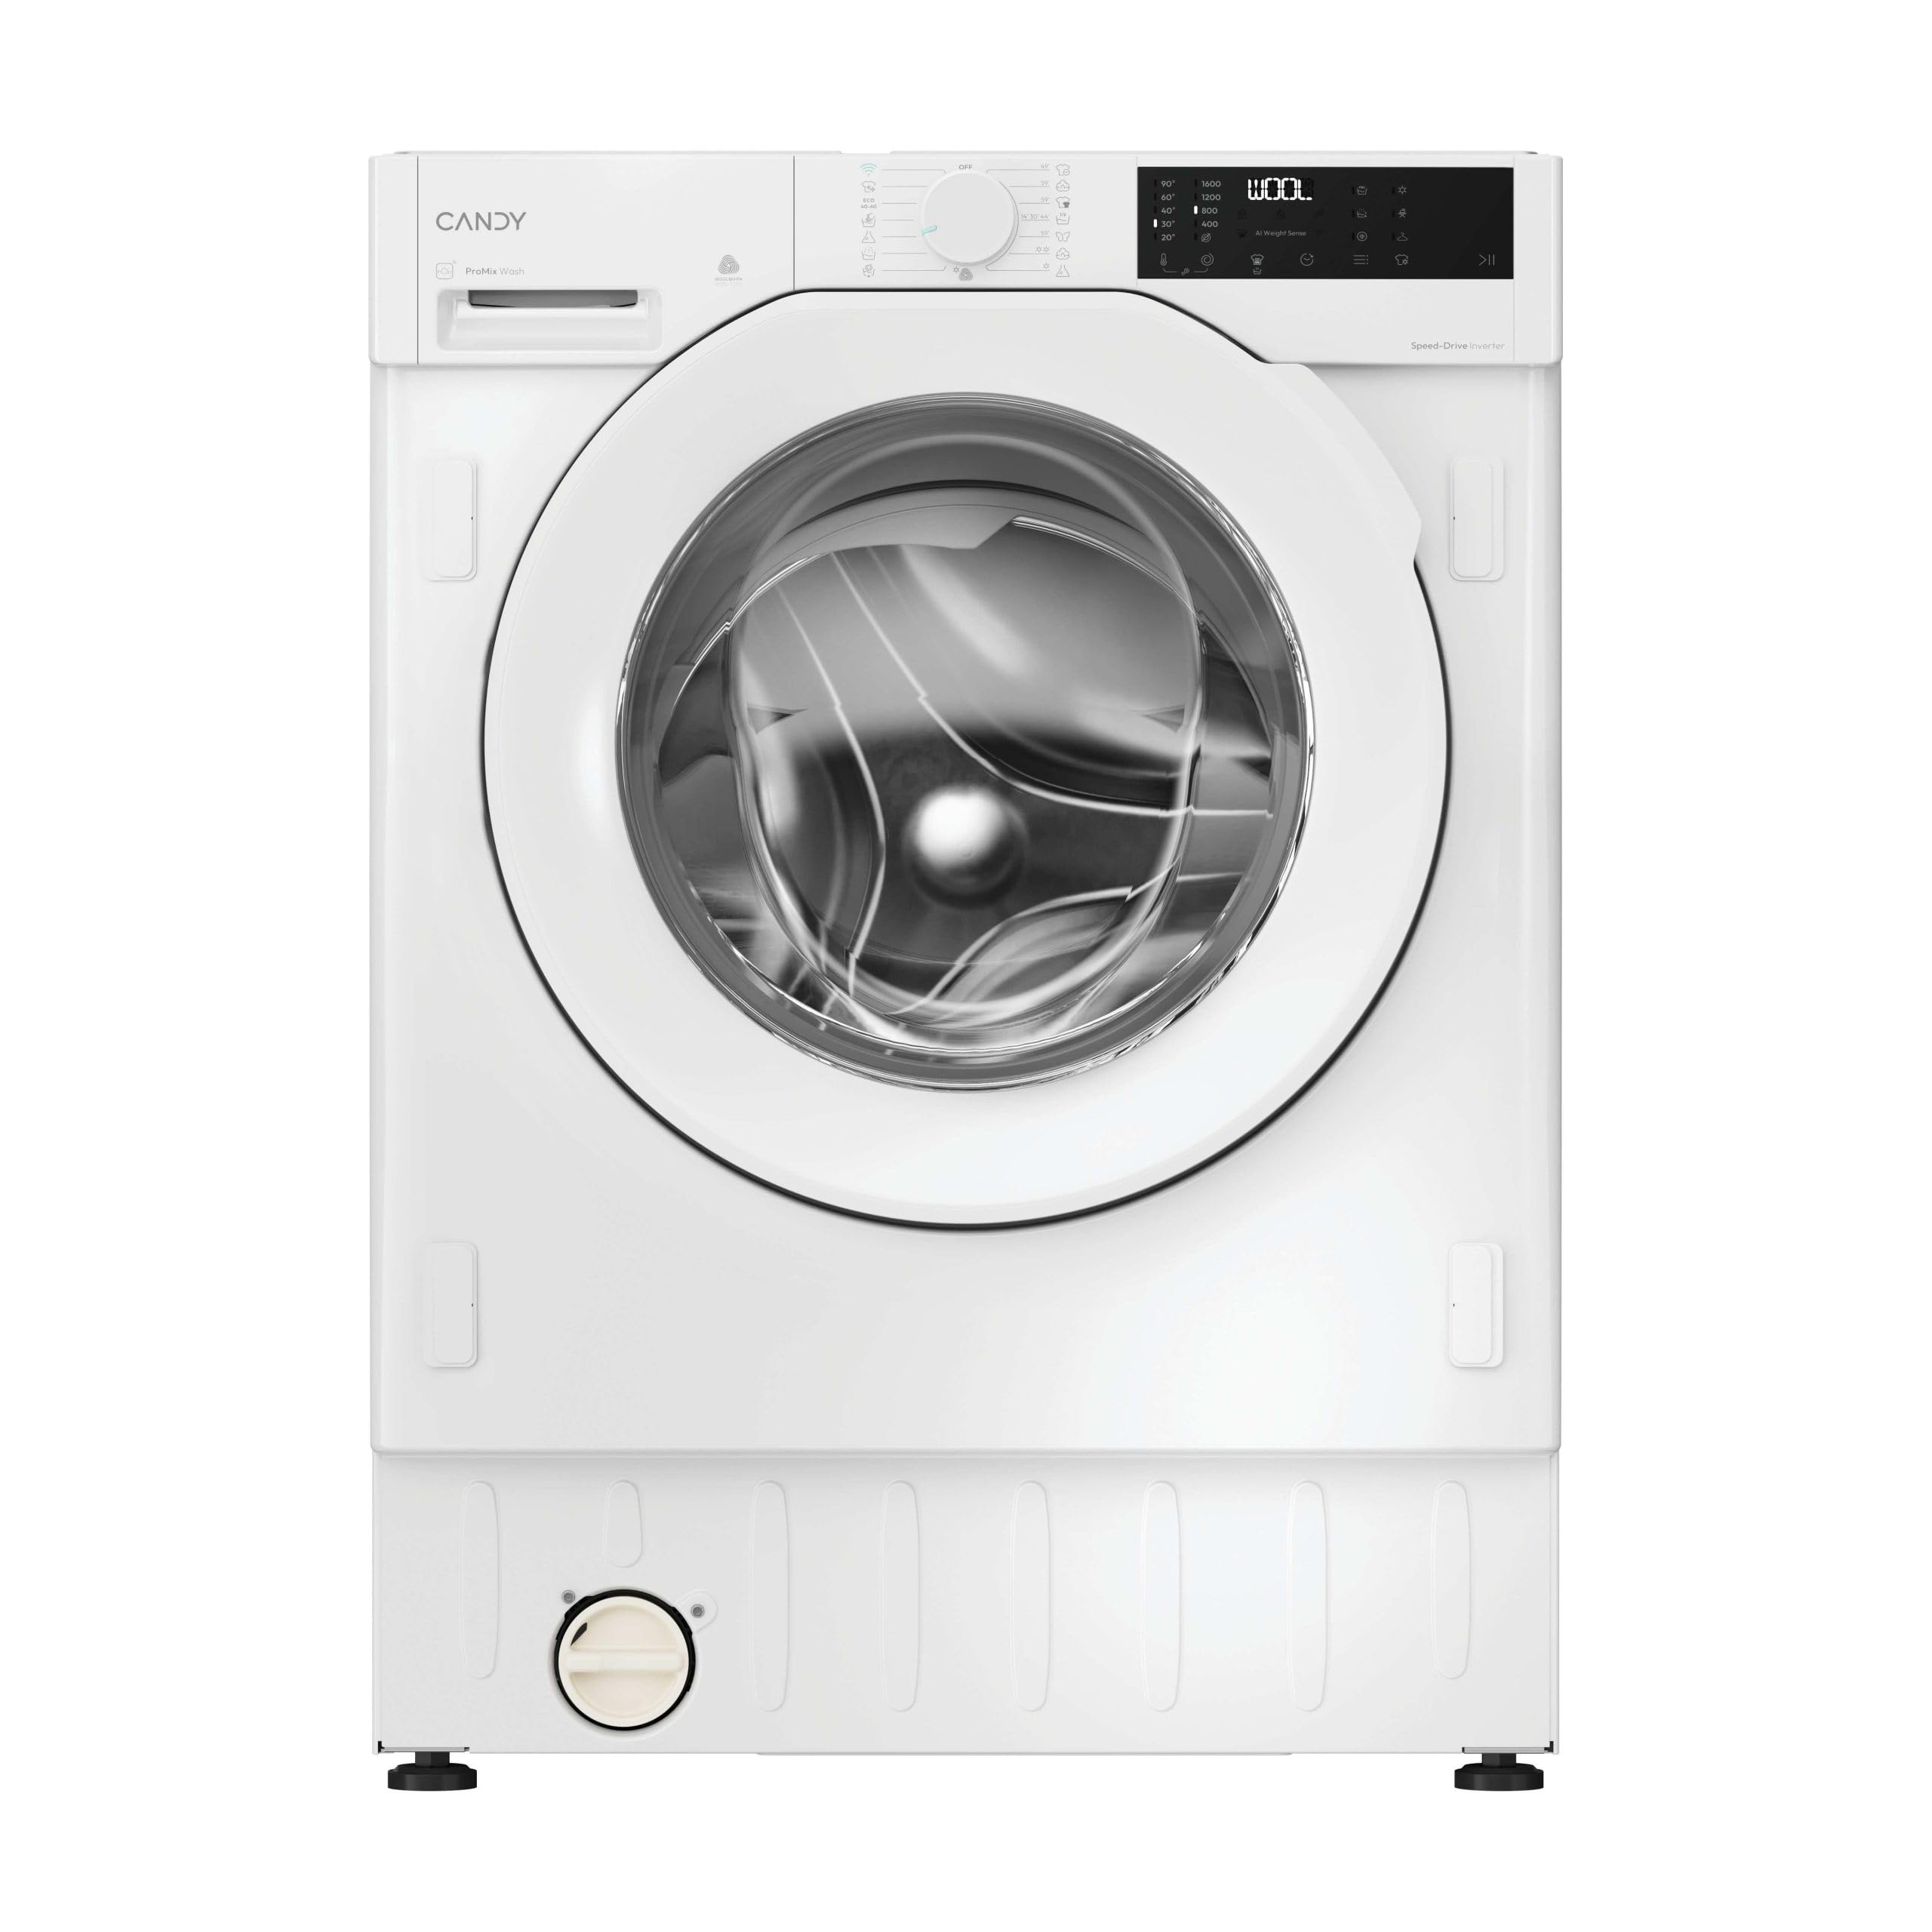
Figure 3.1: Front view of the Candy BC4S495M4D8-S Built-in Front Load Washer Dryer, showcasing its sleek design and control panel.

Figure 3.2: The washer dryer with its front door open, revealing the stainless steel drum and loading capacity.

Figure 3.3: A close-up view of the control panel, featuring the program selector dial, digital display, and various function buttons.

Figure 3.4: The washer dryer seamlessly integrated into kitchen or utility room cabinetry, with the cabinet door closed.

Figure 3.5: The washer dryer integrated into cabinetry, with the cabinet door open to show the appliance.

Figure 3.6: A wider view of the washer dryer integrated into a modern bathroom setting, demonstrating its built-in capability.
4. Setup and Installation
Proper installation is crucial for the performance and safety of your washer dryer. It is recommended that installation be performed by a qualified technician.
4.1 Unpacking
- Remove all packaging materials, including the polystyrene base and any protective film.
- Remove the transit bolts and their rubber spacers from the rear of the appliance. Keep these for future transport if needed.
4.2 Positioning
- Place the appliance on a firm, level floor.
- Adjust the feet to ensure the appliance is perfectly level. This prevents vibrations and excessive noise during operation.
4.3 Water Connection
- Connect the water inlet hose to a cold water tap with a 3/4" thread. Ensure the connection is tight to prevent leaks.
- Position the drain hose into a standpipe or secure it over the edge of a sink, ensuring it is not kinked or obstructed.
4.4 Electrical Connection
- Ensure the mains supply voltage matches the rating plate on the appliance.
- Plug the appliance into a properly grounded electrical outlet. Do not use extension cords or adapters.
5. Operating Instructions
Follow these steps for effective washing and drying:
5.1 Before First Use
- Run a short wash cycle without laundry and detergent to clean the drum.
5.2 Loading Laundry
- Sort laundry by fabric type, color, and degree of soiling.
- Open the door and load items loosely into the drum. Do not overload.
- Close the door firmly.
5.3 Adding Detergent and Additives
- Pull out the detergent drawer.
- Add the appropriate amount of detergent to the main wash compartment.
- Add fabric softener or other additives to their respective compartments if desired.
- Push the detergent drawer back in.
5.4 Selecting a Program
- Turn the program selector dial to choose the desired wash or wash & dry program.
- The display will show the default settings for the selected program.
- Use the option buttons to adjust temperature, spin speed, or add extra functions (e.g., pre-wash, extra rinse, steam function).
- For drying, select a specific drying program or add a drying option to a wash cycle.
5.5 Starting and Stopping a Program
- Press the 'Start/Pause' button to begin the cycle.
- To pause a cycle, press the 'Start/Pause' button again. Press it once more to resume.
- To cancel a program, turn the program selector dial to 'OFF' or hold the 'Start/Pause' button for a few seconds.
5.6 hOn App Connectivity
This appliance supports the hOn app for remote control and additional features. Download the hOn app from your smartphone's app store and follow the in-app instructions to connect your washer dryer.
6. Maintenance and Care
Regular maintenance ensures the longevity and efficiency of your appliance.
6.1 Cleaning the Detergent Drawer
- Remove the detergent drawer and rinse it under running water to remove any residue.
- Clean the housing of the drawer with a brush.
6.2 Cleaning the Door Seal
- Wipe the door seal after each wash to remove lint and moisture, preventing mold and odors.
6.3 Cleaning the Filter
- Periodically clean the pump filter, located at the bottom front of the appliance, to remove lint and small objects. Refer to the diagram on the appliance for exact location.
6.4 Descaling
- In hard water areas, use a suitable descaling product regularly to prevent limescale buildup.
7. Troubleshooting
If you encounter issues, consult this section before contacting service.
| Problem | Possible Cause | Solution |
|---|---|---|
| Appliance does not start | No power supply; Door not closed properly; Program not selected. | Check power plug and fuse; Ensure door is firmly closed; Select a program and press 'Start'. |
| Water not filling | Water tap closed; Inlet hose kinked; Water pressure too low. | Open water tap; Straighten hose; Check household water pressure. |
| Water not draining | Drain hose kinked or blocked; Pump filter clogged. | Check and clear drain hose; Clean pump filter. |
| Excessive vibration/noise | Transit bolts not removed; Appliance not level; Uneven load. | Remove transit bolts; Adjust leveling feet; Redistribute laundry in the drum. |
| Clothes not drying properly | Overloaded; Wrong drying program; Lint filter clogged. | Reduce load size; Select appropriate drying program; Clean lint filter. |
8. Specifications
Technical details for the Candy BC4S495M4D8-S Washer Dryer:
- Model Number: BC4S495M4D8-S
- Brand: Candy
- Dimensions (Product): 5.25 x 6 x 8.2 cm (This seems incorrect for a washer dryer, likely a typo in source data. Please refer to product packaging or official Candy website for accurate dimensions.)
- Weight (Item): 200 g (This also seems incorrect for a washer dryer, likely a typo in source data. Please refer to product packaging or official Candy website for accurate weight.)
- Color: White
- Special Functions: Mix Power System, Advanced Connectivity, Steam Function

Figure 8.1: Energy Efficiency Class A Label for the washing cycle, indicating high energy efficiency.

Figure 8.2: Energy Efficiency Class D Label for the combined wash and dry cycle.
9. Warranty and Support
For warranty information, technical support, or service requests, please refer to the warranty card included with your appliance or visit the official Candy website. You can also contact Candy customer service directly.
Online Resources: www.candy-group.com