
1. Introduction
Thank you for choosing the CHUBORY G9 Pluto GPS Drone. This manual provides essential information for the safe operation, setup, and maintenance of your drone. Please read it thoroughly before first use to ensure proper functionality and to prevent damage.
The G9 Pluto is a lightweight, foldable drone equipped with a high-definition camera featuring Electronic Image Stabilization (EIS), GPS for precise positioning and intelligent flight modes, and a dedicated controller with a 4.5-inch HD screen for real-time viewing.
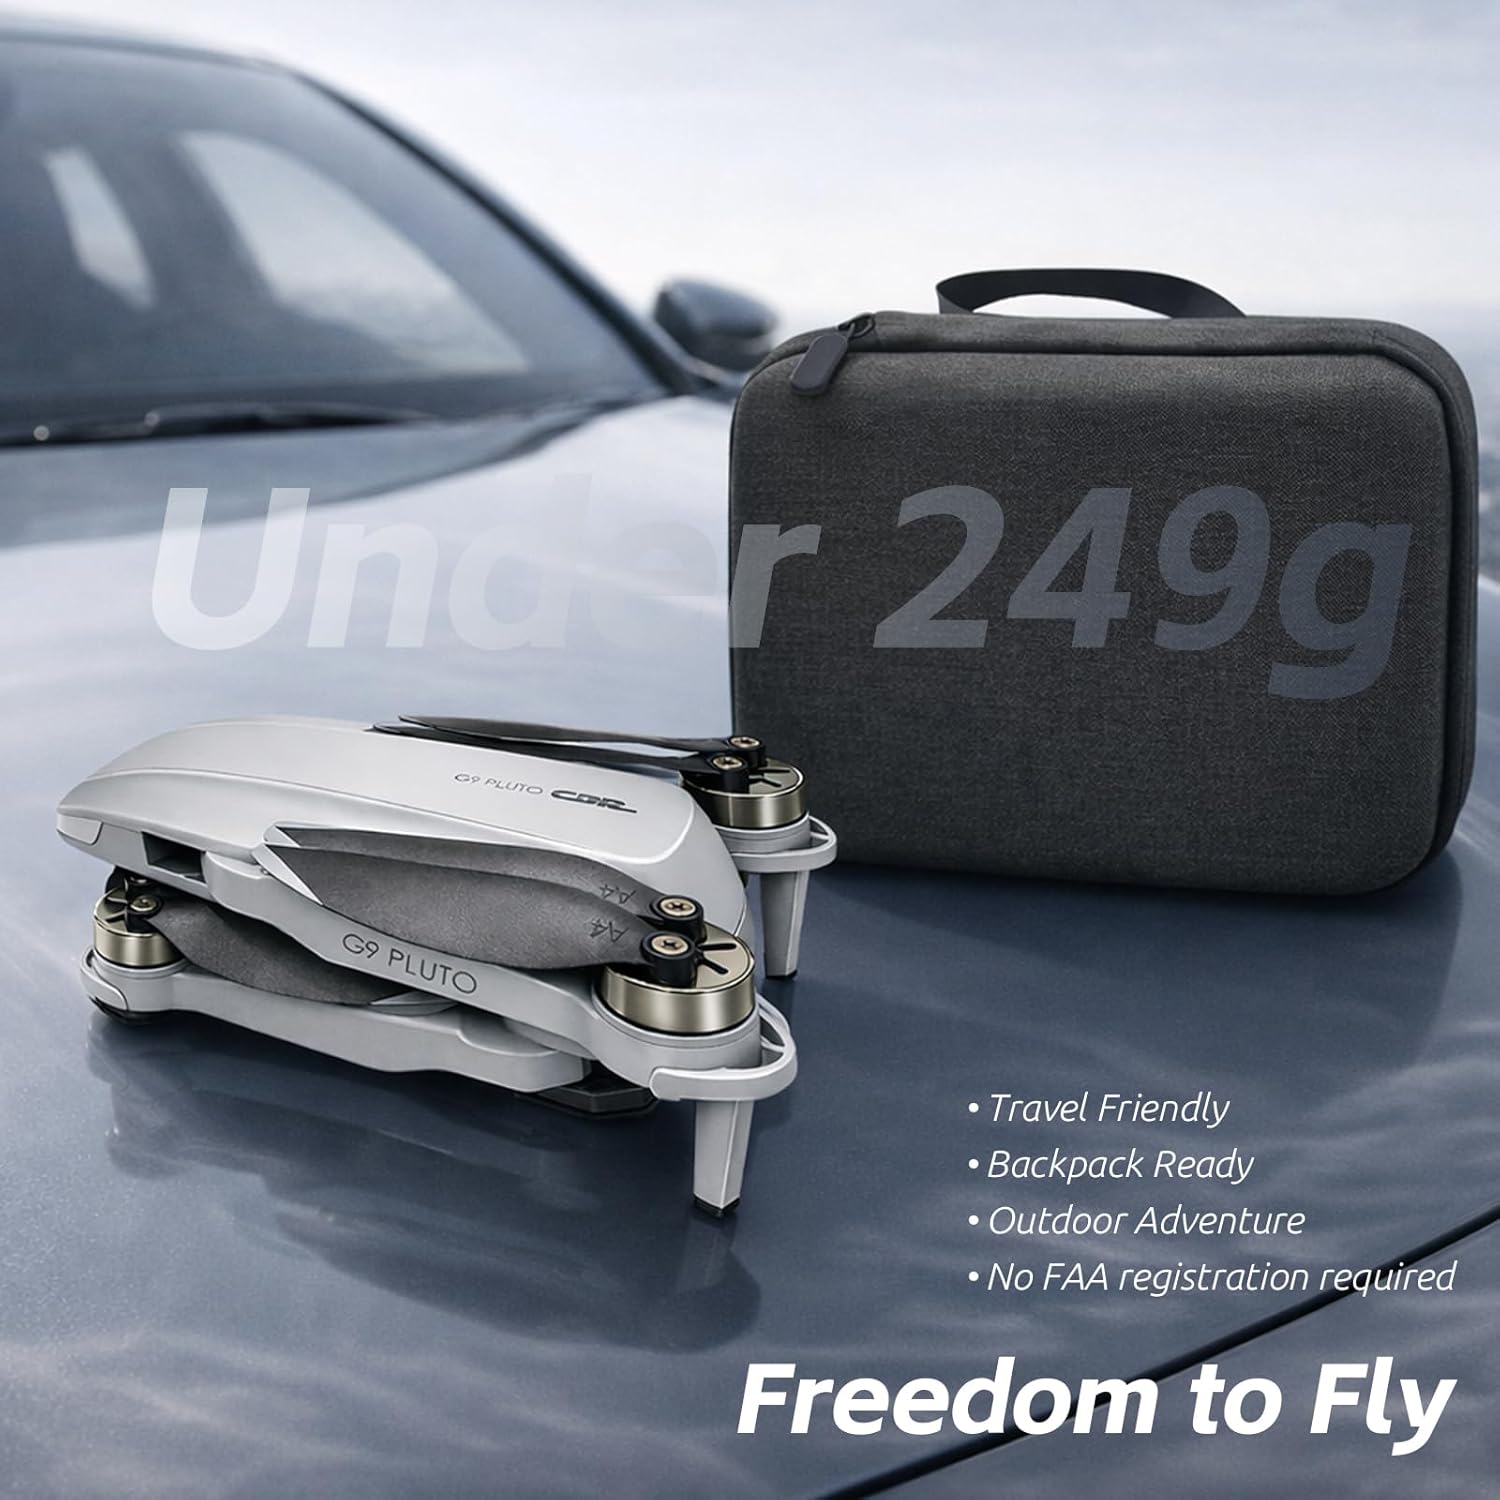
Figure 1: The CHUBORY G9 Pluto drone in its folded state, accompanied by its compact carrying case. This image highlights the drone's portability and its design to be under 249g, which may exempt it from certain registration requirements.
2. Setup
2.1 Unboxing and Component Check
Carefully remove all components from the packaging. Verify that all items listed in the product contents are present and undamaged.
- CHUBORY G9 Pluto Drone
- Remote Controller with 4.5" HD Screen
- 3 x Nonstandard Drone Batteries
- USB Charging Cable
- Spare Propellers
- User Manual

Figure 2: The CHUBORY G9 Pluto drone fully unfolded, showcasing its propellers and the integrated camera system. A detailed view of the camera highlights its design and placement on the drone's front.
2.2 Battery Installation and Charging
- Drone Battery: Insert the drone battery into the designated compartment on the drone until it clicks securely into place.
- Charging: Connect the USB charging cable to the drone battery (or external charger if provided) and a suitable USB power adapter (not included). Charge all batteries fully before first use. The charging indicator will change when charging is complete.
2.3 Remote Controller Preparation
Ensure the remote controller is fully charged. The controller features an integrated 4.5-inch HD screen for direct FPV (First Person View) without needing a separate mobile device.
2.4 Propeller Installation (if required)
If propellers are not pre-installed, attach them according to the markings (A and B) on the propellers and motor arms. Ensure they are securely fastened.
3. Operating Instructions
3.1 Pre-Flight Checklist
- Ensure drone and controller batteries are fully charged.
- Check propellers for damage and ensure they are securely attached.
- Select an open, clear area for flight, away from obstacles, people, and animals.
- Power on the drone, then the remote controller. Wait for GPS signal acquisition (indicated on the controller screen).
3.2 Take-off and Landing
- Automatic Take-off: Press the one-key take-off button on the controller. The drone will ascend to a safe height and hover.
- Manual Take-off: Push both joysticks down and outwards to arm the motors. Slowly push the left joystick up to ascend.
- Automatic Landing: Press the one-key landing button. The drone will descend and land automatically.
- Manual Landing: Slowly pull the left joystick down to descend. Once landed, push both joysticks down and inwards to disarm the motors.
3.3 Flight Controls
Use the joysticks on the remote controller to maneuver the drone:
- Left Joystick: Up/Down (Altitude), Left/Right (Yaw/Rotation).
- Right Joystick: Up/Down (Forward/Backward), Left/Right (Left/Right Sideways Flight).
3.4 GPS Features and Intelligent Flight Modes
The G9 Pluto utilizes GPS for enhanced stability and intelligent flight functions.
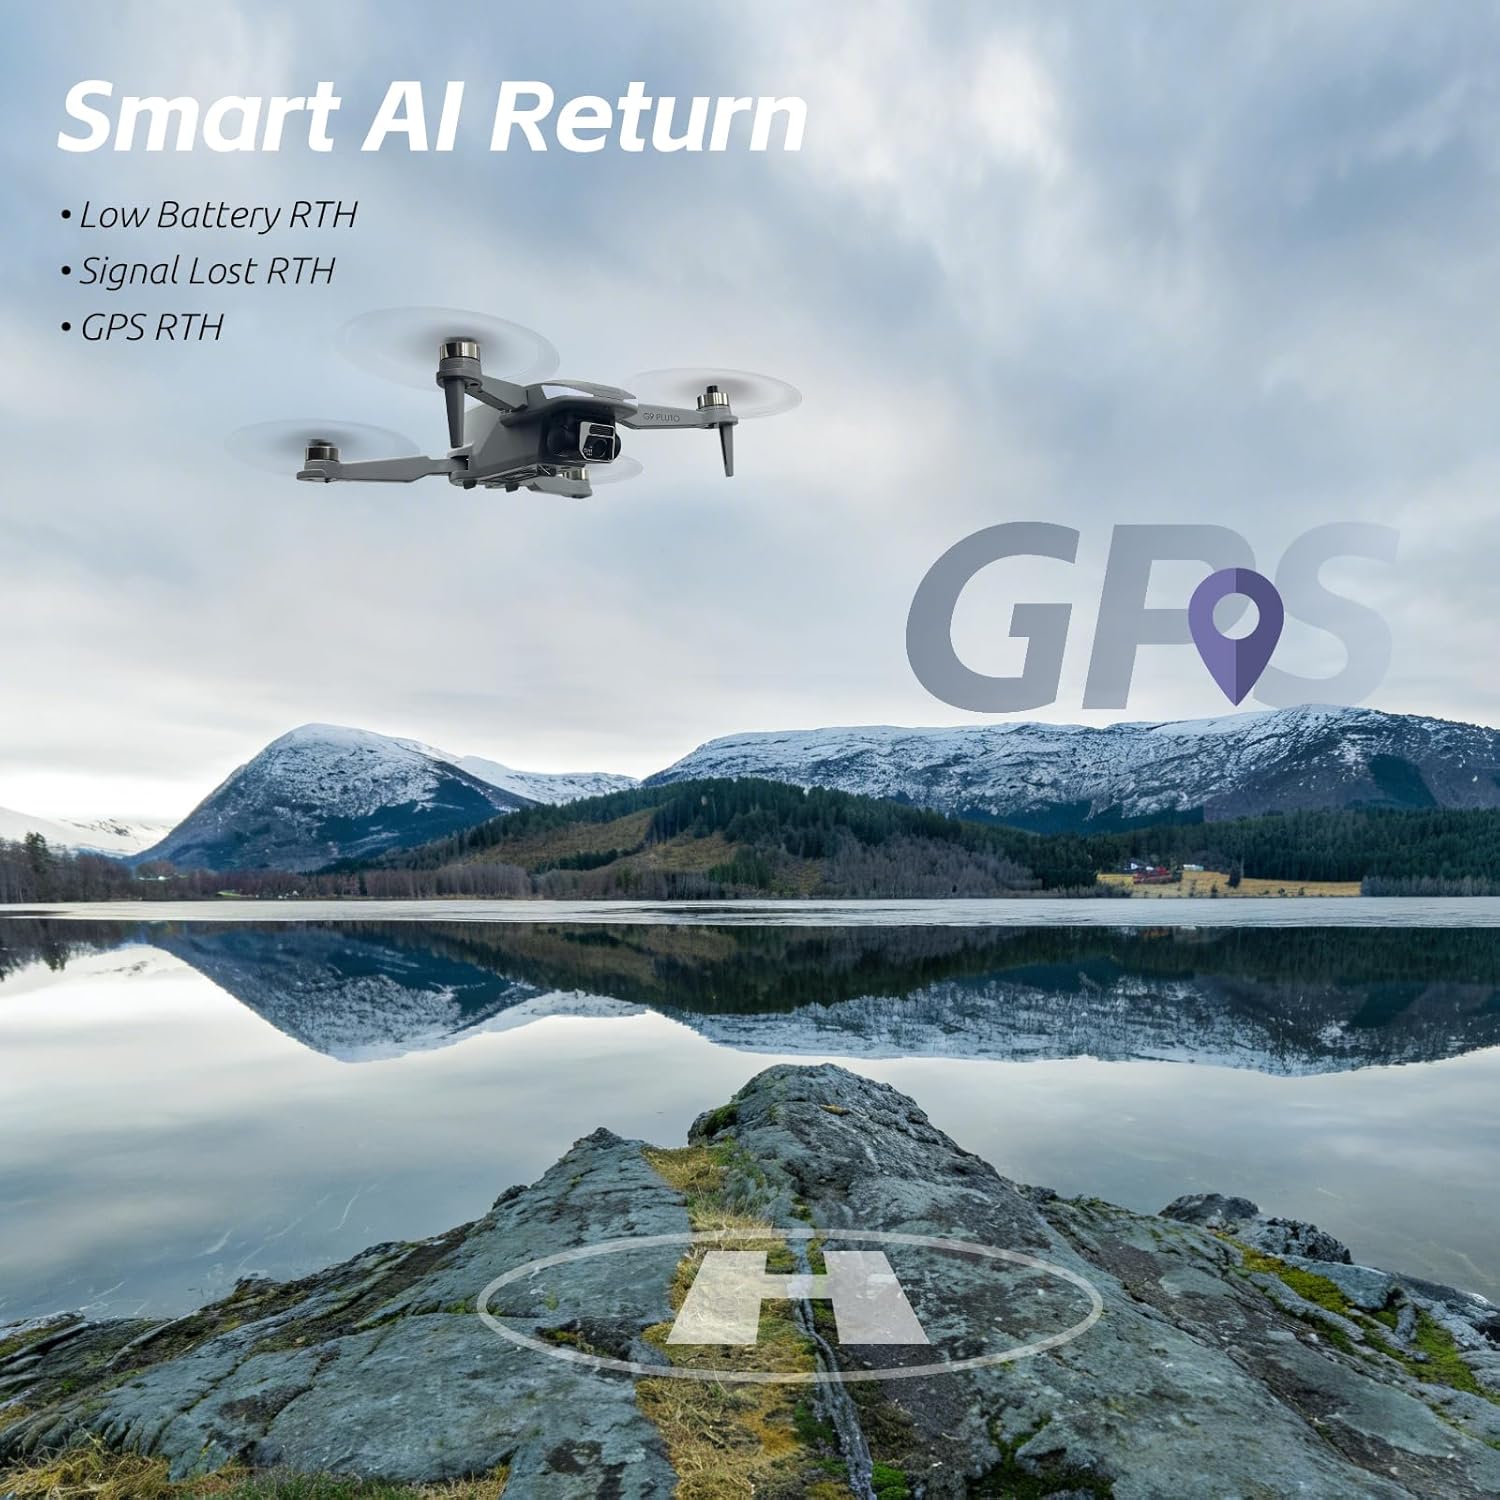
Figure 3: The CHUBORY G9 Pluto drone in flight above a scenic lake and mountains, demonstrating its Smart AI Return capabilities. This feature includes Return-to-Home (RTH) for low battery, signal loss, and GPS-initiated return.
- GPS Auto Return (RTH): The drone will automatically return to its take-off point if the battery is low, signal is lost, or the RTH button is pressed. Ensure a clear landing area.
- AI Follow: This mode allows the drone to automatically follow a designated subject, keeping it centered in the frame.

Figure 4: A close-up of the CHUBORY G9 Pluto remote controller's screen, showing the AI Follow mode actively tracking a person riding a skateboard. This illustrates the drone's ability to autonomously follow and record subjects.
3.5 Camera Operation
The integrated EIS camera captures smooth HD videos and photos. Use the dedicated buttons on the remote controller to start/stop recording or take pictures. The 4.5-inch HD screen provides a live feed from the camera.
4. Maintenance
4.1 Battery Care
- Do not overcharge or over-discharge batteries.
- Store batteries in a cool, dry place away from direct sunlight.
- If not used for extended periods, charge batteries to approximately 50-60% capacity.
4.2 Propeller Inspection and Replacement
- Regularly inspect propellers for cracks, bends, or chips.
- Replace damaged propellers immediately using the provided spare parts. Ensure correct orientation (A/B) during replacement.
4.3 Cleaning and Storage
- Clean the drone and controller with a soft, dry cloth. Avoid using solvents.
- Store the drone in its carrying case in a cool, dry environment.
5. Troubleshooting
| Problem | Possible Cause | Solution |
|---|---|---|
| Drone does not power on. | Battery not charged or improperly installed. | Ensure battery is fully charged and correctly inserted. |
| No GPS signal. | Flying indoors or in an area with signal interference. | Fly in an open outdoor area with a clear view of the sky. Wait for GPS lock before take-off. |
| Drone drifts during flight. | Improper calibration or strong winds. | Perform IMU and compass calibration. Avoid flying in strong winds. |
| Poor video/photo quality. | Dirty camera lens, insufficient lighting, or high vibration. | Clean the camera lens. Ensure adequate lighting. Check for propeller damage causing excessive vibration. |
6. Specifications
| Feature | Detail |
|---|---|
| Model Name | G9 Pluto |
| Brand | CHUBORY |
| Product Dimensions | 12 x 7.5 x 5 cm (folded) |
| Item Weight | 180 Grams |
| Batteries | 3 x Nonstandard Battery (included) |
| Battery Cell Composition | Lithium Polymer |
| Connectivity Technology | Wi-Fi |
| Controller Screen | 4.5 inch HD FPV Screen |
| Camera Features | EIS (Electronic Image Stabilization) |
| Special Features | GPS Auto Return, AI Follow, Foldable Design |
| Manufacturer Reference | A-G9-260123 |
| UPC | 718027500563 |
7. Warranty and Support
For warranty information and technical support, please contact the manufacturer, Aerionix Tech Limited. Refer to your purchase documentation for specific warranty terms and contact details.
Manufacturer Contact Information: Aerionix Tech Limited


