
1. Introduction
This manual provides essential instructions for the safe operation, setup, maintenance, and troubleshooting of your CHUBORY G9 Pluto GPS Drone. Please read this manual thoroughly before operating the drone to ensure proper function and to prevent damage or injury.
The CHUBORY G9 Pluto is a lightweight, foldable GPS drone equipped with an HD camera and advanced features such as Electronic Image Stabilization (EIS), GPS-assisted flight, Auto Return, and Follow Me modes. It is designed for adult users seeking a portable and capable aerial photography platform.
2. Package Contents
Verify that all items are present in your package:
- CHUBORY G9 Pluto Drone
- Remote Controller with Integrated HD Screen
- Intelligent Flight Batteries (x3)
- USB Charging Cable
- Spare Propellers
- Screwdriver
- User Manual (this document)
- Carrying Case (if included in your specific package)

Image: The CHUBORY G9 Pluto drone, its remote controller with an integrated screen, and three intelligent flight batteries, illustrating the main components of the package.
3. Setup Guide
3.1 Charging Batteries
- Connect the USB charging cable to a compatible USB power adapter (not included).
- Connect the other end of the cable to the drone's intelligent flight battery or the remote controller.
- The charging indicator lights will show the charging status. Ensure batteries are fully charged before first use.
- Charging time for each Lithium Polymer battery is approximately 60-90 minutes.
3.2 Unfolding the Drone
- Place the drone on a flat surface with the camera facing forward.
- Gently unfold the front arms first, then the rear arms, until they click into place.
- Ensure all propellers are free from obstruction and securely attached.
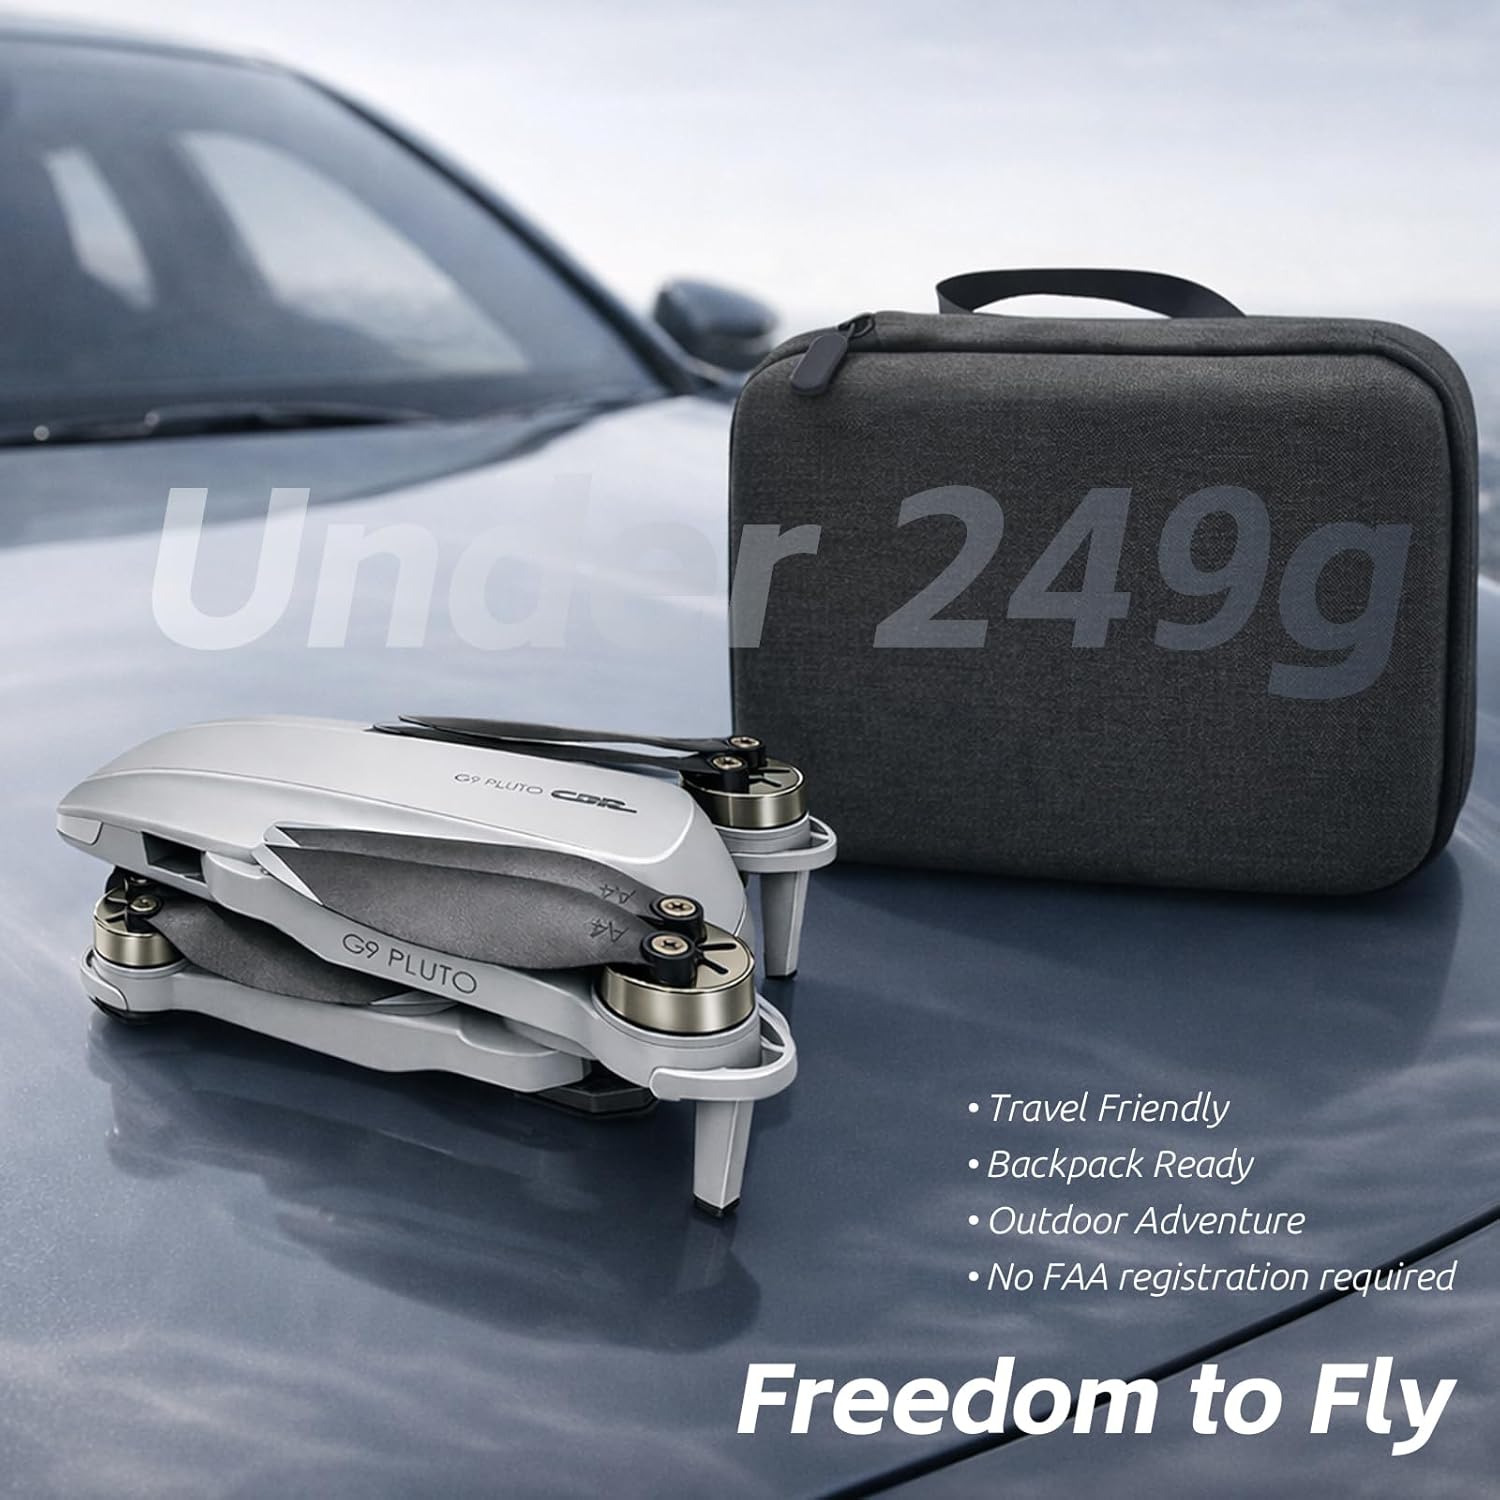
Image: The CHUBORY G9 Pluto drone in its folded, compact state, positioned next to its carrying case, highlighting its portability and "under 249g" design.
3.3 Remote Controller Preparation
- Ensure the remote controller's battery is charged.
- Power on the remote controller by pressing and holding the power button.
- The integrated 4.5-inch HD screen will display the live feed from the drone's camera once connected.
3.4 Pairing the Drone and Controller
- Power on the drone by pressing and holding the power button until indicator lights illuminate.
- Place the drone on a flat, open surface.
- Follow the on-screen prompts on the remote controller to establish a Wi-Fi connection with the drone.
- Once paired, the drone's status lights will indicate a successful connection, and the live camera feed will appear on the controller screen.
4. Operating Instructions
4.1 Pre-Flight Checklist
- Ensure drone and controller batteries are fully charged.
- Check propellers for damage and ensure they are securely attached.
- Verify the camera lens is clean.
- Confirm sufficient GPS signal (indicated on the controller screen).
- Choose an open, clear area for flight, away from obstacles, people, and restricted airspace.
- For drones under 249g, FAA registration is not required in the US, but local regulations may apply. Always check local laws.
4.2 Take-off and Landing
- Automatic Take-off: After GPS lock is acquired, press the "Auto Take-off" button on the controller. The drone will ascend to a safe altitude and hover.
- Manual Take-off: Push both control sticks down and outwards to start the motors. Then, gently push the left stick (throttle) upwards to ascend.
- Automatic Landing: Press the "Auto Landing" button. The drone will descend and land at its take-off point.
- Manual Landing: Gently pull the left stick (throttle) downwards to descend. Once landed, push both sticks down and inwards to stop the motors.
4.3 Flight Modes and Features
- GPS Mode: Provides stable hovering and precise positioning. Essential for features like Auto Return and Follow Me.
- Auto Return (RTH): The drone will automatically return to its take-off point under specific conditions:
- Low Battery RTH: Initiates when the battery level is critically low.
- Signal Lost RTH: Initiates if the connection between the drone and controller is lost.
- Manual RTH: Can be activated by pressing the Return-to-Home button on the controller.
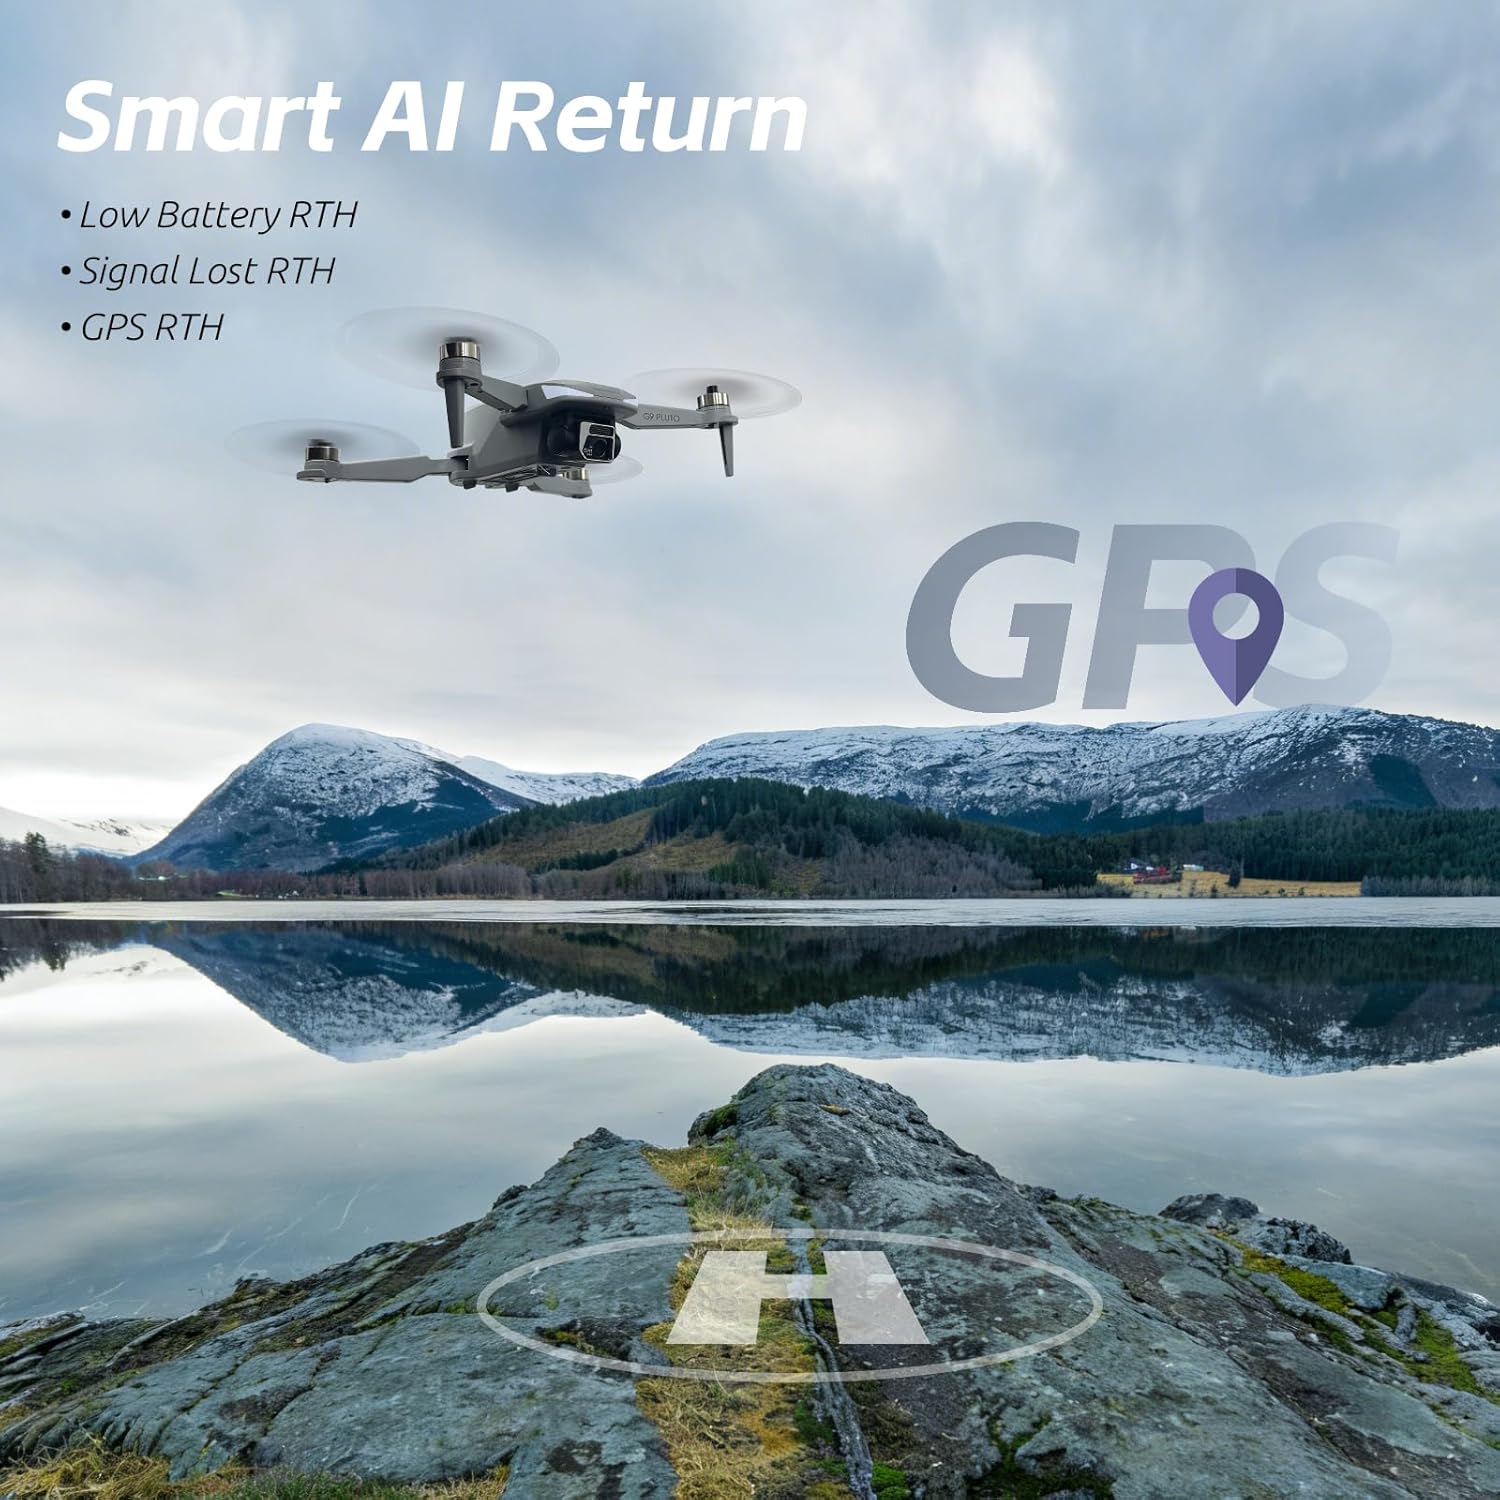
Image: The CHUBORY G9 Pluto drone in flight above a scenic lake, demonstrating its "Smart AI Return" capabilities, including Low Battery RTH, Signal Lost RTH, and GPS RTH.
- AI Follow Mode: The drone uses its camera to track and follow a designated subject, keeping it centered in the frame.

Image: A close-up of the remote controller's integrated HD screen, displaying the "AI Follow" feature actively tracking a person on a skateboard, with a red box indicating the tracked subject.
- EIS Camera: The Electronic Image Stabilization system helps to produce smooth, shake-free video footage and clear photos.
- 4.5-inch HD Screen: Provides a clear, real-time First Person View (FPV) directly on the remote controller, eliminating the need for a separate mobile device.
4.4 Camera Operation
- Taking Photos: Press the dedicated photo button on the remote controller.
- Recording Video: Press the dedicated video button to start/stop recording.
- Adjusting Camera Angle: Use the gimbal control wheel on the remote controller to tilt the camera up or down.
- All captured media is stored on the drone's internal storage or an inserted microSD card (if applicable, check drone specifications).
5. Maintenance
5.1 Battery Care
- Store batteries in a cool, dry place, away from direct sunlight and extreme temperatures.
- Do not overcharge or over-discharge batteries.
- If storing for extended periods, charge batteries to approximately 50-60% capacity.
- Replace batteries if they show signs of swelling, leakage, or damage.
5.2 Propeller Inspection and Replacement
- Regularly inspect propellers for cracks, bends, or chips before each flight.
- Damaged propellers can affect flight stability and safety. Replace them immediately using the provided spare propellers and screwdriver.
- Ensure propellers are installed correctly, matching the rotation direction indicated on the drone's arms.
5.3 Cleaning
- Use a soft, dry cloth to clean the drone's body and remote controller.
- For the camera lens, use a specialized lens cleaning cloth and solution to avoid scratches.
- Avoid using harsh chemicals or solvents.
5.4 Storage
- Fold the drone arms for compact storage.
- Store the drone and all accessories in its original packaging or a dedicated carrying case to protect it from dust and physical damage.
- Keep out of reach of children and pets.
6. Troubleshooting
6.1 Drone Does Not Power On
- Ensure the intelligent flight battery is fully charged and correctly inserted.
- Press and hold the power button for the required duration (typically 2-3 seconds).
6.2 No Live Video Feed on Controller
- Verify the drone and controller are successfully paired.
- Ensure there is no Wi-Fi interference in the area.
- Restart both the drone and the controller.
6.3 Poor GPS Signal or Unstable Hover
- Fly in an open outdoor area, away from tall buildings, trees, or strong magnetic interference.
- Allow sufficient time for the drone to acquire enough GPS satellites before take-off.
- Perform a compass calibration if instructed by the drone's app or if experiencing persistent instability.
6.4 Drone Drifts During Flight
- Ensure the drone is on a flat, level surface during power-on and calibration.
- Perform a gyroscope calibration (refer to the drone's app or specific instructions for this model).
- Check for damaged propellers and replace if necessary.
6.5 Auto Return (RTH) Not Functioning Correctly
- Ensure GPS signal is strong and the home point was successfully recorded before take-off.
- Avoid flying beyond the drone's maximum control range.
7. Specifications
| Feature | Detail |
|---|---|
| Brand | CHUBORY |
| Model Name | G9 Pluto |
| Model Number | A-G9-260123 |
| Connectivity Technology | Wi-Fi |
| Item Weight | 180 g (Under 249g) |
| Battery Cell Composition | Lithium Polymer |
| Product Dimensions (L x W x H) | 4.7"L x 3"W x 2"H (Folded) |
| Controller Screen | 4.5 inch HD FPV Display |
| Camera Features | HD Camera with Electronic Image Stabilization (EIS) |
| Key Flight Features | GPS Positioning, Auto Return (RTH), AI Follow |
| UPC | 718027500556 |
8. Warranty and Support
For warranty information, please refer to the documentation included with your product package or visit the official CHUBORY website. Warranty terms and conditions may vary by region and retailer.
For technical support, spare parts, or further assistance, please contact CHUBORY customer service through their official channels or visit the CHUBORY Store on Amazon.