1. Introduction
Thank you for purchasing the VIBOX 49-inch 120Hz Curved Ultra-Wide Gaming Monitor. This manual provides essential information for setting up, operating, and maintaining your monitor. Please read it thoroughly before use to ensure optimal performance and safety.
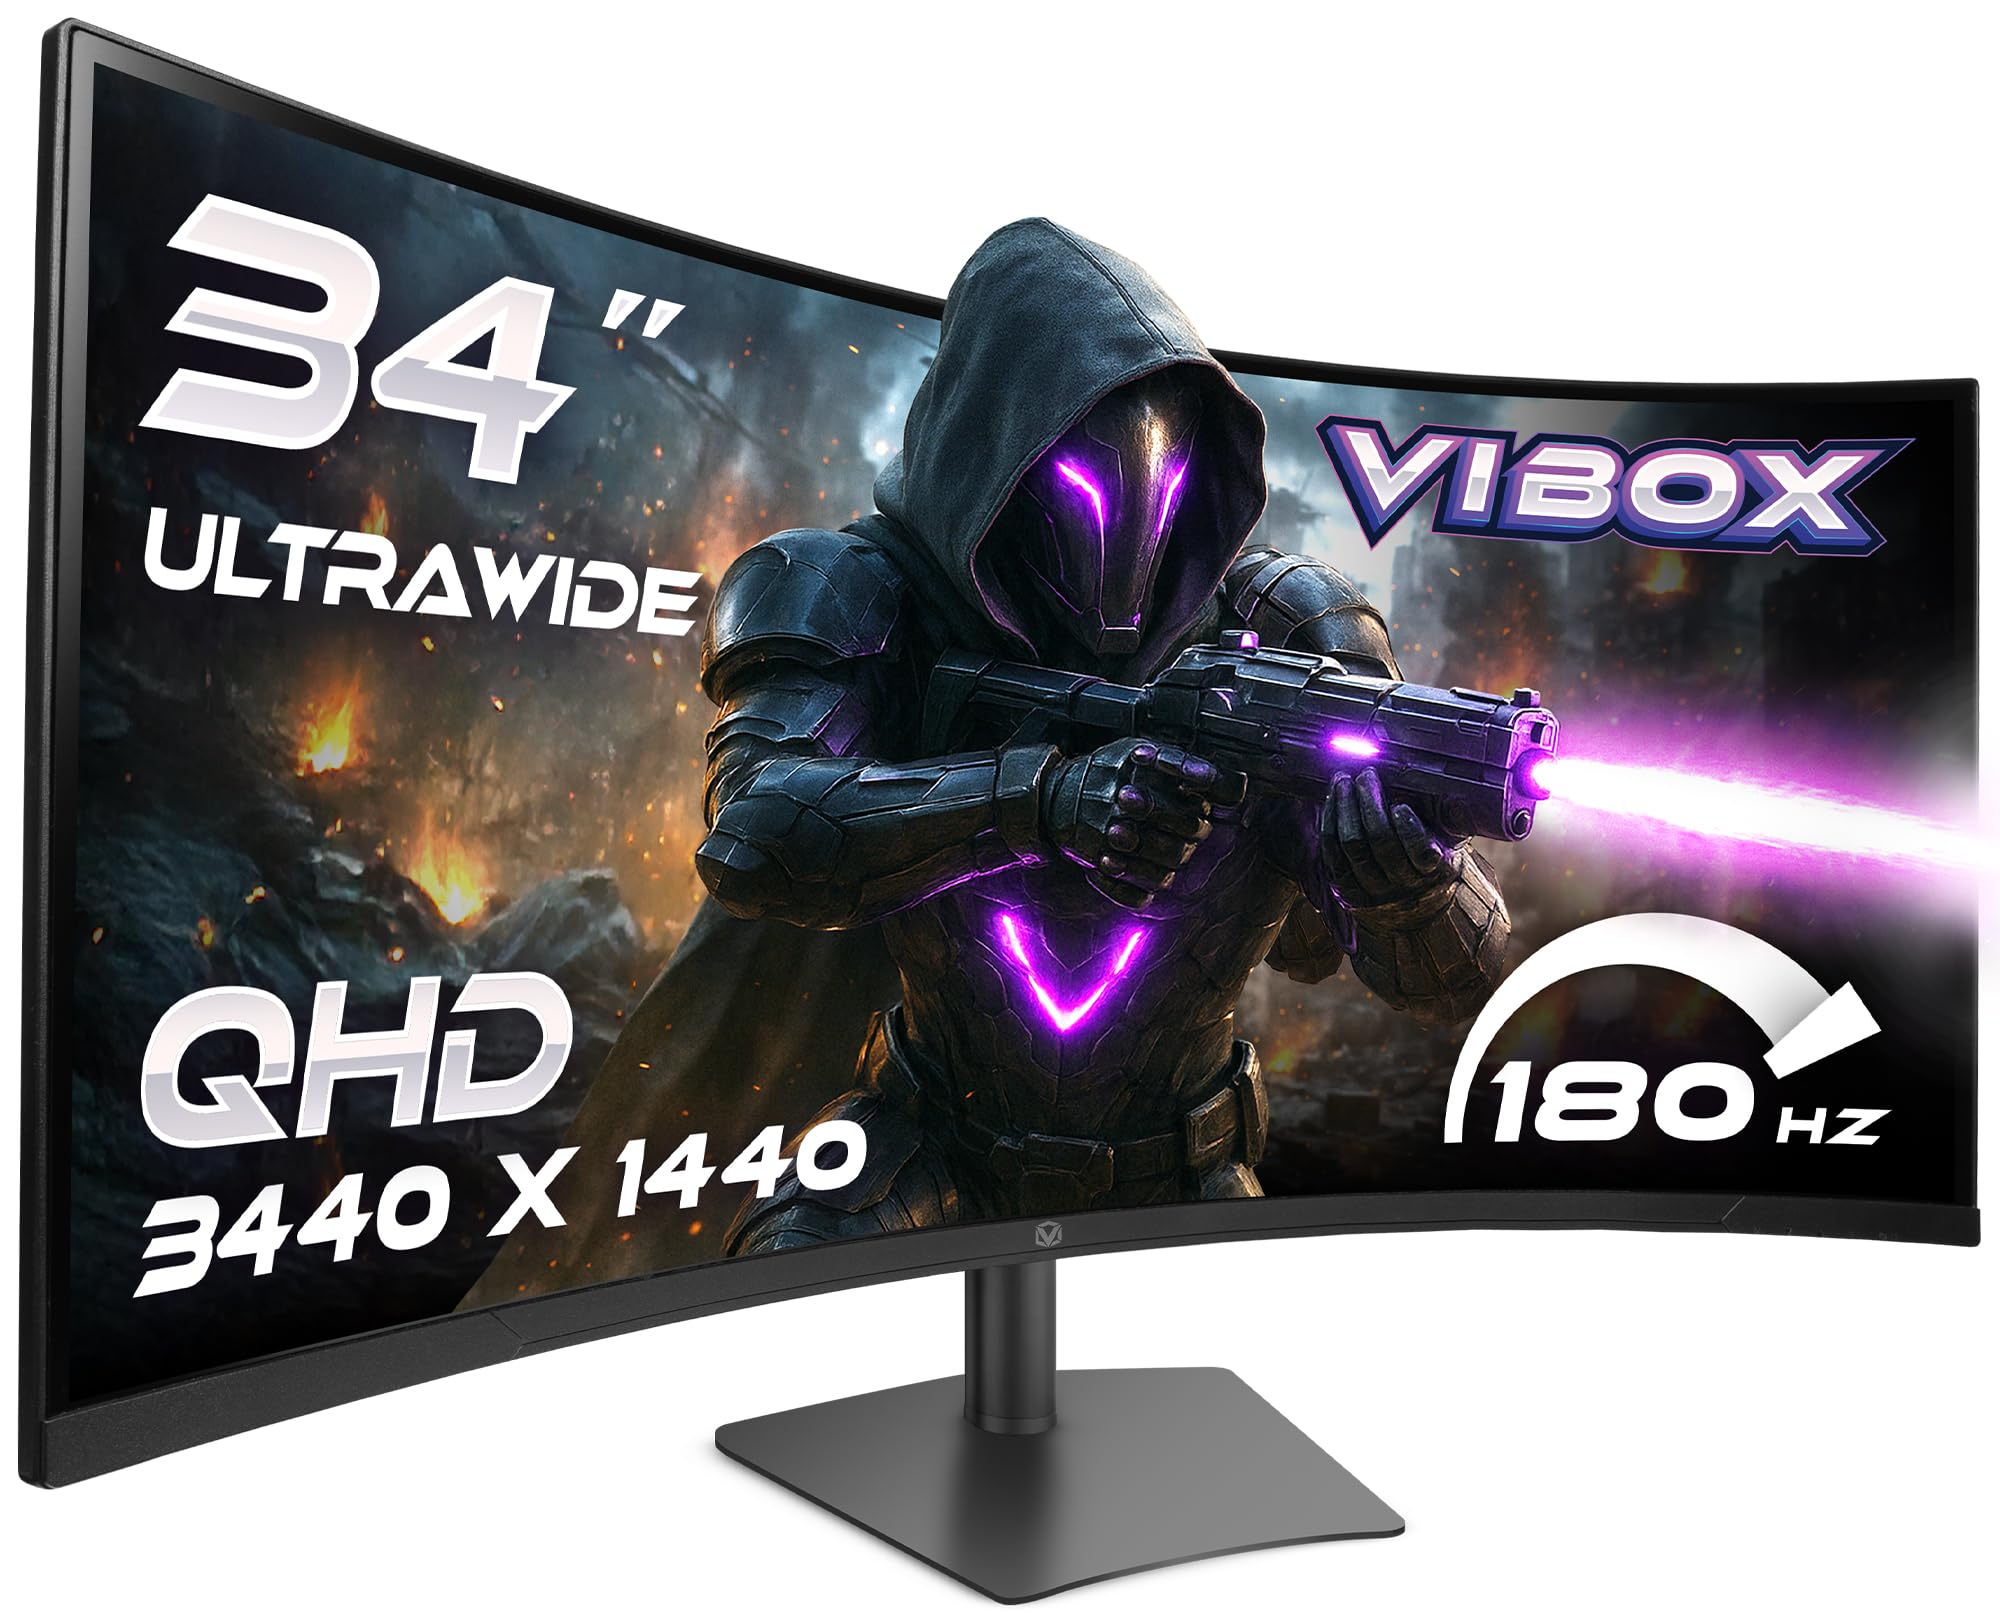
Image: The VIBOX 49-inch Curved Ultra-Wide Gaming Monitor, showcasing its expansive display.
2. Safety Information
To prevent damage and ensure safe operation, please observe the following precautions:
- Do not expose the monitor to rain, moisture, or extreme temperatures.
- Avoid placing the monitor near heat sources or in direct sunlight.
- Ensure proper ventilation; do not block any ventilation openings.
- Use only the power adapter supplied with the monitor.
- Disconnect the power cable during lightning storms or when unused for extended periods.
- Do not attempt to disassemble or repair the monitor yourself. Refer all servicing to qualified personnel.
3. Package Contents
Verify that all items are present in your package:
- VIBOX 49-inch Curved Ultra-Wide Gaming Monitor
- Monitor Stand (Base and Neck)
- Power Adapter and Cable
- HDMI Cable
- DisplayPort Cable
- User Manual
4. Product Overview
4.1. Rear Panel and Ports
The rear panel of your monitor features various ports for connectivity and power. Familiarize yourself with these connections before setup.

Image: Rear view of the VIBOX monitor, highlighting the power input, 2x HDMI 2.0 ports, 2x DisplayPort, and 3.5mm audio port, along with RGB lighting around the stand connection.
- Power Input: Connects to the power adapter.
- HDMI 2.0 Ports (x2): Connect to devices supporting HDMI output.
- DisplayPort (x2): Connect to devices supporting DisplayPort output.
- 3.5mm Audio Port: For connecting external headphones or speakers.
- Control Buttons: Typically located on the rear or bottom for navigating the On-Screen Display (OSD) menu.
5. Setup
5.1. Stand Assembly
- Carefully remove the monitor and stand components from the packaging.
- Attach the stand neck to the monitor panel, ensuring it clicks securely into place or is fastened with screws as indicated in the quick start guide.
- Attach the stand base to the stand neck, securing it with the provided screw.
- Place the assembled monitor on a stable, flat surface.
5.2. Connecting to a Device
- Connect one end of the HDMI or DisplayPort cable to the corresponding port on your computer or gaming console.
- Connect the other end of the cable to an available HDMI or DisplayPort on the monitor's rear panel.
- Connect the power adapter to the monitor's power input, then plug the power cable into a wall outlet.
5.3. Adjusting the Monitor Stand
The monitor stand offers ergonomic adjustments for optimal viewing comfort.

Image: A diagram illustrating the adjustable height, tilt, and swivel capabilities of the VIBOX monitor stand, allowing for a customized viewing angle.
- Height Adjustment: Gently push or pull the monitor up or down to your desired height.
- Tilt Adjustment: Tilt the monitor screen forward or backward to find the best viewing angle.
- Swivel Adjustment: Rotate the monitor left or right on its base.
6. Operating Instructions
6.1. Power On/Off
Press the power button, usually located on the rear or bottom of the monitor, to turn it on or off. The power indicator light will illuminate when the monitor is active.
6.2. On-Screen Display (OSD) Menu
Use the control buttons to navigate the OSD menu and adjust various settings:
- Picture Settings: Brightness, Contrast, Sharpness, Color Temperature.
- Input Select: Manually switch between HDMI and DisplayPort inputs.
- Audio Settings: Volume control for built-in speakers or connected headphones.
- Gaming Features: Adaptive Sync, Response Time overdrive, Crosshair.
- System Settings: Language, OSD Transparency, Reset to Factory Defaults.
7. Key Features
7.1. Super Ultrawide 49-inch DQHD Display
Experience an expansive 32:9 aspect ratio with a DQHD (5120 x 1440) resolution, offering a vast workspace and immersive gaming environments.

Image: A visual comparison demonstrating the difference between a standard QHD (2560x1080) display and the VIBOX Ultrawide QHD (5120x1440) VA panel, showcasing enhanced resolution and detail.
7.2. 1500R Curved Design
The 1500R curvature matches the natural field of view, reducing eye strain and enhancing immersion, especially in gaming and cinematic content.

Image: The VIBOX 49-inch curved monitor displaying a racing game, illustrating the 1500R curvature that brings the action closer to the user for ultimate immersion.
7.3. Ultra-Smooth 120Hz Refresh Rate & 1ms Response Time
Enjoy fluid motion and rapid pixel transitions with a 120Hz refresh rate and a 1ms (MPRT) response time, crucial for fast-paced gaming.

Image: A comparison showing a 60Hz monitor with significant motion blur on the left, contrasted with the VIBOX monitor (120Hz, 1ms MPRT) on the right, demonstrating superior clarity and smoothness in fast-moving scenes.
7.4. Adaptive Sync Technology
Compatible with AMD FreeSync, this technology synchronizes the monitor's refresh rate with your GPU's frame rate, eliminating screen tearing and stuttering for a seamless visual experience.

Image: A split image illustrating the effect of Adaptive Sync. The left side shows screen tearing and stuttering when sync is off, while the right side displays a fluid and responsive visual experience with sync enabled.
7.5. Frameless Design
The ultra-thin bezels enhance the aesthetic of your setup and provide a more immersive viewing experience, especially in multi-monitor configurations.

Image: A panoramic view from an airplane cockpit simulator displayed on the VIBOX monitor, emphasizing the elegant frameless design that maximizes screen real estate.
8. Troubleshooting
If you encounter issues with your monitor, refer to the following common problems and solutions:
| Problem | Possible Solution |
|---|---|
| No image on screen | Ensure power cable is securely connected. Check video cable (HDMI/DisplayPort) connections. Select correct input source via OSD. |
| Image is blurry or distorted | Adjust resolution and refresh rate settings on your computer. Check video cable for damage. Perform OSD factory reset. |
| No sound from speakers/headphones | Check audio cable connection (if external speakers). Adjust volume in OSD and on your computer. Ensure audio output is set to the monitor on your computer. |
| Screen flickering or tearing | Ensure Adaptive Sync is enabled in the OSD and on your graphics card settings. Update graphics drivers. |
9. Specifications
Detailed technical specifications for the VIBOX 49-inch 120Hz Curved Ultra-Wide Gaming Monitor:
| Feature | Specification |
|---|---|
| Brand | VIBOX |
| Model Number | 49Z120UWQHDC |
| Screen Size | 49 Inches |
| Resolution | DQHD Ultra Wide 1440p (5120 x 1440 Pixels) |
| Aspect Ratio | 32:9 |
| Screen Surface Description | Matte |
| Response Time | 1 Millisecond (MPRT) |
| Refresh Rate | 120 Hz |
| Display Type | VA |
| Connectivity Technology | DisplayPort, HDMI (2x HDMI 2.0, 2x DisplayPort) |
| Special Features | Built-in Speaker, Curved, Ultra-Wide Screen |
| Image Quality Enhancement | Adaptive Sync (FreeSync compatible) |
| Item Dimensions (D x W x H) | 17.8D x 118.9W x 54.4H Centimeters |
| Item Weight | 7.95 Kilograms |
| Color | Black |
| VESA Mount Type | Desk Mount |
10. Maintenance
10.1. Cleaning the Screen
To clean the monitor screen, gently wipe it with a soft, lint-free cloth. For stubborn marks, lightly dampen the cloth with water or a specialized screen cleaner. Avoid using harsh chemicals, abrasive cleaners, or spraying liquid directly onto the screen.
10.2. Cleaning the Casing
Wipe the monitor casing with a soft, dry cloth. If necessary, use a slightly damp cloth. Do not use any solvents or abrasive materials.
11. Warranty and Support
Your VIBOX 49-inch 120Hz Curved Ultra-Wide Gaming Monitor is covered by a 2-year manufacturer warranty from the date of purchase. This warranty covers manufacturing defects and ensures repair or replacement of faulty components.
For technical support, warranty claims, or further assistance, please contact VIBOX customer service through the retailer where you purchased the product or visit the official VIBOX website for contact information.
Please retain your proof of purchase for warranty validation.


