
1. Introduction
Thank you for choosing the OEARE 6L Portable Evaporative Air Cooler. This appliance is designed to provide a comfortable environment by combining the functions of an air conditioner (with water and ice pack), a humidifier (with water), and a cooling fan. Please read this manual thoroughly before use to ensure proper operation, maintenance, and safety.

Figure 1: 3-in-1 Functionality (Fan, Humidifier, Air Cooler)
2. Safety Instructions
To reduce the risk of fire, electric shock, or injury, always follow these basic safety precautions:
- Read all instructions before using this appliance.
- Ensure the power supply voltage matches the rating label on the appliance.
- Do not operate the appliance with a damaged cord or plug. If the cord or plug is damaged, contact qualified service personnel.
- Do not place the appliance near heat sources, such as radiators, heat registers, stoves, or other heat-producing appliances.
- Always unplug the appliance before filling or emptying the water tank, cleaning, or performing any maintenance.
- Do not immerse the appliance, cord, or plug in water or other liquids.
- Keep the appliance out of reach of children and pets. This unit features a bladeless design for enhanced safety.
- Use the appliance only on a flat, stable surface to prevent tipping.
- Do not block air inlets or outlets. Maintain at least 20 cm (8 inches) clearance from walls and other objects.
- Do not use the appliance outdoors or in wet environments.
- Do not insert objects into the air vents.

Figure 2: Safe Bladeless Design
3. Product Components
Familiarize yourself with the main parts of your OEARE 6L Portable Evaporative Air Cooler:
- Control Panel: Located on the top of the unit for manual operation.
- Air Outlet: Front grille where cooled air is discharged.
- Water Tank (Upper & Lower): 6L capacity for water and ice packs. The lower tank is removable for cleaning.
- Water Level Indicator: Visible on the front to monitor water levels.
- Casters: Four 360-degree universal casters for easy movement.
- Built-in Handle: For convenient carrying.
- Remote Control: For convenient operation from a distance.
- Ice Packs: Four reusable ice packs included to enhance cooling.
- Power Cord: 5 ft long for connection to an electrical outlet.

Figure 3: Key Components and Features
4. Setup
Follow these steps to set up your air cooler:
- Unpack: Carefully remove the air cooler and all accessories from the packaging.
- Placement: Place the unit on a firm, level surface. Ensure there is adequate space around the unit for proper airflow. This unit does not require window installation, hoses, or drilling.
- Prepare Ice Packs (Optional, for enhanced cooling): Place the included ice packs in a freezer for several hours until completely frozen.
- Fill Water Tank:
- Open the lid on the top of the unit.
- Slowly pour clean water into the top water tank. Do not exceed the 'MAX' fill line indicated on the water level indicator. Adding water too quickly may cause overflow.
- If using ice packs, place the frozen ice packs into the bottom water tank before or after adding water.
- Connect Power: Plug the power cord into a standard electrical outlet.

Figure 4: Steps for Using the Cooling Function

Figure 5: No Installation Requirements
5. Operation
The air cooler can be operated using the control panel on the top of the unit or the remote control.

Figure 6: Control Panel and Remote Control
5.1. Control Panel & Remote Functions
The control panel and remote control share similar functions:
- Power Button: Turns the unit ON or OFF.
- Speed Button: Cycles through 3 wind speeds: Low (L1), Medium (L2), High (L3).
- Mode Button: Selects one of 4 wind modes: Normal, Natural, Sleep, Cooling.
- Oscillation Button: Activates or deactivates the automatic 75-degree horizontal oscillation. The vertical louvers can be adjusted manually.
- Timer Button: Sets the auto-off timer from 1 to 12 hours.
- Display Button (Remote Only): Briefly press to turn off the display lights for undisturbed sleep. On the device, press and hold the fan button to turn off the display.

Figure 7: Modes and Speeds

Figure 8: Auto Oscillation Feature
5.2. Using the Timer Function
Press the Timer button repeatedly to set the desired operating time (1-12 hours). The unit will automatically turn off once the set time has elapsed. This is ideal for use during sleep.
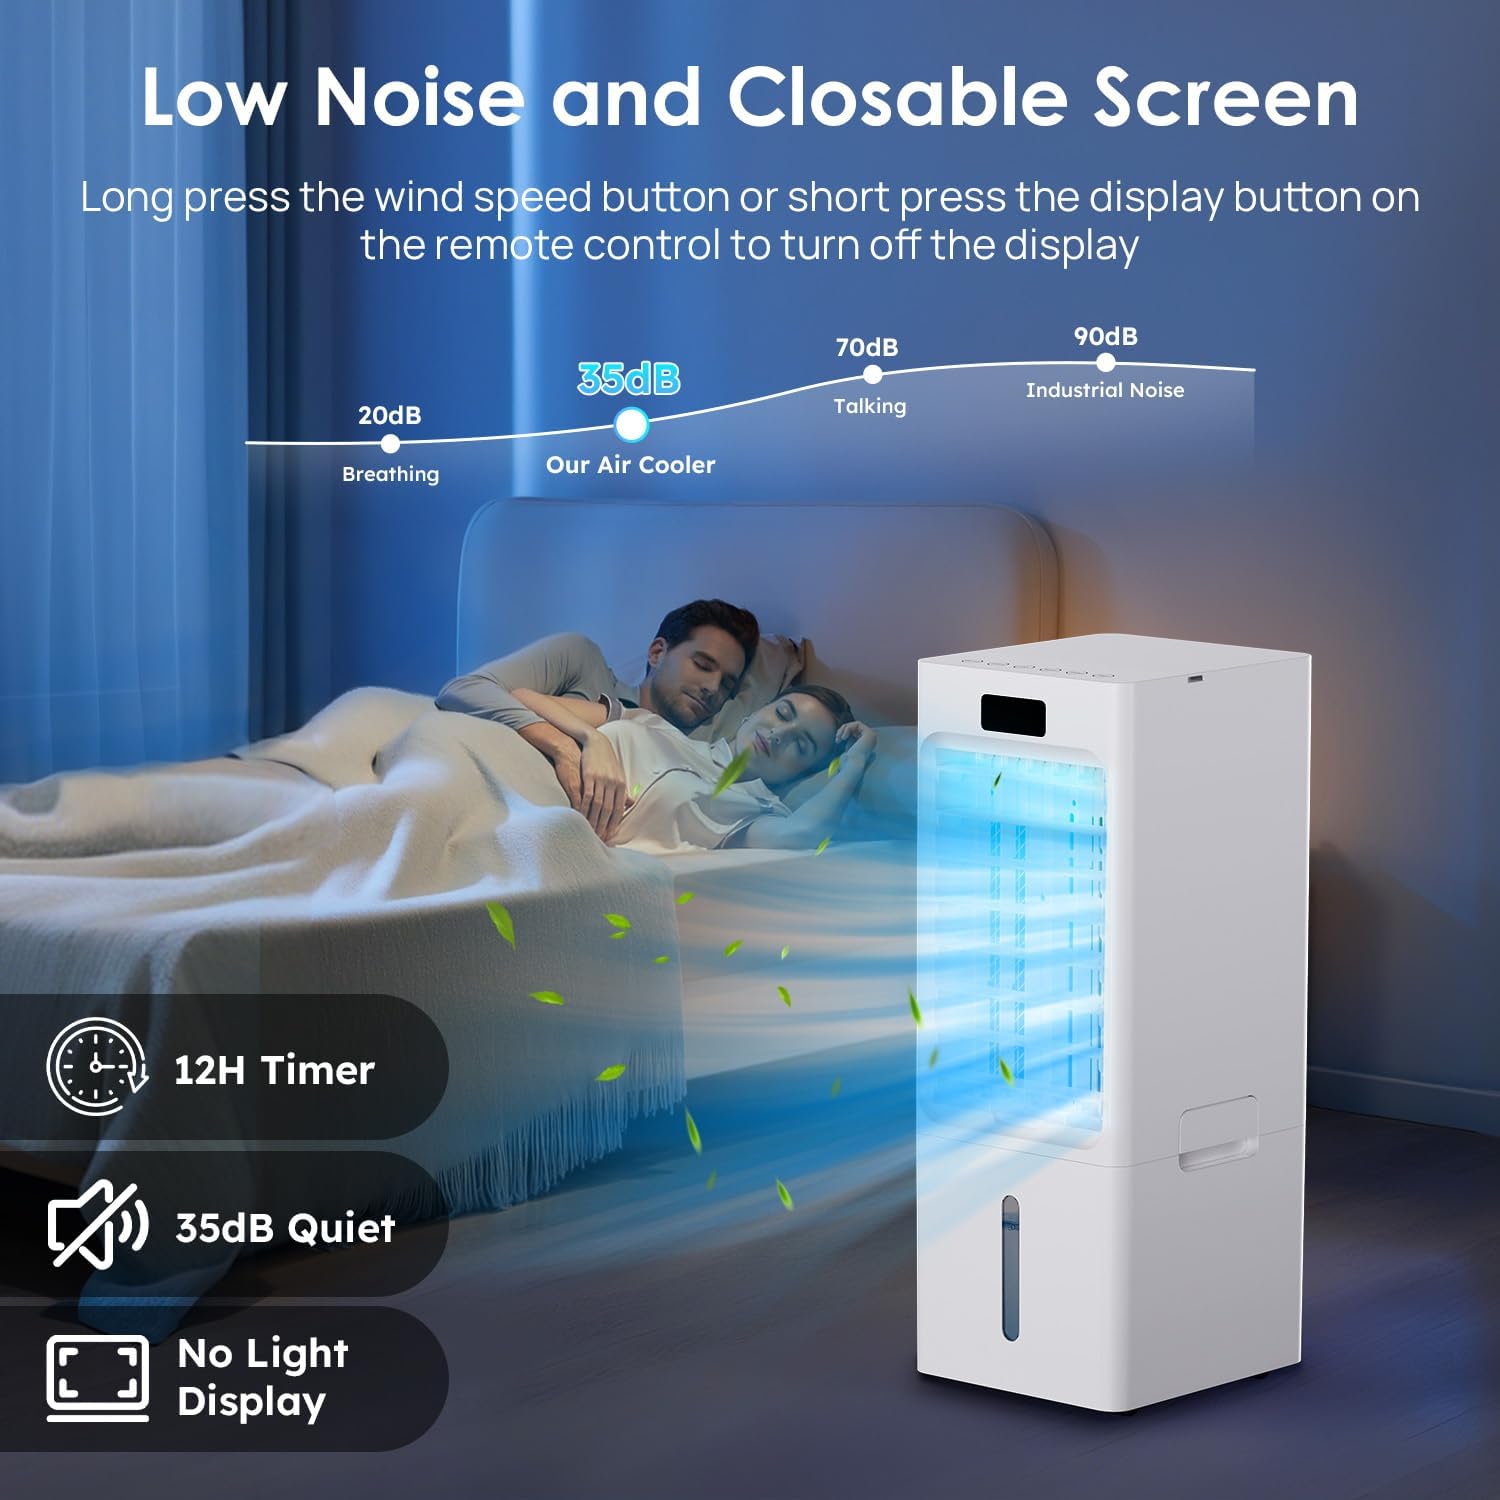
Figure 9: 12-Hour Timer and Quiet Operation
6. Maintenance
Regular cleaning and maintenance will ensure optimal performance and extend the lifespan of your air cooler.
6.1. Cleaning the Water Tank
The bottom water tank is removable for easy cleaning.
- Unplug the appliance from the power outlet.
- Carefully remove the bottom water tank.
- Empty any remaining water.
- Clean the tank with a soft cloth and mild detergent. Rinse thoroughly with clean water.
- Ensure the tank is completely dry before reinserting it into the unit.
6.2. Cleaning the Cooling Pad/Filter
The cooling pad (evaporative filter) should be cleaned periodically.
- Unplug the appliance.
- Remove the back cover of the unit.
- Carefully slide out the cooling pad.
- Rinse the cooling pad under running water to remove dust and mineral deposits. For stubborn deposits, soak in a mild descaling solution (e.g., vinegar and water) for 30 minutes, then rinse thoroughly.
- Allow the cooling pad to air dry completely before reinserting.
- Reattach the back cover.
6.3. Exterior Cleaning
Wipe the exterior of the unit with a soft, damp cloth. Do not use abrasive cleaners or solvents.
6.4. Storage
If the appliance will not be used for an extended period:
- Empty and clean both water tanks and the cooling pad.
- Ensure all parts are completely dry.
- Store the unit in a cool, dry place, away from direct sunlight.

Figure 10: Large Water Tank and Ice Packs
7. Troubleshooting
Before contacting customer support, please refer to the following troubleshooting guide:
| Problem | Possible Cause | Solution |
|---|---|---|
| Unit does not turn on | No power supply; Power cord not properly plugged in; Power outlet faulty. | Check power cord connection; Try a different outlet; Ensure power switch is ON. |
| No cool air / Weak cooling effect | Water tank empty; Cooling mode not activated; Ice packs not used or frozen; Cooling pad dirty; Room humidity too high. | Fill water tank; Activate cooling mode; Use frozen ice packs; Clean cooling pad; Evaporative coolers are less effective in high humidity. |
| Unusual noise | Unit not on a level surface; Water pump issue; Foreign object inside. | Place unit on a flat surface; Check water level; Unplug and inspect for obstructions (if safe to do so). |
| Water leakage | Water tank overfilled; Water tank not properly seated; Unit tilted. | Do not overfill past MAX line; Ensure water tank is correctly installed; Place unit on a level surface. |
8. Specifications
| Feature | Detail |
|---|---|
| Brand | OEARE |
| Model | 6L Portable Evaporative Air Cooler |
| Mounting Type | Freestanding |
| Special Feature | Timer, Portable |
| Color | Pure White |
| Controls Type | Remote, Control Panel |
| Reservoir Capacity | 6 Liters |
| Recommended Uses | Residential |
| Form Factor | Personal |
| Number of Speeds | 3 |
| Product Dimensions (D x W x H) | 11.8" x 10.2" x 25.5" |
| Operation Mode | Automatic |