
Introduction
This manual provides essential instructions for the safe and effective installation, maintenance, and general use of your MAXLANDER 9-inch replacement lawn edger blades (Model: ML-DCTM01-Blade). These blades are designed for compatibility with the MAXLANDER LAWN EDGER B0G2XBMHF4 and other compatible models. Please read this manual thoroughly before attempting any installation or maintenance procedures.
Safety Information
Always prioritize safety when working with power tools and sharp objects. Failure to follow these safety guidelines may result in serious injury.
- Disconnect Power: Before performing any maintenance, installation, or cleaning, always ensure the edger's power source is disconnected (unplugged or battery removed).
- Wear Protective Gear: Always wear heavy-duty gloves, safety glasses, and appropriate footwear when handling edger blades.
- Sharp Edges: Edger blades are extremely sharp. Handle them with extreme care to prevent cuts.
- Secure Work Area: Ensure the edger is stable and cannot move unexpectedly during blade replacement.
- Children and Bystanders: Keep children and bystanders away from the work area.
- Inspect for Damage: Before each use, inspect the edger and blades for any damage or wear. Do not operate with damaged components.
Setup and Installation
These instructions detail the replacement of the edger blades. Refer to your edger's original instruction manual for specific details regarding your model (e.g., MAXLANDER LAWN EDGER B0G2XBMHF4).
Tools Required:
- Heavy-duty work gloves
- Wrench or socket set (size may vary by edger model)
- Safety glasses
Blade Replacement Procedure:
- Disconnect Power: Ensure the edger is unplugged or the battery is removed to prevent accidental startup.
- Position Edger: Place the edger on a stable, flat surface, ensuring the blade area is easily accessible. You may need to tilt the edger.
- Secure Blade: To prevent the blade from rotating while loosening the nut, you may need to insert a block of wood or a similar object between the blade and the edger housing.
- Remove Old Blade: Using the appropriate wrench, carefully loosen and remove the nut securing the old blade. Remove any washers or spacers, noting their order for reassembly.
- Inspect Components: Examine the blade mounting hardware (nut, washers, spacers) for wear or damage. Replace if necessary.
- Install New Blade: Position the new MAXLANDER replacement blade (ML-DCTM01-Blade) onto the edger shaft, ensuring it is correctly oriented. The cutting edge should face the direction of rotation. Reinstall any washers or spacers in their original order.
- Tighten Nut: Thread the nut back onto the shaft and tighten it securely with the wrench. Ensure the blade is firmly attached but can still rotate freely without wobble. Do not overtighten.
- Remove Block: Remove any securing block used to hold the blade.
- Final Check: Manually rotate the blade to ensure it spins freely and is properly seated.
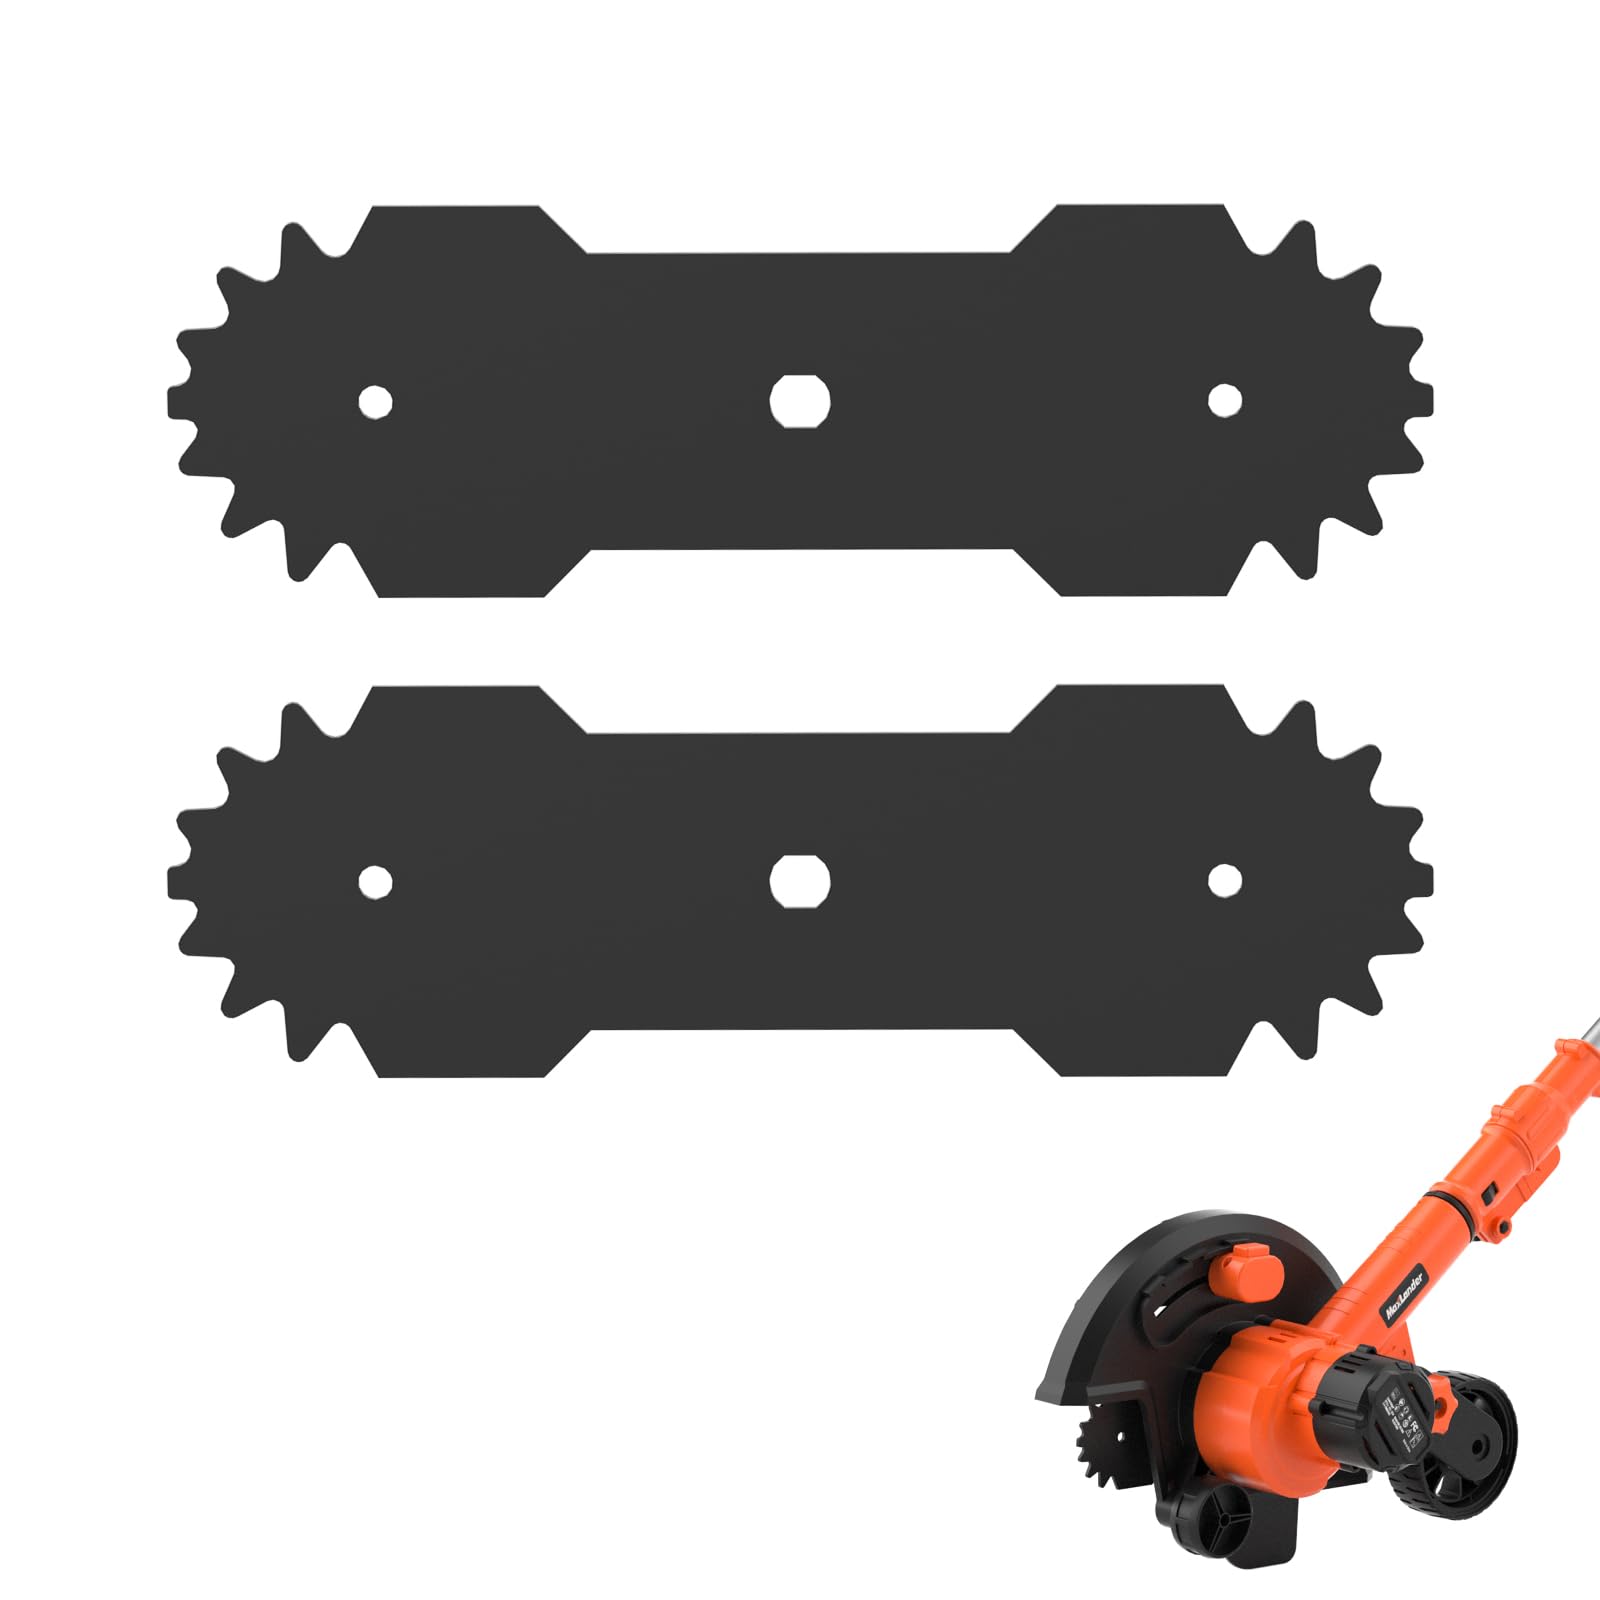
Image: A two-pack of MAXLANDER 9-inch replacement lawn edger blades. The blades are made of dark grey metal, featuring a central mounting hole and a curved, sharpened edge. They are packaged together, highlighting their robust construction.
Operating Instructions
These blades are replacement components for a lawn edger. The operation of the edger itself is governed by its specific manufacturer's instructions. Always refer to your edger's manual for proper operating procedures, safety guidelines, and recommended edging techniques.
Ensure the blade is securely installed and free from obstructions before starting the edger. Operate the edger according to its design, maintaining a steady pace and appropriate depth for effective edging.
Maintenance
Regular maintenance extends the life of your blades and ensures optimal performance.
- Cleaning: After each use, disconnect power and carefully clean any grass, dirt, or debris from the blade and surrounding area. A stiff brush or cloth can be used.
- Inspection: Regularly inspect the blade for signs of wear, cracks, bends, or excessive dullness. The MAXLANDER blades are made of 65Mn high-carbon steel for durability, but they will eventually wear down.
- Replacement: Replace blades when they become dull, bent, or damaged. Operating with a damaged blade can reduce cutting efficiency and potentially cause further damage to the edger or pose a safety risk. This package includes two blades for extended use.
- Storage: Store replacement blades in a dry, safe place away from moisture and out of reach of children.
Troubleshooting
If you encounter issues related to blade performance, consider the following:
- Poor Cutting Performance: This often indicates a dull or worn blade. Replace the blade with a new MAXLANDER ML-DCTM01-Blade.
- Excessive Vibration: A bent or improperly installed blade can cause vibration. Disconnect power, inspect the blade for damage, and ensure it is securely and correctly mounted.
- Blade Not Spinning Freely: Check for debris lodged around the blade or an overtightened mounting nut. Disconnect power and clear any obstructions or adjust the nut tension.
For issues related to the edger itself, consult your edger's specific instruction manual.
Specifications
- Model Number: ML-DCTM01-Blade
- Material: 65Mn High-Carbon Steel
- Length: 9 inches (22.86 cm)
- Dimensions: 22.86 x 7.19 x 0.28 cm
- Weight: Approximately 317.51 g (per blade)
- Compatibility: MAXLANDER LAWN EDGER B0G2XBMHF4 and other compatible models
- Package Quantity: 2 blades
Warranty and Support
MAXLANDER products are manufactured to high-quality standards. For information regarding warranty coverage or technical support, please refer to the documentation provided with your original edger purchase or contact MAXLANDER customer service through their official website or authorized retailers. Keep your purchase receipt as proof of purchase.