
MAXLANDER B0GSF6K3SR
MAXLANDER 21-Inch Push Lawn Sweeper
Model: B0GSF6K3SR
Introduction
This manual provides essential instructions for the safe assembly, operation, and maintenance of your MAXLANDER 21-Inch Push Lawn Sweeper. Designed for efficient collection of dry leaves, grass clippings, and small debris, this manual sweeper features a 21-inch sweeping path, adjustable height, and a 3.5 cubic foot collection hopper. Please read this manual thoroughly before first use and retain it for future reference.

Figure 1: The MAXLANDER 21-Inch Push Lawn Sweeper, ready for use in a leaf-covered yard.
Safety Information
Always observe basic safety precautions to reduce the risk of injury when operating this lawn sweeper.
- Read all instructions carefully before assembly and operation.
- Keep children and pets away from the operating area.
- Wear appropriate footwear and protective eyewear during operation.
- Ensure all fasteners are tightened securely before each use.
- Do not operate the sweeper on steep slopes where you might lose footing.
- Avoid sweeping wet debris, as it can clog the brushes and hopper.
- Store the sweeper in a dry, secure location when not in use.
Package Contents
Verify that all components are present before beginning assembly. If any parts are missing or damaged, contact customer support.
- Main Sweeper Unit (with brushes and wheels)
- Collection Hopper Bag
- Handle Assembly (upper and lower sections)
- Mounting Hardware (knobs, bolts, washers)
- Instruction Manual
Assembly and Setup
The MAXLANDER Push Lawn Sweeper is designed for quick, tool-free assembly. Follow these steps to prepare your sweeper for use.
- Attach the Handle: Connect the lower handle sections to the main sweeper unit using the provided knobs and bolts. Ensure they are securely fastened.
- Assemble the Upper Handle: Connect the upper handle section to the lower handle sections, securing with the remaining hardware.
- Install the Collection Hopper: Hook the collection hopper bag onto the designated frame points on the sweeper unit. Ensure it is properly seated to prevent debris from escaping.
- Adjust Handle Height (if applicable): Some models feature adjustable handle height for user comfort. Refer to the specific handle design for adjustment mechanisms.

Figure 2: Illustration of handle assembly for the lawn sweeper.
Operating Instructions
Proper operation ensures efficient debris collection and extends the life of your sweeper.
1. Adjusting Sweeping Height
The sweeper features a tool-free central adjustment knob to set the brush height. Adjust the height based on the type and amount of debris, and the terrain.
- For light debris (e.g., grass clippings) on even surfaces, set the brushes lower.
- For heavier debris (e.g., thick leaves) or uneven terrain, raise the brushes slightly to prevent clogging and allow for smoother movement.
- Ensure brushes just skim the top of the grass or surface to effectively pick up debris without digging into the ground.
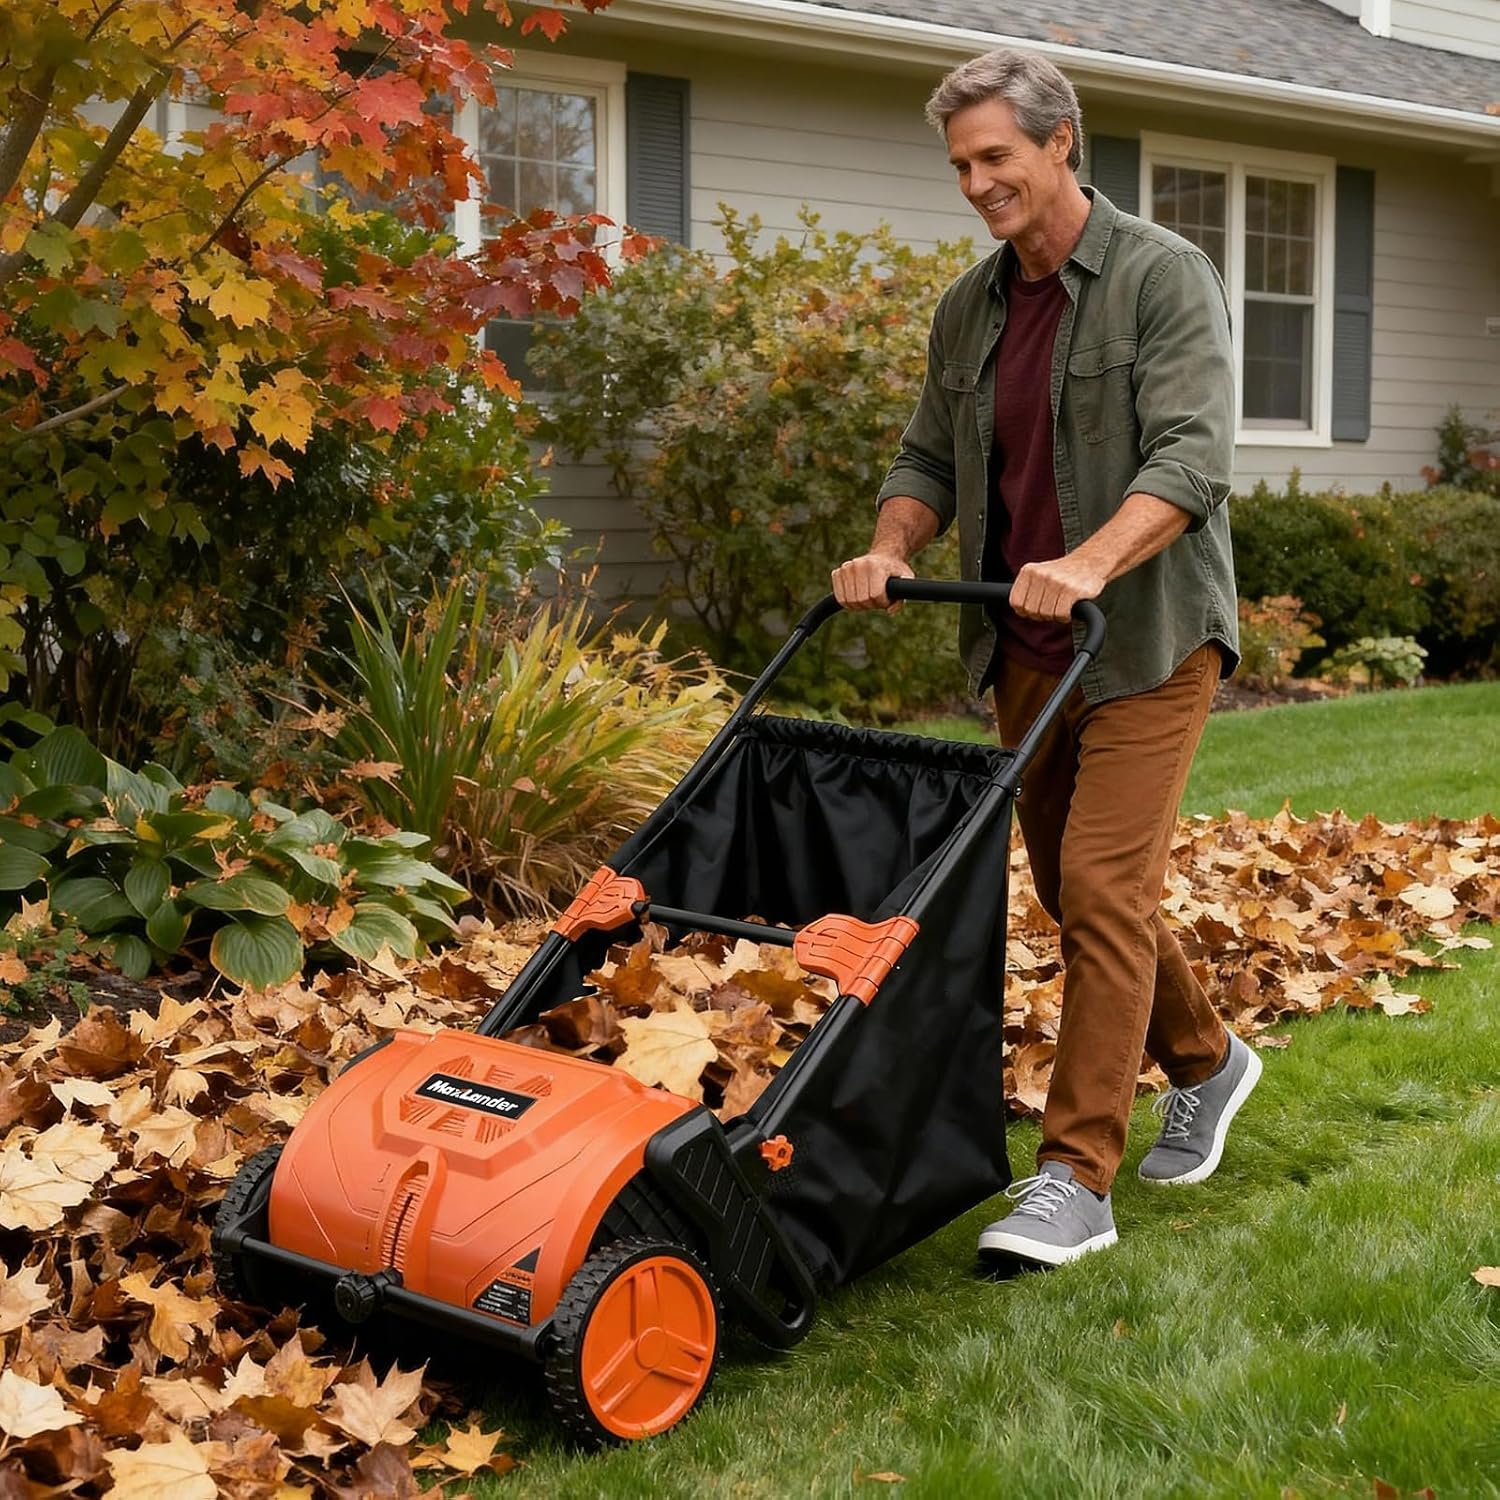
Figure 3: The central adjustment knob allows for quick, tool-free changes to sweeping height.
2. Sweeping Technique
Push the sweeper at a steady, moderate pace. Overlapping each pass slightly will ensure thorough coverage. The 21-inch sweeping path is designed for efficient collection.

Figure 4: Operating the lawn sweeper with a comfortable, non-slip grip handle.
3. Emptying the Hopper
The 3.5 cubic foot collection hopper is designed to hold a significant amount of debris, reducing the frequency of emptying. When full, detach the hopper using its quick-release design and empty the contents into a compost pile or waste bin. Reattach securely before continuing.

Figure 5: The large 3.5 cubic foot hopper capacity minimizes emptying interruptions.
Maintenance
Regular maintenance ensures optimal performance and longevity of your lawn sweeper.
- Cleaning: After each use, clear any debris from the brushes, wheels, and main housing. Wipe down surfaces with a damp cloth. Do not use harsh chemicals.
- Brush Inspection: Periodically inspect the brushes for wear or damage. Worn brushes may reduce sweeping efficiency and should be replaced.
- Hopper Care: Empty and clean the collection hopper regularly. Ensure it is dry before storing to prevent mold or mildew.
- Storage: The sweeper features a foldable design for compact storage. Fold the handle down and store the unit in a dry, protected area, away from direct sunlight and extreme temperatures.
Troubleshooting
Refer to this section for solutions to common issues.
| Problem | Possible Cause | Solution |
|---|---|---|
| Sweeper not picking up debris effectively. | Brushes set too high; brushes worn; wet debris; excessive debris. | Lower brush height; replace worn brushes; sweep dry debris only; make multiple passes over heavy debris. |
| Sweeper is difficult to push. | Brushes set too low; hopper is full; wheels are obstructed. | Raise brush height; empty hopper; clear any obstructions from wheels. |
| Debris falling out of hopper. | Hopper not properly attached; hopper is overfilled. | Ensure hopper is securely hooked; empty hopper before it overflows. |
Specifications
Key technical specifications for the MAXLANDER 21-Inch Push Lawn Sweeper.
- Model: B0GSF6K3SR
- Sweeping Width: 21 inches (53 cm)
- Hopper Capacity: 3.5 cubic feet (26.4 Gallons)
- Brush-Wheel Ratio: 5:1
- Adjustable Sweeping Height: 7mm - 270mm
- Item Weight: 15.6 pounds (7.1 kg)
- Wheel Size: 9.8 inches (25 cm)
- Main Materials: Iron, PP, PVC, Polyester
- Hopper Bag Material: Nylon

Figure 6: Detailed diagram illustrating the dimensions and key specifications of the lawn sweeper.
Warranty and Support
For warranty information, please refer to the documentation included with your purchase or contact MAXLANDER customer service directly. Keep your proof of purchase for warranty claims.
If you encounter any issues not covered in this manual or require further assistance, please contact MAXLANDER customer support through their official website or the retailer where the product was purchased.
Ask a question about this manual
Ask about setup, troubleshooting, compatibility, parts, safety, or missing instructions. Manuals+ will review the question and use this page’s manual context to help answer it.