
1. Introduction
This manual provides instructions for the Wielio 2026 Smart Projector, Model 269D. This device is designed for projecting video and images, featuring Android TV, WiFi 6, and Bluetooth 5.0 connectivity. It supports 4K/1080P resolution and includes automatic keystone correction and zoom functions.

Image: The Wielio 2026 Smart Projector, a compact white device with a lens on the front.
2. What's in the Box
Verify that all items are present in the package:
- Wielio Smart Projector (x1)
- Remote Control (x1)
- HDMI Cable (x1)
- Power Adapter (x1)
- User Manual (x1)
3. Product Features
- Android 11 Smart System: Enables direct app downloads and streaming for various content platforms.
- 240 ANSI Brightness: Supports 1080p visuals with full 4K content support for clear images.
- Wireless Connectivity: Equipped with Bluetooth 5.0 and WiFi 6 for stable wireless projection from devices.
- 120° Adjustable Stand: Allows projection onto walls, tents, or ceilings from various angles.
- Auto Keystone Correction, 50% Size Adjustment, and Manual Focus: Provides automatic image correction and manual adjustment options for image size and clarity.
- Compact and Portable Design: Suitable for various locations including home, travel, and outdoor use.
- Low Noise Design: Operates at under 30dB for minimal distraction during use.

Image: An infographic highlighting key features of the Wielio Smart Projector, including 240 ANSI brightness, dual-band WiFi 6, two-way Bluetooth, auto keystone correction, manual focus, HIFI audio, low fan noise, and a 120° rotatable stand.
4. Setup
4.1 Initial Power On and Focus
- Connect the power adapter to the projector and a power outlet.
- Press the power button on the projector or remote control to turn on the device.
- For the first time turning on the device, manually focus the lens to ensure the image is clear for subsequent operations. Locate the focus ring on the side of the projector and rotate it until the projected image is sharp.
- Once the device is on, the language selection screen will appear. Use the up and down buttons on the remote to select your desired language.

Image: A visual guide showing how to power on the projector and adjust the focus ring for a clear image.
4.2 Placement and Stand Adjustment
The projector features a 120° rotatable stand, allowing flexible placement and projection angles.
- Place the projector on a stable surface.
- Adjust the integrated stand to tilt the projector and project onto a wall, ceiling, or other desired surface.
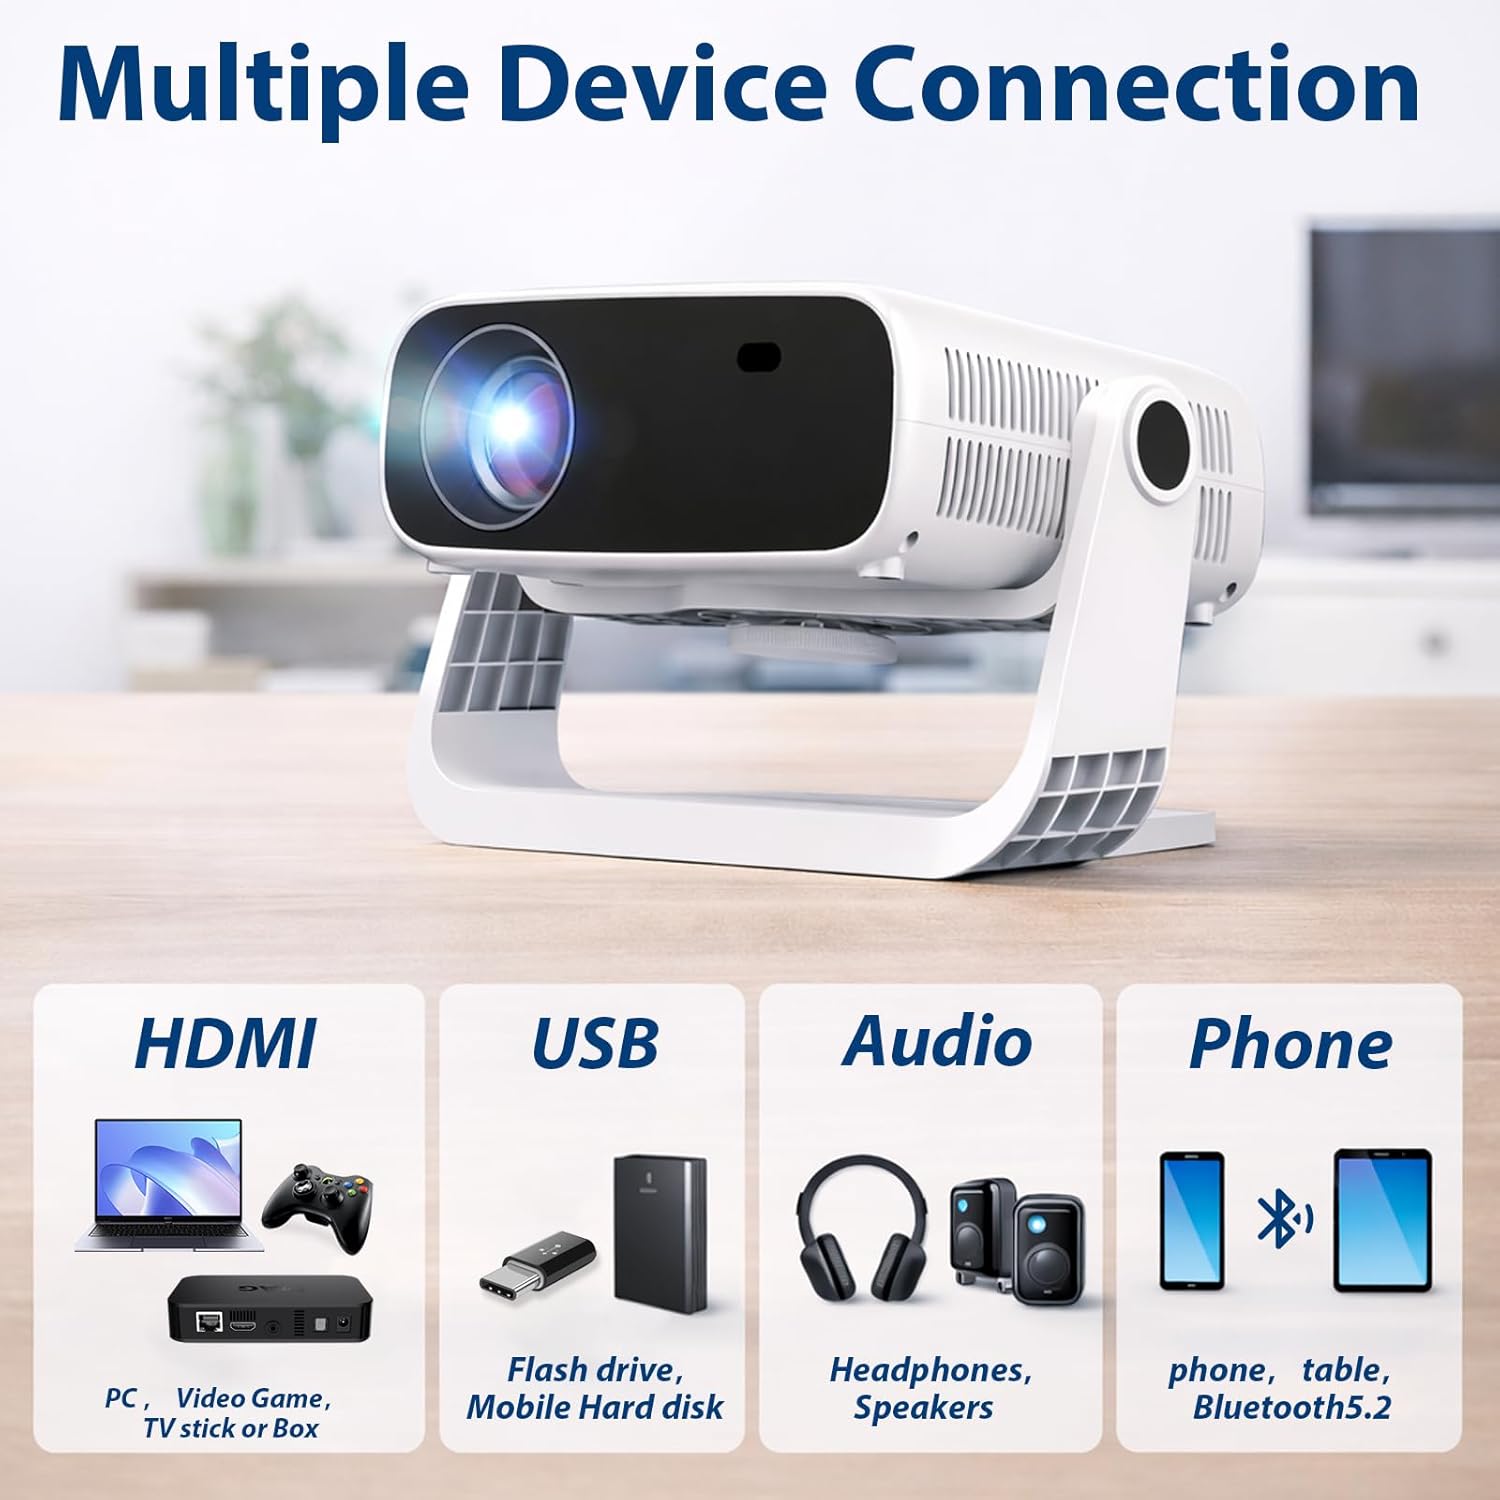
Image: Diagram illustrating the 120° rotatable stand, showing how the projector can be angled for projection in a living room, loft bedroom, or onto a ceiling.
5. Operating Instructions
5.1 Navigating the Interface
- Use the remote control to navigate the Android TV interface. The remote typically has directional buttons, an OK button, and a back button.
- To access settings, select the settings icon (gear symbol) on the home screen or press the dedicated settings button on the remote.
- The settings menu includes options for WiFi, Bluetooth, sound, language, projection, time, advanced settings, and an "About Us" section.

Image: Screenshots showing the projector's main interface with app icons and the settings menu, detailing how to access and navigate settings.
5.2 Mouse Operation
The remote control supports a mouse mode for easier navigation within certain applications.
Video: Instructions on how to activate and use the mouse operation mode on the projector's remote control for easier navigation.
6. Connectivity
6.1 Multiple Device Connection
The projector supports various input methods:
- HDMI: Connect PCs, video game consoles, TV sticks, or set-top boxes.
- USB: Connect flash drives or mobile hard disks for media playback.
- Audio: Connect headphones or external speakers.
- Phone/Tablet: Connect wirelessly via Bluetooth or screen mirroring.

Image: A diagram showing the projector's various connection ports and compatible devices, including HDMI, USB, audio output, and wireless phone/tablet connections.
6.2 WiFi Connection
To connect the projector to a WiFi network:
- Go to the projector's settings menu.
- Select "Network Settings" and choose your desired WiFi network.
- Enter the password if prompted.
Video: A step-by-step guide on how to connect the projector to a WiFi network.
6.3 Bluetooth Connection
To connect Bluetooth audio devices:
- Ensure your Bluetooth audio device is in pairing mode.
- On the projector, go to "Settings" and select "Bluetooth Settings".
- Turn on Bluetooth and select "Please click to search" to find available devices.
- Select your device from the list to connect.

Image: Screenshots detailing the Bluetooth settings interface, showing how to search for and connect to Bluetooth audio devices.
Video: A demonstration of how to connect a Bluetooth speaker to the projector.
6.4 Screen Mirroring (Wireless)
To mirror your phone's screen wirelessly:
- Ensure both your phone and the projector are connected to the same WiFi network.
- On the projector, select the screen mirroring option (e.g., AirPlay for iOS, Miracast for Android).
- Follow the on-screen instructions to connect your phone. This may involve downloading a specific app on your phone.
Video: Instructions for setting up wireless screen mirroring from a mobile device to the projector.
6.5 Screen Mirroring (Wired)
To mirror your phone's screen using a cable:
- Connect your phone to the projector using a compatible USB cable.
- Follow any on-screen prompts on both your phone and the projector to establish the connection and grant necessary permissions.
Video: A guide on how to mirror a phone's screen to the projector using a physical cable connection.
7. Image Adjustment
7.1 Auto Keystone Correction
The projector features automatic keystone correction to ensure a rectangular image even when projected at an angle. This function automatically adjusts the image within a 120° range.

Image: A visual representation of auto keystone correction and manual focus adjustment, showing how the projector automatically corrects image distortion and allows for manual focus.
7.2 Manual Keystone Correction / 4-Point Scaling
For more precise adjustments, manual keystone correction and 4-point scaling are available:
- Navigate to "Projection Settings" in the main settings menu.
- Change the "Control Mode" from "Keystone" (Auto Adjustment) to "Control By User" (Manual Adjustment).
- Select "Keystone Correction" or "Four Point Scaling" to manually adjust the image corners until the projection is rectangular.

Image: Screenshots demonstrating the Auto Keystone Correction, Manual Keystone Correction, and 4-Point Scaling options within the projector's settings, showing how to adjust the image manually.
Video: A tutorial on how to set up and use manual keystone correction for precise image alignment.
7.3 Image Scaling (Zoom)
To adjust the projection image size:
- In "Projection Settings", select "Whole Scaling".
- Use the left and right navigation buttons on the remote control to resize the projection image.
- If the adjustment is unsatisfactory, use the menu button on the remote control to restore the default projection settings.
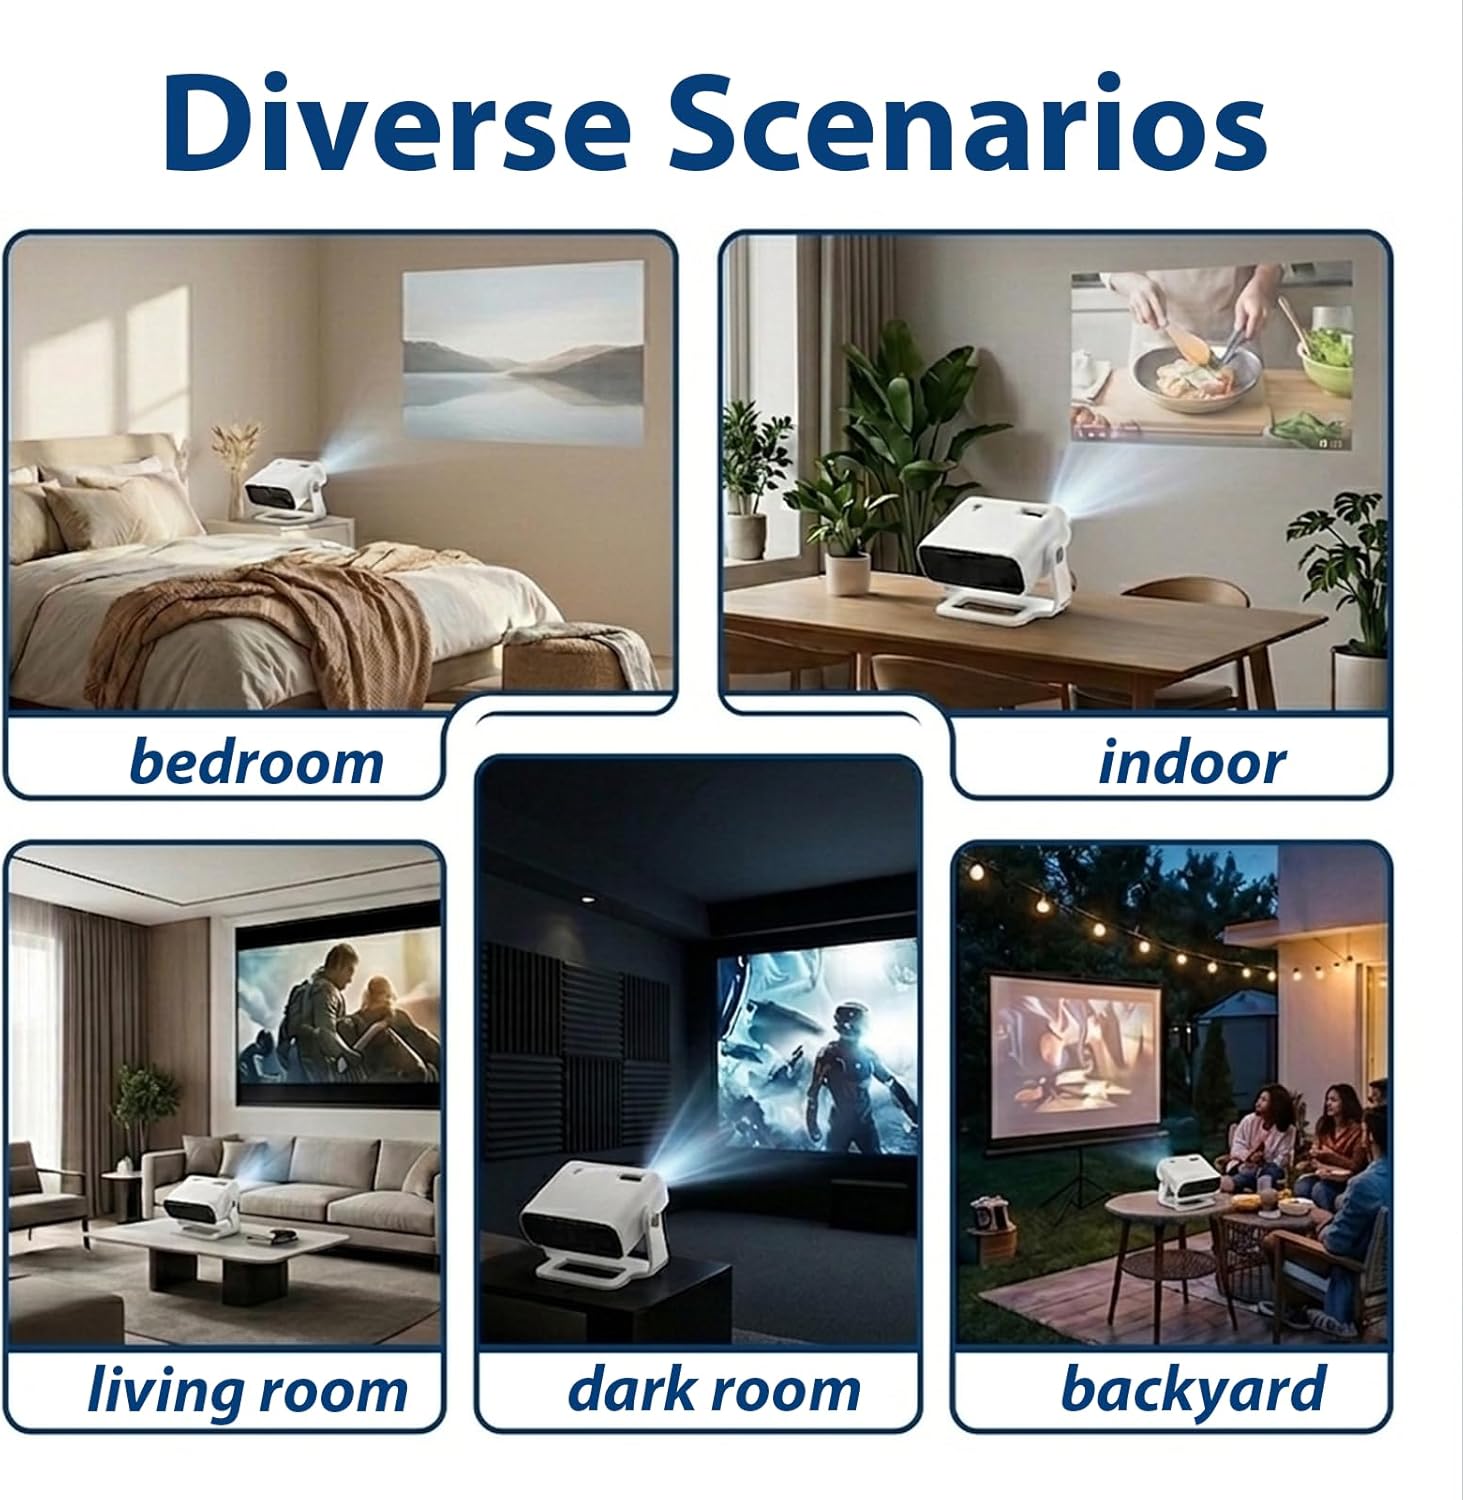
Image: A guide to the projector's overall scaling feature, showing how to use the remote control to zoom in and out of the projected image and reset settings.
8. Maintenance
To ensure optimal performance and longevity of your projector:
- Cleaning the Lens: Use a soft, lint-free cloth specifically designed for optical lenses. Do not use abrasive cleaners or cloths that could scratch the lens.
- Cleaning the Exterior: Wipe the projector's exterior with a soft, dry cloth. Avoid using liquid cleaners directly on the device.
- Ventilation: Ensure the projector's ventilation openings are not blocked to prevent overheating. Do not place the projector on soft surfaces that may obstruct airflow.
- Storage: When not in use for extended periods, store the projector in a cool, dry place, away from direct sunlight and excessive dust.
9. Troubleshooting
If you encounter issues with your Wielio Smart Projector, refer to the following common solutions:
- No Power: Ensure the power adapter is securely connected to both the projector and a working power outlet. Try a different outlet if necessary.
- No Image: Check all cable connections (HDMI, USB). Ensure the correct input source is selected on the projector. Verify the lens cap is removed.
- Blurry Image: Adjust the manual focus ring until the image is sharp. If using auto keystone, ensure the projector is within the recommended projection angle.
- Distorted Image: Use the auto keystone correction feature or manually adjust keystone and 4-point scaling in the settings menu.
- No Sound: Check the volume settings on the projector and the connected source device. Ensure external speakers or headphones are properly connected and selected as the audio output.
- WiFi/Bluetooth Connection Issues: Ensure the projector and your device are within range. Restart both devices. Verify the correct password for WiFi. For Bluetooth, ensure the device is in pairing mode.
If the problem persists after attempting these solutions, please contact customer support.
10. Specifications
| Feature | Specification |
|---|---|
| Brand | Wielio |
| Model Name | 269D |
| Operating System | Android 11 |
| Brightness | 240 ANSI Lumen (50000 Lumen marketing value) |
| Native Resolution | 1920 x 1080 Pixels |
| Display Resolution Maximum | 1920 x 1080 Pixels (Supports 4K input) |
| Display Type | LED |
| Connectivity Technology | WiFi 6, Bluetooth 5.0, Wireless |
| Contrast Ratio | 10000:1 |
| Adjustable Stand | 120° Rotatable |
| Keystone Correction | Auto Keystone Correction, 4-point Keystone Correction |
| Image Size Adjustment | 50% Size Adjustment (Zoom) |
| Maximum Image Size | 240 Inches |
| Optimal Throw Distance | 3.94 - 9.84 feet (1.2 - 3 meters) |
| Noise Level | <30dB |
| Item Dimensions (L x W x H) | 6.37" x 6.1" x 9.33" |
| Item Weight | 2.4 Pounds (1.1 KG) |
| Power Consumption | 48 watts |

Image: The projector with its dimensions labeled: 9.33 inches length, 6.10 inches width, and 6.38 inches height.
11. Warranty and Support
Wielio provides dedicated customer support for the 2026 Smart Projector Model 269D.
- Service Period: A 2-year service period is provided, which includes replacements, repairs, and expert technical assistance.
- Customer Support: Our professional support team is available to assist with any inquiries or issues. We guarantee a response within 24 hours.
For assistance, please refer to the contact information provided in your product packaging or visit the official Wielio support website.