
1. Important Safety Information
Please read this manual thoroughly before assembly and use. Failure to follow these instructions may result in injury or damage to the product.
- Assembly: This shed requires assembly by 2-4 adults. Ensure all parts are present and undamaged before beginning.
- Sharp Edges: Metal components may have sharp edges. Always wear protective gloves (included) during assembly to prevent cuts.
- Foundation: Install the shed on a level, solid foundation to ensure stability and proper door operation.
- Location: Choose a location free from overhead obstructions and away from power lines. Ensure adequate clearance around the shed for assembly and maintenance.
- Anchoring: Securely anchor the shed to the ground to prevent wind damage. Anchoring hardware may be sold separately or included.
- Children: Keep children away from the assembly area. Do not allow children to play inside or around the shed unsupervised.
2. Package Contents
Verify all components are present against the parts list provided in your separate assembly guide. The package typically includes:
- Galvanized steel panels (walls, roof)
- Frame components (beams, supports)
- Door assembly parts
- Hardware kit (screws, nuts, washers)
- Protective gloves
- Handheld work light
- Solar-powered roof light

Image: Overview of typical package contents, showing the shed structure, a work light, mounting gloves, and a solar induction lamp.
3. Setup and Assembly Instructions
Refer to the detailed step-by-step assembly manual included in your package for specific instructions and diagrams. The following is a general overview:
- Prepare the Site: Ensure the chosen location is level and clear of debris. A concrete slab or treated wood foundation is recommended.
- Unpack and Organize: Carefully unpack all boxes. Identify and sort all parts according to the parts list. Wear protective gloves.
- Assemble the Base Frame: Construct the base frame on your prepared foundation, ensuring it is square and level.
- Install Wall Panels: Attach the wall panels to the base frame and to each other, following the numerical sequence in the assembly guide.
- Assemble the Roof Structure: Construct the roof frame and then attach the roof panels. Ensure all roof components are securely fastened to prevent leaks.
- Install Doors: Assemble and attach the double hinged doors. Adjust as necessary for smooth operation and proper alignment.
- Install Accessories: Attach the door handle lock, solar induction lamp to the roof, and utilize the handheld work light during assembly as needed.
- Final Check: Verify all screws and fasteners are tight. Anchor the shed to the ground.

Image: Detailed product dimensions, indicating the overall height, width, and depth of the shed, along with door opening measurements.
4. Operating Instructions
4.1 Door Operation
The shed features double hinged doors. To open, unlatch the lock and pull the doors outwards. To close, push the doors shut and secure the lock mechanism. Ensure doors are fully closed and locked when not in use to protect contents.
4.2 Ventilation System
The shed is equipped with convection bi-directional vents located near the roofline. These vents promote airflow to reduce heat buildup and moisture, helping to keep the interior fresh and clear. Do not block these vents.

Image: Illustration of the convection ventilation design, highlighting the vents on the shed's roof and rear for optimal air circulation.
4.3 Lighting Accessories
- Solar Induction Lamp: This lamp is mounted on the roof and charges during the day, providing light inside the shed during low-light conditions or at night. Ensure the solar panel is clean and exposed to direct sunlight for optimal charging.
- Handheld Work Light: Use this portable light for focused illumination during tasks inside the shed or for inspection.

Image: Close-up view of the included handheld work light, the door handle with its locking mechanism, and the solar induction lamp integrated into the shed's roof.

Image: Interior perspective of the shed, demonstrating its storage capacity and highlighting the use of the handheld work light for visibility.
5. Maintenance
- Cleaning: Clean the shed exterior periodically with mild soap and water. Avoid abrasive cleaners or scrubbers that could damage the finish. Rinse thoroughly.
- Inspection: Annually inspect all fasteners (screws, bolts) and tighten if necessary. Check for any signs of rust or damage to panels.
- Snow Load: In areas with heavy snowfall, regularly remove accumulated snow from the roof to prevent structural damage.
- Door Maintenance: Keep door tracks (if applicable) clean and free of debris for smooth operation. Lubricate hinges if they become stiff.
- Ventilation: Ensure vents remain clear of obstructions (leaves, debris) to maintain proper airflow.
6. Troubleshooting
- Water Leakage: Check all roof and wall panel seams for proper overlap and tight fasteners. Ensure the shed is on a level surface. Apply silicone sealant to problematic areas if necessary.
- Doors Not Closing Properly: Verify the shed base is level and square. Check door hinges for alignment and tighten any loose screws. Clear any obstructions from the door path.
- Shed Instability: Ensure the shed is properly anchored to the ground. Re-check all frame connections and panel fasteners for tightness.
- Excessive Condensation: Ensure ventilation vents are clear and unobstructed. Avoid storing wet items inside the shed.
7. Specifications
| Feature | Specification |
|---|---|
| Model | 10X8 FT |
| Product Dimensions (L x W x H) | 112"L x 87"W x 81"H (approx.) |
| Floor Area | Approximately 80 sq. ft. |
| Material | Galvanized Steel |
| Color | Black |
| Door Style | Double Hinged, Lockable |
| Ventilation | Four-vent airflow system |
| Water Resistance | Waterproof |

Image: Visual representation of key protective features including plastic screw sleeves, convection vents, roof plastic protection corners, and reinforcing door structure.
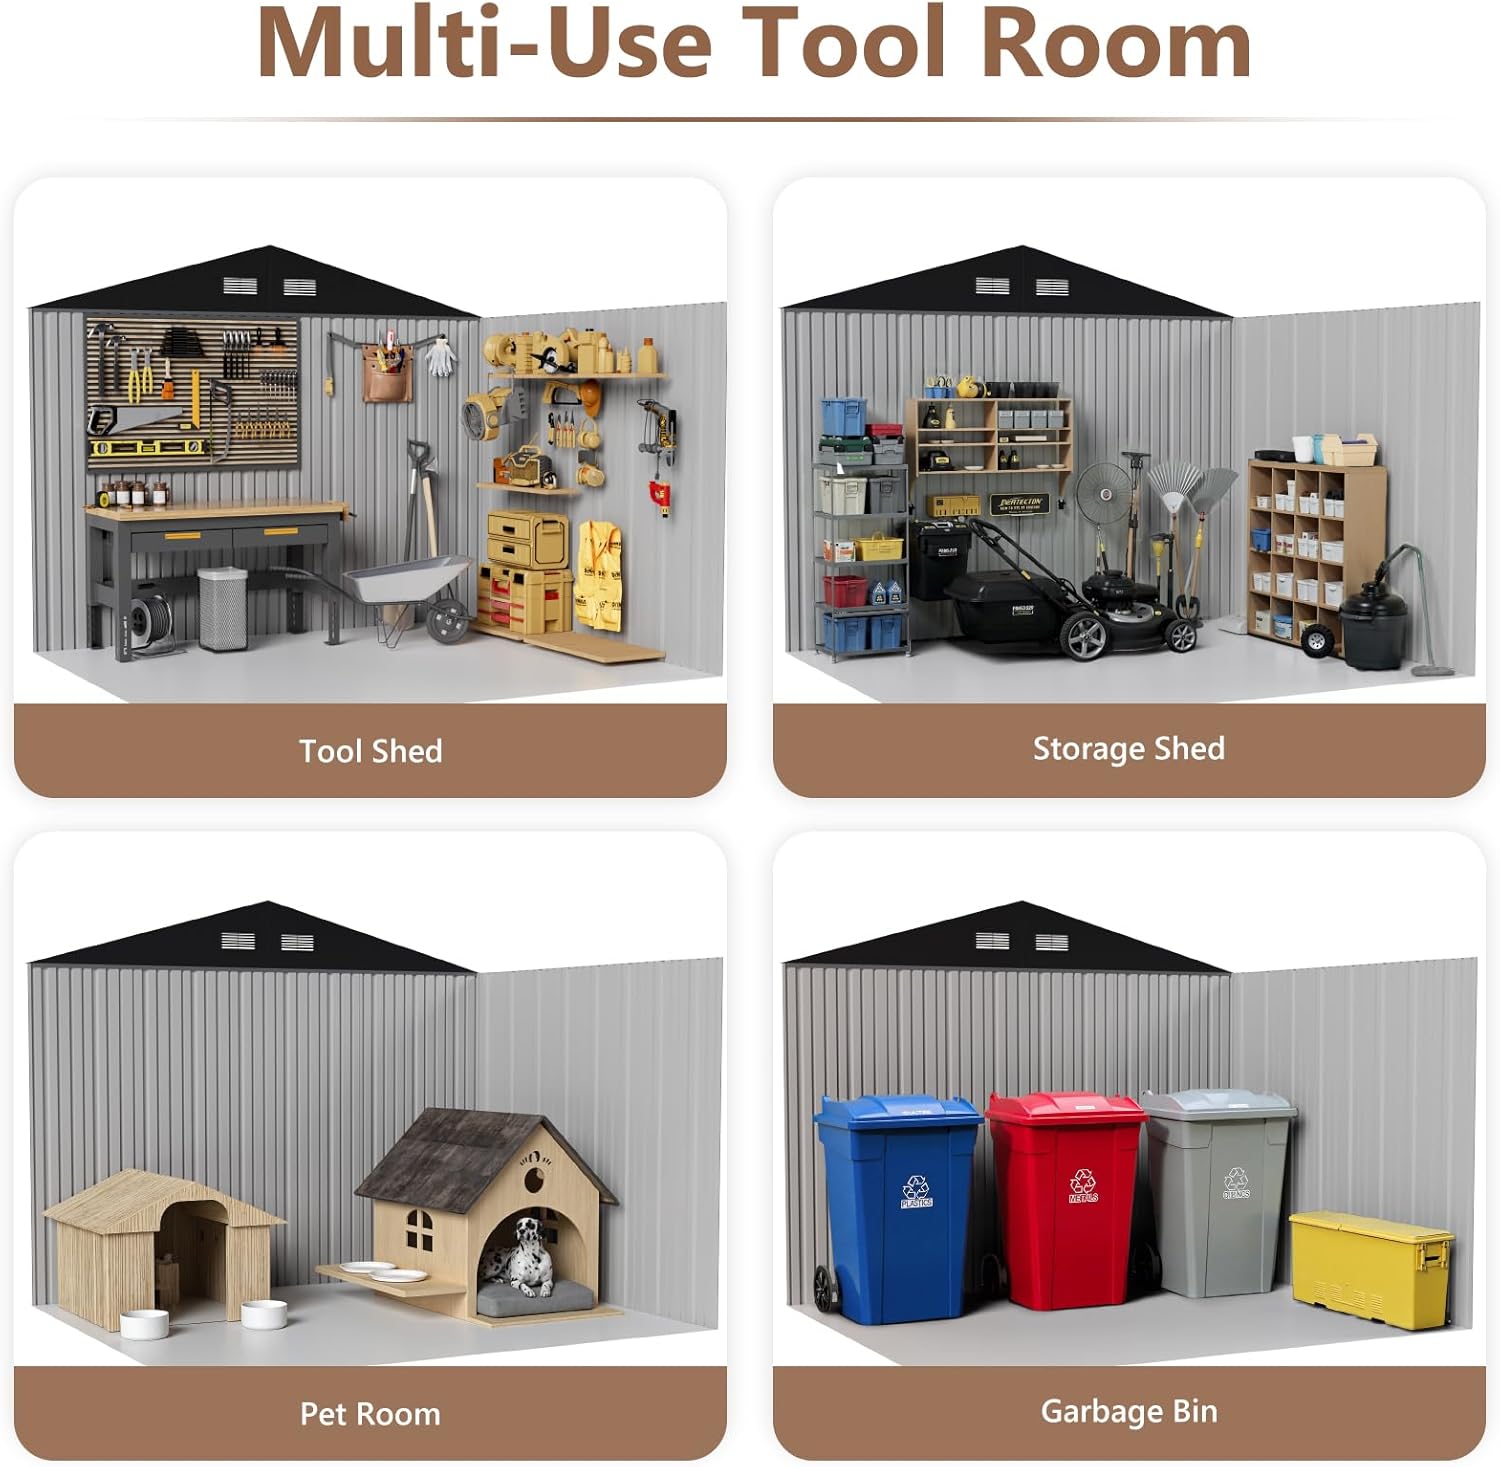
Image: Examples of how the shed can be utilized, including as a tool shed, general storage, a pet room, or an enclosure for garbage bins.
8. Warranty and Customer Support
For any questions regarding assembly, missing parts, or operational issues, please contact Benass customer support. Refer to your purchase documentation for specific warranty details and contact information.