
1. Overview
This manual provides instructions for the installation, operation, and maintenance of the Coleman-Mach Ceiling Assembly, designed specifically for the VS-18 RV Air Conditioner. This non-ducted IntelliCool ceiling unit features 360° airflow, a low-profile Euro design, a backlit LCD, and pop-out filters for user convenience.
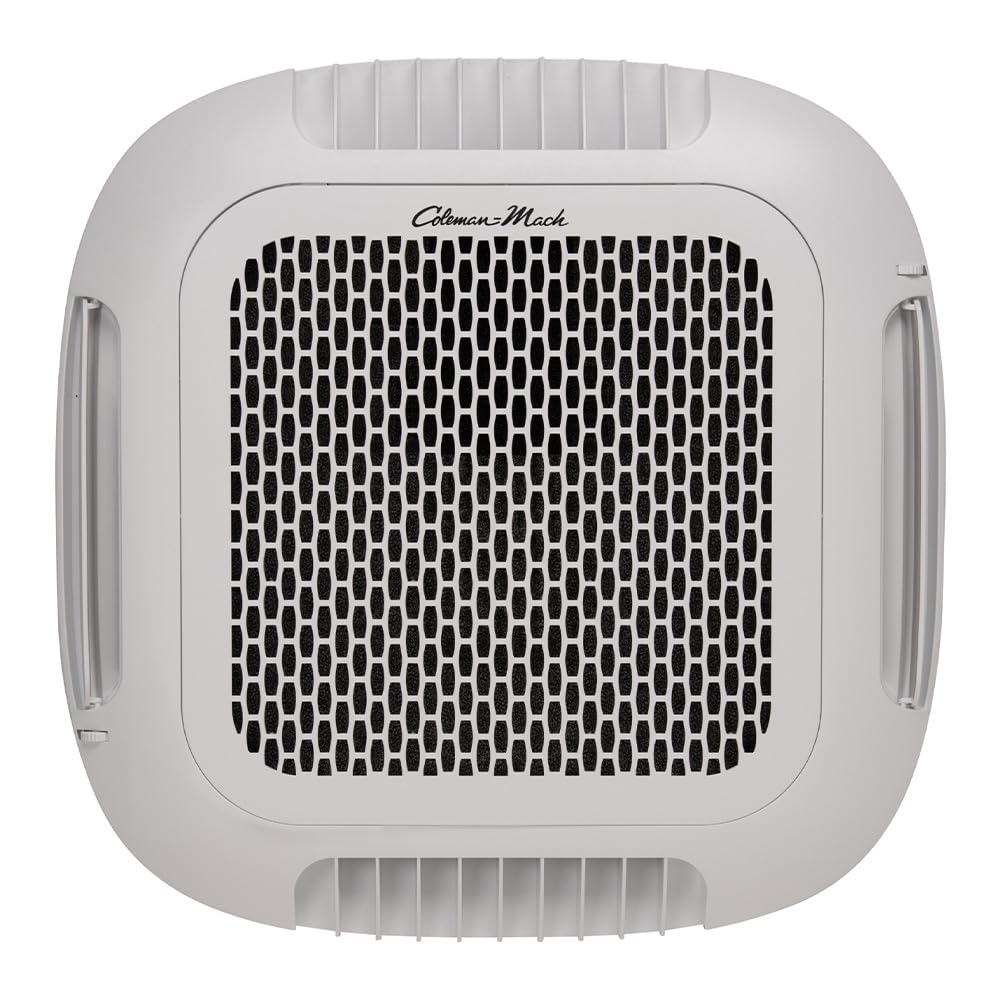
Figure 1: Coleman-Mach Ceiling Assembly installed in an RV interior, demonstrating air distribution.

Figure 2: Angled view of the Coleman-Mach Ceiling Assembly.
2. Safety Information
Read all instructions carefully before installation and operation. Failure to follow these instructions may result in property damage, personal injury, or death.
- Ensure all power to the RV is disconnected before performing any installation or maintenance.
- Installation should be performed by a qualified technician to ensure proper function and safety.
- Do not operate the unit with damaged filters or grilles.
- Keep hands and objects clear of air vents during operation.
3. Setup and Installation
This ceiling assembly is designed for integration with the Coleman-Mach 18K variable-speed air conditioner (VS-18). Proper installation is crucial for maximizing cooling efficiency and ensuring consistent temperatures within your RV.
3.1 Pre-Installation Checks
- Verify that the roof opening dimensions are compatible with the ceiling assembly.
- Ensure all necessary wiring is present and correctly sized for the VS-18 unit.
3.2 Mounting the Assembly
The telescoping air chute is designed to accommodate various roof thicknesses. Adjust the chute to fit your RV's roof thickness before securing the assembly. Follow the specific instructions provided with the main VS-18 air conditioner unit for detailed mounting procedures.
3.3 Optional Heat-Strip Installation
The ceiling assembly supports optional heat-strip installation. Refer to the heat-strip manufacturer's instructions for proper integration and wiring.
4. Operating Instructions
The Coleman-Mach Ceiling Assembly features an intuitive control system for managing your RV's climate. The unit can be controlled via its integrated LCD display or through a compatible app via Bluetooth connectivity.
4.1 LCD Display Controls
The backlit LCD display allows for clear manual adjustment of temperature, fan speed, and operating mode (e.g., Cool, Fan). Use the arrow buttons to adjust settings and the mode button to cycle through available functions.

Figure 3: Example of the LCD control panel.
4.2 Airflow Distribution
The omnidirectional louvers provide 360° RV cabin air distribution, ensuring high-efficiency airflow in every direction. This design helps circulate cool air evenly throughout the cabin and reduces hot spots. The louvers can be manually adjusted to direct airflow as needed.
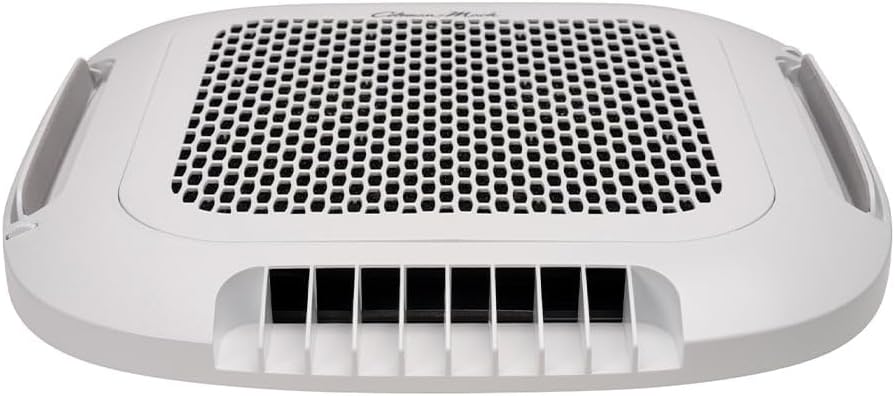
Figure 4: Side view showing adjustable air vents.
4.3 IntelliCool System
The IntelliCool system, engineered for the VS-18, optimizes cooling performance by maintaining consistent, comfortable temperatures. This system automatically adjusts fan speeds and compressor operation to achieve and hold the desired temperature efficiently.
4.4 App Control (Bluetooth Connectivity)
For remote control and advanced features, connect the unit to a compatible mobile application via Bluetooth. Refer to the app's instructions for pairing and usage.
5. Maintenance
Regular maintenance ensures optimal performance and longevity of your Coleman-Mach Ceiling Assembly.
5.1 Cleaning Air Filters
The unit features pop-out filters for easy maintenance. It is recommended to clean these filters regularly, especially during periods of frequent use.
- Gently pull the filter tabs to remove the pop-out filters from the assembly.
- Wash the filters with mild soap and water.
- Allow the filters to air dry completely before reinserting them.
- Ensure filters are securely in place before operating the unit.

Figure 5: Bottom view of the ceiling assembly, indicating filter locations.
5.2 Exterior Cleaning
Wipe the exterior of the ceiling assembly with a soft, damp cloth. Do not use abrasive cleaners or solvents, as these can damage the finish.
6. Troubleshooting
If you encounter issues with your Coleman-Mach Ceiling Assembly, refer to the following common troubleshooting steps. For complex problems, contact a qualified service technician.
| Problem | Possible Cause | Solution |
|---|---|---|
| Unit does not power on | No power supply; tripped breaker; loose wiring | Check RV power supply; reset circuit breaker; inspect wiring connections (by qualified technician). |
| Poor cooling performance | Dirty air filters; obstructed airflow; incorrect temperature setting | Clean air filters (see Section 5.1); ensure vents are not blocked; adjust temperature setting. |
| Fan not operating | Fan motor issue; control panel malfunction | Check control panel settings; if problem persists, contact service technician. |
| Unusual noises | Loose components; debris in fan; motor issue | Inspect for loose parts; check for debris (with power off); contact service technician if noise continues. |
7. Specifications
| Feature | Detail |
|---|---|
| Brand | MACH |
| Model Number | 2111-0044 |
| Product Dimensions (D x W x H) | 20.5" x 20.5" x 2" |
| Item Weight | 8 Pounds |
| Form Factor | Cassette |
| Special Features | Bluetooth Connectivity, IntelliCool System, 360° Airflow, Low-Profile Design |
| Controller Type | App Control (via Bluetooth), Integrated LCD Display |
| Included Components | Ceiling Assembly |
| UPC | 755790012688 |
8. Warranty & Support
8.1 Manufacturer Warranty
This product is covered by a Manufacturer Warranty. For specific details regarding coverage, duration, and terms, please refer to the warranty documentation included with your purchase or contact Coleman-Mach directly.
8.2 Customer Support
For technical assistance, troubleshooting beyond this manual, or warranty claims, please contact Coleman-Mach customer support. Contact information can typically be found on the manufacturer's website or in your product packaging.


