
1. Introduction
This manual provides detailed instructions for the installation, operation, and maintenance of your Kavey KM-75 Large Fingerprint Safe Box. Please read this manual thoroughly before using the safe to ensure proper function and security. Keep this manual for future reference.
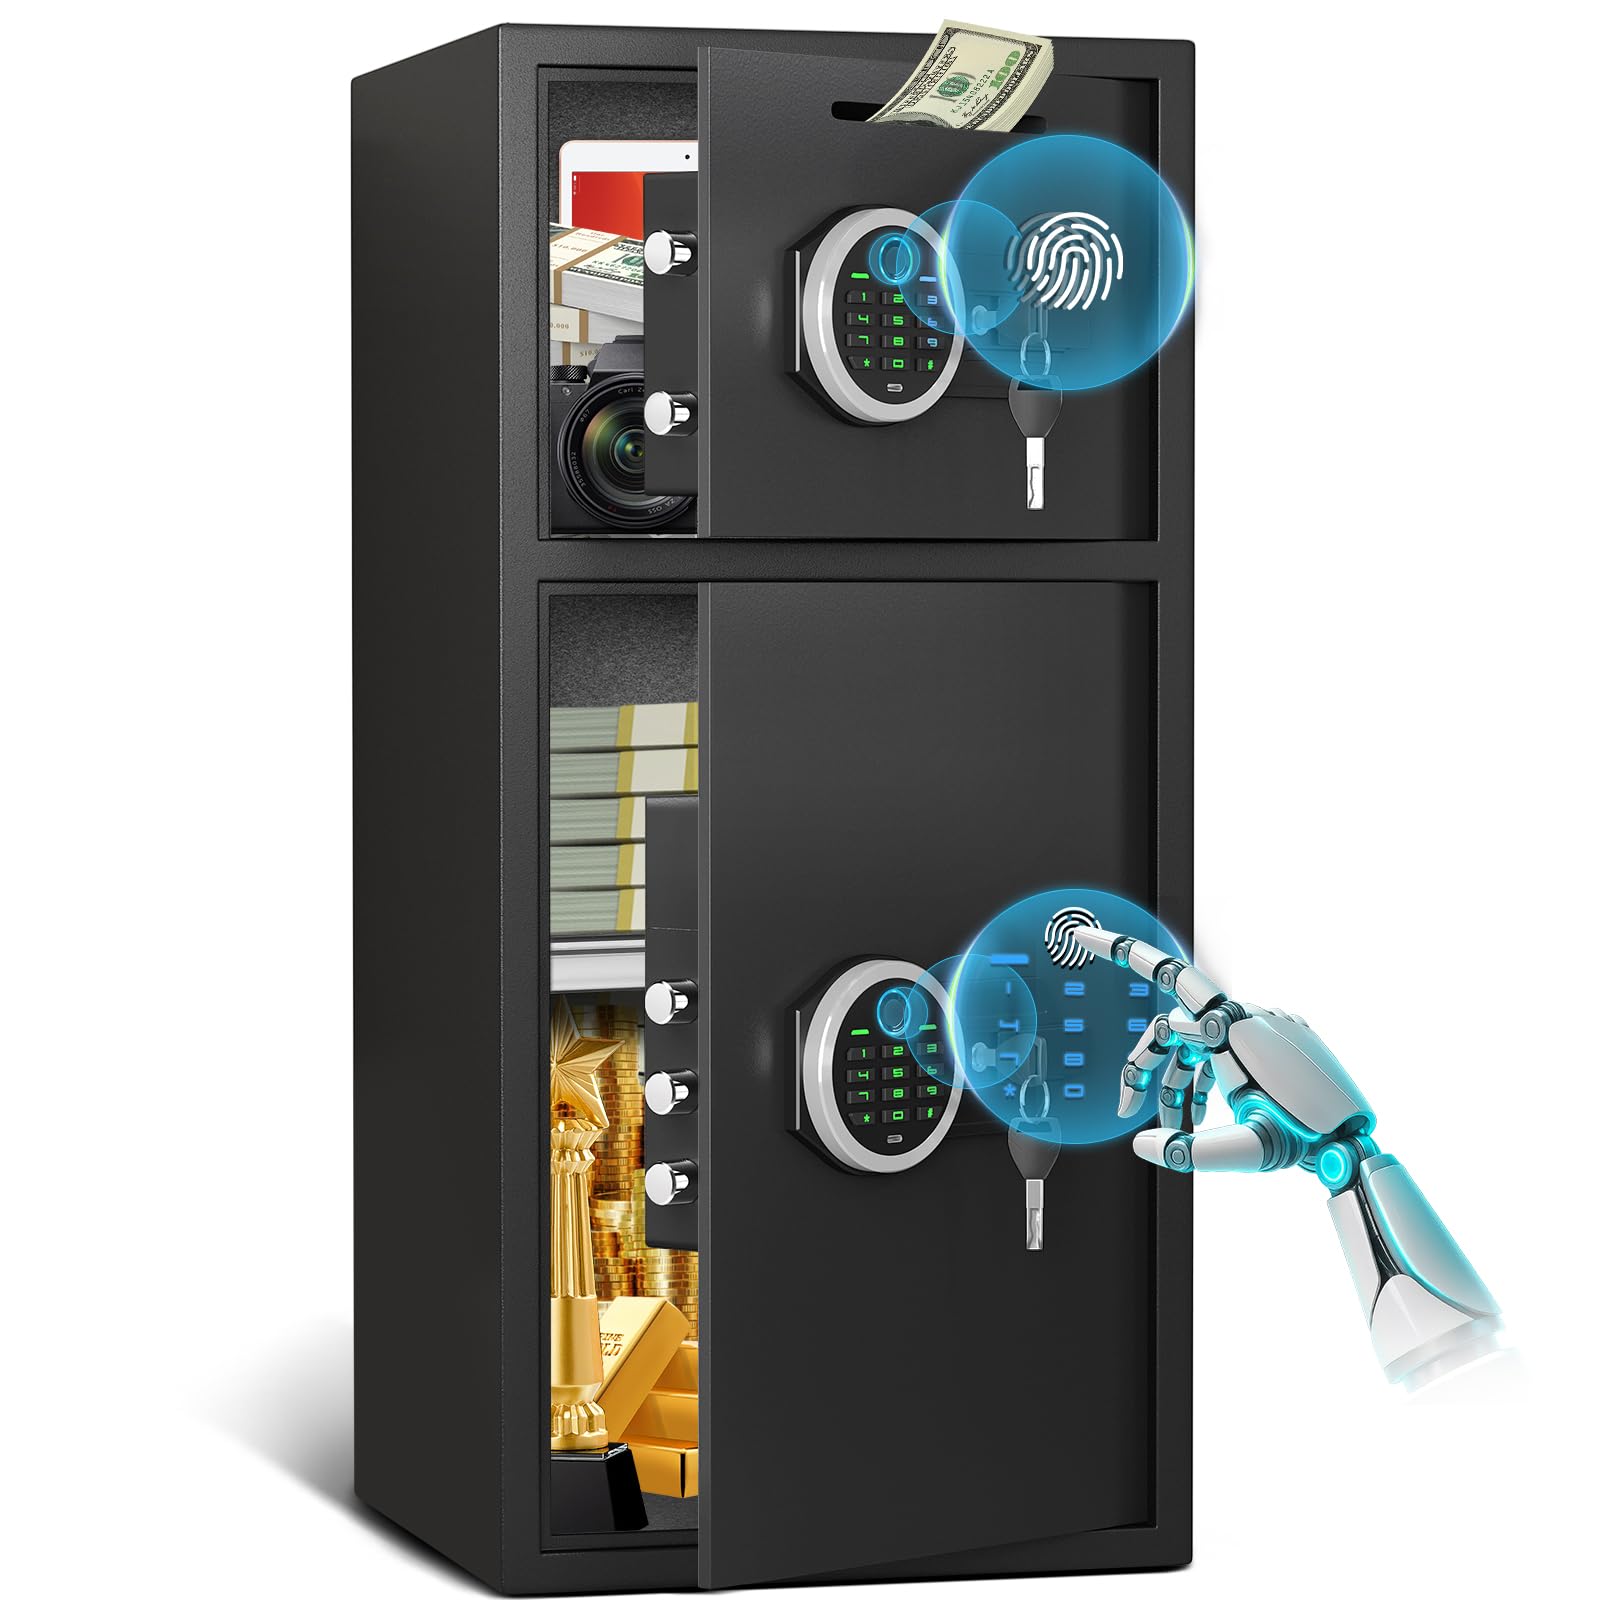
Image 1.1: Kavey KM-75 Large Fingerprint Safe Box, a dual-door safe with biometric and digital keypad access.
2. Safety Information
- Do not store emergency keys inside the safe. Keep them in a secure, separate location.
- Ensure the safe is mounted securely to prevent unauthorized removal.
- Avoid exposing the safe to extreme temperatures or humidity.
- Do not attempt to force the safe open if access methods fail. Use emergency keys.
- Keep the keypad and fingerprint sensor clean and dry for optimal performance.
3. Package Contents
Verify that all components are present in the package:
- 1 x Kavey KM-75 Safe Box (6.51 Cubic Feet)
- 4 x Emergency Keys (2 for each door)
- 6 x Expansion Screws for mounting
- 1 x USB Type-C Cable (for emergency power)
- 4 x Non-slip Pads
- 1 x User Manual (this document)
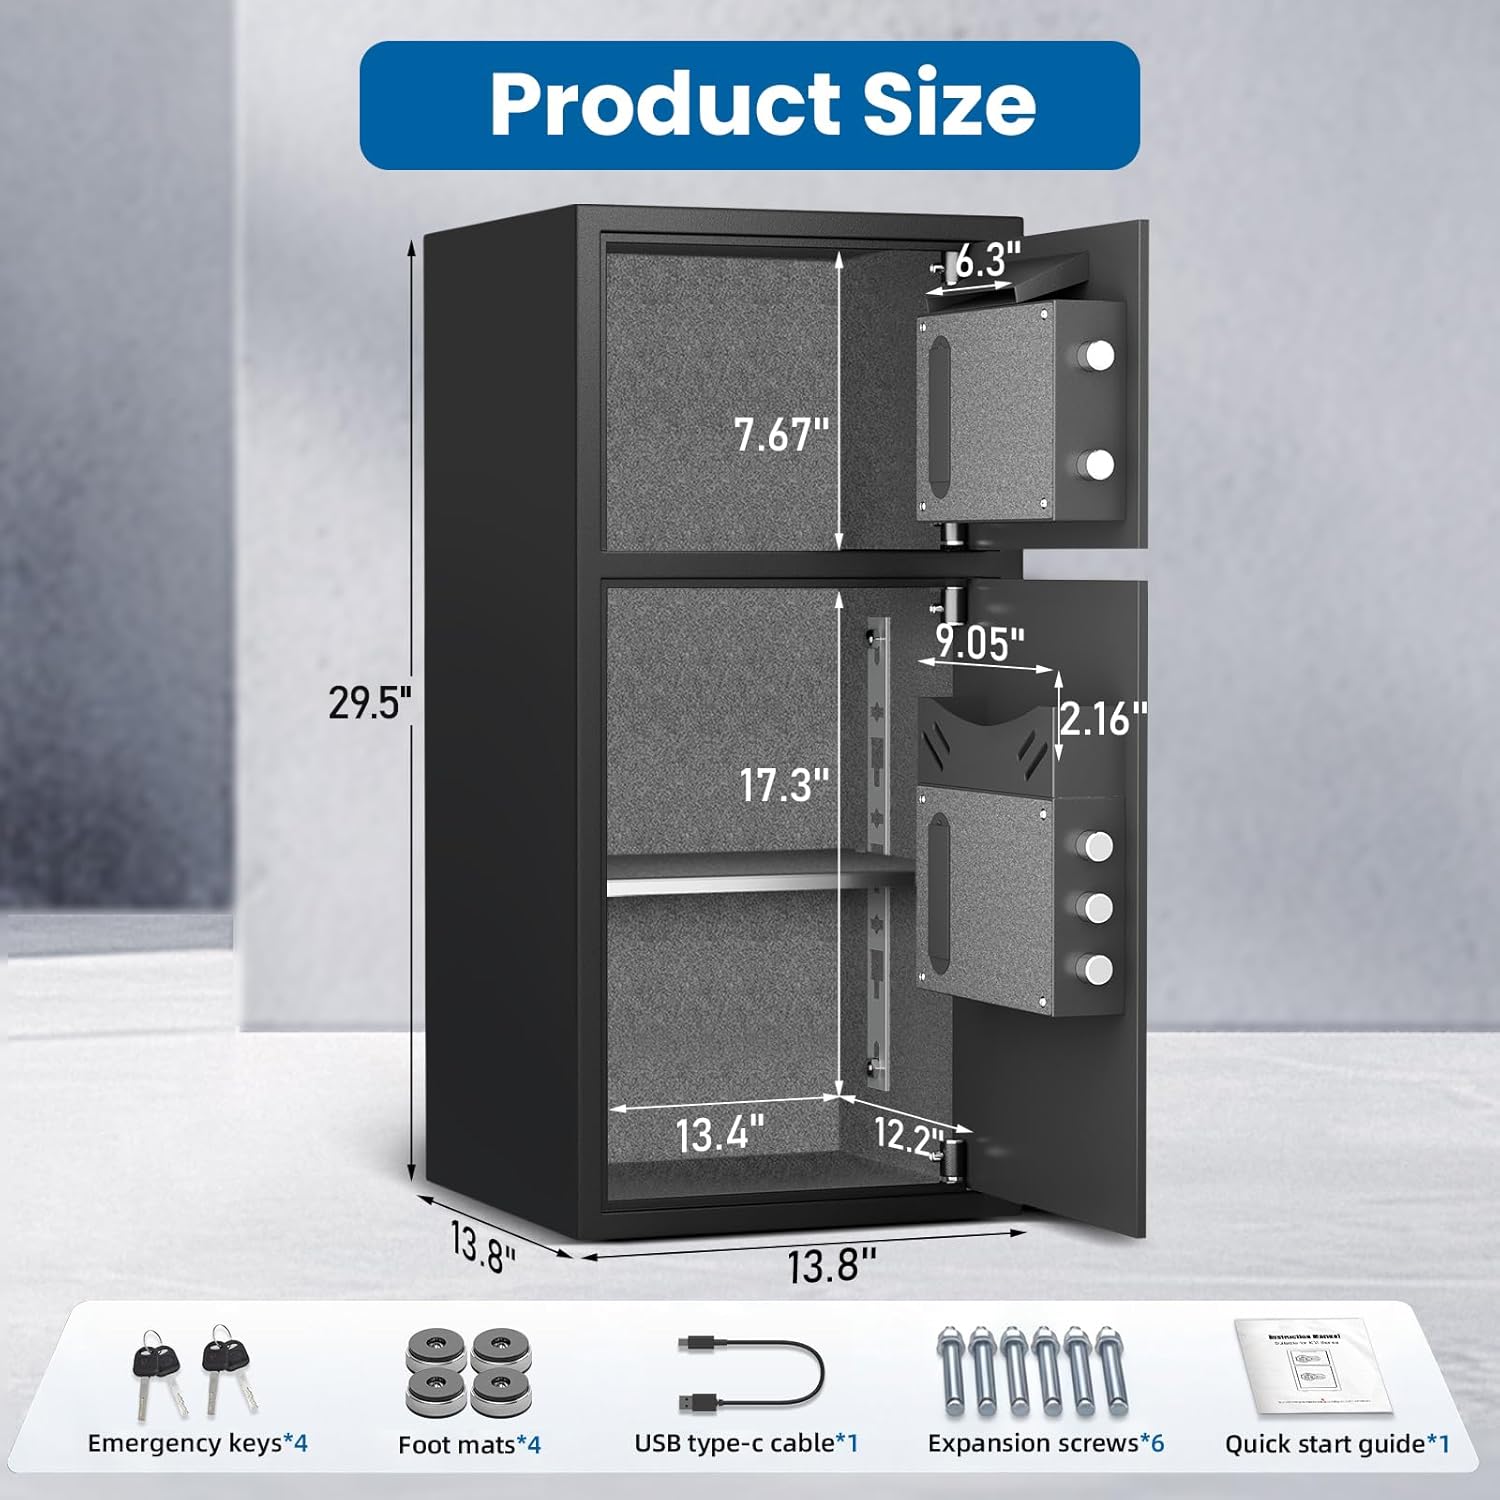
Image 3.1: Visual representation of the safe's dimensions and included accessories.
4. Product Features
The Kavey KM-75 safe is designed with multiple security and convenience features:
- Dual Independent Compartments: Two separate storage zones with individual access controls (passwords and keys) for enhanced privacy and organization.
- Convenient Drop Slot: A front-facing slot allows for quick deposits of cash, envelopes, or receipts without opening the main compartment.
- Advanced Biometric Access: High-precision fingerprint sensors on both doors provide rapid entry (approx. 0.5 seconds).
- Digital Keypad: Programmable electronic combination lock for secure access.
- Heavy-Duty Anti-Theft Construction: Constructed from reinforced low-carbon alloy steel with a laser-cut micro-slit design to minimize prying points. Features 5 solid live-locking bolts and a thickened door.
- Maximized Interior with Adjustable Storage: Spacious interior with a built-in LED light for visibility and an adjustable shelf for customized organization. Includes a small internal storage box.
- Smart Dual Alarm System: Triggers a 70dB alert after 3 failed password attempts or violent vibration.
- Mute Function: Allows for silent operation of the keypad and alarm system.
- Emergency Power: USB-C port for external power supply in case of battery depletion.
- Hidden Keyhole: Provides discreet access using emergency keys.

Image 4.1: Details of the upgraded backlit keypad, external Type-C power jack, fingerprint sensor, and hidden keyhole.

Image 4.2: Illustration of the four unlocking methods: Emergency key + knob, Fingerprint + knob, Password + knob, and USB Type-C + password + knob for emergency power.

Image 4.3: Depiction of the interior features including the drop slot, metal storage box, dual LED light, 5 locking bolts, and full velvet lining.
5. Setup Instructions
5.1. Battery Installation
- Locate the battery compartment on the inside of each safe door.
- Insert 4 AA batteries (not included) into each compartment, ensuring correct polarity.
- Close the battery compartment cover.
5.2. Initial Unlock (Using Emergency Keys)
Upon first use, or if you forget your code/fingerprint, use the emergency keys:
- Locate the hidden keyhole cover on the keypad panel.
- Remove the cover to expose the keyhole.
- Insert an emergency key and turn it clockwise while simultaneously turning the knob to open the door.
5.3. Setting User Passwords
Each door can have its own password.
- With the door open, press the internal reset button (usually a small red button). The indicator light will flash.
- On the keypad, enter your desired 3-8 digit password.
- Press the '#' button to confirm. The indicator light will confirm successful programming.
- Test the new password with the door open before closing it.
5.4. Registering Fingerprints
Each door can store multiple fingerprints.
- With the door open, press the internal reset button. The indicator light will flash.
- Place your finger on the fingerprint sensor. Lift and repeat several times until the indicator light confirms successful registration.
- Test the registered fingerprint with the door open before closing it.
6. Operating Instructions
6.1. Opening the Safe
To open the safe using a password or fingerprint:
- Using Password: Enter your programmed password on the keypad, then press '#'. Turn the knob to open the door.
- Using Fingerprint: Place your registered finger on the fingerprint sensor. Once recognized, turn the knob to open the door.
6.2. Using the Drop Slot
The top compartment features a drop slot for quick deposits:
- Insert cash, envelopes, or small documents into the slot located on the top front of the safe.
- The items will fall into the upper compartment without requiring the door to be opened.

Image 6.1: Detail of the convenient drop slot for easy deposits.
6.3. Mute Function
To enable or disable the mute function:
- Press the '*' button on the keypad to toggle the sound on or off.
- When muted, keypad tones and alarm sounds will be suppressed.

Image 6.2: Visual representation of the safe operating in mute mode.
6.4. Dual Alarm System
The safe is equipped with a dual alarm system:
- The alarm will activate (70dB) if three incorrect password attempts are made.
- The alarm will also activate if the safe experiences violent vibration or tampering.
- To silence the alarm, enter a correct password or use a registered fingerprint.
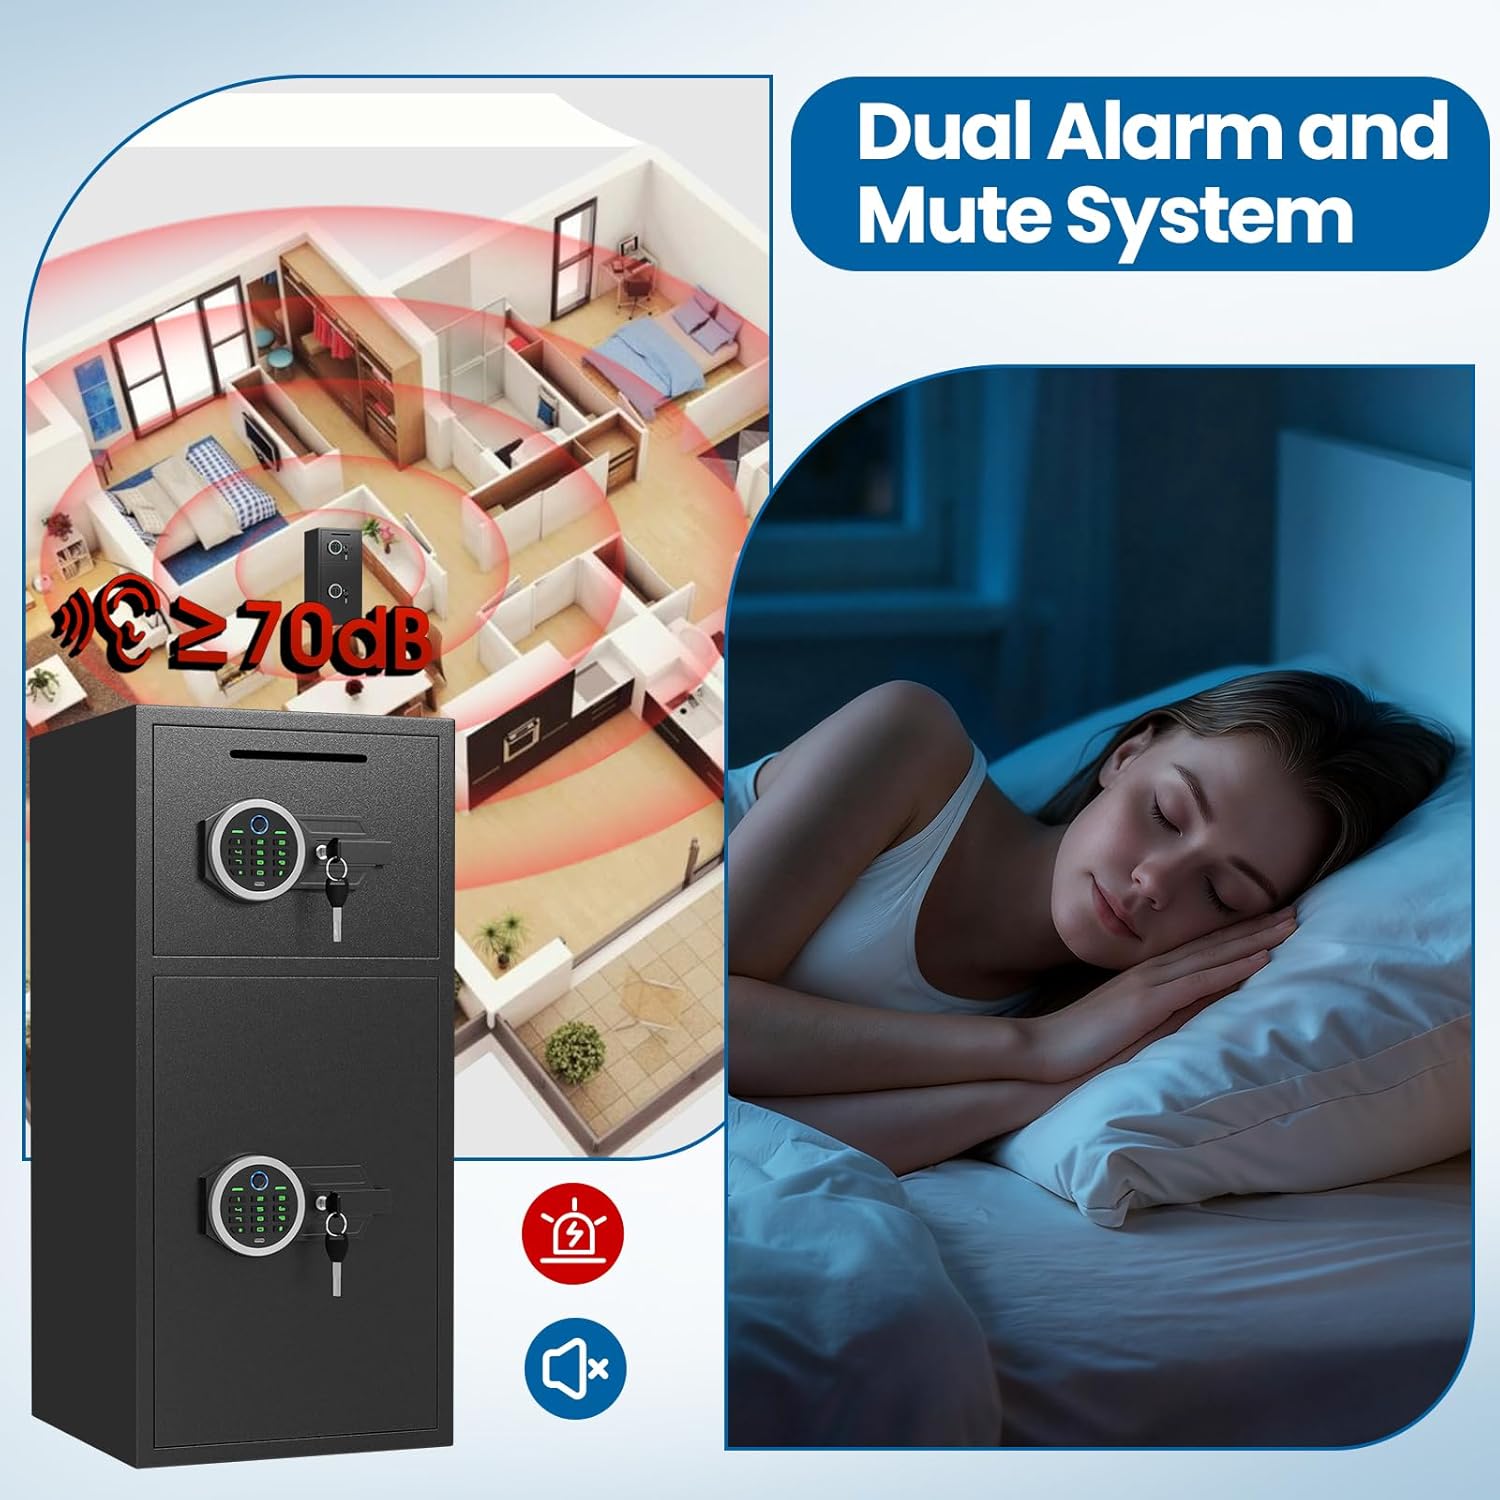
Image 6.3: Depiction of the dual alarm system activating in response to tampering.
6.5. Emergency Power Supply
If the internal batteries are depleted, you can power the safe externally:
- Connect the provided USB Type-C cable to the external power jack on the keypad.
- Connect the other end of the cable to a power bank or suitable USB power source.
- You can then use your password or fingerprint to open the safe.
7. Mounting Instructions
For enhanced security, it is recommended to mount the safe to a wall or floor using the provided expansion screws.
- Step 1: Place the safe at the desired installation location (wall or floor). Mark the drilling spots through the pre-drilled holes inside the safe (4 on the back, 2 on the bottom).
- Step 2: Move the safe and drill a 10mm diameter hole at each marked spot in the wall or floor using an appropriate drill bit.
- Step 3: Position the safe back in place, aligning the holes. Insert the expansion screws through the safe's holes and into the drilled holes in the wall/floor. Tighten the screws securely.

Image 7.1: Step-by-step guide for mounting the safe using expansion screws.
8. Maintenance
- Regularly check battery levels and replace them when low to avoid being locked out.
- Clean the exterior of the safe with a soft, dry cloth. Avoid abrasive cleaners.
- Keep the fingerprint sensor and keypad free from dust and debris.
- Ensure the door bolts and hinges operate smoothly. Do not lubricate unless specifically instructed by customer support.
9. Troubleshooting
| Problem | Possible Cause | Solution |
|---|---|---|
| Safe does not open with password/fingerprint. | Low batteries, incorrect password/fingerprint, sensor/keypad malfunction. | Replace batteries. Re-enter password carefully. Re-scan fingerprint. Use emergency key. Use USB-C emergency power. |
| Alarm sounds unexpectedly. | Incorrect password attempts, physical tampering/vibration. | Enter correct password or use registered fingerprint to disarm. Avoid disturbing the safe. |
| Keypad is unresponsive. | Dead batteries, connection issue. | Replace batteries. Use USB-C emergency power. If issue persists, use emergency key and contact support. |
| Door does not close properly. | Obstruction, misaligned bolts. | Check for any items blocking the door or bolts. Ensure the safe is on a level surface. |
10. Specifications
| Feature | Detail |
|---|---|
| Brand | Kavey |
| Model Number | KM-75 |
| Capacity | 6.51 Cubic Feet |
| Product Dimensions (D x W x H) | 13.8"D x 13.8"W x 29.5"H |
| Item Weight | 44 Pounds |
| Lock Type | Electronic Combination Lock, Biometric Fingerprint |
| Material | Low Carbon Steel |
| Mounting Type | Floor Mount & Wall Mount |
| Special Features | Alarm System, Anti-Theft, Biometric Fingerprint, Combination Lock, Removable Shelf, LED Light, Mute Function, Drop Slot |
11. Warranty and Support
This product is sold by Kavey®Safe. For any issues or support needs, please contact Kavey®Safe directly through your purchase platform.
Return Policy: The product typically includes a 30-day return/replacement policy. Please refer to your purchase details for specific terms and conditions.
For further assistance, you may refer to the official KaveySafe store: KaveySafe Store
12. Product Video
Video 12.1: An official product video demonstrating the features of the Kavey fingerprint double-door safe, including the coin slot. (Duration: 0:45)