
1. Introduction
This manual provides essential information for the correct installation, post-installation verification, and maintenance of your new Generic replacement drive belt. This belt is compatible with Murray snowblower models 627108X5A, 627109X31A, and 627117X43A. Please read these instructions carefully before proceeding with installation to ensure proper function and safety.
2. Safety Information
Always prioritize safety when working with machinery. Failure to follow safety instructions can result in serious injury or damage to equipment.
- Ensure the snowblower is turned off, the engine is cool, and the spark plug wire is disconnected before beginning any work.
- Wear appropriate personal protective equipment, including gloves and eye protection.
- Refer to your snowblower's original owner's manual for specific safety procedures and disassembly instructions.
- Keep hands and feet clear of moving parts.
3. Installation
This section outlines the general steps for replacing a drive belt. Specific disassembly and reassembly procedures may vary by snowblower model. Always consult your snowblower's service manual for detailed instructions.
3.1 Pre-Installation Check
- Verify that the new drive belt matches the dimensions and appearance of the old belt and the specifications provided in this manual.
- Inspect pulleys for wear, damage, or debris. Clean as necessary.
3.2 Installation Steps
- Prepare the Snowblower: Disconnect the spark plug wire to prevent accidental starting. Allow the engine to cool.
- Access the Belt Area: Depending on your snowblower model, you may need to remove covers, shields, or other components to access the drive belt system. Refer to your snowblower's manual.
- Remove the Old Belt: Carefully relieve tension on the belt system (if applicable) and remove the worn or broken belt from the pulleys.
- Install the New Belt: Route the new drive belt around the pulleys according to your snowblower's design. Ensure the belt is seated correctly in all grooves.
- Tension the Belt: If your snowblower has an adjustable tensioning mechanism, adjust it according to the manufacturer's specifications. The belt should be snug but not overly tight.
- Reassemble: Reattach any covers, shields, or components that were removed.
- Reconnect Spark Plug: Reconnect the spark plug wire.
3.3 Post-Installation Check
After installation, perform the following checks before operating the snowblower:
- Manually rotate the auger and wheels (if accessible) to ensure the belt moves freely and does not bind.
- Start the snowblower and engage the drive system briefly in a safe, open area to confirm proper operation and engagement of the belt. Listen for unusual noises.
- If any issues are observed, immediately shut down the snowblower and re-inspect the belt installation.
4. Maintenance
Regular inspection and proper maintenance will extend the life of your drive belt and ensure optimal snowblower performance.
- Regular Inspection: Periodically inspect the drive belt for signs of wear, cracking, fraying, glazing, or stretching. Replace the belt if any damage is observed.
- Cleanliness: Keep the belt and pulley areas free of snow, ice, dirt, and debris. Accumulations can cause premature wear or slippage.
- Proper Storage: When the snowblower is not in use for extended periods, store it in a dry, cool environment away from direct sunlight and extreme temperatures, which can degrade belt material.
- Avoid Overloading: Do not overload the snowblower beyond its recommended capacity, as this can put excessive strain on the drive belt.
5. Troubleshooting
If you experience issues with your snowblower's drive system after belt replacement, consider the following common problems and solutions:
| Problem | Possible Cause | Solution |
|---|---|---|
| Belt slips or does not engage properly | Incorrect tension, oil/grease on belt/pulleys, worn pulleys, incorrect belt size | Adjust tension, clean belt/pulleys, inspect/replace pulleys, verify belt size |
| Belt breaks prematurely | Improper installation, misaligned pulleys, excessive tension, foreign object interference, worn pulleys | Re-install correctly, check pulley alignment, adjust tension, clear obstructions, inspect/replace pulleys |
| Unusual noise (squealing, grinding) | Belt slippage, worn bearings in pulleys, misaligned components | Check belt tension, inspect bearings, verify alignment |
If troubleshooting steps do not resolve the issue, consult a qualified service technician or refer to your snowblower's original service manual.
6. Specifications
The following specifications apply to the Generic replacement drive belt (Model: foxwpart#1225.05040):
- Manufacturer: Foxwparts
- Item Model Number: foxwpart#1225.05040
- ASIN: B0GQVG3G2Y
6.1 Belt Dimensions
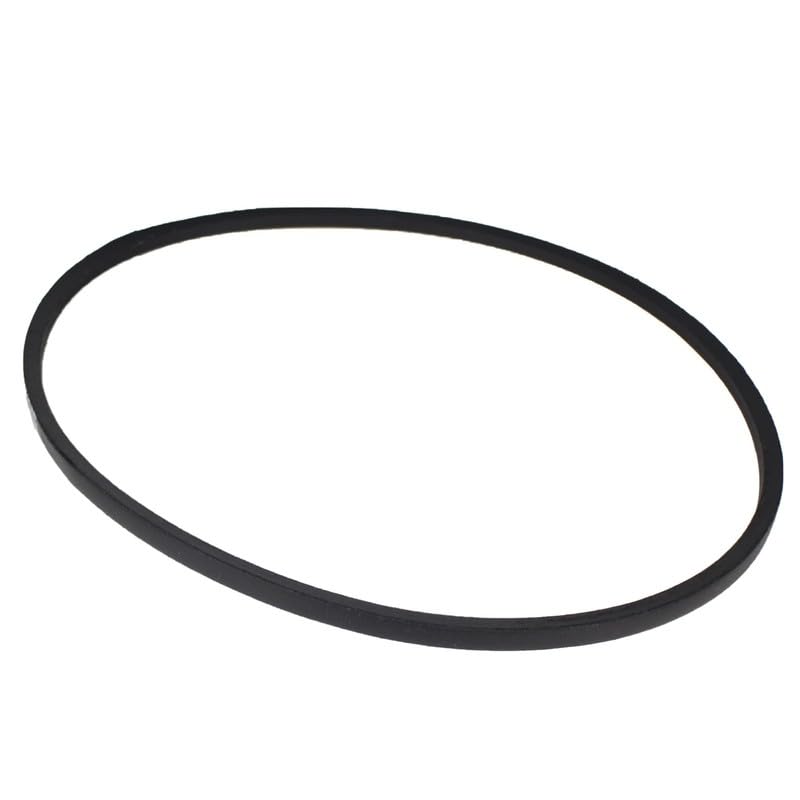
This image illustrates the critical dimensions of the replacement drive belt, including its width, height, and total length. These measurements are essential for verifying compatibility with your snowblower model.
- Width: 9.5 mm (0.37 inches)
- Height: 5.9 mm (0.23 inches)
- Overall Length: 841 mm (33.11 inches)
7. Warranty Information
As a replacement part, specific warranty terms may vary. Please refer to the seller (Foxwook) or the manufacturer (Foxwparts) for detailed warranty information regarding this product. Keep your proof of purchase for any warranty claims.
8. Customer Support
For technical assistance, questions regarding installation, or warranty inquiries, please contact the seller, Foxwook, through the platform where the purchase was made. You may also refer to the manufacturer, Foxwparts, for product-specific information.