
1. Introduction
The STAHLWERK Master AIR Automatic Welding Helmet is a 3-in-1 system designed for comprehensive protection during welding, cutting, and grinding operations. It integrates a Powered Air-Purifying Respirator (PAPR) system to ensure clean breathing air, combined with advanced auto-darkening technology for optimal visibility and eye protection. This manual provides essential information for the safe and effective use, setup, operation, and maintenance of your welding helmet.

Image 1.1: The STAHLWERK Master AIR Welding Helmet, PAPR unit, and carrying bag.
2. Key Features
- PAPR Respiratory Protection System: Integrated system with a P3 particle filter (TH3 P R SL protection class) for maximum safety and clean breathing air during welding.
- Intelligent Air Filtration: Control module with three airflow levels (170/200/230 l/min) ensures a stable and constant fresh air supply.
- True Colour & Auto-Dimming: Optical class 1/1/1/1, four sensors, and an ambient light sensor guarantee automatic darkening and clear color reproduction.
- Bluetooth Remote Control: Convenient control of Weld, Cut, Grind, and Dark modes, along with individual shade level adjustment from DIN 4 to DIN 14.
- Maximum Comfort: Visor seal, neck protection, face sleeve, flame-retardant chin guard, and a premium ergonomic headband ensure comfortable work even during long periods of use.
- Flip-Up Display: Allows for an enlarged field of vision during grinding, cutting, and sawing tasks.

Image 2.1: Overview of key features including suitability for respiratory masks/glasses, 4 independent sensors, TACK mode, precise shade adjustment, and integrated memory.
3. Safety Information
Always read and understand all safety warnings and instructions before using the welding helmet. Failure to follow these instructions may result in electric shock, fire, serious injury, or death.
3.1 General Safety Precautions
- Wear appropriate personal protective equipment (PPE) in addition to the welding helmet, such as welding gloves, protective clothing, and safety footwear.
- Ensure the work area is well-ventilated to prevent accumulation of hazardous fumes.
- Do not use the helmet if any part is damaged. Inspect the helmet, filter cassette, and PAPR unit before each use.
- Protect the helmet from direct sunlight, heat, and moisture.
- Do not modify the helmet or its components. Use only original STAHLWERK replacement parts.
3.2 Eye and Face Protection
- The auto-darkening filter (ADF) protects against harmful UV/IR radiation even in the light state. However, always ensure the ADF is functioning correctly before welding.
- Never look directly at the welding arc with an un-darkened filter or without proper eye protection.
- The helmet is not suitable for laser welding applications.
3.3 Respiratory Protection (PAPR)
- The PAPR system provides filtered air. Ensure the filter is correctly installed and not expired.
- Check the battery level of the PAPR unit before use to ensure continuous operation.
- The PAPR system is not an oxygen supply device and should not be used in oxygen-deficient atmospheres or immediately dangerous to life or health (IDLH) environments.
- Ensure the air hose is securely connected and free from kinks or damage.
4. Package Contents
Verify that all items listed below are present in your package:
- STAHLWERK Master AIR Welding Helmet
- PAPR Fresh Air Supply Unit
- Air Hose with connections
- Bluetooth Remote Control
- Carrying Bag
- TH3 P3 Particle Filter (pre-installed or separate)
- Outer and Inner Protective Lenses
- Charger for PAPR unit
- User Manual

Image 4.1: The complete STAHLWERK Master AIR Welding Helmet kit, including the helmet, PAPR unit, remote, charger, and various protective lenses.
5. Setup
5.1 Assembling the Headband
- Attach the headband to the helmet shell by aligning the pins and securing them.
- Adjust the top strap and rear knob to achieve a comfortable and secure fit on your head. The helmet should sit firmly without being too tight.

Image 5.1: The high-end headband offers numerous adjustment possibilities for an optimal fit.
5.2 Connecting the PAPR Air Supply Unit
- Ensure the TH3 P3 particle filter is correctly installed in the PAPR unit.
- Connect one end of the air hose to the PAPR unit's outlet. Ensure a secure, airtight connection.
- Connect the other end of the air hose to the inlet port on the side of the welding helmet. The connection should click into place.
- Wear the PAPR unit on your back or waist using the provided straps, ensuring the hose is not kinked and allows for free movement.

Image 5.2: Detail of connecting the air hose to the PAPR unit.

Image 5.3: The welding helmet with the air hose securely connected to the PAPR unit.
5.3 Charging the PAPR Unit and Remote Control
- Connect the PAPR unit to the charger and a power outlet. Charge fully before first use.
- The remote control uses a CR2450 battery. Ensure it is correctly installed.

Image 5.4: Illustration of filter layers and the CR2450 battery, likely used in the remote control.
6. Operating Instructions
6.1 Powering On/Off
- PAPR Unit: Press and hold the power button on the PAPR unit to turn it on or off. The unit will indicate battery status and current airflow level.
- Welding Helmet: The auto-darkening filter is typically powered by solar cells and a backup battery. It activates automatically when exposed to light.
6.2 Using the Bluetooth Remote Control
The remote control allows for convenient adjustment of welding parameters without removing the helmet.
- Pairing: Follow the instructions in the remote control's specific manual to pair it with your helmet.
- Mode Selection: Use the remote to switch between Weld, Cut, Grind, and Dark modes.
- Shade Adjustment: In Weld mode, adjust the shade level from DIN 4 to DIN 14 using the +/- buttons.
- Sensitivity and Delay: Adjust the sensitivity of the auto-darkening sensors and the delay time for returning to the light state.
- Memory Function: Save frequently used settings for quick recall.

Image 6.1: The Bluetooth remote control allows for parameter adjustment and can be magnetically attached to the helmet or work surface.

Image 6.2: The OLED filter cassette provides a main field of view of 116 x 80 mm, controlled by the remote.
6.3 Flip-Up Visor Operation
The helmet features a flip-up visor for clear vision during non-welding tasks.
- To lift the visor, gently push it upwards until it locks into place.
- To lower the visor, gently pull it down until it covers your face.

Image 6.3: The flip-up visor mechanism allows for an enlarged field of vision during grinding, cutting, and sawing work.
6.4 True Colour and Auto-Dimming
- The True Colour technology provides a more natural and clear view of the workpiece, improving visibility and reducing eye strain.
- The four independent sensors and an additional ambient light sensor automatically detect the welding arc and adjust the shade level instantly, ensuring continuous protection.

Image 6.4: True Colour Technology provides excellent reproduction of real colors, enhancing visibility during welding.
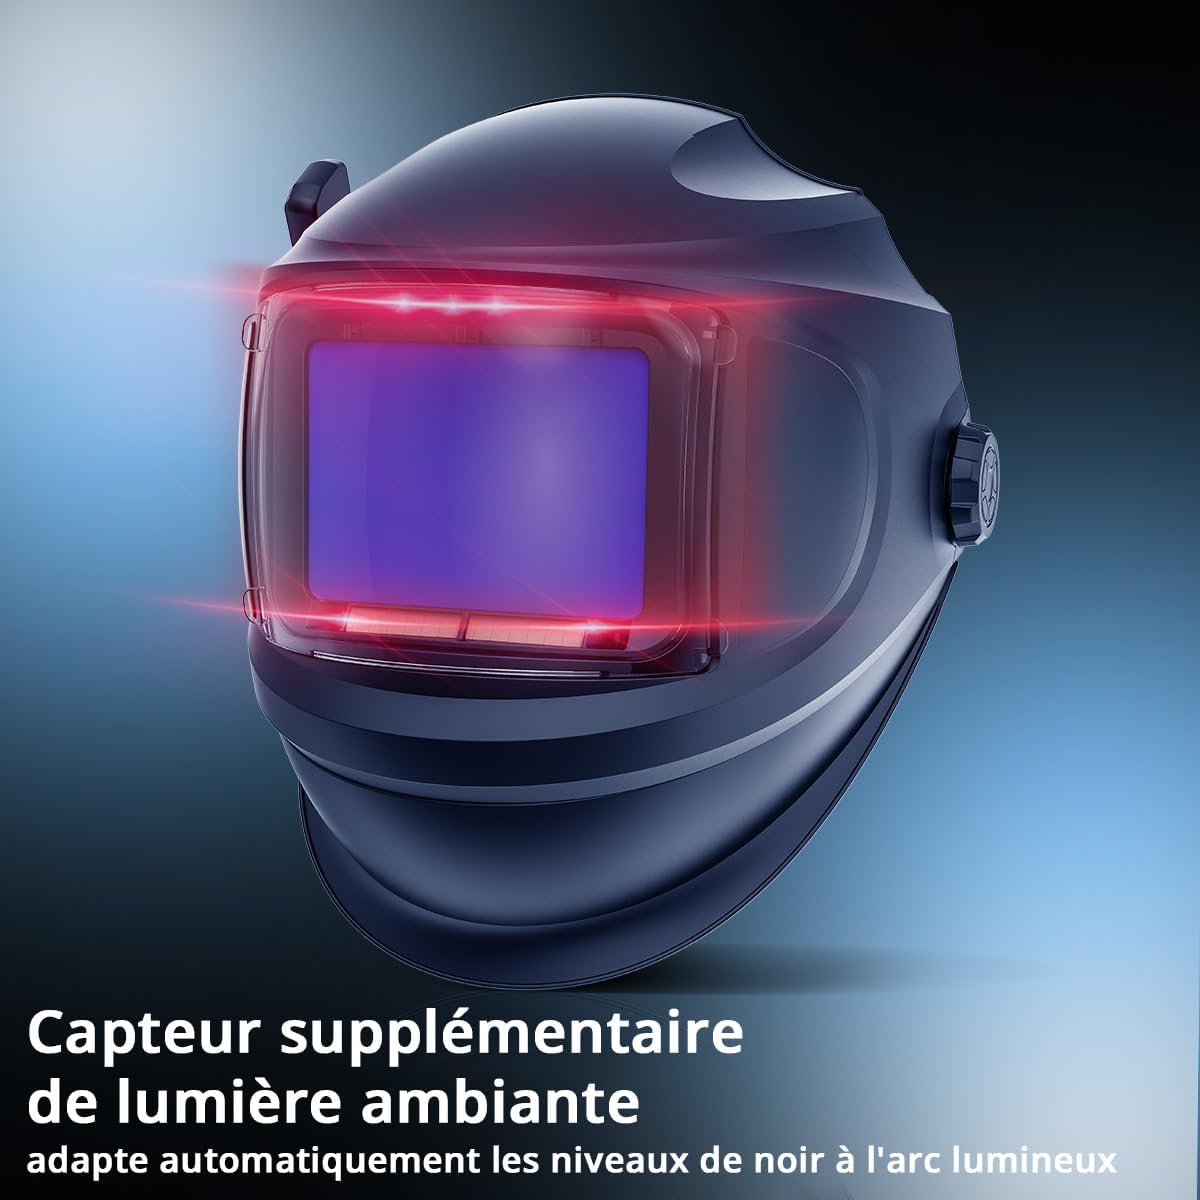
Image 6.5: An additional ambient light sensor automatically adapts the dark levels to the light arc.
6.5 Airflow Settings
The PAPR unit offers three airflow levels to suit different working conditions:
- Level 1: 170 l/min
- Level 2: 200 l/min
- Level 3: 230 l/min
Adjust the airflow using the controls on the PAPR unit to maintain comfort and ensure adequate fresh air supply.

Image 6.6: The detection and control system of the PAPR unit ensures a continuous supply of pure air.
7. Maintenance
7.1 Cleaning the Helmet and Visor
- Clean the helmet shell with a soft, damp cloth and mild soap. Avoid abrasive cleaners or solvents.
- Wipe the outer and inner protective lenses with a soft, lint-free cloth. For stubborn dirt, use a specialized lens cleaning solution.
- Regularly inspect the visor seal and replace if damaged to maintain optimal protection.
7.2 Filter Replacement (PAPR System)
The TH3 P3 particle filter needs regular replacement to ensure effective respiratory protection. The frequency depends on usage and environmental conditions.
- Refer to the PAPR unit's specific manual for detailed filter replacement instructions.
- Always use original STAHLWERK replacement filters.
- Dispose of used filters according to local regulations.

Image 7.1: Components of the TH3 class particle filter, which provides 99.99% filtration efficiency.

Image 7.2: Various protective lenses and accessories for maintenance and replacement.
7.3 Battery Care and Storage
- Charge the PAPR unit battery regularly, even during periods of non-use, to prolong its lifespan.
- Store the helmet and PAPR unit in the provided carrying bag in a cool, dry place, away from direct sunlight and extreme temperatures.

Image 7.3: The durable carrying bag for safe storage and transport of the welding helmet system.
8. Troubleshooting
This section addresses common issues you might encounter with your welding helmet system.
| Problem | Possible Cause | Solution |
|---|---|---|
| ADF does not darken | Low battery, sensors blocked, incorrect mode, extreme cold. | Check battery, clean sensors, ensure Weld mode is active, operate within temperature range. |
| Insufficient airflow from PAPR | Clogged filter, low battery, kinked hose. | Replace filter, charge battery, check hose for obstructions. |
| Remote control not responding | Remote battery low/dead, not paired, out of range. | Replace remote battery, re-pair remote, ensure remote is close to helmet. |
| Blurred vision | Protective lenses dirty/scratched, incorrect shade setting. | Clean or replace lenses, adjust shade setting. |
9. Specifications
| Feature | Specification |
|---|---|
| Model Number | 6796 |
| Manufacturer | STAHLWERK |
| Optical Class | 1/1/1/1 |
| Shade Levels (Dark State) | DIN 4 - DIN 14 |
| Shade Level (Light State) | DIN 3 |
| Sensors | 4 independent sensors + ambient light sensor |
| Field of View (OLED Cassette) | 116 x 80 mm |
| PAPR Filter Class | TH3 P R SL (P3 particle filter) |
| Airflow Levels | 170 / 200 / 230 l/min |
| Product Dimensions (L x W x H) | 20.1 x 8 x 18.3 cm (Helmet) |
| Weight | 1.8 kg (Total system) |

Image 9.1: Detailed dimensions of the STAHLWERK Master AIR Welding Helmet and its PAPR unit.
10. Warranty and Support
For warranty information, technical support, or to purchase replacement parts, please contact STAHLWERK customer service or visit their official website. Keep your purchase receipt as proof of purchase for warranty claims.