
Introduction
Thank you for choosing the YOOPAI 3D Printer Filament Storage Box. This product is designed to help organize and protect your 3D printer filaments from dust and light splashes, keeping your workspace tidy. This manual provides essential information for the proper assembly, use, and care of your storage box.
Key Features:
- Large Capacity: Accommodates up to 10 standard 1KG filament spools or 20 smaller 250g rolls, organized across two tiers.
- Fabric Cover: Provides dust protection and conceals stored items for a cleaner appearance.
- Durable Construction: Features upgraded zippers, support rods, and a reinforced frame for enhanced stability.
- Space-Saving Design: Ideal for various workspaces including home studios, garages, and desktops.
Setup Instructions
Follow these steps to assemble your YOOPAI 3D Printer Filament Storage Box.
Step 1: Unpack Components
Carefully remove all components from the packaging. Verify that all parts are present: fabric cover, support rods, and connectors.

Image: All components of the YOOPAI 3D Printer Filament Storage Box, including the fabric cover, support rods, and connectors, are laid out for assembly.
Step 2: Assemble the Frame
Connect the support rods using the provided connectors. Ensure each connection is secure and fully inserted. An insecure connection may make it difficult to fit the protective cover.
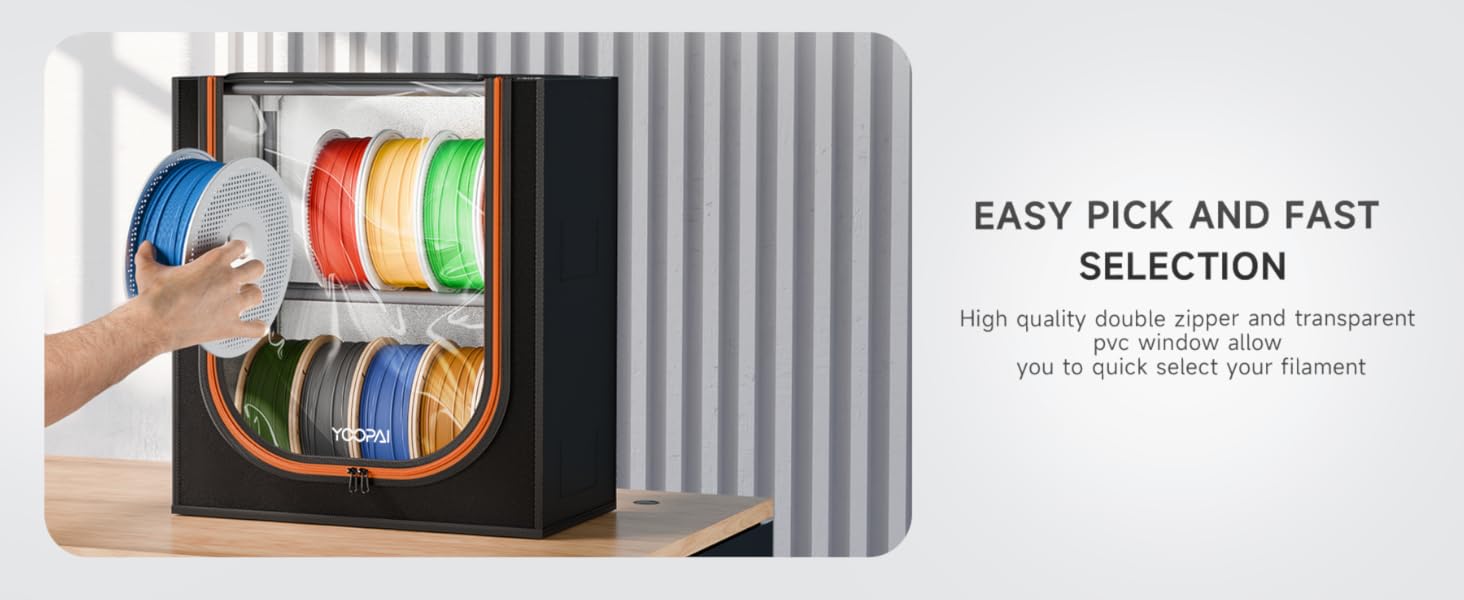
Image: Close-up showing how to securely connect the support rods with the plastic connectors, highlighting proper insertion for stability.
Construct the two-tier frame as shown in the diagram. The frame provides the internal structure for the storage box.
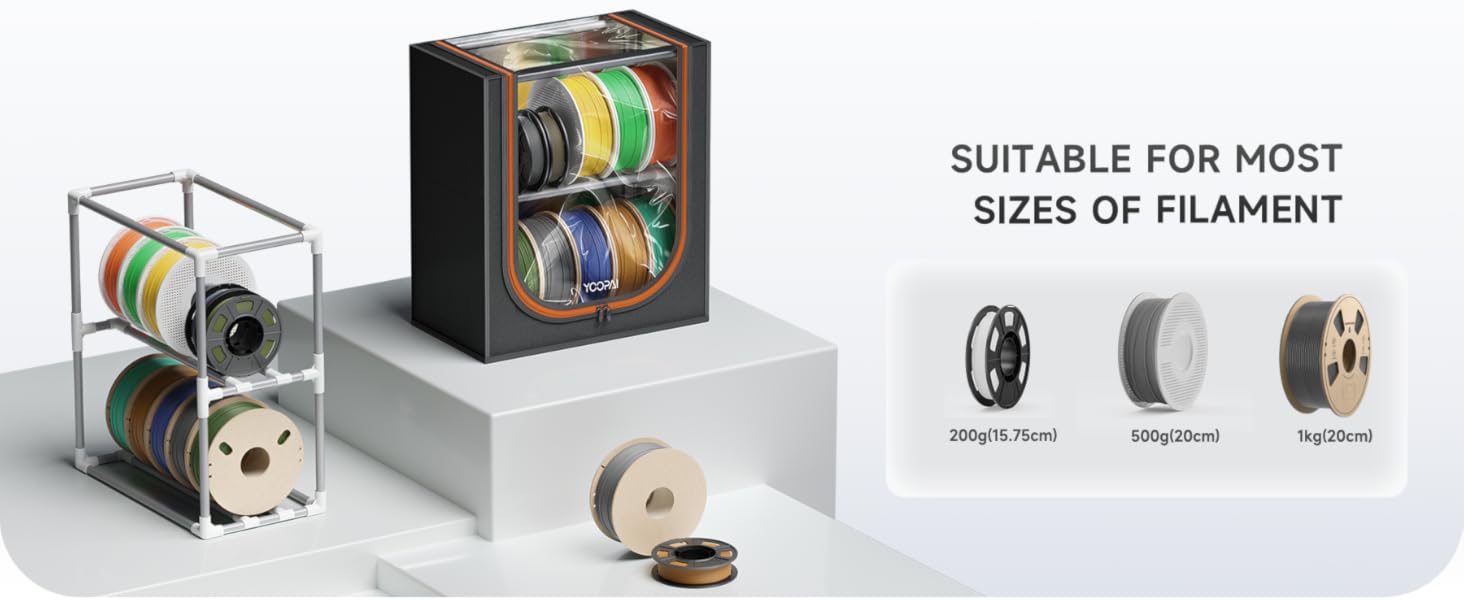
Image: The fully assembled two-tier frame structure, illustrating its dimensions and demonstrating its load-bearing capacity with a weight.
Step 3: Install the Fabric Cover
Once the frame is fully assembled, carefully slide the fabric cover over the frame. Ensure the cover fits snugly and the zippers align correctly. The transparent PVC window should face forward.

Image: The fabric cover being carefully placed over the assembled two-tier frame, showing the transition from frame to complete storage box.
Operating Instructions
Storing Filaments
- Unzip the front panel of the fabric cover.
- Place your 3D printer filament spools onto the shelves. The two-tier design allows for organized storage.
- Zip the front panel closed to protect the filaments from dust and maintain a tidy appearance.
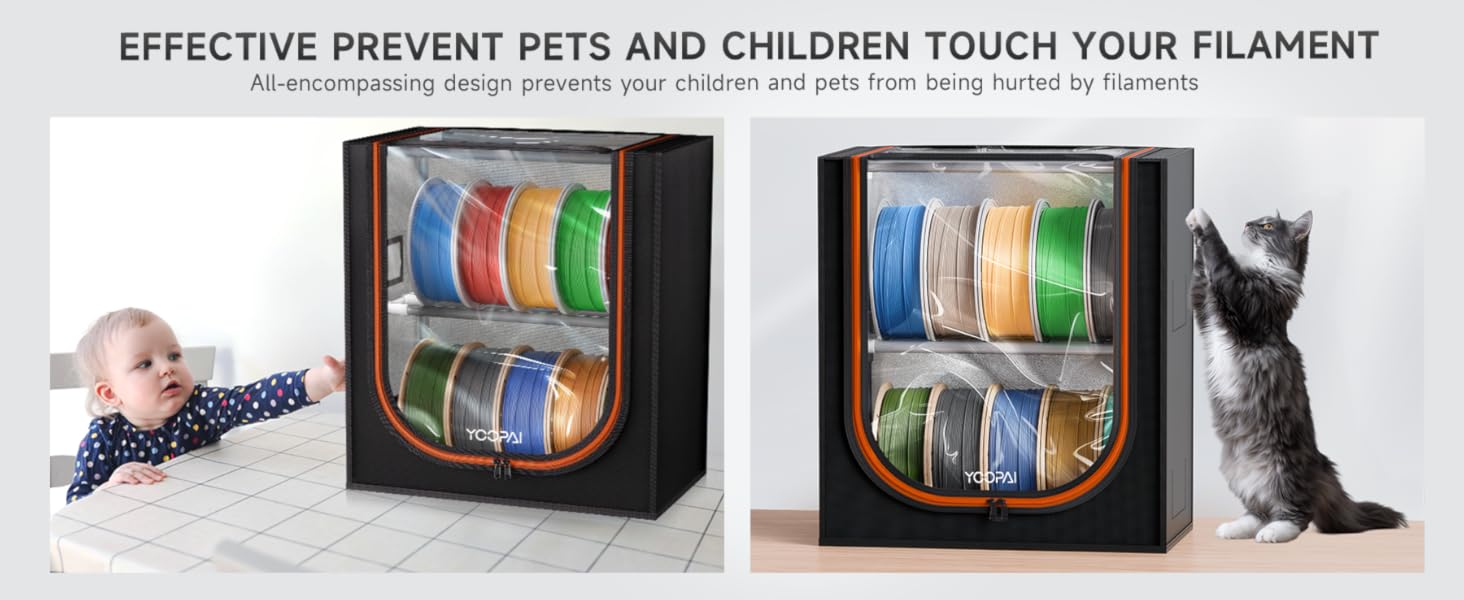
Image: A hand reaching into the storage box through the unzipped front panel to easily select a filament spool, demonstrating quick access.
Capacity and Organization
The storage box is designed to hold up to 10 standard 1KG filament spools (5 per tier) or 20 smaller 250g multi-color rolls. Utilize the two tiers to separate different filament types or colors for better organization.

Image: Visual representation of the storage box's dustproof and splash-proof design, along with an internal tool bag for accessories.
A small tool bag is integrated inside the cover for storing small printing tools or accessories.
Maintenance
To ensure the longevity and cleanliness of your filament storage box, follow these maintenance guidelines:
- Cleaning the Fabric Cover: Wipe the exterior fabric cover with a damp cloth to remove dust and light stains. Do not use harsh chemicals or abrasive cleaners.
- Cleaning the PVC Window: Use a soft, dry cloth to gently clean the transparent PVC window. Avoid scratching the surface.
- Frame Inspection: Periodically check the frame connections to ensure they remain secure. Re-insert any loose rods firmly into their connectors.
- Storage Environment: Store the box in a cool, dry place away from direct sunlight and extreme temperatures to prevent material degradation.
Troubleshooting
- Problem: Fabric cover does not fit properly or is difficult to install.
- Solution: Ensure all support rods are fully and securely inserted into their connectors. Loose connections can alter the frame's dimensions, making the cover difficult to fit. Disassemble and reassemble the frame, paying close attention to each joint.
- Problem: Filaments are still absorbing moisture.
- Solution: This product is designed for dust protection and organization, not for moisture control. It is not airtight, moisture-proof, or a filament dryer. For moisture-sensitive filaments, use a dedicated airtight dry box or filament dryer in conjunction with or instead of this storage solution.
- Problem: Zippers are stiff or difficult to operate.
- Solution: Apply a small amount of zipper lubricant or wax to the zipper teeth. Ensure the fabric is not caught in the zipper mechanism.
Specifications
| Model Name | 3D Printer Filament Storage Box (Farbric Cover-10 Rolls) |
| Brand | YOOPAI |
| Capacity | Up to 10 x 1KG filament spools or 20 x 250g filament rolls |
| Package Dimensions | 17.04 x 6.46 x 2.64 inches |
| Item Weight | 3.72 pounds |
| Manufacturer | YOOPAI |
| ASIN | B0GF273NC9 |
| First Available Date | January 26, 2026 |
Warranty Information
Specific warranty details for the YOOPAI 3D Printer Filament Storage Box were not provided in the product data. Please refer to the retailer's return policy or contact YOOPAI customer support for warranty information.
Customer Support
For further assistance, questions, or concerns regarding your YOOPAI 3D Printer Filament Storage Box, please contact YOOPAI customer support through the retailer's platform or visit the official YOOPAI website if available.
You can also visit the YOOPAI Store on Amazon for more information.