
1. Introduction
This manual provides detailed instructions for the assembly, operation, and maintenance of your Novilla Queen Size Bed Frame. Please read this manual carefully before beginning assembly and retain it for future reference. Proper assembly and care will ensure the longevity and stability of your bed frame.
2. Safety Information
WARNING:
- Do not exceed the maximum weight capacity of 1200 pounds. Exceeding this limit may result in structural failure and injury.
- Exercise caution around sharp edges during assembly and use to prevent cuts or injuries.
- Always follow the assembly instructions precisely to ensure the stability and prevent collapse of the bed frame.
- Keep small parts and packaging materials away from children to avoid choking hazards.
3. Package Contents
Before assembly, verify that all components listed below are present and undamaged. If any parts are missing or damaged, please contact customer support.
- Headboard (1)
- Footboard (1)
- Side Rails (2)
- Support Legs (9)
- Wood Slats (10 reinforced solid wood slats)
- Hardware Pack (screws, bolts, Allen wrench/tool)
- Installation Manual (this document)

Figure 3.1: Overview of Novilla Queen Size Bed Frame components and dimensions. Dimensions are 81.7"L x 61.2"W x 41.5"H, with a weight capacity of 1200 lbs.
4. Assembly Instructions
Assembly is designed to be straightforward and typically takes approximately 30 minutes with two people. Ensure you have ample space and the provided tools before starting.
- Prepare Components: Unpack all components and lay them out on a clean, soft surface to prevent scratches. Identify each part using the provided labels.
- Attach Support Legs: Attach the nine support legs to the designated points on the bed frame using the provided screws. Tighten them securely with the included tool.
- Connect Headboard and Side Rails: Align the side rails with the headboard. Insert the bolts through the pre-drilled holes and tighten them to secure the connection. Ensure the connections are firm to prevent wobbling.
- Secure Footboard: Attach the footboard to the other end of the side rails using the remaining bolts. Confirm all frame connections are tight and stable.
- Install Wood Slats: Place the 10 reinforced solid wood slats across the frame. The slats are engineered with velcro-secured strips to prevent movement and noise. Ensure each slat is properly aligned and secured to the frame's side rails.

Figure 4.1: Ultra-Precision Manufacturing ensures accurate alignment of parts during assembly.

Figure 4.2: Noise-Reducing EVA Foam Strips are integrated into the frame to prevent squeaking.

Figure 4.3: Hook and Loop Adhesive Technology buffers vibration and quickly secures bed slats.
5. Operating Instructions (Usage)
- Mattress Compatibility: This bed frame is designed to accommodate standard Queen size mattresses ranging from 8 to 12 inches in thickness. No box spring is required due to the robust slat system.
- Weight Capacity: The frame is engineered to support a maximum weight of 1200 pounds, including the mattress and occupants.
- Wing Side Headboard: The 5.9-inch wide wing side headboard provides additional comfort and support when leaning against it.
- Under-bed Clearance: The frame offers 6.3 inches of clearance underneath, allowing for easy cleaning and compatibility with most robotic vacuum cleaners.
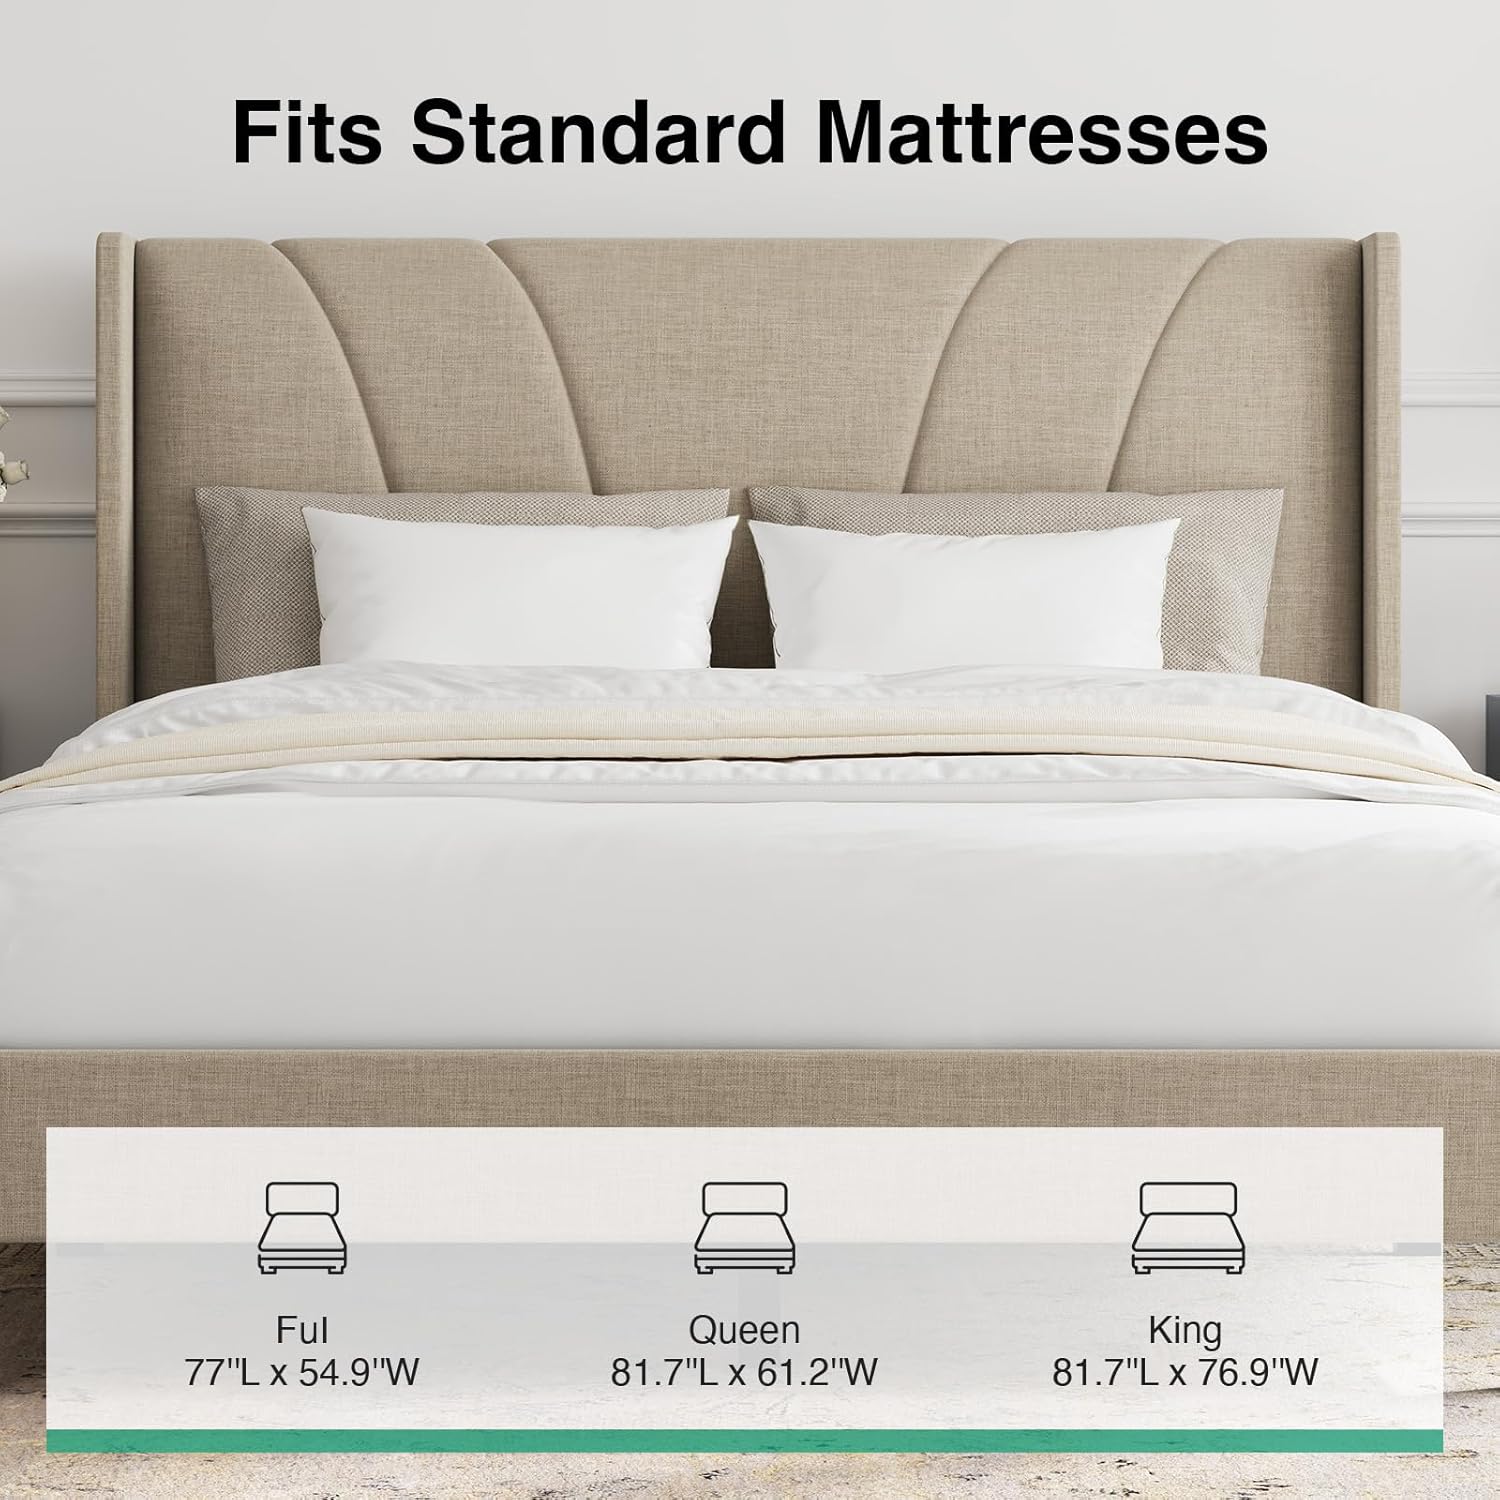
Figure 5.1: The Novilla bed frame is designed to fit standard mattresses, with the Queen size measuring 81.7"L x 61.2"W.

Figure 5.2: The Thickened Wing Side Design (5.9" wide) provides comfortable support.
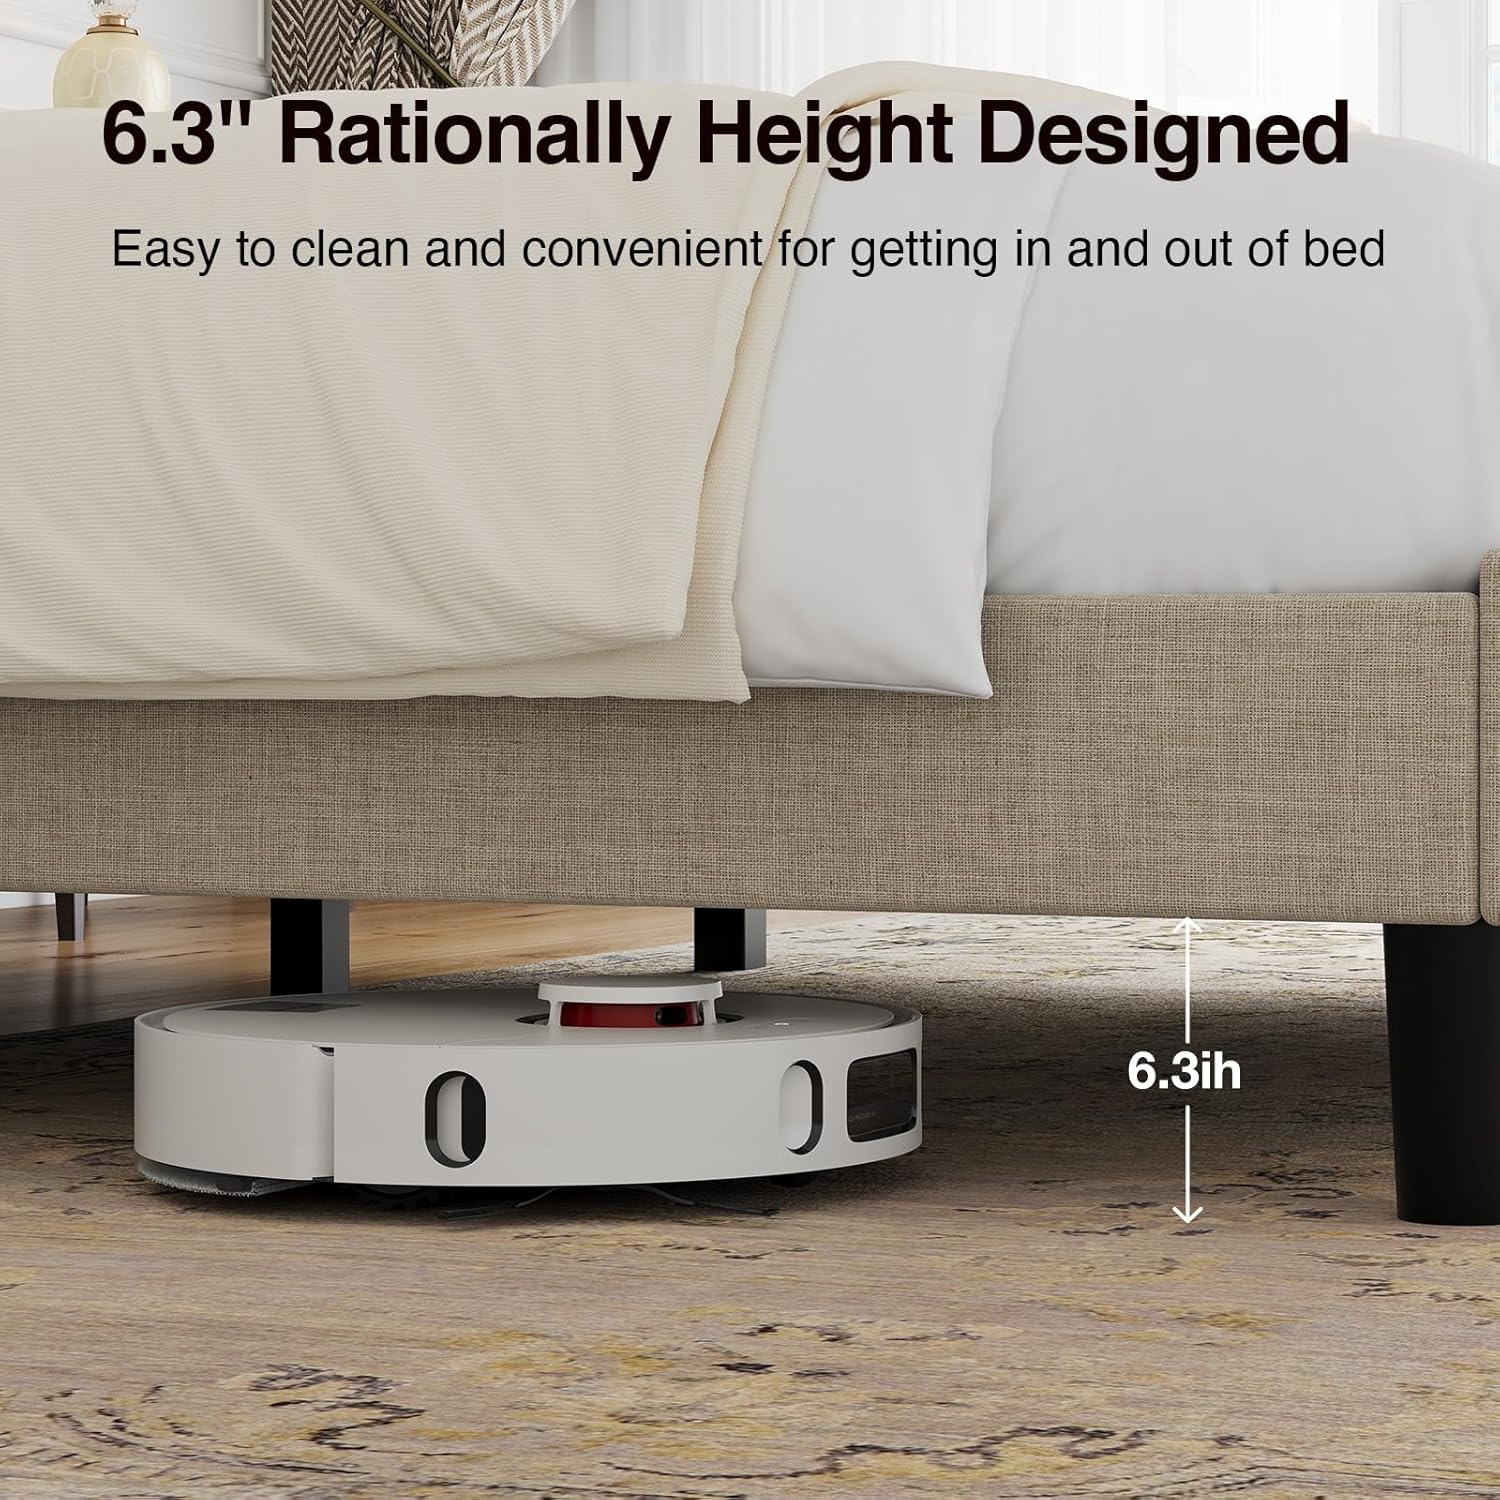
Figure 5.3: The 6.3" Rationally Height Designed clearance allows for easy cleaning.
6. Maintenance
- Regular Inspection: Periodically check all bolts, screws, and connections to ensure they remain tight. Re-tighten if necessary to maintain stability and prevent noise.
- Cleaning the Upholstery: For the linen upholstered headboard and frame, gently wipe with a soft, damp cloth. For stubborn stains, use a mild fabric cleaner and blot dry. Avoid abrasive cleaners or harsh chemicals, as these may damage the fabric.
- Dusting: Regularly dust the frame with a soft, dry cloth to prevent dust buildup.
- Weight Distribution: Ensure weight is distributed evenly across the bed frame to prevent undue stress on specific areas.

Figure 6.1: The Linen Upholstered Headboard is breathable and skin-friendly.

Figure 6.2: High-Density Foam Filling provides comfortable support and resists sagging.
7. Troubleshooting
- Squeaking or Noise:
Solution: Ensure all bolts and screws are securely tightened. Verify that the velcro-secured slats are properly attached and not shifting. The integrated EVA foam strips are designed to minimize noise. - Bed Frame Wobbles:
Solution: Check all connections and ensure the frame is assembled on a flat, level surface. Confirm all nine support legs are making firm contact with the floor. Re-tighten any loose connections. - Mattress Sliding:
Solution: The bed frame features edge guard rails designed to keep the mattress in place. Ensure the mattress is correctly positioned within the frame. If sliding persists, consider using a non-slip mattress pad. - Difficulty with Assembly:
Solution: Review the assembly instructions carefully. Ensure all parts are correctly identified and oriented. If issues persist, contact Novilla customer support for assistance.
8. Specifications
| Model Number | B-F12019-Q-BR |
| Size | Queen |
| Material | Linen, Metal (A3 Steel), Wood (FSC-Certified) |
| Product Dimensions (L x W x H) | 81.7" x 61.2" x 41.5" |
| Weight Capacity | 1200 pounds |
| Headboard Material | Linen Upholstered, High-Density Foam |
| Under-bed Clearance | 6.3 inches |
| Assembly Time | Approx. 30 minutes (with two people) |

Figure 8.1: Point-Surface Mechanics with 9 support points and 10 wood slats for enhanced stability.
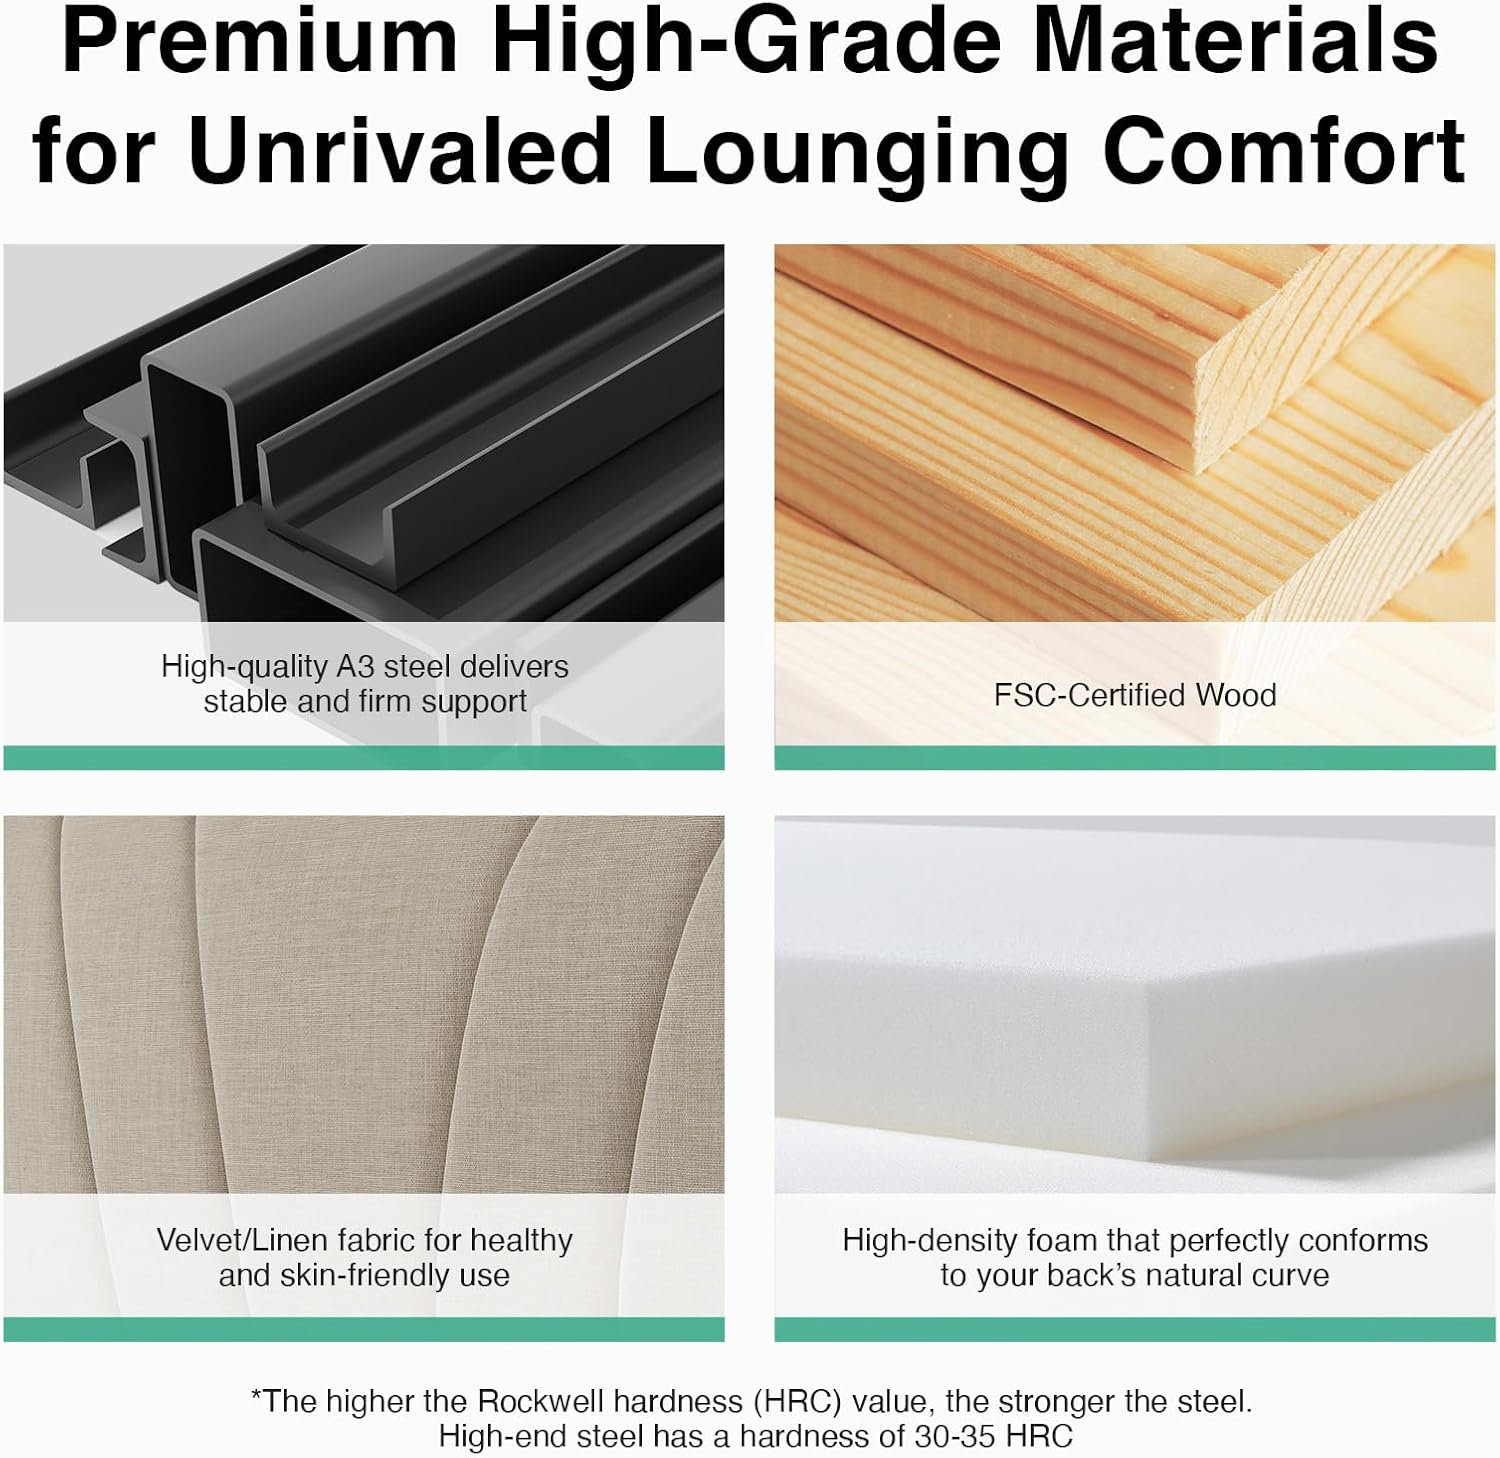
Figure 8.2: Premium High-Grade Materials including A3 steel, FSC-certified wood, and high-density foam.
9. Warranty and Support
Novilla is committed to providing high-quality products. For customer support, warranty inquiries, or to report any issues with your bed frame, please refer to your purchase documentation for specific contact information. Please retain your proof of purchase for warranty claims.


