
1. Introduction
This manual provides essential information for the safe and efficient operation of your Orayafid Solar Panel. This 15W solar panel is designed to provide continuous power to various outdoor devices, including trail cameras, game cameras, and security cameras. It features a built-in 20000mAh rechargeable lithium battery and multiple output interfaces for broad compatibility. Please read this manual thoroughly before installation and use.
2. Product Features
- High-Efficiency Solar Cells: 15W monocrystalline solar panel with 22-24% photoelectric conversion efficiency for optimal charging even in varied light conditions.
- Integrated 20000mAh Lithium Battery: Provides stable and long-lasting power, rigorously tested for up to 500 charging cycles with overvoltage and overcharge protection.
- Versatile Output Interfaces: Equipped with USB, Mini USB, Type-C USB, Micro USB, DC 4.0x17mm, and DC 3.5x1.35mm adapters to power a wide range of devices.
- 360° Adjustable Mounting Bracket: Allows for flexible positioning to maximize sun exposure and energy generation.
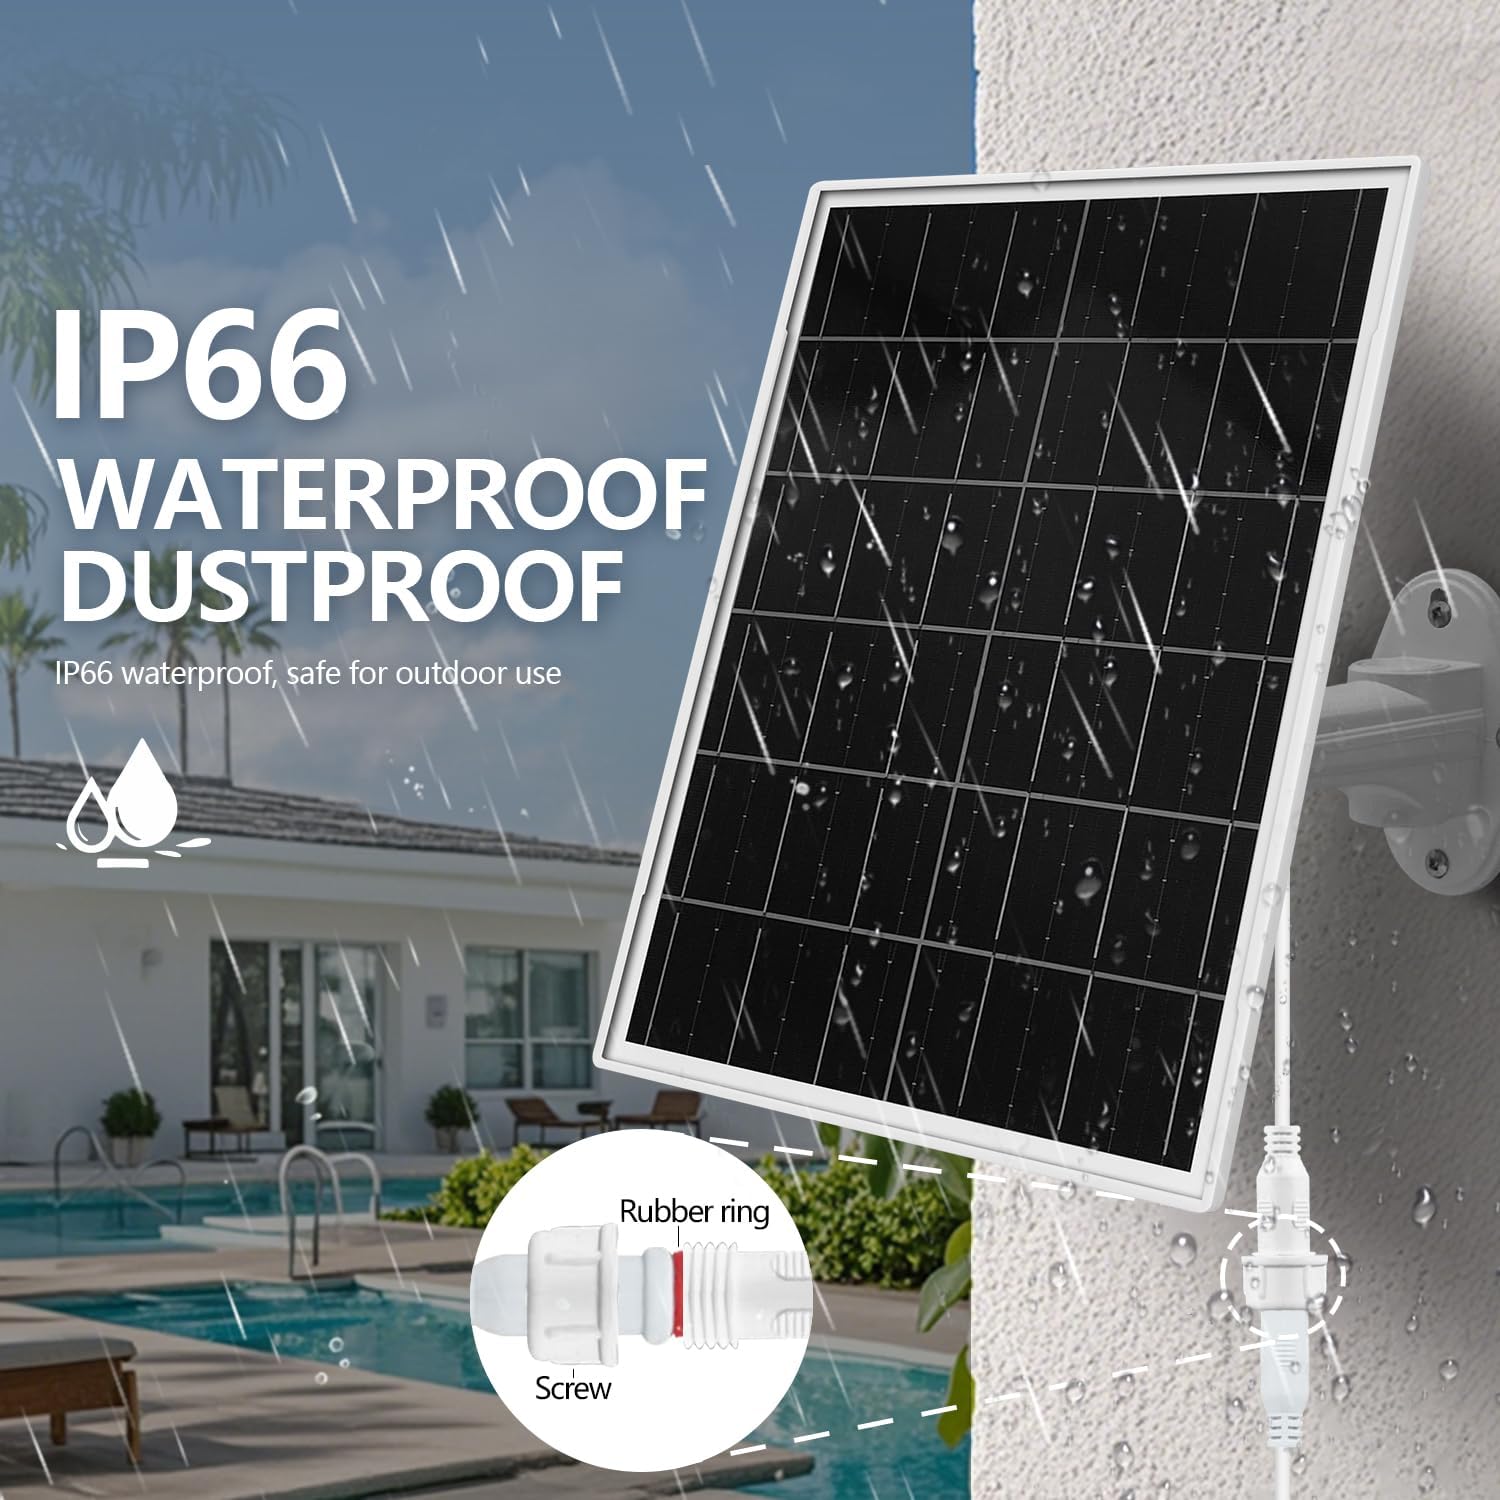
- Durable and Weatherproof Design: IP65 waterproof rating ensures reliable operation in harsh weather conditions, including heavy rain and snow, with an operating temperature range of -20°C to 50°C (-4°F to 122°F).


3. Package Contents
Please verify that all items are present in the package:
- 1 x Orayafid Solar Panel
- 1 x Adjustable Wall Mount Bracket
- 1 x Screw Bag for Installation
- 1 x USB Adapter
- 1 x Mini USB Adapter
- 1 x Type-C USB Adapter
- 1 x Micro USB Adapter
- 1 x DC 4.0x17mm Adapter
- 1 x DC 3.5x1.35mm Adapter
4. Setup
- Choose a Location: Select an outdoor location that receives direct sunlight for the majority of the day. Avoid areas with significant shade from trees, buildings, or other obstructions.
- Mount the Bracket: Use the provided screws to securely attach the adjustable wall mount bracket to a wall, fence, or pole. Ensure the mounting surface is stable and can support the weight of the solar panel.
- Attach the Solar Panel: Slide the solar panel onto the bracket and secure it firmly.
- Adjust the Angle: Utilize the 360° adjustable feature of the bracket to angle the solar panel towards the sun. For optimal performance, adjust the panel to face south (in the Northern Hemisphere) or north (in the Southern Hemisphere) at an angle that matches your latitude.
- Connect to Device: Use the appropriate adapter cable to connect the solar panel to your trail camera, security camera, or other compatible device. Ensure the connection is secure and waterproof.
5. Operating Instructions
- Initial Charge: For first-time use, it is recommended to fully charge the internal 20000mAh battery by exposing the solar panel to direct sunlight for at least 8-10 hours before connecting it to your device.
- Automatic Charging: The solar panel will automatically begin charging its internal battery when exposed to sufficient sunlight. The built-in battery then provides a stable power supply to your connected device.
- Device Compatibility: The solar panel is compatible with devices requiring 5V DC input. Use the provided adapters to match the charging port of your specific device.
- Power Indicator: (If applicable, refer to product for specific indicator details) The panel may feature an indicator light to show charging status or battery level.
- Continuous Power: Once connected and properly positioned, the solar panel will continuously charge the internal battery during the day and power your device from the battery during the night or cloudy periods.

6. Maintenance
- Cleaning: Periodically clean the surface of the solar panel with a soft, damp cloth to remove dust, dirt, leaves, or snow. A clean surface ensures maximum sunlight absorption and charging efficiency. Do not use abrasive cleaners or harsh chemicals.
- Connection Check: Regularly inspect all cable connections to ensure they are secure and free from corrosion or damage.
- Bracket Inspection: Check the mounting bracket for stability and tightness, especially after strong winds or storms.
- Environmental Factors: Ensure no new obstructions (e.g., growing foliage) are shading the panel.
7. Troubleshooting
| Problem | Possible Cause | Solution |
|---|---|---|
| Device not receiving power. | Loose connection; insufficient sunlight; faulty cable/adapter; device incompatibility. | Check all cable connections. Ensure the solar panel is in direct sunlight. Verify the correct adapter is used and the device requires 5V DC. Test with a different cable/adapter if available. |
| Slow charging or low power output. | Panel is shaded; dirty panel surface; cloudy weather; incorrect panel angle. | Reposition the panel to receive maximum direct sunlight. Clean the panel surface. Adjust the panel angle for optimal sun exposure. Note that charging will be slower on cloudy days. |
| Panel not charging internal battery. | No sunlight; panel damage; internal battery issue. | Ensure the panel is exposed to direct sunlight. Inspect the panel for visible damage. If the issue persists, contact customer support. |
8. Specifications
- Brand: Orayafid
- Model Number: 607607521534
- Material: Monocrystalline Silicon, Aluminum, Tempered Glass, Polymer
- Maximum Power: 15 Watts
- Output Voltage: 12 Volts (DC)
- Battery Capacity: 20000mAh (Lithium-ion)
- Solar Cell Efficiency: 22-24%
- Waterproof Rating: IP65
- Operating Temperature: -20°C to 50°C (-4°F to 122°F)
- Included Components: USB adapter, Mini USB adapter, Type-C USB adapter, Micro USB adapter, DC 4.0x17mm adapter, DC 3.5x1.35mm adapter, 360° adjustable bracket
9. Warranty and Support
Orayafid products are manufactured to high-quality standards. For warranty information or technical support, please refer to the product packaging or contact your retailer. Keep your purchase receipt as proof of purchase for any warranty claims.
For further assistance, please visit the Orayafid Store on Amazon or contact their customer service directly.