
Samsung SM-X230
Samsung Galaxy Tab A11+ SM-X230 User Manual
Model: SM-X230
1. Introduction
This manual provides essential information for setting up, operating, maintaining, and troubleshooting your Samsung Galaxy Tab A11+ SM-X230 tablet. Please read this manual carefully to ensure safe and optimal use of your device.
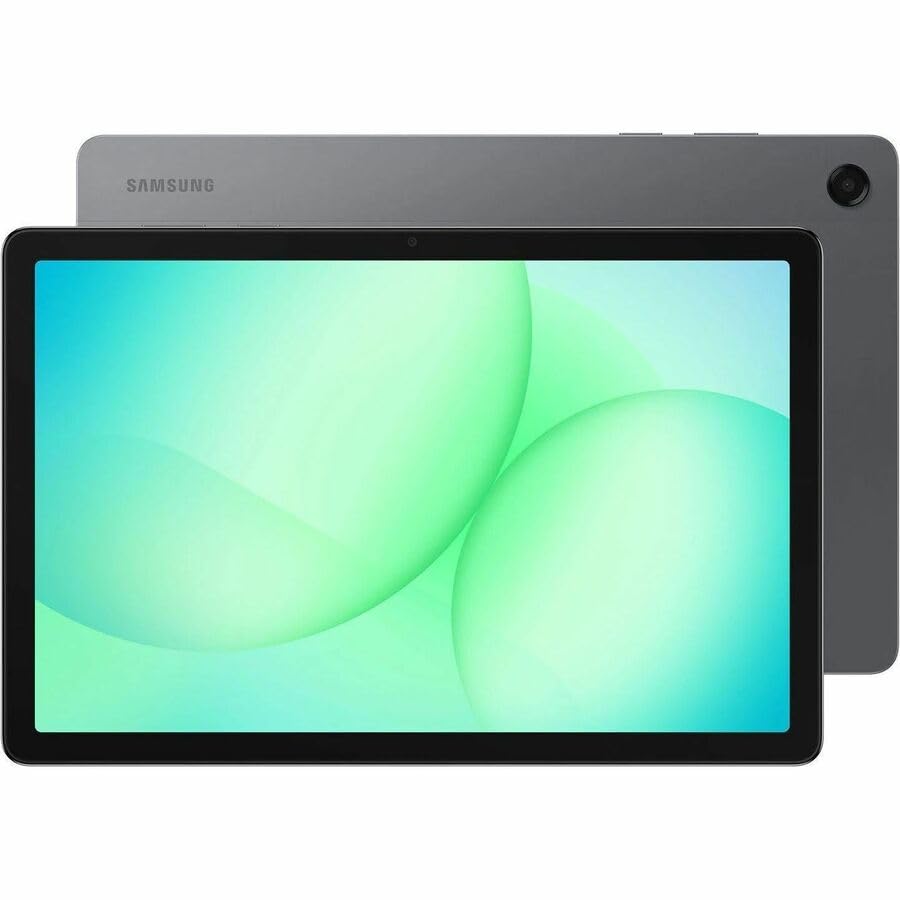
Image: Samsung Galaxy Tab A11+ tablet, showcasing its sleek design and available colors.
The Samsung Galaxy Tab A11+ SM-X230 is an 11-inch WUXGA tablet powered by a MediaTek Dimensity 7300 Octa-core processor, offering 6 GB of RAM and 128 GB of internal storage, expandable via microSD. It features a modern design, a vibrant 90 Hz display, and Dolby-engineered Quad Speakers for an immersive experience.
2. Getting Started (Setup)
2.1 Unboxing and Initial Inspection
Carefully remove all components from the packaging. Verify that all items are present: the Samsung Galaxy Tab A11+ tablet, a USB-C charging cable, and any included documentation. Inspect the tablet for any physical damage before proceeding.
2.2 Charging the Device
Before first use, fully charge your tablet. The device is equipped with a 7040 mAh battery and supports 25W Super Fast Charging.
- Connect the USB-C cable to the tablet's charging port.
- Connect the other end of the cable to a compatible power adapter (not always included) and plug it into a wall outlet.
- The charging indicator will appear on the screen. Allow the tablet to charge until the battery icon shows a full charge.

Image: Visual representation of the tablet charging, highlighting its 7040mAh battery and 25W Super Fast Charging capability.
2.3 Powering On/Off
- To Power On: Press and hold the Power button (located on the side) until the Samsung logo appears.
- To Power Off: Press and hold the Power button, then select 'Power off' from the options that appear on the screen.
2.4 Initial Setup Wizard
Upon first power-on, the tablet will guide you through an initial setup process:
- Select your preferred language.
- Connect to a Wi-Fi network.
- Review and accept the End User License Agreement and Privacy Policy.
- Sign in with your Google account or create a new one. This is essential for accessing the Google Play Store and other Google services.
- Set up screen lock (PIN, pattern, password).
- Follow any additional prompts to customize your device settings.
2.5 Inserting a microSD Card
The Galaxy Tab A11+ supports microSD cards up to 2 TB for expanded storage.
- Locate the SIM/microSD card tray on the side of the tablet.
- Insert the ejection pin (if provided, or a paperclip) into the small hole on the tray to eject it.
- Place the microSD card into the tray with the gold contacts facing down.
- Gently push the tray back into the slot until it clicks into place.
3. Operating Your Tablet
3.1 Touchscreen Navigation
The tablet's primary interface is its 11-inch WUXGA (1920 x 1200 pixels) touchscreen with a 90 Hz refresh rate for smooth interactions.
- Tap: Select an item or open an app.
- Touch and Hold: Access contextual menus or move items.
- Swipe: Navigate through screens, scroll lists, or dismiss notifications.
- Pinch-to-Zoom: Enlarge or reduce the view of images and web pages.
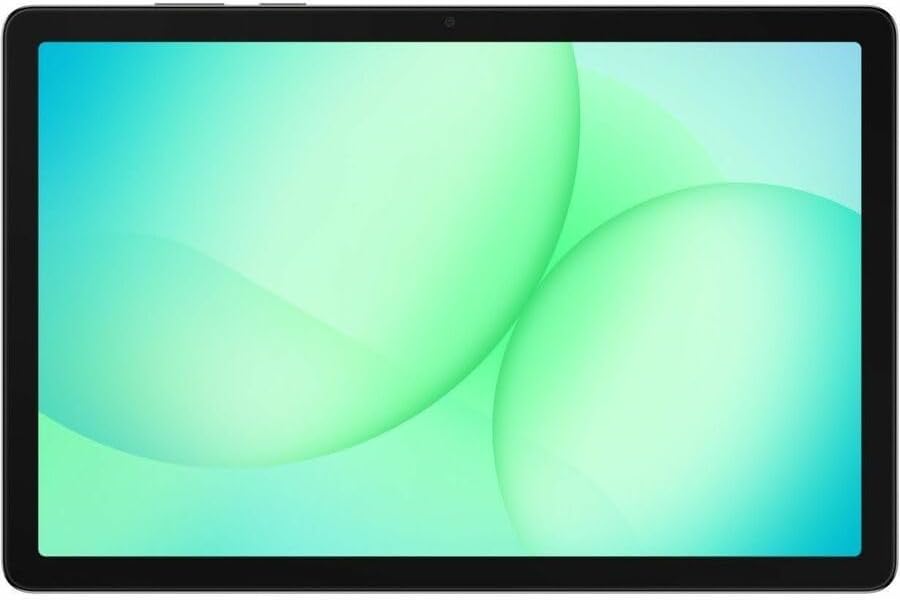
Image: The Samsung Galaxy Tab A11+ display, showcasing its vibrant and clear screen.
3.2 Performance
The tablet is powered by a MediaTek Dimensity 7300 (4 nm) Octa-core processor with 6 GB of RAM, ensuring responsive performance for various tasks, from gaming to multitasking.

Image: A visual representation of the tablet's enhanced CPU and GPU performance.
3.3 Storage Management
Your tablet comes with 128 GB of internal storage. You can expand this by up to 2 TB using a microSD card.
- To check storage: Go to Settings > Battery and device care > Storage.
- To free up space: Delete unnecessary files, uninstall unused apps, or move large files to cloud storage or an external microSD card.

Image: The tablet displaying various media, illustrating its ample internal storage and microSD expansion capabilities.
3.4 Camera Functions
The tablet features an 8 MP rear camera and a 5 MP front camera for photos and video calls.
- Open the Camera app from the home screen or app drawer.
- Tap the shutter button to take a photo.
- Switch between front and rear cameras using the camera switch icon.
- Select video mode to record videos (up to HD 720p).
3.5 Audio Settings
Experience rich, multidimensional audio with Dolby-engineered Quad Speakers. The tablet also includes a 3.5 mm audio jack for wired headphones.
- Adjust volume using the physical volume buttons on the side of the tablet.
- Access detailed audio settings via Settings > Sounds and vibration.
- Connect wired headphones to the 3.5 mm jack for private listening.

Image: The tablet showcasing its immersive audio experience with Dolby Atmos technology.
3.6 Connectivity (Wi-Fi, Bluetooth)
- Wi-Fi: Go to Settings > Connections > Wi-Fi to connect to available networks. The tablet supports 802.11ac wireless compatibility.
- Bluetooth: Go to Settings > Connections > Bluetooth to pair with Bluetooth devices like headphones or speakers.
3.7 Using Google Gemini
The Galaxy Tab A11+ integrates with Google Gemini. You can interact with Gemini to get assistance based on what you see on your screen or through your camera.
- To activate: Long press the side button to launch Google Gemini.
- Share your screen or camera view to ask for advice or information.

Image: The tablet demonstrating Google Gemini's capability to provide real-time assistance based on visual input.
3.8 File Sharing
Easily share files between your tablet and other compatible devices.
- Use built-in sharing options within apps (e.g., Gallery, Files) to send content via Bluetooth, Wi-Fi Direct, or cloud services.
- Connect to a computer via USB-C cable to transfer files directly.

Image: Multiple Samsung devices illustrating the ease of file sharing across the ecosystem.
4. Maintenance and Care
4.1 Cleaning Your Tablet
- Use a soft, lint-free cloth to clean the screen and body.
- For stubborn smudges, slightly dampen the cloth with water or a screen cleaner specifically designed for electronics.
- Avoid using harsh chemicals, abrasive materials, or excessive moisture.
4.2 Software Updates
Regularly check for and install software updates to ensure optimal performance, security, and access to new features.
- Go to Settings > Software update.
- Tap Download and install.
- Ensure your tablet is connected to Wi-Fi and has sufficient battery charge before starting an update.
4.3 Battery Longevity
To maximize battery life:
- Avoid extreme temperatures.
- Do not leave the tablet fully charged or fully discharged for extended periods.
- Adjust screen brightness and use power-saving modes when possible.
4.4 Storage Optimization
Periodically review your storage to remove unnecessary files and apps. This helps maintain device performance.
- Utilize cloud storage for backups of photos and videos.
- Move large media files to an inserted microSD card.
5. Troubleshooting
5.1 Common Issues and Solutions
- Device not powering on:
- Ensure the battery is charged. Connect the tablet to a charger for at least 30 minutes.
- Perform a forced restart by pressing and holding the Power button and Volume Down button simultaneously for about 7-10 seconds.
- Wi-Fi connectivity issues:
- Toggle Wi-Fi off and on in Settings.
- Restart your Wi-Fi router.
- Forget the network and reconnect.
- Slow performance:
- Close unused apps running in the background.
- Clear cache data for frequently used apps.
- Check available storage and free up space if necessary.
- Restart the tablet.
- Apps crashing:
- Clear the app's cache and data (Settings > Apps > [App Name] > Storage).
- Uninstall and reinstall the app.
- Ensure the app is updated to its latest version.
5.2 Factory Reset
If you encounter persistent issues, a factory reset can resolve many software-related problems. Warning: This will erase all data on your tablet. Back up important data before proceeding.
- Go to Settings > General management > Reset > Factory data reset.
- Review the information and tap Reset.
- Enter your screen lock credentials if prompted.
- Tap Delete all to confirm. The tablet will restart and begin the reset process.
6. Product Specifications
| Feature | Specification |
|---|---|
| Brand | Samsung |
| Model Name | Galaxy Tab A11+ |
| Model Number | SM-X230 |
| Screen Size | 11 inches |
| Display Type | TFT LCD |
| Native Resolution | 1920 x 1200 pixels (WUXGA) |
| Display Refresh Rate | 90 Hz |
| Processor | MediaTek Dimensity 7300 (4 nm) Octa-core, 2.5 GHz |
| RAM Memory | 6 GB |
| Internal Storage | 128 GB |
| Expandable Storage | microSD (up to 2 TB) |
| Operating System | Android |
| Rear Camera | 8 MP |
| Front Camera | 5 MP |
| Video Capture Resolution | HD 720p |
| Battery Capacity | 7040 mAh (Lithium Polymer) |
| Battery Average Life | 10 hours |
| Charging | 25W Super Fast Charging |
| Connectivity | Wi-Fi (802.11ac), Bluetooth, USB Type C |
| GPS Functionality | GPS-Enabled (GLONASS, Galileo, Beidou, QZSS) |
| Audio Features | Dolby-engineered Quad Speakers, 3.5 mm audio jack |
| Dimensions (L x W x Thickness) | 0.3"L x 10.1"W x 6.6"Th |
| Item Weight | 1.4 pounds |
7. Warranty Information
The Samsung Galaxy Tab A11+ SM-X230 comes with a 12-month Manufacturer Warranty. This warranty covers defects in materials and workmanship under normal use. For specific terms and conditions, please refer to the warranty card included with your product or visit the official Samsung support website.
Keep your proof of purchase for warranty claims.
8. Support and Service
For further assistance, technical support, or service inquiries, please contact Samsung customer support through the following channels:
- Online Support: Visit the official Samsung support website for FAQs, troubleshooting guides, and software downloads. www.samsung.com/us/support/
- Phone Support: Refer to your product packaging or the Samsung support website for regional contact numbers.
- Service Centers: Locate authorized Samsung service centers for in-person assistance.
When contacting support, please have your tablet's model number (SM-X230) and serial number ready.
Related documentsSM-X230


Ask a question about this manual
Ask about setup, troubleshooting, compatibility, parts, safety, or missing instructions. Manuals+ will review the question and use this page’s manual context to help answer it.