
1. Introduction and Overview
This manual provides detailed instructions for the installation, operation, maintenance, and troubleshooting of your ASUS TUF Gaming B850-PRO WIFI7 W NEO AM5 ATX Motherboard. This motherboard is designed to support AMD Ryzen 9000/8000/7000 Series Desktop Processors and features DDR5 memory support, PCIe 5.0 for graphics cards, three M.2 slots for storage, integrated WiFi 7, and 2.5Gb Ethernet for high-speed networking.
Key features include 14+2+1 power stages for stable power delivery, ASUS Enhanced Memory Profile (AEMP) for optimized DDR5 performance, and a 64MB BIOS for enhanced compatibility and stability. The motherboard also incorporates intelligent control technologies such as AI Cache Boost, AI Advisor, and AI Cooling II to optimize system performance and thermal management.
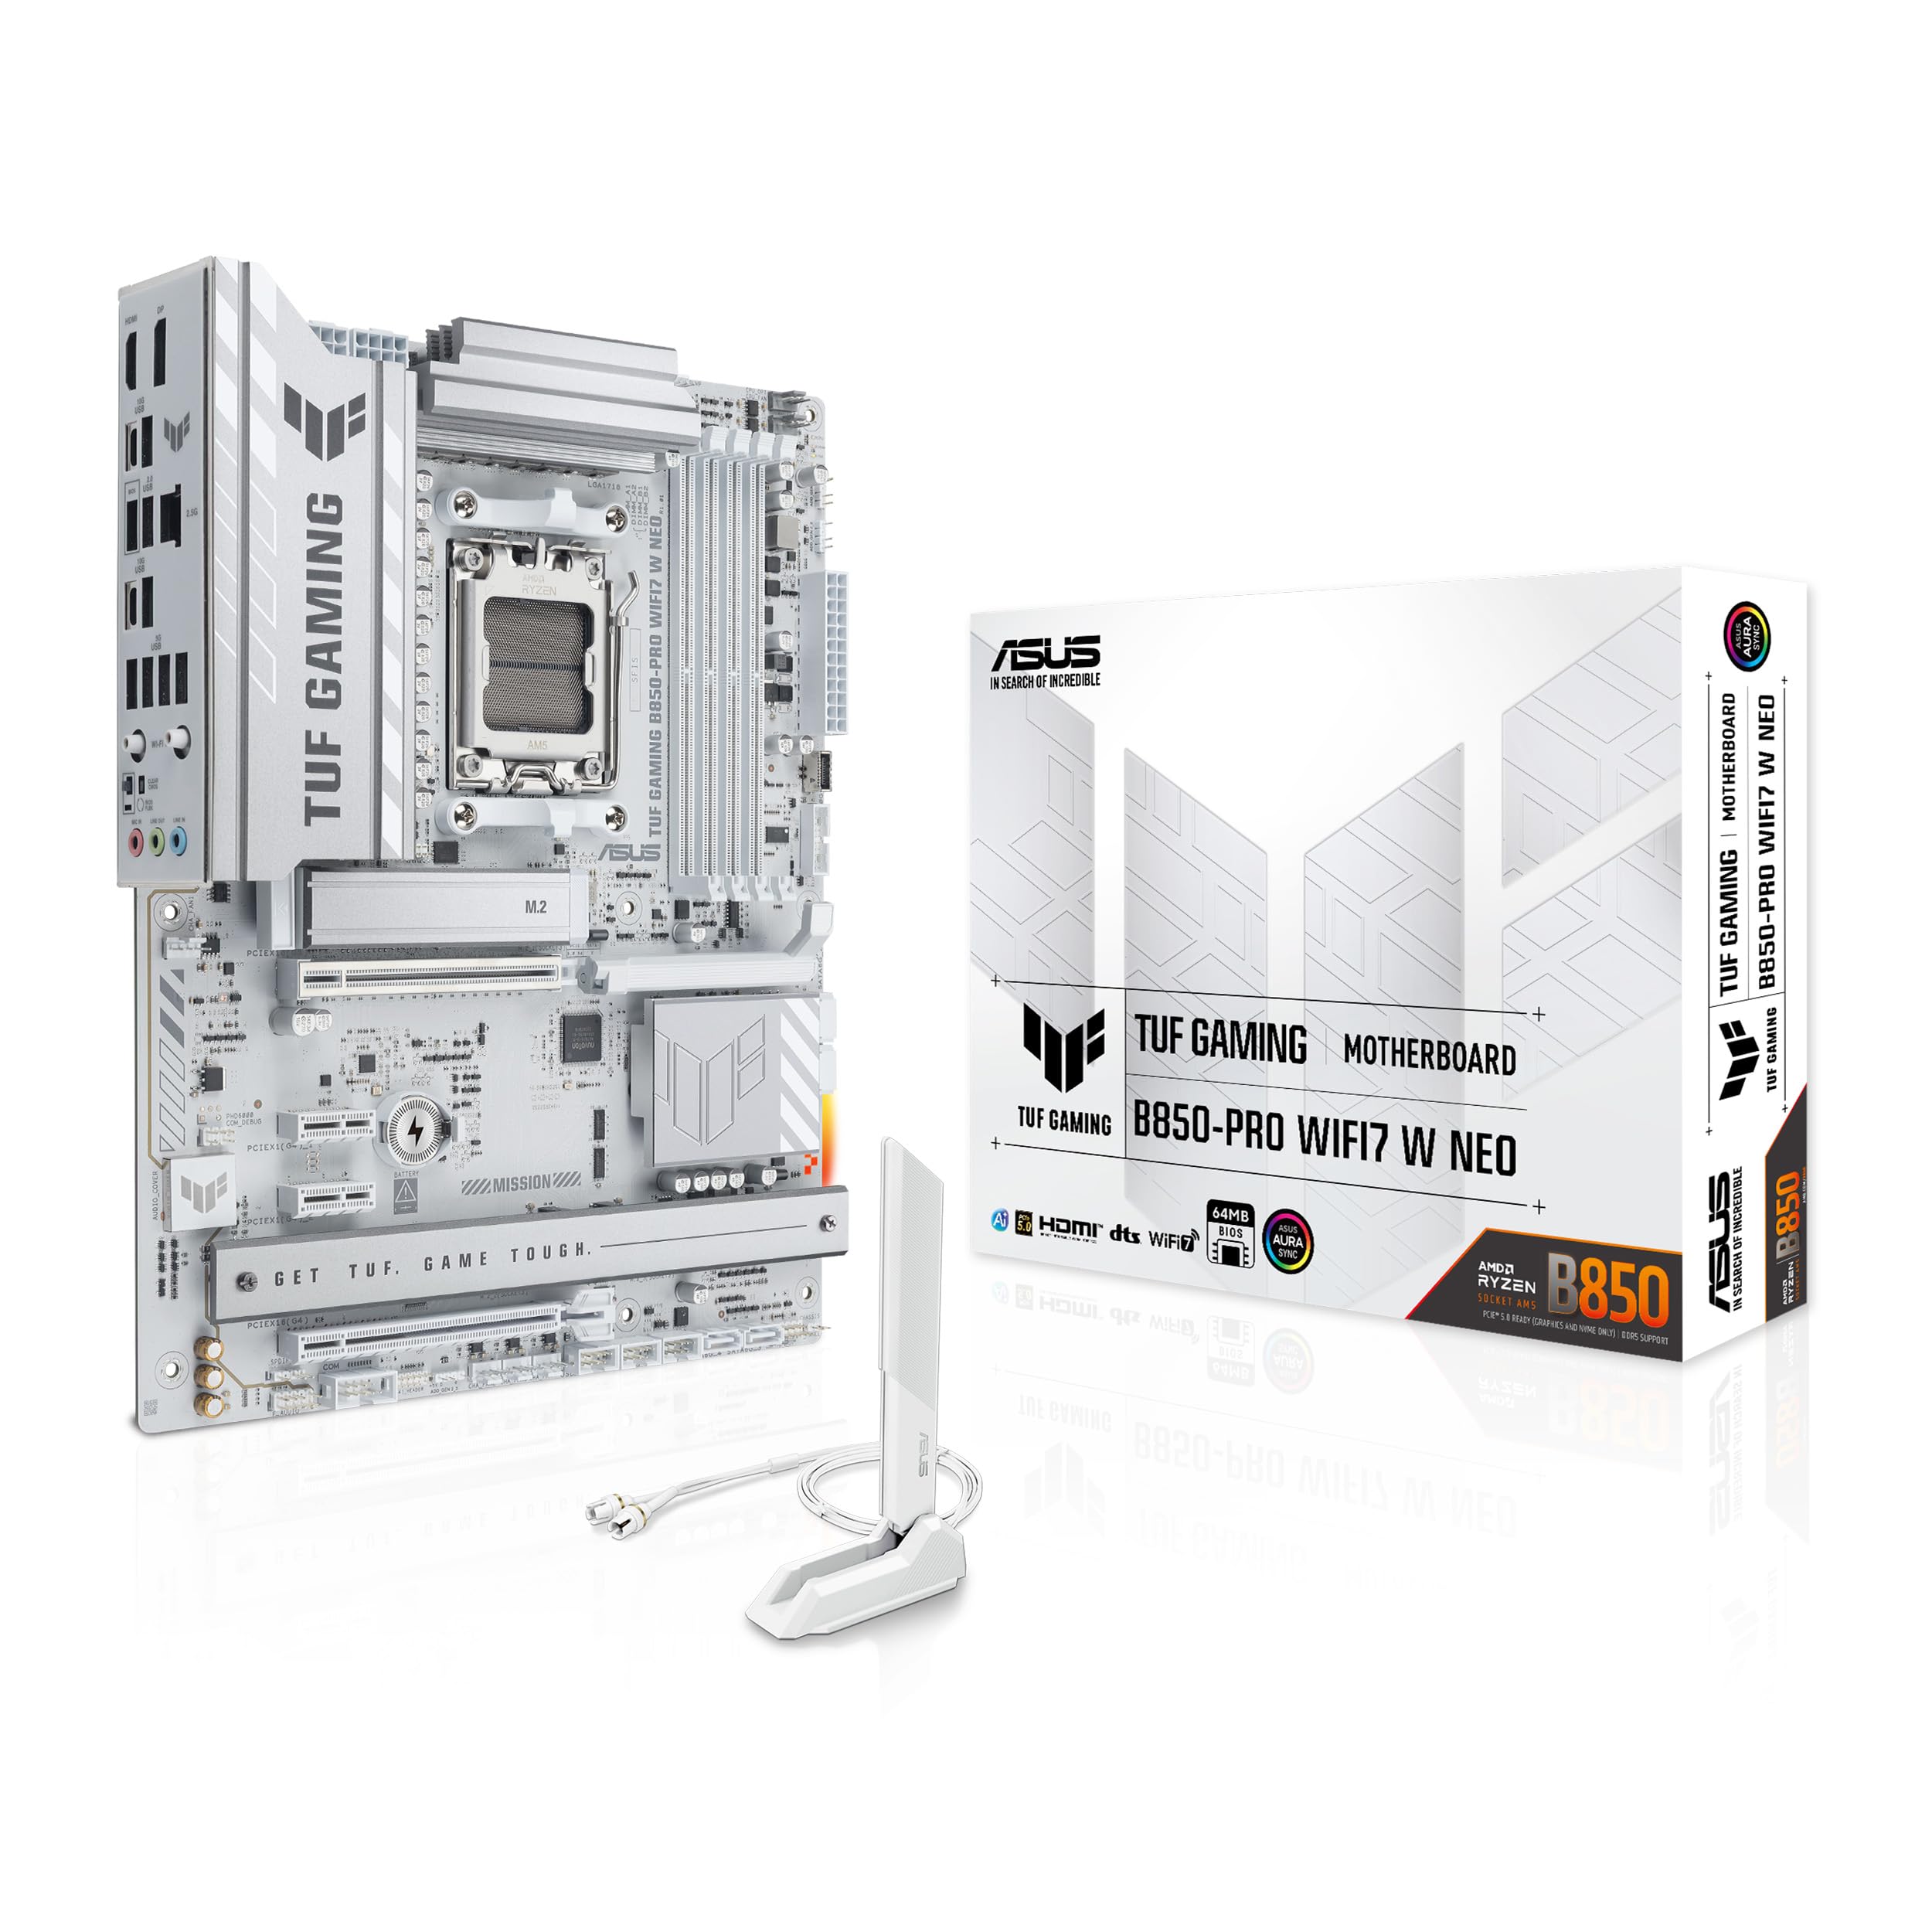
2. What's in the Box
Carefully unpack your motherboard and check for the following items:
- ASUS TUF Gaming B850-PRO WIFI7 W NEO Motherboard
- 2 x SATA 6Gb/s cables
- 1 x ASUS WiFi Q-Antenna
- 1 x Cable ties package
- 1 x M.2 Q-Latch package(s)
- 1 x M.2 Q-Slide package
- 1 x ROG key chain
- 1 x ROG Strix stickers
- 1 x ROG Strix thank you card
- 3x M.2 rubber package(s)
- 1 x M.2 backplate rubber package(s)
- 1 x Quick start guide

3. Setup and Installation
Before beginning installation, ensure your system is powered off and disconnected from the power source. Always handle the motherboard by its edges to avoid static discharge.
3.1. CPU Installation
Carefully open the CPU socket lever. Align the triangular mark on your AMD AM5 processor with the corresponding mark on the socket. Gently place the CPU into the socket without forcing it. Close the lever to secure the CPU.

3.2. Memory (RAM) Installation
This motherboard supports DDR5 memory modules. Open the clips on both ends of the DIMM slots. Align the notch on the DDR5 memory module with the key on the DIMM slot. Press down firmly on both ends of the memory module until the clips snap into place.

3.3. M.2 Storage Device Installation
The motherboard features three M.2 slots, including one PCIe 5.0 M.2 slot and two PCIe 4.0 M.2 slots. Utilize the M.2 Q-Latch mechanism for tool-less installation. Simply insert the M.2 drive into the slot and secure it with the Q-Latch by rotating it.

3.4. Graphics Card Installation
Insert your PCIe 5.0 compatible graphics card into the primary PCIe x16 slot. Ensure it is seated firmly. The PCIe Slot Q-Release feature allows for easy removal of the graphics card by pressing a physical lever.

3.5. Power Connections
Connect the 24-pin ATX power connector and the 8+8 pin ProCool CPU power connectors from your power supply to the motherboard. Ensure all connections are secure.
3.6. WiFi Antenna Installation
Attach the ASUS WiFi Q-Antenna to the designated connectors on the rear I/O panel. This antenna is crucial for optimal WiFi 7 performance.

For a visual guide on some of the installation steps and features, please refer to the following video:
Video 3.1: Overview of ASUS TUF Gaming B850-PRO WIFI7 W NEO Motherboard features and DIY-friendly design elements, including the WiFi 7 Q-Antenna and M.2 Q-Latch.
4. Operating Instructions
4.1. BIOS/UEFI Setup
Upon first boot, press the DEL or F2 key to enter the UEFI BIOS. The intuitive UEFI BIOS dashboard allows you to configure system settings, boot order, and monitor hardware status. Refer to the detailed BIOS manual available on the ASUS support website for advanced settings.
4.2. Intelligent Control Features
Your motherboard includes several AI-powered features to enhance performance and user experience:
- AI Cache Boost: Optimizes CPU cache and memory pathways for improved local LLM performance.
- ASUS AI Advisor: Provides guidance and answers to questions about motherboard functionality via natural language.
- AI Cooling II: Balances thermal performance and system acoustics with a single click, automatically adjusting fan speeds based on system load and temperature.


4.3. Networking
The motherboard comes with pre-installed WiFi drivers for immediate WiFi 7 connectivity. For wired connections, use the 2.5Gb Ethernet port for faster data transfer speeds.
5. Maintenance
Regular maintenance helps ensure the longevity and optimal performance of your motherboard.
- Cleaning: Periodically clean dust from the motherboard and components using compressed air. Ensure the system is powered off and unplugged before cleaning.
- BIOS Updates: Check the ASUS support website for the latest BIOS updates. Updating the BIOS can improve system stability, compatibility, and performance. Use the BIOS FlashBack button for convenient updates without a CPU or RAM installed.
6. Troubleshooting
If you encounter issues, refer to the following common troubleshooting steps:
- No Power/No Boot: Double-check all power connections (24-pin ATX, 8+8 pin CPU). Ensure the power supply is functional.
- No Display: Verify that the graphics card is properly seated and connected to the monitor. If using integrated graphics, ensure your CPU supports it and the monitor is connected to the motherboard's video output.
- Q-LED Indicators: The motherboard features Q-LEDs (CPU, DRAM, VGA, BOOT) that light up to indicate the status of key components during startup. If a specific LED remains lit, it points to an issue with that component.
- Clear CMOS: If you experience system instability after changing BIOS settings, use the Clear CMOS button on the rear I/O panel to reset BIOS settings to default.
- Network Issues: Ensure WiFi antenna is securely connected. For wired connections, check the Ethernet cable and router status. Update network drivers if necessary.
7. Specifications
| Feature | Specification |
|---|---|
| Brand | ASUS |
| Model Name | TUF GAMING B850-PRO WIFI7 W NEO |
| CPU Socket | Socket AM5 |
| Compatible Processors | AMD Ryzen™ 9000 & 8000 & 7000 Series Desktop Processors |
| Chipset Type | AMD B850 |
| RAM Memory Technology | DDR5 |
| Memory Clock Speed | 8600 MHz (Max) |
| Memory Slots Available | 4 |
| Ram Memory Maximum Size | 256 GB |
| Graphics Card Interface | PCI Express 5.0 |
| Total PCIe Ports | 3 |
| M.2 Slots | 1x PCIe 5.0, 2x PCIe 4.0 |
| Total SATA Ports | 4 |
| Total USB Ports | 19 (including USB 20Gbps Type-C, USB 10Gbps Type-C) |
| Networking | WiFi 7, 2.5Gb Ethernet |
| Main Power Connector Type | 24-Pin |
| Item Dimensions (L x W x H) | 12"L x 9.6"W x 1.5"H |
| Item Weight | 1.1 pounds |
8. Warranty and Support
8.1. Warranty Information
This ASUS TUF Gaming B850-PRO WIFI7 W NEO AM5 ATX Motherboard comes with a 3-year warranty. For detailed terms and conditions, please refer to the warranty card included in your product packaging or visit the official ASUS support website.
8.2. Technical Support
For technical assistance, driver downloads, and further documentation, please visit the official ASUS support website. You can find FAQs, troubleshooting guides, and contact information for customer service there.
Official ASUS Support Website: www.asus.com/support/


