
1. Important Safety Instructions
Read all instructions before using the appliance. Keep this manual for future reference. Always follow basic safety precautions to reduce the risk of fire, electric shock, or injury to persons.
- Electrical Safety: Ensure the power supply matches the voltage requirements (120V). Do not use extension cords. Always plug into a grounded outlet. Unplug the machine before cleaning or servicing.
- Water Safety: Ensure water hoses are properly connected and secured to prevent leaks. Do not operate the machine if there is a water leak.
- Child Safety: Keep children away from the appliance during operation. Use the child lock feature to prevent accidental operation.
- Flammable Materials: Do not wash items that have been soiled with flammable substances (e.g., gasoline, cleaning solvents).
- Placement: Place the machine on a firm, level surface. Ensure adequate clearance around the machine for ventilation.
- Overloading: Do not overload the washing machine. Refer to the capacity guidelines for optimal performance.
2. What's in the Box
Carefully unpack all items and check for any damage. If any parts are missing or damaged, contact customer support.
- Auertech 35 lbs Portable Washing Machine
- Drain Hose
- Faucet Adapter (for water inlet)
- User Manual
3. Product Overview
The Auertech AU7710 is a fully automatic portable washing machine designed for efficient laundry in various living spaces. It features a large 35 lbs capacity, multiple wash cycles, and user-friendly controls.

Figure 3.1: Front view of the Auertech 35 lbs Portable Washing Machine.
Main Components
- Control Panel: Features an LED display, program selection buttons, water level adjustment, and start/pause controls.
- Tempered Glass Lid: Soft-close design allows monitoring of the wash cycle.
- Stainless Steel Inner Tub: Durable and designed for efficient washing and spinning.
- Pulsator: Located at the bottom of the tub, responsible for agitating clothes.
- Lint Filter: Collects lint and debris during washing.
- Drain Pump & Hose: Built-in pump for automatic water drainage.
- Water Inlet: Connection point for the water supply hose.
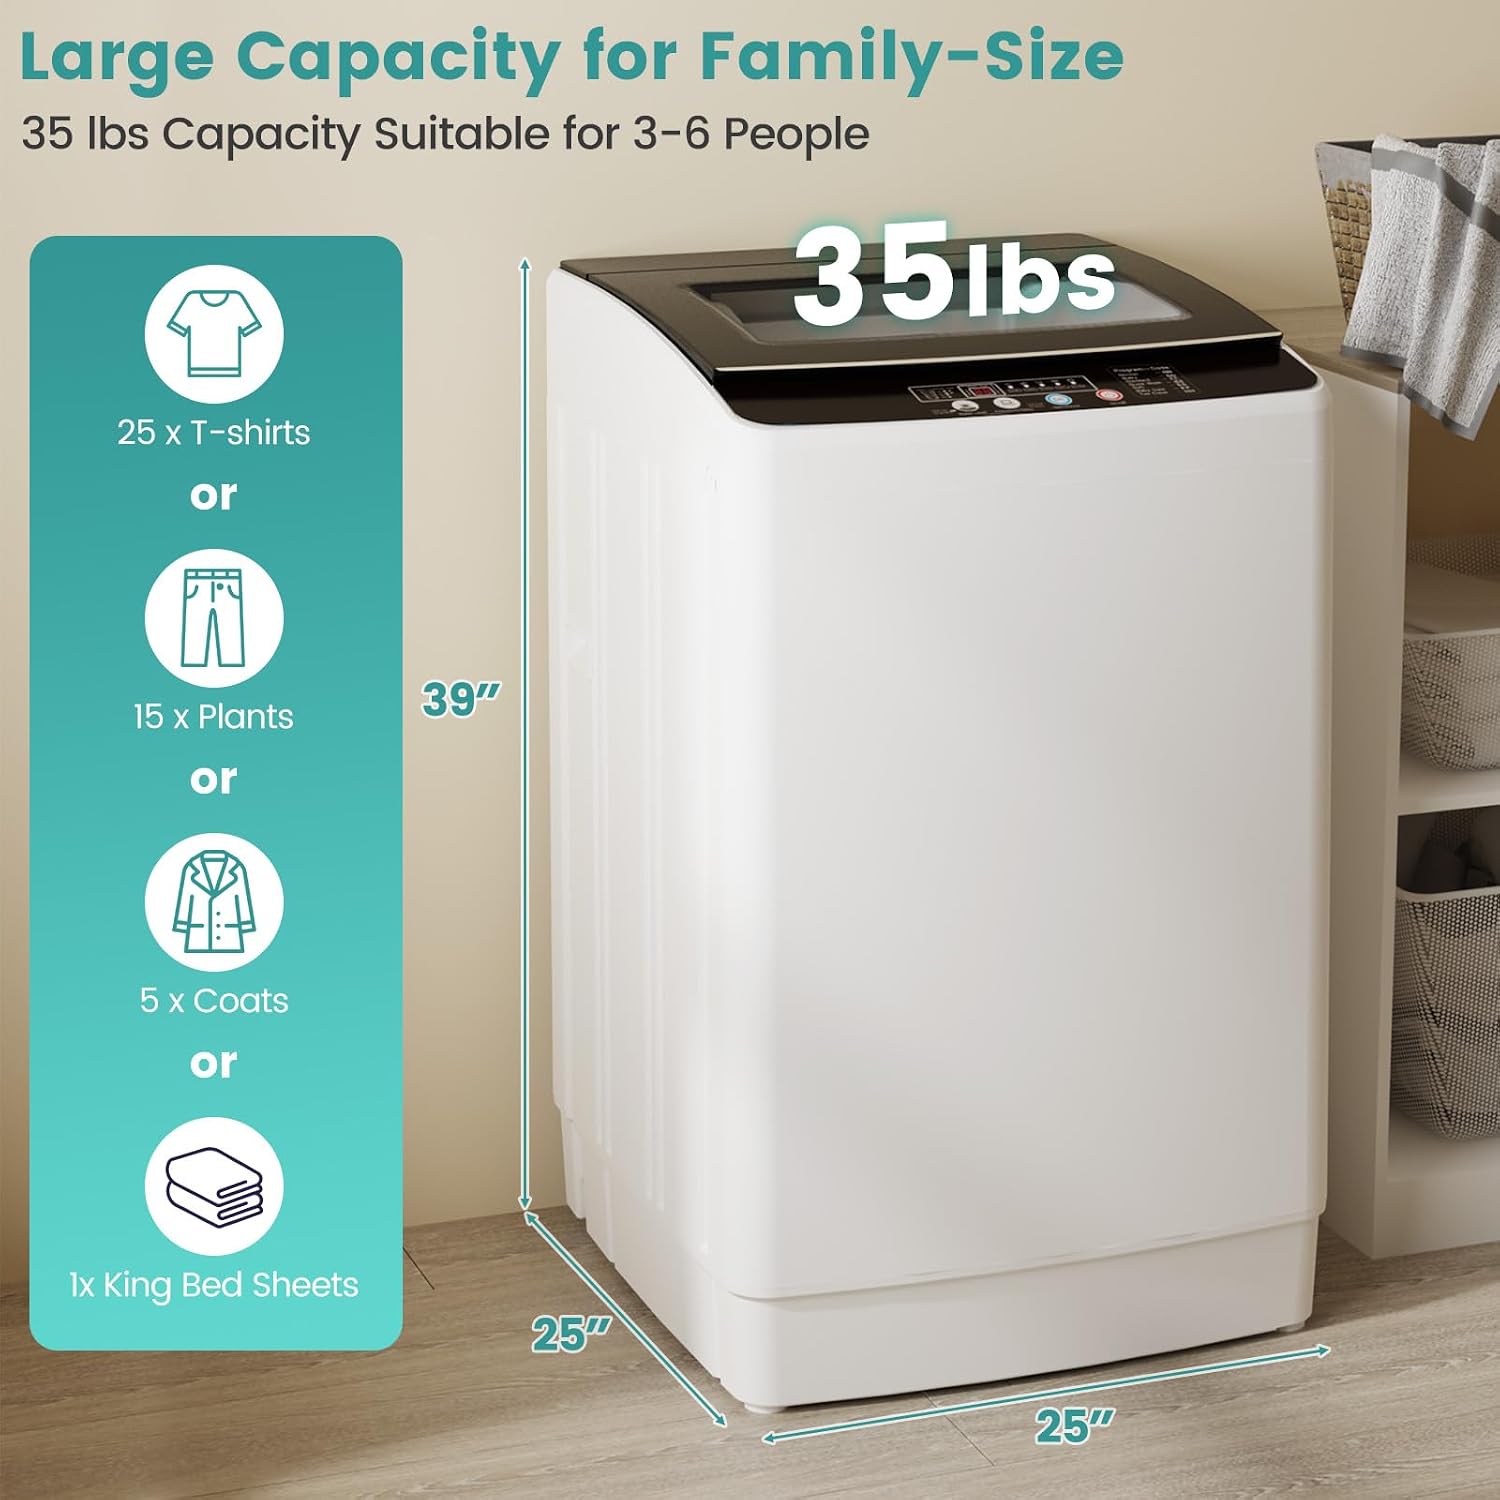
Figure 3.2: Detailed view of the control panel with LED display and function buttons.
4. Setup and Installation
4.1 Unpacking and Placement
- Remove all packaging materials, including any foam or tape.
- Place the washing machine on a firm, level, and stable surface to minimize vibration and noise during operation.
- Ensure there is at least 4 inches (10 cm) of space around the machine for proper ventilation.
- Avoid placing the machine in direct sunlight or in areas with extreme temperatures.
4.2 Water Supply Connection
- Locate the water inlet connection at the back of the washing machine.
- Connect the provided water inlet hose to a standard faucet using the included faucet adapter. Ensure a tight connection to prevent leaks.
- Turn on the water supply and check for any leaks at the connection points.
4.3 Drainage Setup
This washing machine features a built-in drain pump for convenient water disposal.
- Attach the drain hose securely to the drain outlet on the machine.
- Position the other end of the drain hose into a sink, bathtub, or a standpipe. Ensure the hose is not kinked or blocked.
- The drain pump allows water to be drained from various heights, but ensure the hose is securely placed to prevent it from dislodging during drainage.

Figure 4.1: Illustration of the built-in drain pump and faucet adapter for water connection.
4.4 Power Connection
- Plug the power cord into a grounded 120V electrical outlet.
- Do not use extension cords or adapters.
5. Operating Instructions
5.1 Control Panel Functions
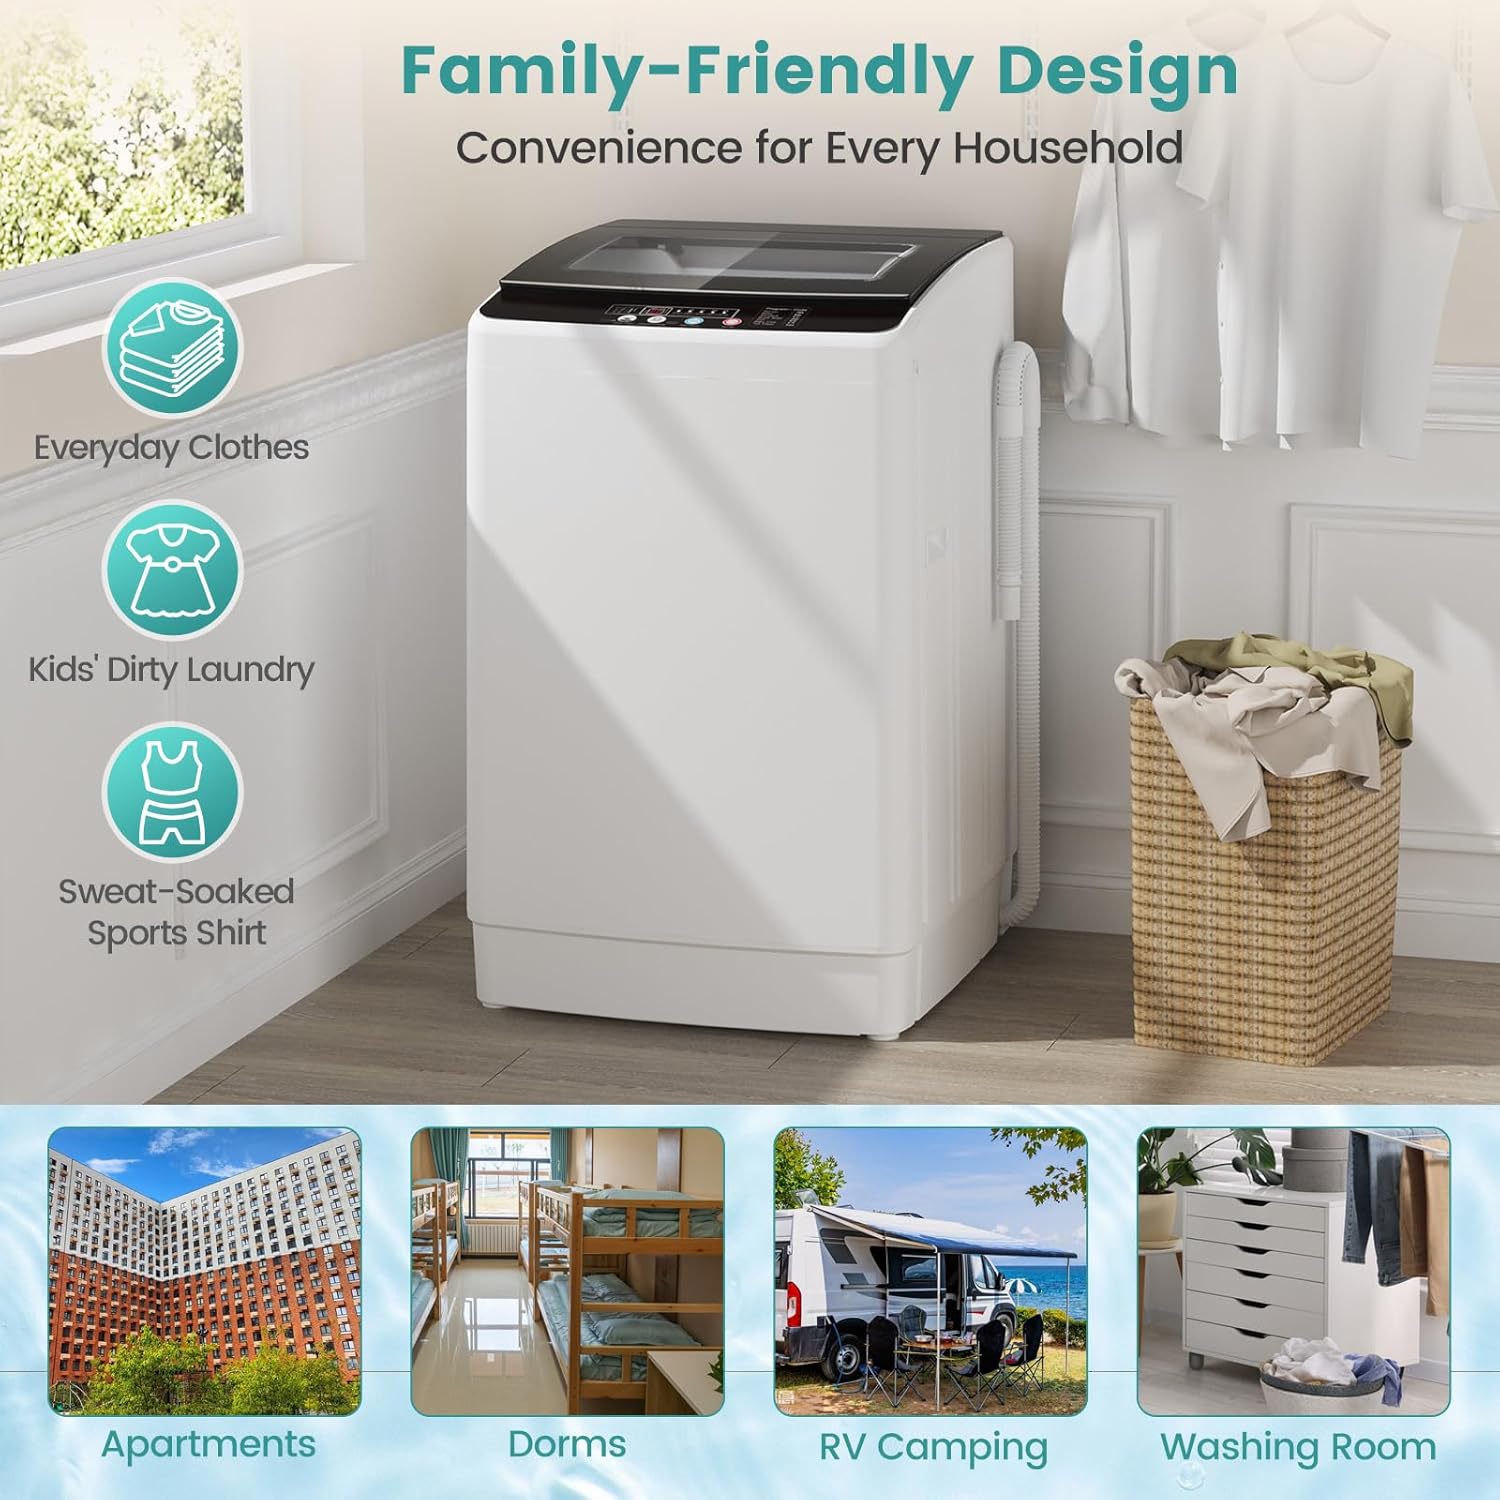
Figure 5.1: Detailed view of the control panel with program codes and water level indicators.
- On/Off Button: Powers the machine on or off.
- Start/Pause Button: Starts or pauses the selected wash cycle.
- Program Button: Press to cycle through the available wash programs.
- Water Level/Program Button: Adjusts the water level for the selected program. Also used for child lock activation.
- LED Display: Shows remaining time, selected program, and water level.
5.2 Loading Laundry
- Open the tempered glass lid.
- Load clothes loosely into the tub. Do not overload. The maximum capacity is 35 lbs.
- Distribute clothes evenly to prevent imbalance during the spin cycle.

Figure 5.2: Visual guide for the 35 lbs capacity, showing examples of load sizes.
5.3 Adding Detergent
Add the appropriate amount of detergent directly into the tub with the clothes. Follow detergent manufacturer's recommendations.
5.4 Selecting a Wash Cycle
Press the Program button repeatedly to select one of the 12 available wash cycles:
- Normal
- Bulky
- Standard
- Quick Wash (26 Min)
- Soft
- Baby Care
- Tub Clean
- Soak
- Wash
- Rinse
- Spin
- Air Dry
5.5 Adjusting Water Level
After selecting a program, press the Water Level/Program button to choose from 8 adjustable water levels, matching the load size.
5.6 Using Delay Start
To set a delay start (up to 24 hours), select your desired program and water level, then press and hold the Program/Delay button for 3 seconds. Use the Water Level/Program button to adjust the delay time, then press Start/Pause.
5.7 Activating Child Lock
To activate the child safety lock, press and hold the Procedure and Water Level/Program buttons simultaneously for 3 seconds during operation. This will lock the control panel to prevent accidental changes. Repeat the process to deactivate.

Figure 5.3: Instructions for activating the child safety lock feature.
5.8 Starting and Pausing a Cycle
After selecting all desired settings, press the Start/Pause button to begin the wash cycle. To pause the cycle, press Start/Pause again. Press it once more to resume.
5.9 After the Cycle
The machine will beep to indicate the end of the cycle. Unload clothes promptly to prevent wrinkles. Turn off the water supply and unplug the machine when not in use.
6. Maintenance
6.1 Cleaning the Lint Filter
The lint filter should be cleaned regularly (after every few washes) to maintain optimal performance and prevent lint buildup on clothes.
- Locate the detachable lint filter inside the tub.
- Remove the filter by gently pulling it out.
- Clean any accumulated lint or debris under running water.
- Reinsert the filter securely into its slot.

Figure 6.1: Location and appearance of the detachable lint filter.
6.2 Tub Self-Cleaning Function
Use the