1. Product Overview
The PRUNUS J525 is a versatile portable radio offering AM/FM reception, Bluetooth connectivity for both earphone output and speaker mode, Micro SD card playback, and a convenient sleep timer. Its compact design and long-lasting rechargeable battery make it ideal for various uses.
Key Features:
- Bluetooth Earphone Output: Connect wireless headphones for private listening.
- Bluetooth Speaker Mode: Use the radio as a portable speaker for your smartphone or other devices.
- AM/FM Radio: Enjoy clear reception with manual and auto-scan station presets.
- Micro SD Playback: Play MP3 audio files directly from a Micro SD card with shuffle and sequential play options.
- 2500mAh Rechargeable Battery: Provides extended listening time.
- Sleep Timer: Automatically turns off the radio after a set duration (10-120 minutes).
- Portable Design: Lightweight and compact for easy carrying.

Figure 1: Front view of the PRUNUS J525 Portable AM/FM Radio.
2. What's in the Box
Please check the package contents upon unboxing:
- 1 x PRUNUS J525 Portable Radio
- 1 x USB C Charging Cable
- 1 x Owner's Manual (this document)
3. Controls and Components
Familiarize yourself with the buttons and ports on your PRUNUS J525 radio.

Figure 2: Front panel controls including Power, Scan, FM/AM, Mode, Preset, Delete, Previous, Next, M-, M+, and BT Transmitter buttons.

Figure 3: Side view showing the USB-C charging port, 3.5mm headphone jack, and Micro SD (TF) card slot.
Button Functions:
- Power Button: Press and hold to turn the radio on/off. Short press to toggle display backlight.
- SCAN: In radio mode, short press to auto-scan and store stations. In Bluetooth transmitter mode, press to connect.
- FM/AM: Switch between FM and AM radio bands.
- MODE: Cycle through FM, AM, Bluetooth Speaker, Bluetooth Earphone, and Micro SD playback modes.
- PRESET: Access stored radio stations.
- DEL (Delete): Delete a stored radio station.
- Previous/Next (Arrow Buttons): Tune frequency, navigate tracks, or select menu options.
- M-/M+: Adjust volume or navigate through stored stations/menu options.
- BT Transmitter Button (Headphone Icon): Short press to enter Bluetooth transmitter menu.
4. Setup
4.1 Charging the Battery
The PRUNUS J525 radio is equipped with a 2500mAh rechargeable Lithium-ion battery. Before first use, fully charge the device.
- Connect the provided USB-C charging cable to the USB-C port on the side of the radio.
- Connect the other end of the cable to a standard USB power adapter (not included) or a computer's USB port.
- The battery icon on the display will indicate charging status. A full battery icon indicates a complete charge.
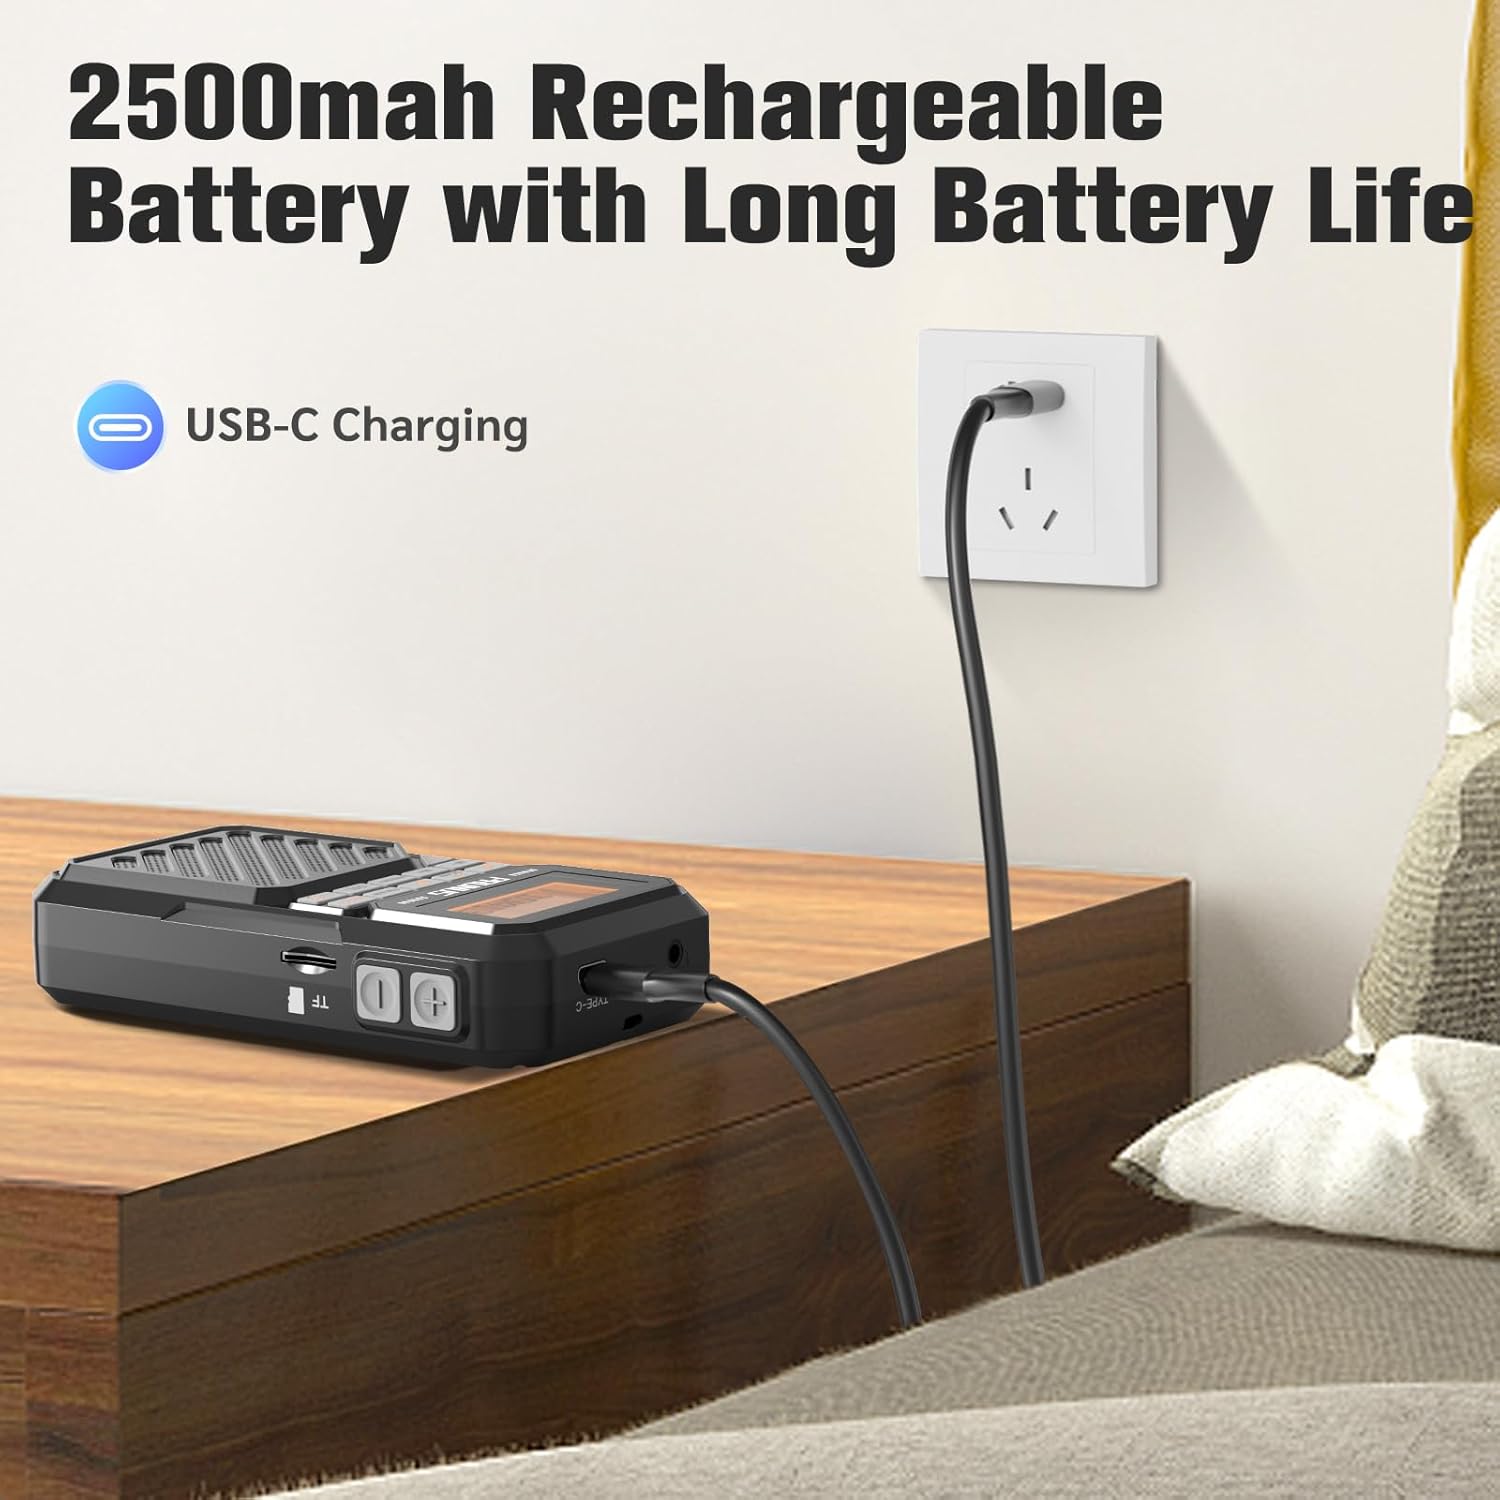
Figure 4: Charging the PRUNUS J525 radio via USB-C.
4.2 Antenna Adjustment
For optimal FM and AM reception, extend the telescopic antenna fully and adjust its direction. The antenna is 16 inches (41 cm) long and can be rotated 360 degrees.

Figure 5: Extending and adjusting the telescopic antenna for better signal reception.
5. Operating Instructions
5.1 Power On/Off
Press and hold the Power button (orange button on the left) for a few seconds to turn the radio on or off. The LCD screen will display "welcome" upon startup.
5.2 FM/AM Radio Operation
- Turn on the radio.
- Press the FM/AM button to select your desired band (FM: 87-108MHz, AM: 520-1710KHz).
- Auto Scan and Store Stations: Short press the SCAN button. The radio will automatically scan for available stations and store them as presets.
- Manual Tuning and Presets:
- Use the Previous/Next arrow buttons to fine-tune the frequency.
- To manually store a station, tune to the desired frequency, then press and hold the PRESET button. Select a preset number using the arrow buttons and press PRESET again to confirm.
- To recall a stored station, short press the PRESET button, then use the arrow buttons to select the desired preset.
- To delete a stored station, select it using PRESET and arrow buttons, then press the DEL button.

Figure 6: Manual preset buttons for storing and recalling radio stations.
5.3 Bluetooth Earphone Output
Connect your Bluetooth headphones to the J525 radio for private listening.
- Ensure your Bluetooth headphones are in pairing mode. If previously connected to another device, disconnect them or reset them.
- Turn on the J525 radio.
- Short press the BT Transmitter button (headphone icon) to enter the transmitter menu.
- Select "Searching" using the arrow buttons and press SCAN. The radio will search for nearby Bluetooth devices. This may take 10-30 seconds.
- Once your earphone's name appears in the device list, select it using the arrow buttons and press SCAN to connect.
- A solid Bluetooth icon next to your device name on the radio's display indicates a successful connection. The radio will automatically reconnect to paired earphones unless they are reset.
Video 1: Demonstrates how to connect Bluetooth headphones to the PRUNUS J525 radio.

Figure 7: PRUNUS J525 radio connected to wireless headphones for on-the-go listening.
5.4 Bluetooth Speaker Mode
Use the J525 radio as a Bluetooth speaker to play audio from your smartphone or other Bluetooth-enabled devices.
- Turn on the J525 radio.
- Press the MODE button until the Bluetooth speaker icon appears on the display. The radio will enter pairing mode.
- On your smartphone or Bluetooth device, go to Bluetooth settings and search for "J-525".
- Select "J-525" to pair and connect.
- Once connected, you can play audio from your device through the radio's speaker.

Figure 8: PRUNUS J525 functioning as a Bluetooth speaker, playing music from a smartphone.
5.5 Micro SD Playback (MP3 Player)
The radio supports playing MP3 files from a Micro SD (TF) card.
- Insert a Micro SD card (formatted to FAT32) with MP3 audio files into the TF card slot on the side of the radio.
- Press the MODE button until the Micro SD card icon appears on the display. The radio will automatically start playing music from the card.
- Use the Previous/Next arrow buttons to skip tracks.
- The radio supports shuffle playback, single repeat, and list repeat. These options can typically be accessed via the menu or by long-pressing certain buttons (refer to on-screen prompts if available).
5.6 Sleep Timer Function
The sleep timer allows the radio to automatically turn off after a set period.
- While the radio is on, press and hold the MODE button.
- Use the Previous/Next arrow buttons to select the desired sleep timer duration (10, 15, 30, 45, 60, 90, or 120 minutes).
- Press the MODE button again to confirm your selection. A sleep icon will appear on the display.
- The radio will automatically power off after the selected time.

Figure 9: Setting the sleep timer on the PRUNUS J525 radio.
6. Maintenance
To ensure the longevity and optimal performance of your PRUNUS J525 radio, follow these maintenance guidelines:
- Cleaning: Use a soft, dry cloth to clean the exterior of the radio. Do not use abrasive cleaners, solvents, or strong chemicals, as these may damage the finish.
- Storage: When not in use for extended periods, store the radio in a cool, dry place away from direct sunlight and extreme temperatures.
- Battery Care: To maintain battery health, avoid fully discharging the battery frequently. If storing for a long time, charge the battery to about 50% every few months.
- Water Exposure: This device is not waterproof. Avoid exposure to water or high humidity.
- Antenna Care: Handle the telescopic antenna gently to prevent bending or breaking.
7. Troubleshooting
If you encounter issues with your PRUNUS J525 radio, refer to the following common problems and solutions:
| Problem | Possible Cause | Solution |
|---|---|---|
| Radio does not turn on. | Low battery or power button not pressed correctly. | Charge the radio fully. Press and hold the power button for a few seconds. |
| Poor radio reception. | Antenna not extended or weak signal area. | Fully extend and adjust the telescopic antenna. Try moving to an area with better signal. |
| Cannot connect Bluetooth headphones. | Headphones not in pairing mode or already connected to another device. | Ensure headphones are in pairing mode. Disconnect them from other devices or reset them. Follow the pairing steps in Section 5.3. |
| Bluetooth speaker mode not working. | Radio not in Bluetooth speaker mode or not paired with smartphone. | Press MODE to switch to Bluetooth speaker mode. Ensure "J-525" is selected and connected in your smartphone's Bluetooth settings. |
| Micro SD card not playing. | Card not inserted correctly, unsupported format, or no MP3 files. | Ensure the Micro SD card is inserted correctly. Verify the card is FAT32 formatted and contains MP3 files. Press MODE to select Micro SD playback. |
8. Specifications
| Feature | Detail |
|---|---|
| Brand | PRUNUS |
| Model | J-525 |
| Color | Gray |
| Product Dimensions | 2.6"L x 1"W x 4.8"H |
| Item Weight | 5.5 Ounces |
| Power Source | Battery Powered |
| Battery | 1 x 2500mAh Lithium Polymer (included) |
| Charging Port | USB-C |
| Connectivity Technology | USB, Bluetooth (Wireless Version 5.4) |
| Tuner Technology | FM, AM |
| FM Frequency Range | 87-108MHz |
| AM Frequency Range | 520-1710KHz |
| Output Power | 3W |
| Display Type | LCD |
| Enclosure Material | Acrylonitrile Butadiene Styrene (ABS) |
| Special Features | Built-In AM Antenna, Lightweight, Portable, Rechargeable, Bluetooth Earphone Output, Bluetooth Speaker Mode, Micro SD Playback, Sleep Timer |
9. Warranty and Support
The PRUNUS J525 Portable AM/FM Radio comes with a 1-Year Seller Warranty.
For technical support, troubleshooting assistance, or warranty claims, please contact PRUNUS customer service through the platform where you purchased the product. Please have your purchase details and model number (J-525) ready when contacting support.


