
Introduction
Thank you for purchasing the Wielio AE211B Smart Projector. This manual provides essential information for the safe and efficient operation of your device. Please read it thoroughly before use and retain it for future reference.
Important Safety Information
- Do not look directly into the projector lens when the lamp is on.
- Ensure proper ventilation around the projector to prevent overheating.
- Use only the power adapter supplied with the projector.
- Keep the projector away from water or other liquids.
- Do not attempt to disassemble or modify the projector. Refer all servicing to qualified personnel.
- Place the projector on a stable, level surface.
Package Contents
Verify that all items are present in your package:
- Wielio AE211B Smart Projector
- Remote Control
- Power Adapter
- HDMI Cable
- User Manual
Product Overview
Familiarize yourself with the projector's components:
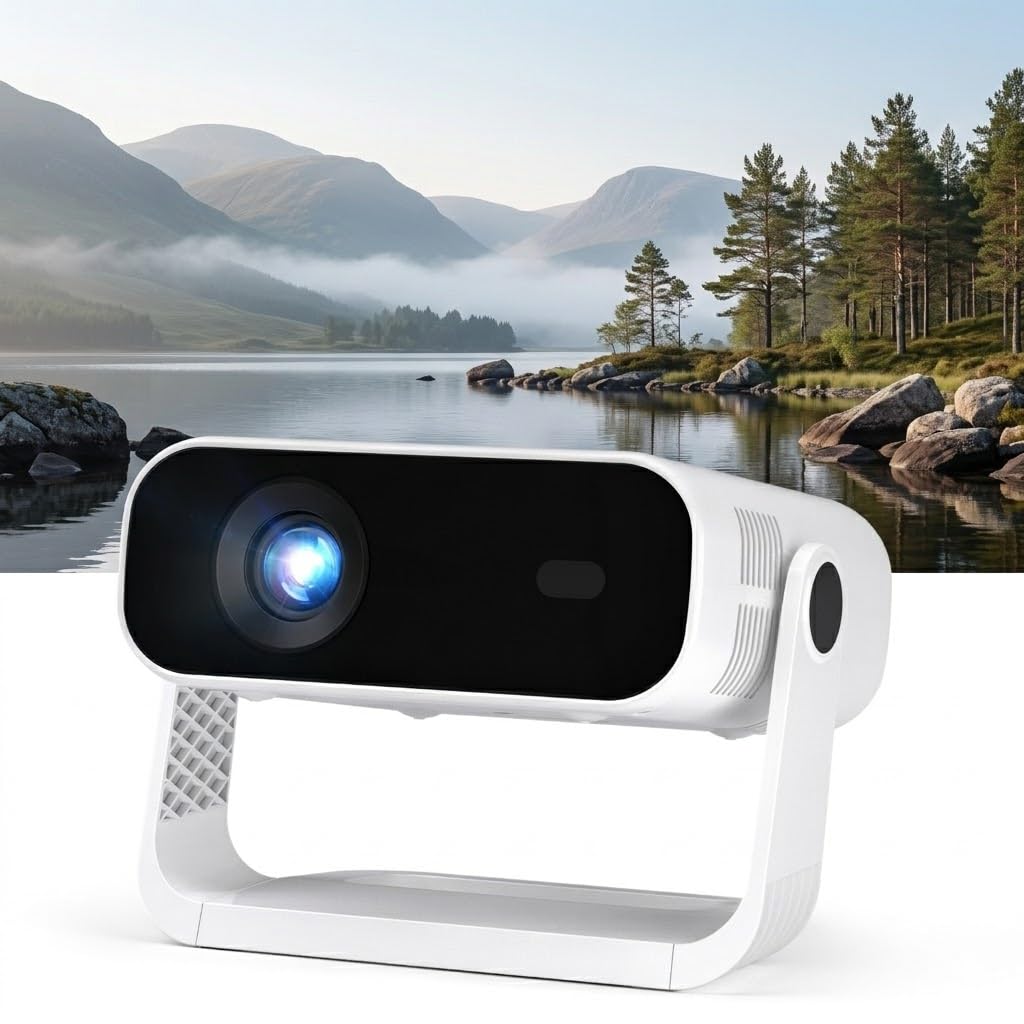
Image: Front view of the Wielio AE211B Smart Projector, showing the lens and various input/output ports on the rear panel.
Front Panel
- Projection Lens: Emits the image.
Rear Panel
- HDMI Port: Connects to HDMI-enabled devices (e.g., Blu-ray player, game console).
- USB Port: Connects to USB storage devices for media playback.
- Audio Out (3.5mm): Connects to external speakers or headphones.
- Power Input: Connects to the power adapter.
Top Panel
- Focus Ring: Adjusts image sharpness.
- Keystone Correction: Adjusts image shape (manual or automatic).
Setup
1. Placement
Place the projector on a flat, stable surface or mount it to a ceiling. Ensure the projector is positioned perpendicular to the projection surface for optimal image quality. The recommended projection distance is between 1.5 to 5 meters (approximately 5 to 16 feet) for an image size of 50 to 200 inches.
2. Power Connection
- Connect the power adapter to the projector's power input port.
- Plug the power adapter into a wall outlet.
- Press the power button on the projector or remote control to turn on the device.
3. Focus and Keystone Adjustment
- Focus: Rotate the focus ring on the top of the projector until the image appears sharp and clear.
- Keystone: The projector may feature automatic keystone correction. If manual adjustment is needed, use the keystone correction controls on the projector or remote to correct trapezoidal image distortion.
4. Network Connection (Wi-Fi)
- From the home screen, navigate to 'Settings'.
- Select 'Network' or 'Wi-Fi'.
- Choose your desired Wi-Fi network from the list.
- Enter the password using the on-screen keyboard and remote control.
- Select 'Connect'.
5. Bluetooth Pairing
- From the home screen, navigate to 'Settings'.
- Select 'Bluetooth'.
- Turn on Bluetooth. The projector will search for available devices.
- Select your desired Bluetooth device (e.g., speaker, headphones) from the list to pair.
Operating Instructions
1. Remote Control Functions
The remote control allows you to navigate the projector's interface and control playback. Common buttons include:
- Power: Turns the projector on/off.
- Navigation (Up/Down/Left/Right): Moves cursor or selection.
- OK/Enter: Confirms selection.
- Back: Returns to the previous screen.
- Home: Returns to the main home screen.
- Volume +/-: Adjusts audio volume.
- Source: Selects input source (HDMI, USB).
2. Navigating the Smart Interface
The Wielio AE211B runs on an Android-based smart system. Use the remote control's navigation buttons to browse applications, settings, and media content on the home screen.
3. Using Built-in Apps
The projector comes with pre-installed applications. To access them:
- From the home screen, navigate to the 'Apps' section.
- Select the desired application (e.g., YouTube, Netflix).
- Log in with your account credentials if required.
Additional apps can be downloaded from the integrated app store (e.g., Google Play Store).
4. Connecting External Devices
- HDMI: Connect an HDMI cable from your external device (e.g., laptop, gaming console) to the projector's HDMI port. Select 'HDMI' as the input source using the remote control.
- USB: Insert a USB flash drive or external hard drive into the projector's USB port. The projector will typically prompt you to open the media player, or you can navigate to the 'File Manager' app to browse content.
5. Audio Output
The projector has built-in speakers. For enhanced audio, connect external speakers or headphones via the 3.5mm audio out port or pair a Bluetooth audio device as described in the Setup section.
6. Picture Settings
Access 'Settings' from the home screen to adjust picture parameters such as brightness, contrast, color, and aspect ratio to suit your viewing environment.
Maintenance
1. Cleaning the Lens
Use a soft, lint-free cloth specifically designed for optical lenses to gently wipe the projector lens. Do not use abrasive cleaners or excessive force, as this can scratch the lens.
2. Cleaning the Projector Body
Wipe the exterior of the projector with a soft, dry cloth. For stubborn marks, a slightly damp cloth can be used, followed by a dry cloth. Avoid using harsh chemicals or solvents.
3. Ventilation
Ensure the projector's ventilation vents are clear of dust and obstructions. Periodically use a can of compressed air to gently clear dust from the vents to maintain optimal airflow and prevent overheating.
4. Storage
When not in use for extended periods, store the projector in a cool, dry, dust-free environment. Use the original packaging or a protective case to prevent damage.
Troubleshooting
| Problem | Possible Cause | Solution |
|---|---|---|
| No power | Power cable not connected; Power outlet faulty | Check power cable connection; Try a different outlet; Ensure power adapter is functional |
| No image | Incorrect input source; Device not connected; Lens cap on | Select correct input source (HDMI/USB); Ensure device is connected and powered on; Remove lens cap |
| Blurry image | Focus not adjusted; Keystone not adjusted | Adjust the focus ring; Adjust keystone correction |
| No sound | Volume too low; Muted; External audio device not connected/paired | Increase volume; Unmute; Check external audio connections or Bluetooth pairing |
| Remote control not working | Batteries low/dead; Obstruction between remote and projector | Replace batteries; Ensure clear line of sight to projector's IR receiver |
| Wi-Fi connection issues | Incorrect password; Router issues; Out of range | Verify password; Restart router; Move projector closer to router |
Specifications
- Brand: Wielio
- Model Number: AE211B
- Item Weight: 1 Kilograms
- Maximum Image Size: 200 Inches
- Hardware Interface: Bluetooth 5, HDMI, USB
- Hardware Connectivity: Bluetooth 5, HDMI, USB
Warranty and Support
The Wielio AE211B Smart Projector comes with a standard manufacturer's warranty. For specific warranty terms and conditions, please refer to the warranty card included in your package or visit the official Wielio website. For technical support, troubleshooting assistance beyond this manual, or service inquiries, please contact Wielio customer support through their official channels.