
Introduction
This manual provides essential instructions for the safe operation and maintenance of your CHUBORY G9 Pluto GPS Drone. Please read this guide thoroughly before your first flight to ensure proper setup and to maximize your flying experience. This drone features an EIS 4K camera, a 4.5-inch HD screen on the controller, GPS auto-return, and intelligent flight modes.
Product Overview
The CHUBORY G9 Pluto is a foldable GPS drone designed for ease of use and high-quality aerial photography. It comes equipped with a 4K EIS camera for stable video recording and a dedicated controller with an integrated HD screen for real-time FPV (First Person View).
Components
- CHUBORY G9 Pluto Drone
- Remote Controller with 4.5 inch HD Screen
- 3 x Lithium Ion Batteries
- Propellers (spare set included)
- USB Charging Cables
- MicroSD Card (32GB) & Card Reader
- Screwdriver & Spare Screws
- Drone Carry Bag
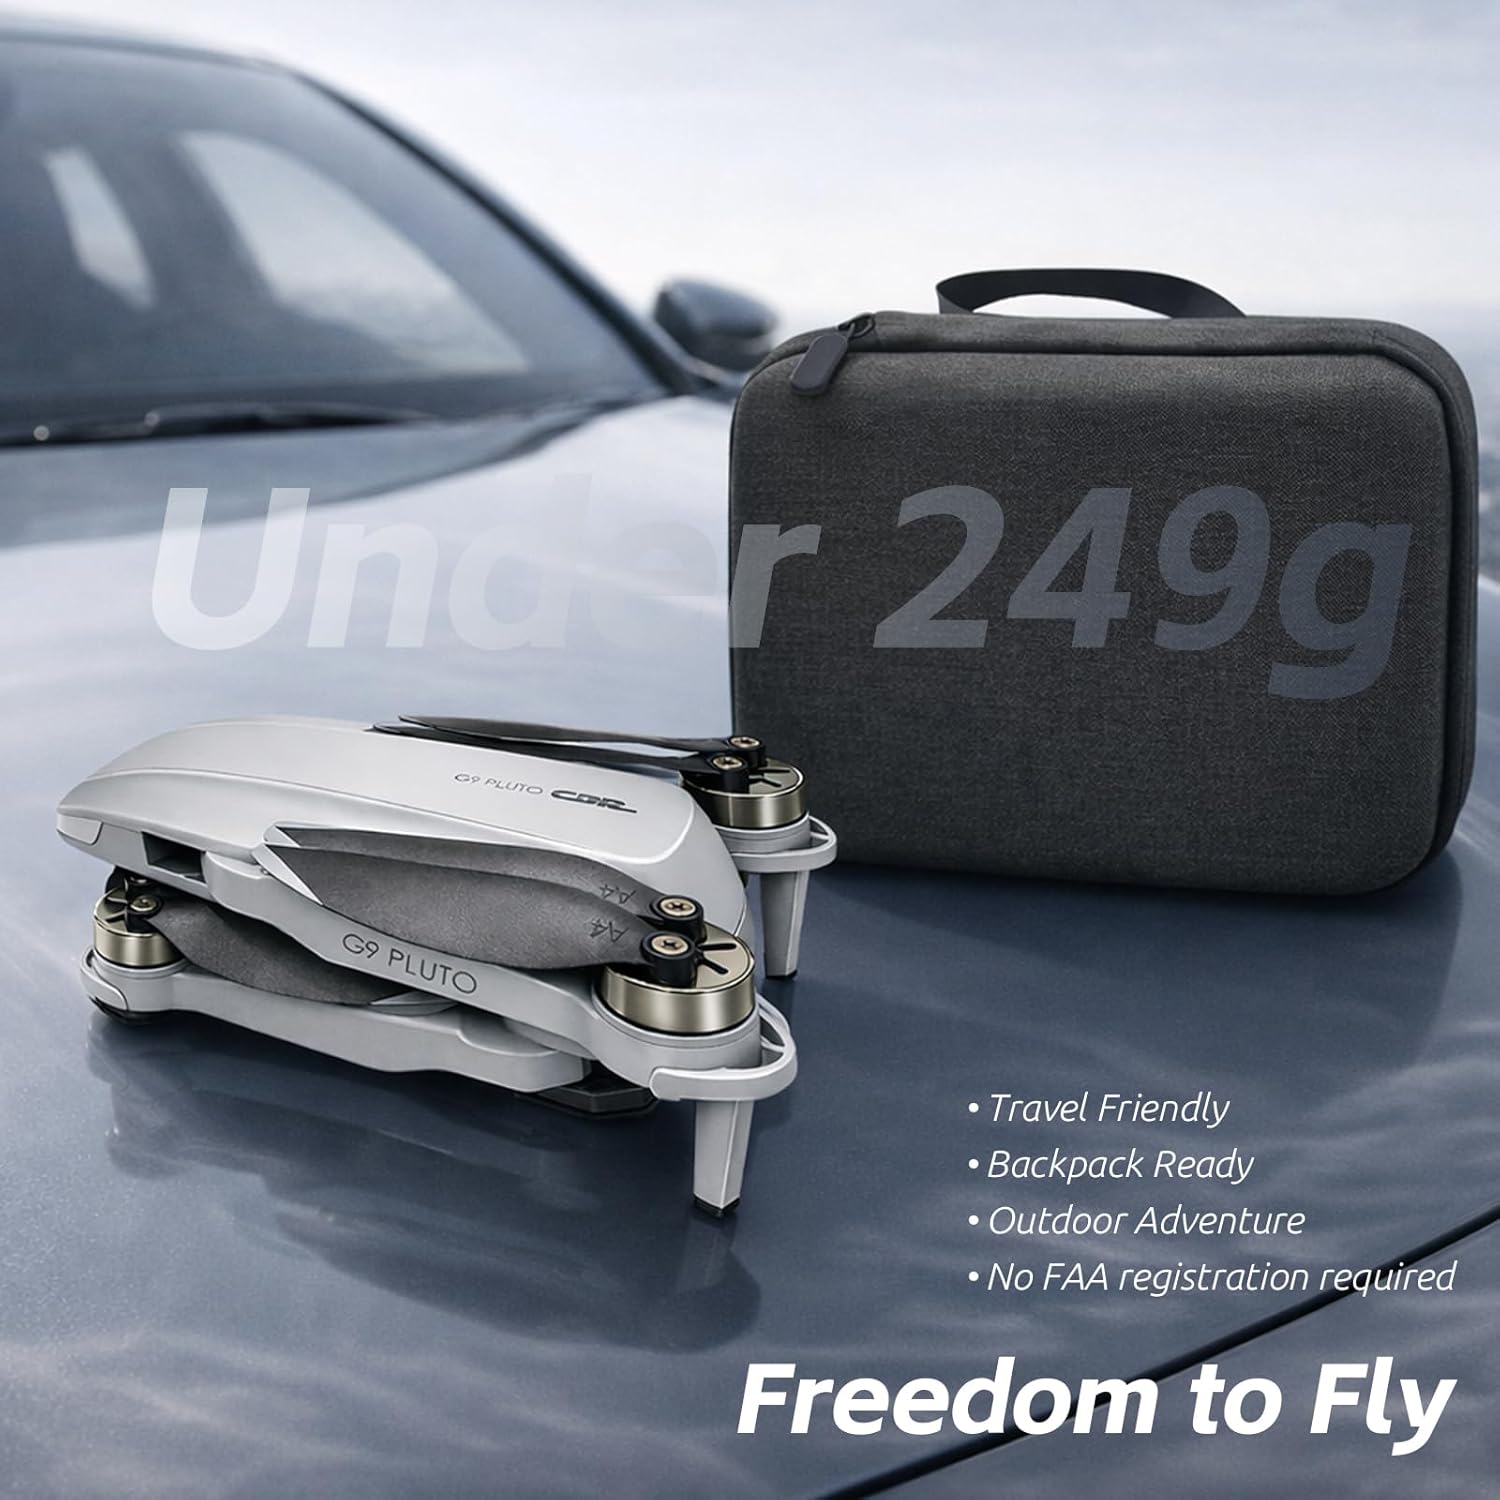
Image: The CHUBORY G9 Pluto drone, its remote controller with an integrated screen, and three flight batteries.

Image: The G9 Pluto drone highlighting its 4K camera and included 32GB SD card for recording.

Image: The CHUBORY G9 Pluto drone in its folded state next to its compact carry case, emphasizing its portability.
Setup
1. Battery Installation and Charging
- Drone Battery: Insert a fully charged battery into the drone until it clicks securely into place.
- Controller Battery: Ensure the remote controller is charged. Connect the USB charging cable to the controller and a power source.
- Charging: Use the provided USB cables to charge the drone batteries and controller. The indicator lights will show charging status.

Image: The G9 Pluto drone alongside its three included batteries, highlighting the extended flight time capability.
2. Drone Preparation
- Unfold Arms: Carefully unfold the drone's arms until they lock into position.
- Propeller Check: Ensure all propellers are securely attached and free from damage.
- Power On: Press and hold the power button on the drone until the indicator lights illuminate.
3. Controller Setup and Pairing
- Power On: Press the power button on the remote controller.
- Pairing: The drone and controller should automatically pair. If not, refer to the specific pairing sequence in the detailed manual (usually involves moving joysticks up and down).
- GPS Calibration: For optimal performance, perform GPS calibration before each flight. Follow the on-screen instructions on the controller's HD screen or the app. This typically involves rotating the drone horizontally and vertically.

Image: The CHUBORY G9 Pluto remote controller, showing its integrated 4.5-inch HD screen and a smartphone mounted above it.
4. App Installation (Optional)
For additional features and a larger FPV display, download the official CHUBORY drone app from your smartphone's app store. Connect your smartphone to the controller via the provided cable or Wi-Fi, as instructed by the app.
Operating Instructions
1. Pre-Flight Checklist
- Ensure batteries are fully charged for both drone and controller.
- Check propellers for damage and secure attachment.
- Fly in an open area, away from obstacles, people, and restricted airspace.
- Perform GPS calibration.
2. Takeoff and Landing
- Automatic Takeoff: Press the one-key takeoff button on the controller. The drone will ascend to a safe hovering altitude.
- Manual Takeoff: Push both joysticks down and outwards to start the motors, then slowly push the left joystick up to ascend.
- Automatic Landing: Press the one-key landing button. The drone will descend and land automatically.
- Manual Landing: Slowly pull the left joystick down to descend.
3. Flight Controls
The remote controller uses a standard mode 2 configuration:
- Left Joystick: Up/Down controls altitude (throttle); Left/Right controls rotation (yaw).
- Right Joystick: Up/Down controls forward/backward movement (pitch); Left/Right controls sideways movement (roll).
Video: A user guide demonstrating various flight controls and features of a CHUBORY drone, including basic maneuvers and intelligent modes.
4. Intelligent Flight Modes
- GPS Auto Return (RTH): The drone will automatically return to its takeoff point if the battery is low, signal is lost, or the RTH button is pressed. Ensure GPS signal is strong before flight.
- Follow Me Mode: The drone will automatically follow the controller or a designated subject (via the app).
- Circle Fly: The drone will fly in a circular path around a designated point.

Image: Illustration of the Smart AI Return features, including Low Battery RTH, Signal Lost RTH, and GPS RTH, ensuring safe return of the drone.

Image: The remote controller displaying the AI Follow mode in action, with the drone tracking a person.
5. Camera Operation
The drone is equipped with a 4K EIS camera for high-quality photos and videos. The 4.5-inch HD screen on the controller provides a live feed.
- Photo: Press the dedicated photo button on the controller to capture still images.
- Video: Press the dedicated video button to start/stop recording.
- Gimbal Control: Use the gimbal dial on the controller to adjust the camera's vertical angle.
- Storage: Photos and videos are saved to the included 32GB MicroSD card.
Video: A demonstration of the CHUBORY F89 Drone's features, including camera operation and flight capabilities.
Video: A first-use guide for a 4K drone, demonstrating initial setup and basic flight procedures, applicable to similar drone models.
Maintenance
1. Battery Care
- Store batteries in a cool, dry place.
- Do not overcharge or over-discharge batteries.
- If storing for extended periods, charge batteries to approximately 50-60%.
2. Propeller Replacement
- Inspect propellers for cracks or damage before each flight.
- Use the provided screwdriver to replace damaged propellers with new ones, ensuring correct orientation (A and B propellers).
3. Cleaning
- Wipe the drone and controller with a soft, dry cloth.
- Avoid using harsh chemicals or solvents.
- Keep the camera lens clean for clear footage.
Troubleshooting
| Problem | Possible Cause | Solution |
|---|---|---|
| Drone does not power on | Low battery; Battery not inserted correctly | Charge battery; Reinsert battery securely |
| Controller does not pair | Drone or controller not powered on; Pairing sequence not followed | Ensure both are on; Repeat pairing steps (joysticks up/down) |
| Unstable flight/Drifting | No GPS signal; Improper calibration; Wind interference | Fly in open area with clear sky; Recalibrate GPS; Avoid flying in strong winds |
| No FPV feed on controller/app | Connection issue; App not running | Check cable/Wi-Fi connection; Restart app and drone/controller |
| Poor camera quality | Dirty lens; Insufficient lighting; SD card issue | Clean lens; Fly in well-lit conditions; Check/format SD card |
Specifications
- Model Name: G9 Pluto
- Brand: CHUBORY
- Product Dimensions: 13.5 x 7.5 x 4.5 cm
- Item Weight: 150 Grams (Under 249g, No FAA Registration Required)
- Batteries: 2 Lithium Ion batteries required (3 included for extended flight)
- Flight Time: Up to 30 minutes per battery (90 minutes total with 3 batteries)
- Camera: 4K EIS (Electronic Image Stabilization)
- Controller Screen: 4.5 inch HD Screen
- Maximum Range: 3280 Feet (1KM)
- Connectivity Technology: Wi-Fi, RF
- Special Features: GPS Auto Return, Circle Fly, Follow Me Mode, Foldable Design
- UPC: 718027500068
Warranty and Support
For warranty information and technical support, please refer to the contact details provided with your purchase documentation or visit the official CHUBORY website. Keep your proof of purchase for any warranty claims.
Manufacturer Contact Information: Foshanshi chuborui jiajuyouxianzerengongsi


