
1. Introduction
This manual provides essential instructions for the safe operation, assembly, maintenance, and troubleshooting of your APYEAR Bike A6 Folding Electric Bike. Please read this manual thoroughly before using the bike to ensure proper function and to prevent injury or damage. Keep this manual for future reference.
2. Safety Instructions
Your safety is paramount. Always adhere to the following guidelines:
- Wear a Helmet: Always wear an approved bicycle helmet when riding.
- Pre-Ride Check: Before each ride, check tire pressure, brake function, battery charge, and ensure all quick releases and fasteners are secure.
- Traffic Laws: Obey all local traffic laws and regulations.
- Visibility: Use lights at night or in low-light conditions. Wear reflective clothing.
- Weather Conditions: Exercise caution when riding in wet or slippery conditions. Braking distance increases significantly.
- Weight Limit: Do not exceed the maximum load capacity of 265 lbs (120 kg).
- Battery Care: Use only the provided charger. Do not expose the battery to extreme temperatures or puncture it.
- Children: This electric bike is designed for adults. Do not allow children to operate it.
- Alcohol/Drugs: Never operate the bike under the influence of alcohol or drugs.
3. Setup & Assembly
3.1 Package Contents
Verify that all items are present in the box:
- APYEAR Bike A6 Folding Electric Bike
- Charger
- User Manual
- Pedals (may require installation)
3.2 Unfolding the Bike
Carefully remove the bike from its packaging. Locate the main frame hinge and handlebar stem hinge. Release the safety latches and unfold the frame and handlebar stem until they lock into place. Ensure all quick releases are securely tightened.
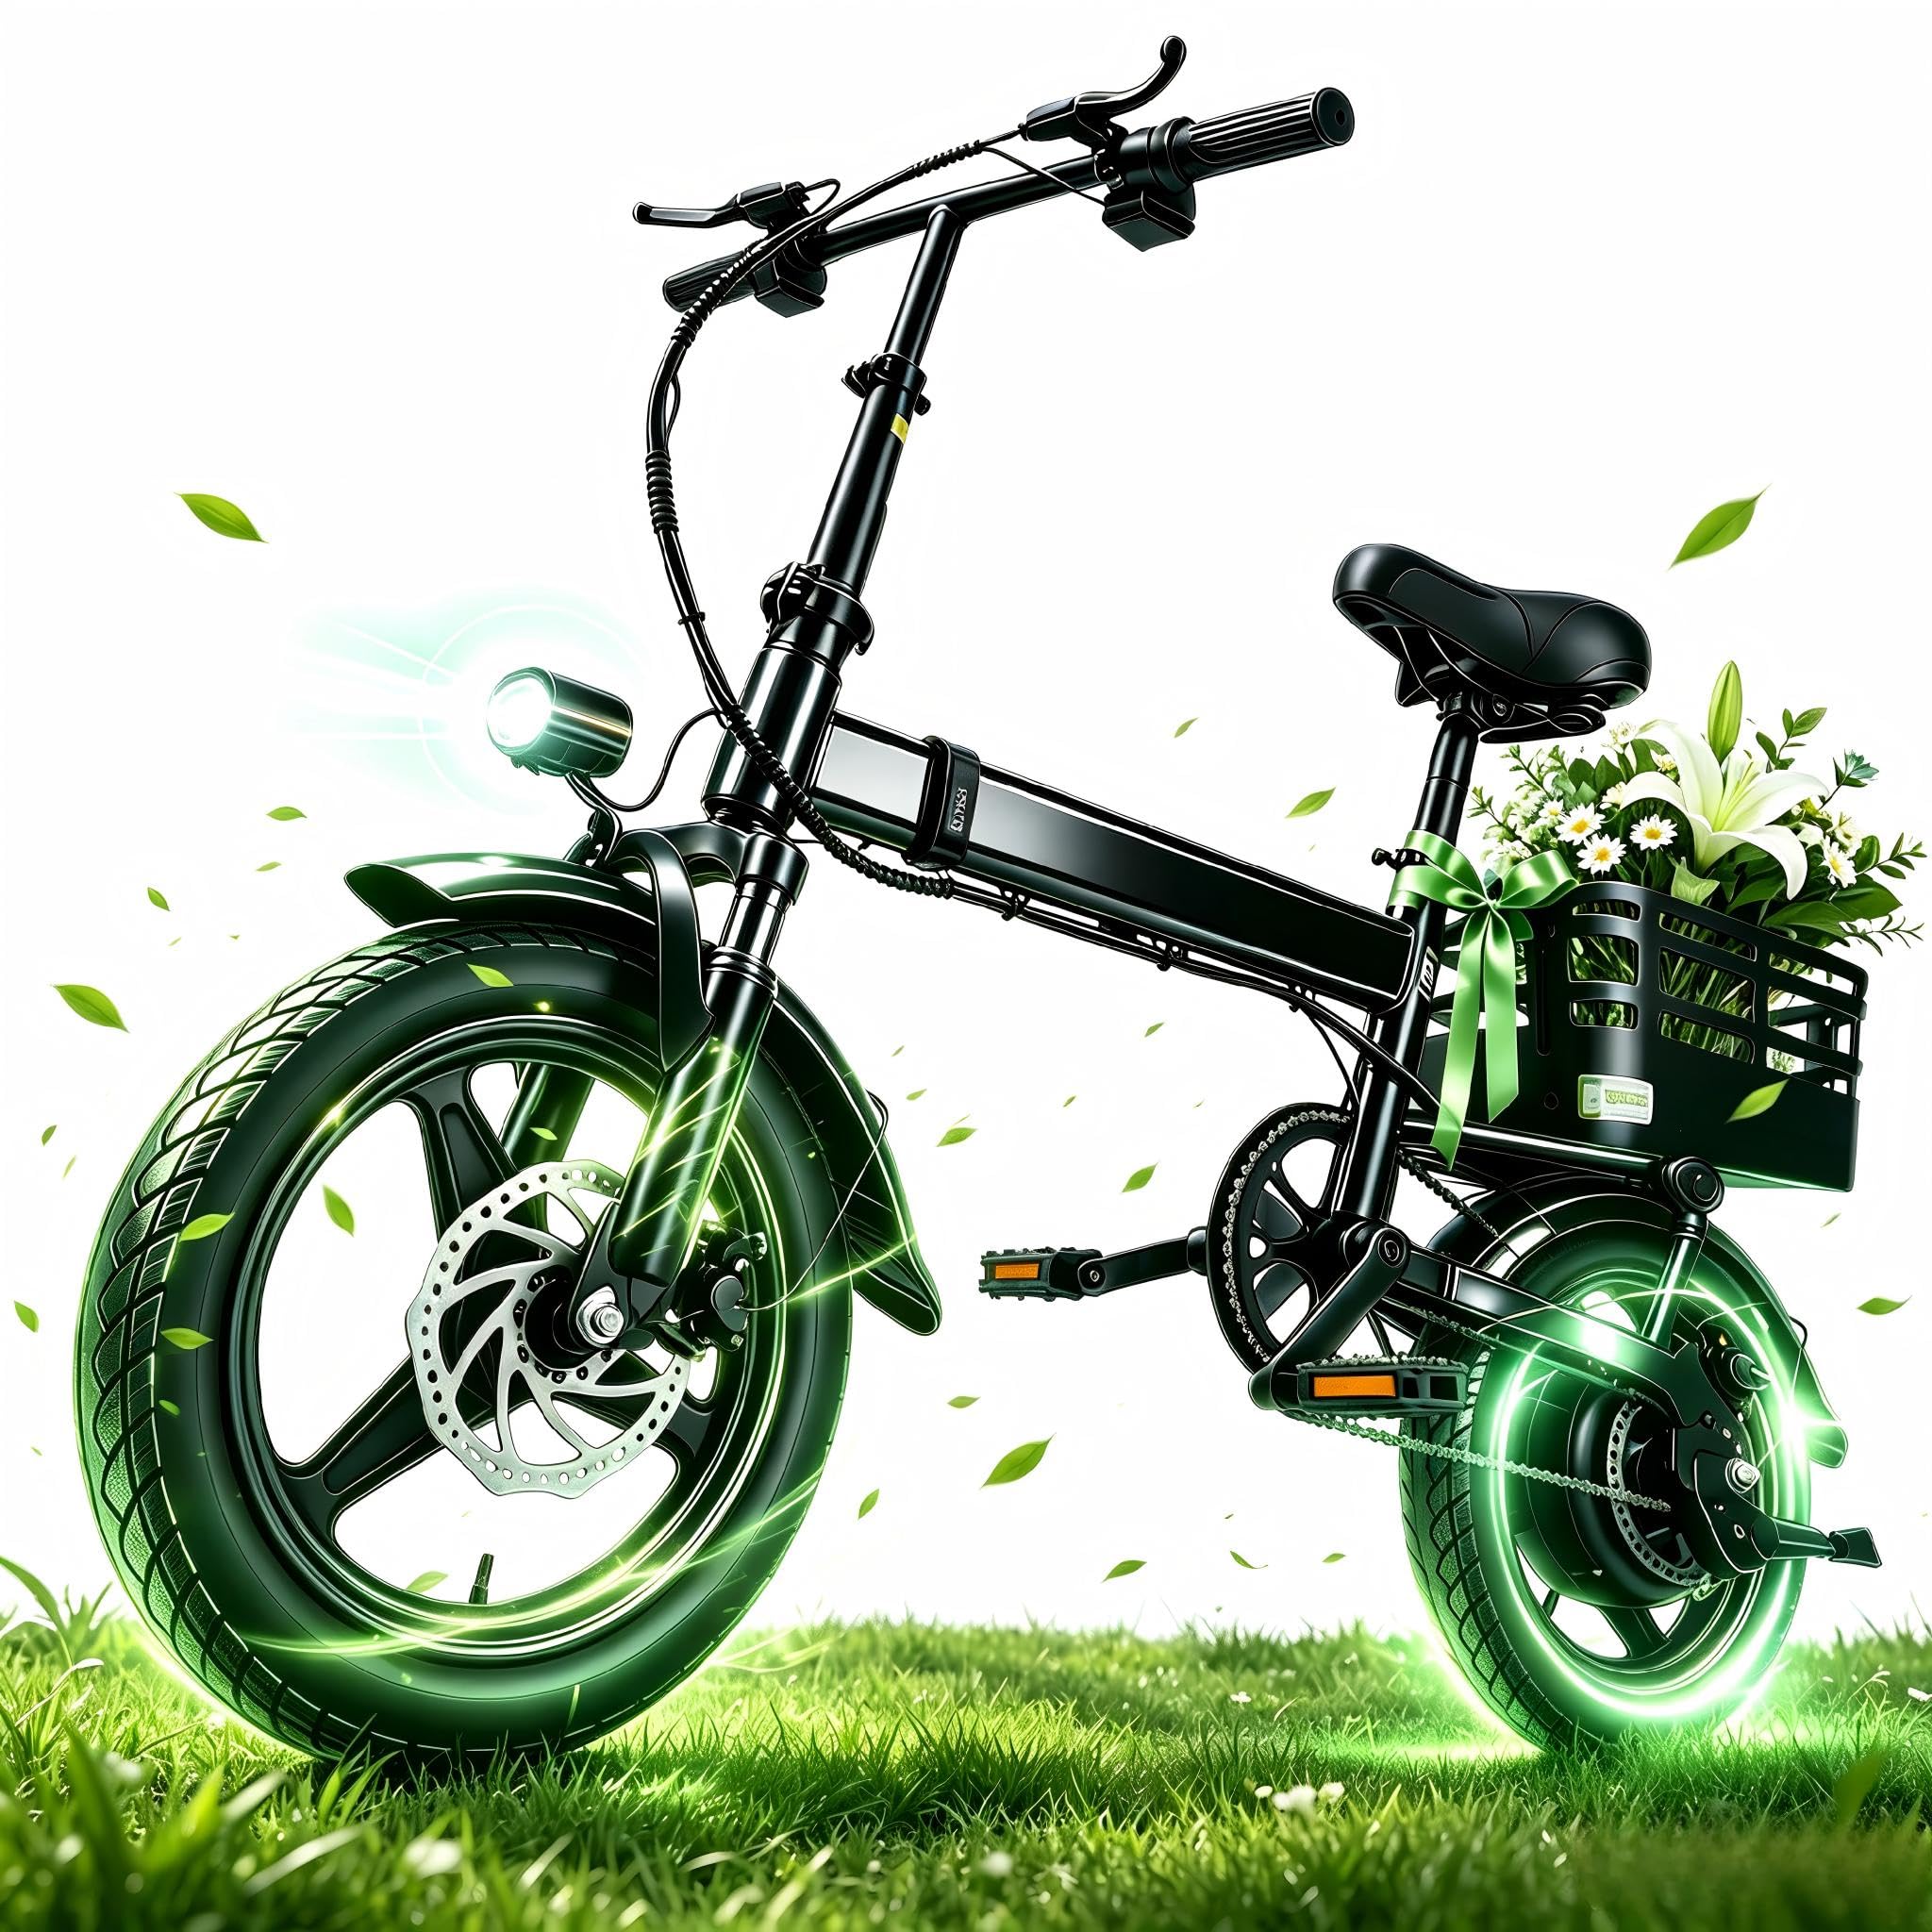
Image: The APYEAR Bike A6 in its unfolded state, being ridden. This illustrates the bike's general appearance and key features like the motor and battery.
3.3 Handlebar and Seat Adjustment
Adjust the handlebar height and angle, and the seat post height, to a comfortable riding position. Ensure the quick releases are fully closed and secure after adjustment.
3.4 Pedal Installation (if required)
Identify the left (L) and right (R) pedals. The left pedal has a reverse thread. Apply a small amount of grease to the threads and screw them into the crank arms. Tighten firmly with a wrench.
3.5 Battery Charging
Before your first ride, fully charge the battery. Connect the charger to the bike's charging port and then to a power outlet. The indicator light on the charger will change when fully charged. Disconnect the charger once charging is complete.
4. Operating Instructions
4.1 Powering On/Off
Press and hold the power button on the control panel to turn the bike on or off. The display will show battery level and current assist mode.
4.2 Pedal Assist System (PAS)
The APYEAR Bike A6 features 3 levels of pedal assist. Use the '+' and '-' buttons on the control panel to select your desired assist level. Higher levels provide more motor assistance.
4.3 Throttle Operation
The throttle provides power on demand without pedaling. Gently twist the throttle grip to engage the motor. Be cautious when using the throttle, especially at low speeds or in crowded areas.
4.4 Braking
The bike is equipped with disc brakes. Apply both front and rear brakes simultaneously for effective stopping. Avoid sudden, hard braking, especially the front brake, to prevent skidding.
4.5 Folding the Bike
To fold the bike for storage or transport, reverse the unfolding process. Ensure all safety latches are engaged to keep the bike securely folded.

Image: The APYEAR Bike A6 in a natural setting, highlighting its design and features. This image represents the bike's overall aesthetic and functionality.
5. Maintenance
Regular maintenance ensures the longevity and safe operation of your electric bike.
- Tires: Check tire pressure before each ride. Maintain pressure within the recommended range printed on the tire sidewall.
- Brakes: Regularly inspect brake pads for wear and ensure brake levers operate smoothly. Adjust as needed.
- Chain: Keep the chain clean and lubricated to ensure smooth shifting and prevent wear.
- Fasteners: Periodically check all bolts, nuts, and quick releases for tightness.
- Cleaning: Clean the bike with a damp cloth. Avoid using high-pressure washers directly on electrical components.
- Battery Storage: If storing the bike for an extended period, charge the battery to 50-70% and store it in a cool, dry place. Recharge every 2-3 months.
6. Troubleshooting
| Problem | Possible Cause | Solution |
|---|---|---|
| Bike does not power on | Low battery; loose battery connection; power button not pressed correctly. | Charge battery; ensure battery is properly seated; press and hold power button firmly. |
| Motor not assisting | PAS level set to 0; brake levers engaged; motor connection loose. | Increase PAS level; ensure brake levers are fully released; check motor cable connections. |
| Brakes feel weak | Worn brake pads; cable tension too low; air in hydraulic system (if applicable). | Inspect and replace brake pads; adjust brake cable tension; consult a bike mechanic for hydraulic brake issues. |
| Unusual noises | Loose components; dry chain; rubbing brakes. | Check all fasteners; lubricate chain; adjust brake calipers. |
7. Specifications
| Feature | Detail |
|---|---|
| Model Name | APYEAR Bike A6 |
| Model Number | A6-Folding Electric bike White |
| Bike Type | Electric Bike |
| Age Range | Adult |
| Number of Speeds | 3 |
| Color | White |
| Wheel Size | 14 Inches |
| Frame Material | Aluminum |
| Suspension Type | Front |
| Special Feature | Foldable |
| Included Components | Charger |
| Brake Style | Disc |
| Power Source | Electric motor |
| Lithium Battery Energy Content | 576 Watt Hours |
| Maximum Load Capacity | 265 lbs (120 kg) |
8. Warranty & Support
8.1 Warranty Information
The APYEAR Bike A6 comes with a Limited Warranty. Please refer to the warranty card included with your purchase or contact APYEAR customer support for detailed terms and conditions. The warranty period is typically 1 year from the date of purchase, covering manufacturing defects.
8.2 Customer Support
For technical assistance, parts, or warranty claims, please contact APYEAR customer support. Refer to the contact information provided on the APYEAR website or your purchase documentation.