
Important Safeguards
When using electrical appliances, basic safety precautions should always be followed to reduce the risk of fire, electric shock, and/or injury to persons, including the following:
- Read all instructions before operating the blender.
- To protect against electrical shock, do not immerse the motor base, cord, or plug in water or other liquids.
- Close supervision is necessary when any appliance is used by or near children.
- Unplug from outlet when not in use, before assembling or disassembling parts, and before cleaning.
- Avoid contact with moving parts.
- Do not operate any appliance with a damaged cord or plug, or after the appliance malfunctions or has been dropped or damaged in any manner. Contact customer service for examination, repair, or adjustment.
- The use of attachments not recommended or sold by the manufacturer may cause fire, electric shock, or injury.
- Do not use outdoors.
- Do not let cord hang over edge of table or counter, or touch hot surfaces.
- Keep hands and utensils out of the container while blending to prevent the possibility of severe injury to persons or damage to the blender. A scraper may be used but only when the blender is not running.
- Blades are sharp. Handle with care.
- Always operate the blender with the lid in place.
- Do not blend hot liquids in the sealed to-go cup as pressure buildup may result in injury.
- Ensure the blender jar or to-go cup is correctly locked onto the motor base before operation.
Product Components
The GDOR Professional Blender includes the following parts:
- Motor Base: Houses the 1300W motor and control panel.
- 67 oz Glass Jar: Large capacity blending container with a 6-leaf blade assembly.
- Lid with Filler Cap: For the glass jar, allows adding ingredients during blending.
- 22 oz To-Go Cup: Personal blending cup for single servings.
- 4-Leaf Blade Assembly: Specifically designed for the to-go cup.
- Travel Lid: For the to-go cup, allows for portability.

Image: The GDOR Professional Blender showing the main unit, the 6-leaf blade assembly for the glass jar, and the 4-leaf blade assembly for the to-go cup.

Image: A close-up comparison of the 6-leaf blade assembly for the large glass jar and the 4-leaf blade assembly for the portable to-go cup.
Setup
Unpacking and Initial Cleaning
- Carefully remove all components from the packaging.
- Wash the glass jar, lids, and blade assemblies in warm, soapy water. Rinse thoroughly and dry. The glass jar is dishwasher safe.
- Wipe the motor base with a damp cloth. Do not immerse the motor base in water.
Assembly
The blender features a safety lock design. The appliance will only power on when the jar or cup is correctly assembled and locked into the motor base.
- Place the motor base on a clean, dry, and level surface.
- For the Glass Jar: Place the 6-leaf blade assembly onto the bottom of the glass jar. Ensure it is securely tightened. Then, place the assembled glass jar onto the motor base, aligning the arrows on the jar with the arrows on the base. Turn clockwise until it locks into place.
- For the To-Go Cup: Add ingredients to the to-go cup. Screw the 4-leaf blade assembly onto the open end of the to-go cup until secure. Invert the cup and place it onto the motor base, aligning the tabs and turning clockwise until it locks.

Image: Visual guide demonstrating the safety lock mechanism, showing the glass jar being placed and twisted onto the motor base until securely locked.
Operating Instructions
Control Panel Overview
The GDOR Professional Blender features a touch control panel with 6 preset programs and manual controls.

Image: The blender's control panel, highlighting the 6 preset programs (Blend, Milkshake, Smoothies, Ice Crush, Sauce, Auto Clean) and the manual time adjustment feature.
- Preset Programs: Select from Blend (90s), Milkshake (70s), Smoothies (60s), Ice Crush (40s), Sauce (32s), and Auto Clean (70s). Each program has a unique blending pattern.
- Manual Time Adjustment: Use the '+' and '-' buttons to set a blending time between 10 and 90 seconds for customized recipes.
- Pulse (P): Provides short bursts of high-speed blending for chopping or quick mixing.
- Start/Stop: Initiates or pauses the selected program or manual blending.
Using the 67 oz Glass Jar
- Ensure the 6-leaf blade assembly is securely attached to the glass jar.
- Add your desired ingredients to the glass jar. Do not exceed the maximum fill line.
- Place the lid securely on the glass jar and ensure the filler cap is in place.
- Place the assembled jar onto the motor base and lock it into position.
- Plug the blender into a power outlet.
- Select a preset program or set a manual time using the '+' and '-' buttons.
- Press the 'Start/Stop' button to begin blending.
- To add ingredients during blending, remove the filler cap and carefully add items. Replace the cap immediately.
- Once blending is complete, press 'Start/Stop' and unplug the blender.
- Carefully remove the glass jar from the motor base and pour out the contents.
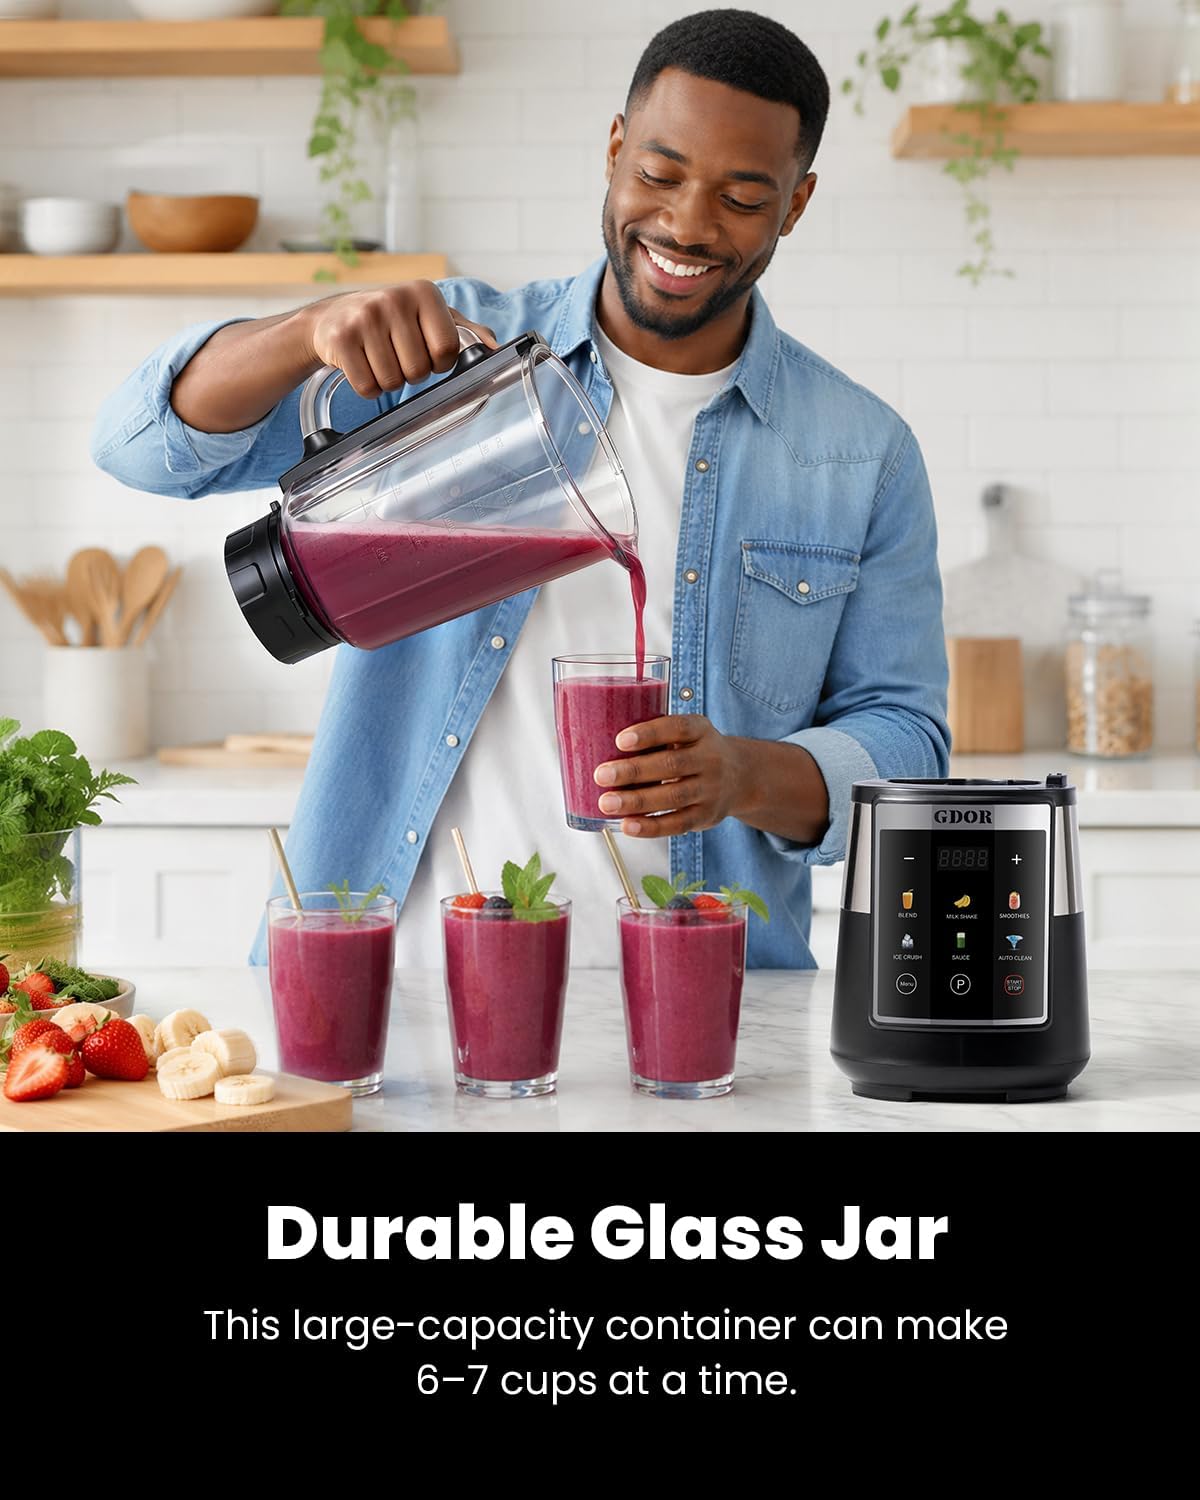
Image: A man pouring a freshly blended smoothie from the large 67 oz glass jar into serving glasses, demonstrating the blender's capacity.
Using the 22 oz To-Go Cup
- Add your desired ingredients to the 22 oz to-go cup. Do not exceed the maximum fill line.
- Screw the 4-leaf blade assembly securely onto the open end of the to-go cup.
- Invert the cup and place it onto the motor base, aligning the tabs and turning clockwise until it locks into position.
- Plug the blender into a power outlet.
- Select a preset program or set a manual time. For best results with the to-go cup, consider shorter blending times or the 'Smoothies' program.
- Press the 'Start/Stop' button to begin blending.
- Once blending is complete, press 'Start/Stop' and unplug the blender.
- Carefully remove the to-go cup from the motor base. Unscrew the blade assembly and replace it with the travel lid for on-the-go convenience.

Image: A sequence of images illustrating the 'Blend and Go' feature: blending ingredients in the to-go cup, attaching the travel lid, and carrying the cup.
Maintenance and Cleaning
Auto Clean Function
The blender features an 'Auto Clean' program for convenient cleaning of the glass jar and blades.
- After use, rinse the glass jar to remove large food particles.
- Fill the glass jar with 2-3 cups of warm water and add a drop of dish soap.
- Secure the lid and place the jar onto the motor base, locking it in place.
- Select the 'Auto Clean' program (70 seconds) and press 'Start/Stop'.
- Once the cycle is complete, unplug the blender, remove the jar, and rinse thoroughly.

Image: The glass jar of the GDOR blender filled with water, demonstrating the self-cleaning function in action with water swirling rapidly.
Manual Cleaning
- Always unplug the blender before cleaning.
- The glass jar, lids, and to-go cup are dishwasher safe (top rack recommended).
- The blade assemblies should be hand-washed carefully with warm, soapy water. Use a brush to clean around the blades. Handle blades with extreme caution as they are sharp.
- Wipe the motor base with a damp cloth. Do not immerse the motor base in water or spray it with water.
- Ensure all parts are completely dry before storing.
Troubleshooting
If you encounter issues with your GDOR Professional Blender, refer to the following common problems and solutions:
| Problem | Possible Cause | Solution |
|---|---|---|
| Blender does not start. | Not plugged in; Jar/cup not correctly assembled; Overload protection activated. | Ensure the power cord is securely plugged in. Verify the jar or cup is locked into the motor base. If the motor stopped due to overload, unplug, remove some ingredients, and wait 15 minutes before restarting. |
| Ingredients are not blending smoothly. | Too little liquid; Too many ingredients; Ingredients are too large or hard. | Add more liquid. Reduce the amount of ingredients. Cut hard ingredients into smaller pieces. Use the Pulse function to break down larger chunks. |
| Blender leaks from the bottom of the jar/cup. | Blade assembly not tightened; Seal ring missing or damaged. | Ensure the blade assembly is securely tightened onto the jar or cup. Check if the seal ring is properly seated or if it needs replacement. |
| Unusual noise or odor during operation. | Overload; Foreign object in blades; Motor issue. | Stop the blender immediately. Unplug and check for any obstructions. If the issue persists after reducing ingredients and checking for obstructions, discontinue use and contact customer support. |
If the problem persists after attempting these solutions, please contact GDOR customer support.
Specifications
| Feature | Detail |
|---|---|
| Model Number | OK1575A2 |
| Brand | GDOR |
| Power | 1300 Watts |
| Voltage | 120 Volts |
| Large Jar Capacity | 67 oz (Glass) |
| To-Go Cup Capacity | 22 oz (BPA-Free) |
| Blade Material | Stainless Steel (6-leaf for jar, 4-leaf for cup) |
| Control Type | Touch, Manual |
| Number of Speeds | 7 |
| Special Features | 6 Smart Programs, High Power Motor, Durable Glass Jar, Manual Time Adjustment, Self-cleaning, Portable Cup |
| Product Dimensions (D x W x H) | 6.5" x 8.38" x 16.42" |
| Dishwasher Safe Parts | Glass Jar, Lids, To-Go Cup |
Warranty and Support
GDOR products are manufactured to high-quality standards. For information regarding warranty coverage, please refer to the warranty card included with your product or visit the official GDOR website.
For technical assistance, troubleshooting not covered in this manual, or to inquire about replacement parts, please contact GDOR customer support through the retailer where the product was purchased or via the contact information provided on the GDOR official website.