
1. Introduction
Thank you for choosing the Xilecam Action Camera M100. This manual provides essential information for setting up, operating, and maintaining your camera. Please read it thoroughly before use to ensure proper functionality and to maximize your experience with the product.
The Xilecam M100 is designed to capture your adventures in Full HD 1080P, featuring a dual-screen design and capabilities for underwater use with its included waterproof case. It comes with a 32GB memory card and two rechargeable batteries to get you started.
2. Safety Information
- Water Resistance: The camera unit itself is not water resistant. For underwater use, always ensure the provided waterproof case is properly sealed and undamaged. Failure to do so will result in water damage and void the warranty.
- Battery Safety: Use only the specified batteries and charger. Do not expose batteries to high temperatures, direct sunlight, or fire. Do not short-circuit or disassemble batteries.
- Temperature: Avoid operating the camera in extreme temperatures. Recommended operating temperature is 0°C to 40°C (32°F to 104°F).
- Cleaning: Use a soft, dry cloth for cleaning. Do not use harsh chemicals or solvents.
- Disassembly: Do not attempt to disassemble or modify the camera. This will void the warranty.
- Memory Card: Ensure the memory card is inserted correctly. For optimal performance, use a high-speed Micro SD card (Class 10 or higher).
3. Package Contents
Please check the package contents upon unboxing. If any items are missing or damaged, contact customer support.
- Xilecam Action Camera M100 (XLTM-03)
- Waterproof Case
- 2 x 900mAh Rechargeable Batteries
- 32GB Micro SD Card
- USB Charging Cable
- Various Mounting Accessories (e.g., helmet mount, bicycle mount)
- User Manual (this document)
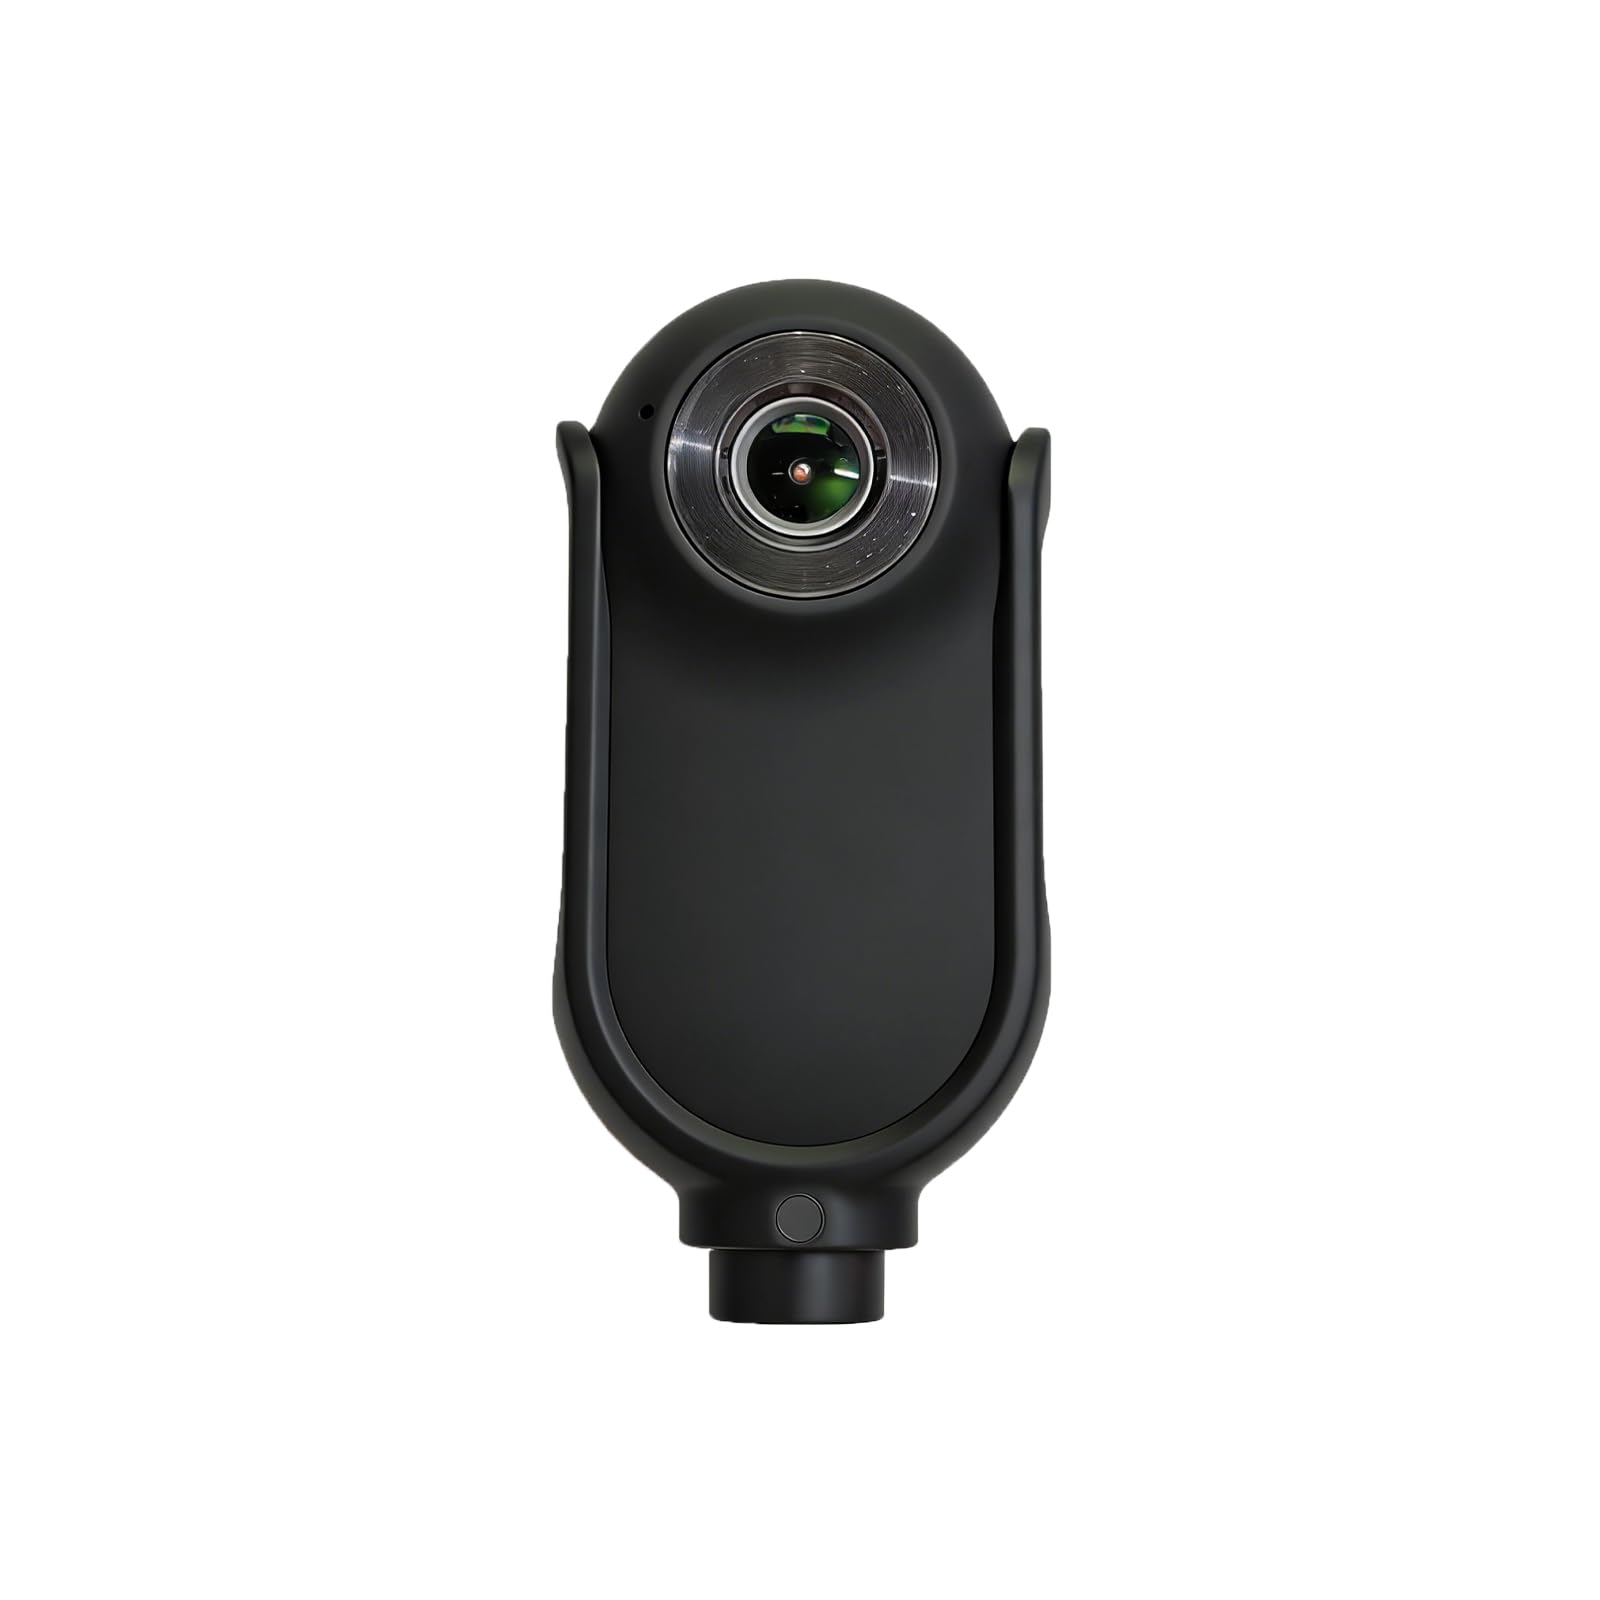
This image illustrates the camera and a selection of its accessories. The camera body, waterproof case, batteries, and memory card are core components. Additional mounts are provided for diverse usage scenarios, such as attaching to helmets or bicycles.
4. Setup
4.1 Charging the Batteries
- Insert a battery into the camera.
- Connect the camera to a USB power source (e.g., computer, wall adapter) using the provided USB cable.
- The charging indicator light will illuminate. It will turn off or change color when fully charged (approximately 2-3 hours per battery).
- Ensure both batteries are fully charged before first use for optimal performance.
4.2 Inserting the Micro SD Card
- Locate the Micro SD card slot on the side or bottom of the camera.
- Gently insert the 32GB Micro SD card with the gold contacts facing the correct direction (refer to the diagram near the slot, if available) until it clicks into place.
- To remove, push the card in slightly until it springs out.
4.3 Inserting the Battery
- Open the battery compartment cover, usually located on the bottom of the camera.
- Insert a charged battery according to the polarity indicators (+/-).
- Close the battery compartment cover securely.
4.4 Powering On/Off
- To Power On: Press and hold the Power/Mode button for a few seconds until the screen illuminates.
- To Power Off: Press and hold the Power/Mode button again until the screen turns off.
4.5 Basic Settings
After powering on, you may need to set the language, date, and time. Navigate through the menu using the Mode button and confirm selections with the Shutter/OK button.
- Language: Select your preferred language.
- Date/Time: Set the current date and time for accurate timestamps on your recordings.
- Format SD Card: It is recommended to format the Micro SD card upon first use and periodically thereafter to ensure optimal performance and prevent data corruption.
5. Operating the Camera
5.1 Switching Modes
Press the Mode button repeatedly to cycle through the available modes: Video Recording, Photo, and Playback.
5.2 Video Recording
- Switch to Video Recording mode (indicated by a video camera icon on the screen).
- Press the Shutter/OK button to start recording. A red indicator light or on-screen icon will flash.
- Press the Shutter/OK button again to stop recording. The indicator light will stop flashing.
5.3 Taking Photos
- Switch to Photo mode (indicated by a camera icon on the screen).
- Frame your shot using the dual screens.
- Press the Shutter/OK button to take a photo.
5.4 Playback
- Switch to Playback mode (indicated by a play icon).
- Use the navigation buttons (if available, or Mode/Shutter buttons for cycling) to browse through your recorded videos and photos.
- Press the Shutter/OK button to play a video or view a photo.
5.5 Using the Waterproof Case
The Xilecam M100 is designed for underwater use up to 40 meters (131 feet) only when enclosed in its waterproof case. Follow these steps to ensure proper sealing:
- Before each use, inspect the waterproof case for any dirt, debris, or damage to the O-ring seal. Clean if necessary.
- Place the camera securely inside the case.
- Close the latch firmly until it clicks, ensuring a tight seal.
- Perform a dry test by submerging the empty case in water for a few minutes to check for leaks before inserting the camera.
- After underwater use, rinse the case with fresh water and allow it to air dry.
5.6 Connecting to a Computer
- Ensure the camera is powered off.
- Connect the camera to your computer using the provided USB cable.
- The camera should appear as a removable disk or mass storage device on your computer.
- You can then access and transfer your video and photo files.
6. Maintenance
- Cleaning the Lens: Use a soft, lint-free cloth specifically designed for camera lenses. Avoid touching the lens with your fingers.
- Camera Body: Wipe the camera body with a soft, dry cloth. Do not use water or cleaning solutions directly on the camera.
- Waterproof Case: After each use, especially in saltwater, rinse the waterproof case thoroughly with fresh water. Allow it to air dry completely before storing. Check the O-ring for any damage or debris.
- Battery Care: Store batteries in a cool, dry place. If not using the camera for an extended period, remove the batteries. Recharge batteries periodically to maintain their health.
- Storage: Store the camera and accessories in a dry, dust-free environment away from direct sunlight and extreme temperatures.
7. Troubleshooting
| Problem | Possible Cause | Solution |
|---|---|---|
| Camera does not power on. | Battery is depleted or not inserted correctly. | Charge the battery fully. Ensure the battery is inserted with correct polarity. Try the second battery. |
| Screen is frozen or unresponsive. | Software glitch or low battery. | Press and hold the Power button for 10-15 seconds to force a shutdown. Recharge the battery. If issue persists, remove and reinsert battery. |
| Poor video/photo quality. | Incorrect settings, dirty lens, or insufficient lighting. | Check camera settings (resolution, exposure). Clean the lens. Ensure adequate lighting for your environment. |
| Memory card error. | Card not inserted correctly, incompatible card, or corrupted card. | Reinsert the Micro SD card. Ensure it is a Class 10 or higher. Format the card (this will erase all data). Try a different compatible card. |
| Short battery life. | Battery not fully charged, old battery, or continuous recording. | Ensure batteries are fully charged. Use the second battery. Reduce recording time or turn off unnecessary features. Battery life is approximately 180 minutes per battery. |
8. Specifications
| Feature | Detail |
|---|---|
| Model Name | M100 (XLTM-03) |
| Brand | Xilecam |
| Video Capture Resolution | 1080p (Full HD) |
| Video Capture Format | AVI |
| Photo Sensor Technology | CMOS |
| Screen Size | 1 inch (Dual Screen) |
| Flash Memory Type | Micro SD |
| Flash Memory Installed Size | 32 GB (included) |
| Connectivity Technology | USB |
| Water Resistance Level | Not Water Resistant (Camera unit); 131FT (40m) with waterproof case |
| Battery Average Life | 180 minutes (per battery) |
| Item Dimensions (D x W x H) | 30D x 20W x 64H millimeters |
| Lens Type | Zoom |
| Focus Type | Auto Focus |
| Image Aspect Ratio | 16:9 |
| UPC / GTIN | 764269237521 |
9. Warranty and Support
For warranty information, technical support, or any questions not covered in this manual, please refer to the warranty card included in your package or contact Xilecam customer service through the retailer where you purchased the product. Please have your model number (M100 or XLTM-03) and purchase date ready when contacting support.
