
Introduction
This manual provides essential information for the AITRIP ESP32-S3 4.0-inch Color LCD Display Development Board. It covers product features, setup, operation, maintenance, troubleshooting, and technical specifications. Please read this manual thoroughly before using the device to ensure proper functionality and longevity.
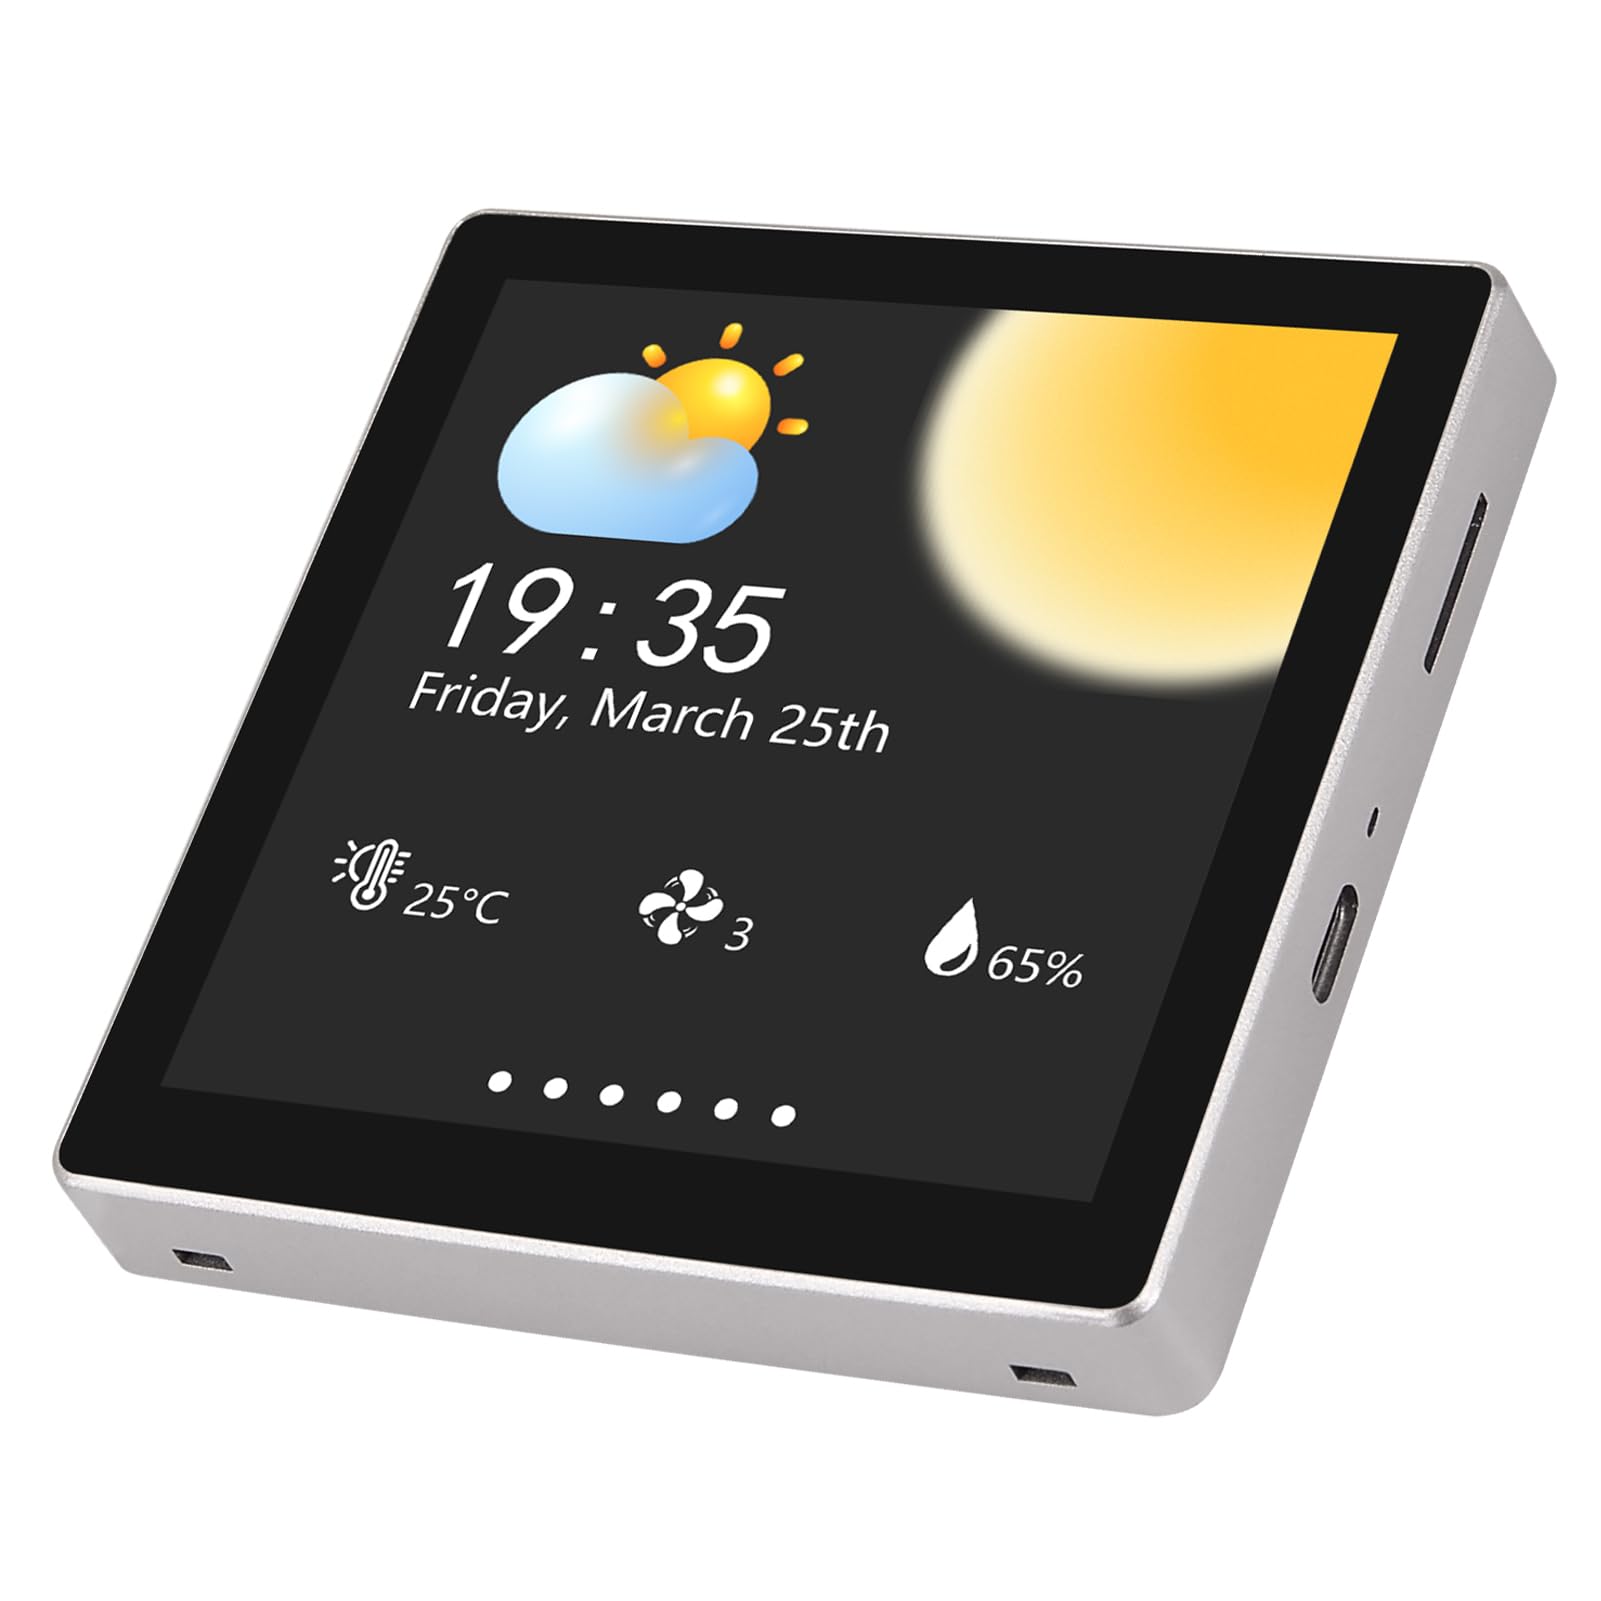
Figure 1: Front and back view of the AITRIP ESP32-S3 4.0-inch Color LCD Display Development Board. The front shows the 4.0-inch capacitive touch display, while the back reveals the main control board and connectors.
Product Features
- Integrated ESP32-S3-WROOM-1 module as the main control unit.
- Dual-core MCU with integrated Wi-Fi and Bluetooth functions.
- Main frequency up to 240MHz, 512KB SRAM, 384KB ROM, 8MB PSRAM, 16MB Flash.
- 4.0-inch color screen with 480x480 resolution, supporting 16-bit RGB 65K color display.
- Capacitive touch functionality.
- Includes LCD display screen, backlight control circuit, and touch screen control circuit.
- Reserved TF card interface and IO port interface for expansion.
- Supports development in Arduino IDE, ESP IDE, Micropython, and Mixly.
- Equipped with a TF card slot for easy expansion storage.
- Provides Arduino library functions and sample programs for rapid secondary development.
- Supports one-click program download.
What's in the Box
The package includes the following components:
- 1 x AITRIP ESP32-S3 4.0-inch IPS Touch Screen Development Board
Setup
Follow these steps to set up your AITRIP ESP32-S3 Development Board:
- Power Connection: Connect the development board to a 5V power source using the Type-C USB port.
- Development Environment: Install your preferred development environment (e.g., Arduino IDE, ESP IDE, Micropython, Mixly) on your computer.
- Driver Installation: Ensure all necessary USB-to-serial drivers are installed on your computer for proper communication with the ESP32-S3 board.
- Software Setup: Configure your chosen IDE with the appropriate board definitions and libraries for the ESP32-S3.
- TF Card (Optional): If using, insert a TF card into the designated slot for expanded storage.

Figure 2: Connection ports on the AITRIP ESP32-S3 Development Board, including the Type-C USB port for power and data, Lithium Battery Control pins, and the TF Card Slot.
Operating Instructions
The AITRIP ESP32-S3 Development Board is designed for various embedded projects.
- Programming: Use the Type-C USB port to upload programs from your development environment to the ESP32-S3 module. The board supports one-click program download.
- Display Usage: The 4.0-inch capacitive touch display can be programmed to show various graphical interfaces, data, or interactive elements. Refer to the provided Arduino library functions and sample programs for display control.
- Wi-Fi and Bluetooth: Utilize the integrated Wi-Fi and Bluetooth capabilities for network connectivity, data transfer, and IoT applications.
- TF Card Storage: The TF card slot allows for external storage of data, images, or program assets, expanding the board's capabilities.
- IO Port Expansion: The reserved IO port interface enables connection to external sensors, actuators, and other peripherals.
Maintenance
To ensure the longevity and optimal performance of your development board, follow these maintenance guidelines:
- Cleaning: Gently wipe the display and board surfaces with a soft, dry cloth. Avoid using abrasive cleaners or solvents.
- Storage: Store the board in a dry, dust-free environment away from direct sunlight and extreme temperatures.
- Handling: Handle the board by its edges to avoid touching sensitive components. Prevent static discharge by working on an anti-static mat if possible.
- Power Supply: Always use a stable 5V power supply. Incorrect voltage can damage the board.
Troubleshooting
If you encounter issues with your AITRIP ESP32-S3 Development Board, consider the following:
- Board Not Powering On:
- Check the Type-C USB cable and power source. Ensure they are functioning correctly and providing 5V.
- Verify the connection to the Type-C port is secure.
- Program Upload Failure:
- Ensure the correct board and port are selected in your IDE.
- Check if the necessary drivers are installed.
- Try a different USB cable or port on your computer.
- Ensure the board is in programming mode (if applicable, though one-click download is supported).
- Display Not Working:
- Verify that the display is properly connected to the main board.
- Check your code for display initialization and drawing commands.
- Ensure the backlight control circuit is receiving power.
- Wi-Fi/Bluetooth Connectivity Issues:
- Confirm your code correctly initializes and uses the Wi-Fi/Bluetooth modules.
- Check network credentials (SSID, password) if connecting to Wi-Fi.
- Ensure there are no physical obstructions or excessive distance from the access point/device.
Specifications
| Feature | Detail |
|---|---|
| Main Control Unit | ESP32-S3-WROOM-1 Module (Dual-core MCU) |
| CPU Speed | 240 MHz |
| Memory | 512KB SRAM, 384KB ROM, 8MB PSRAM, 16MB Flash |
| Display Size | 4.0 inch |
| Display Resolution | 480 x 480 pixels |
| Color Depth | 16 BIT RGB 65K Color Display |
| Touch Type | Capacitive Touch |
| Connectivity | Wi-Fi, Bluetooth, SD card support |
| Operating Voltage | 5V |
| Operating Temperature | -20°C to 70°C (-4°F to 158°F) |
| Storage Temperature | -30°C to 80°C (-22°F to 176°F) |
| Dimensions (L x W x H) | 86.5 x 86.5 x 37.8 mm (3.41 x 3.41 x 1.49 inches) |
| Supported IDEs | Arduino IDE, ESP IDE, Micropython, Mixly |

Figure 3: Visual representation of key specifications for the AITRIP ESP32-S3 Development Board, including screen size, resolution, and operating voltage.
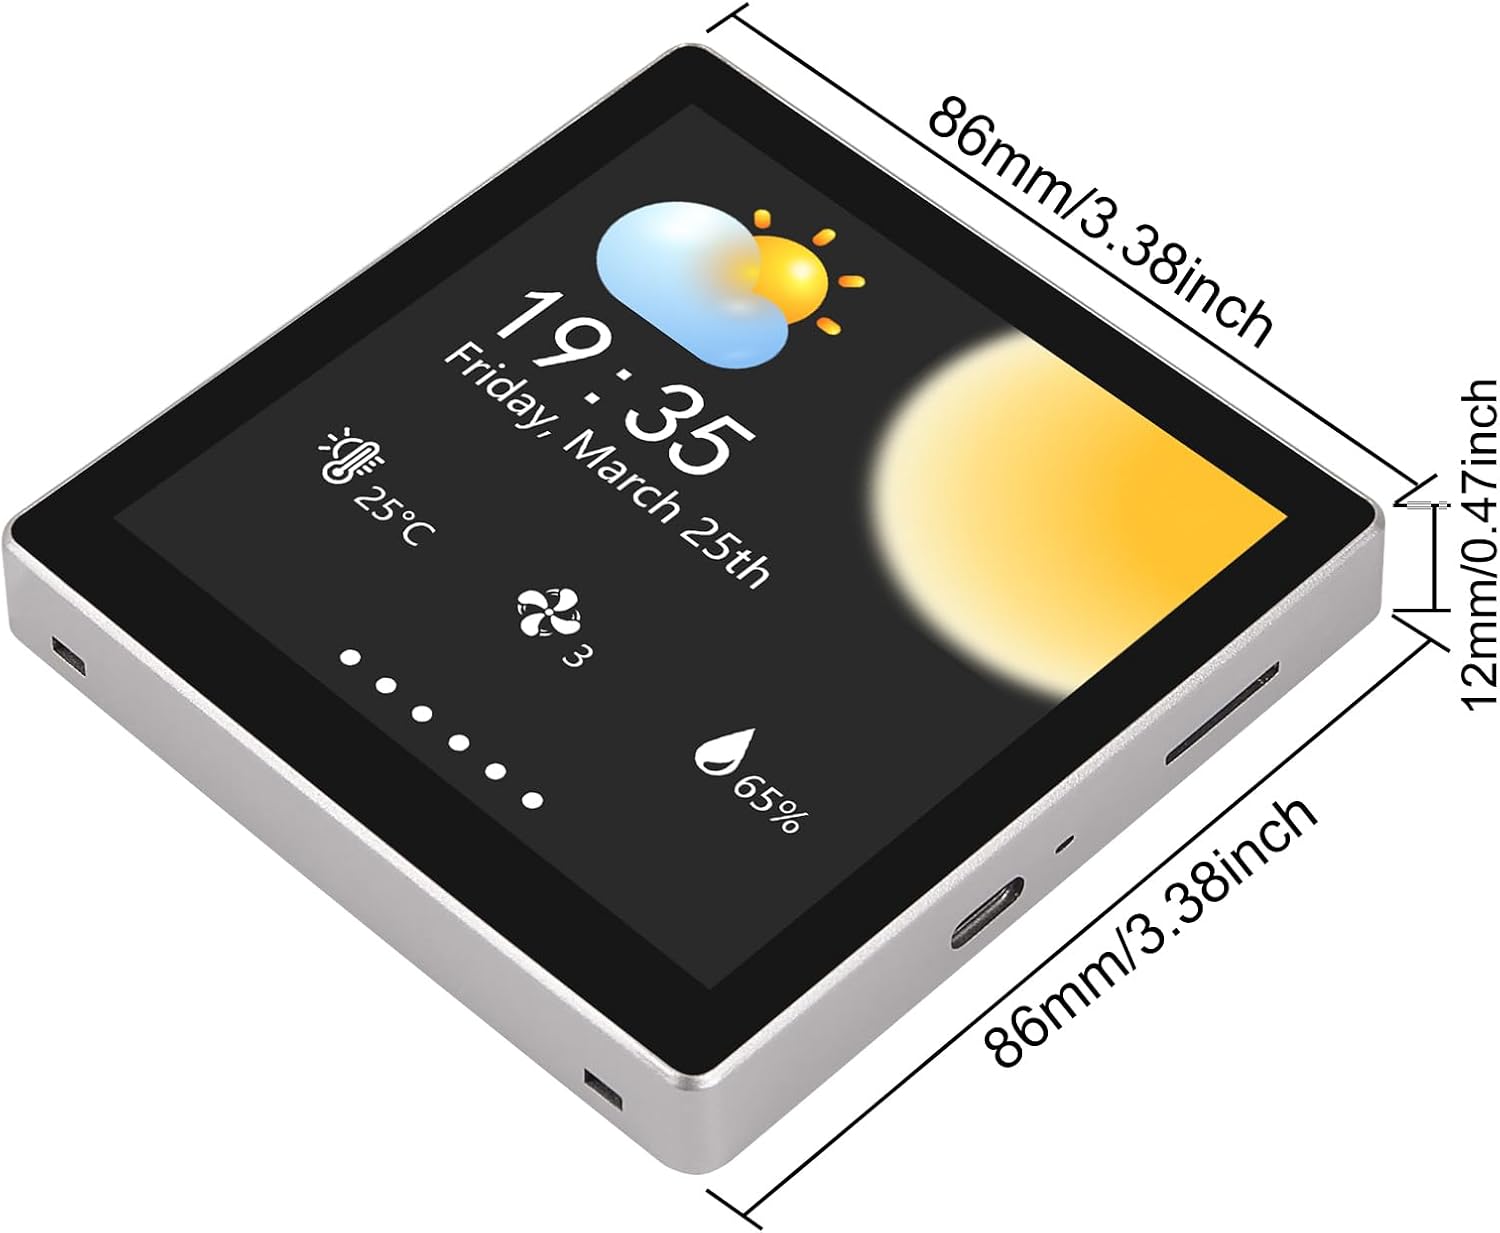
Figure 4: Physical dimensions of the AITRIP ESP32-S3 Development Board, showing its length, width, and thickness.
Warranty
The product comes with a limited warranty. For specific warranty terms and conditions, please refer to the documentation provided with your purchase or contact AITRIP customer support.
Support
For technical assistance, additional documentation, or inquiries, please contact AITRIP customer support. You can typically find support information by visiting the seller's page on the platform where you purchased the product and using the "Ask a question" feature.