
1. Introduction
This manual provides detailed instructions for assembling and operating your CUTEBEE 3D Wooden Music Box Model Kit, the 'Bread Factory' edition. This DIY kit allows you to construct a miniature bread factory diorama featuring LED lighting, a mist atomiser, a music playback function, and 360° rotating elements. It is designed for enthusiasts aged 14 and above, offering an engaging and rewarding crafting experience.
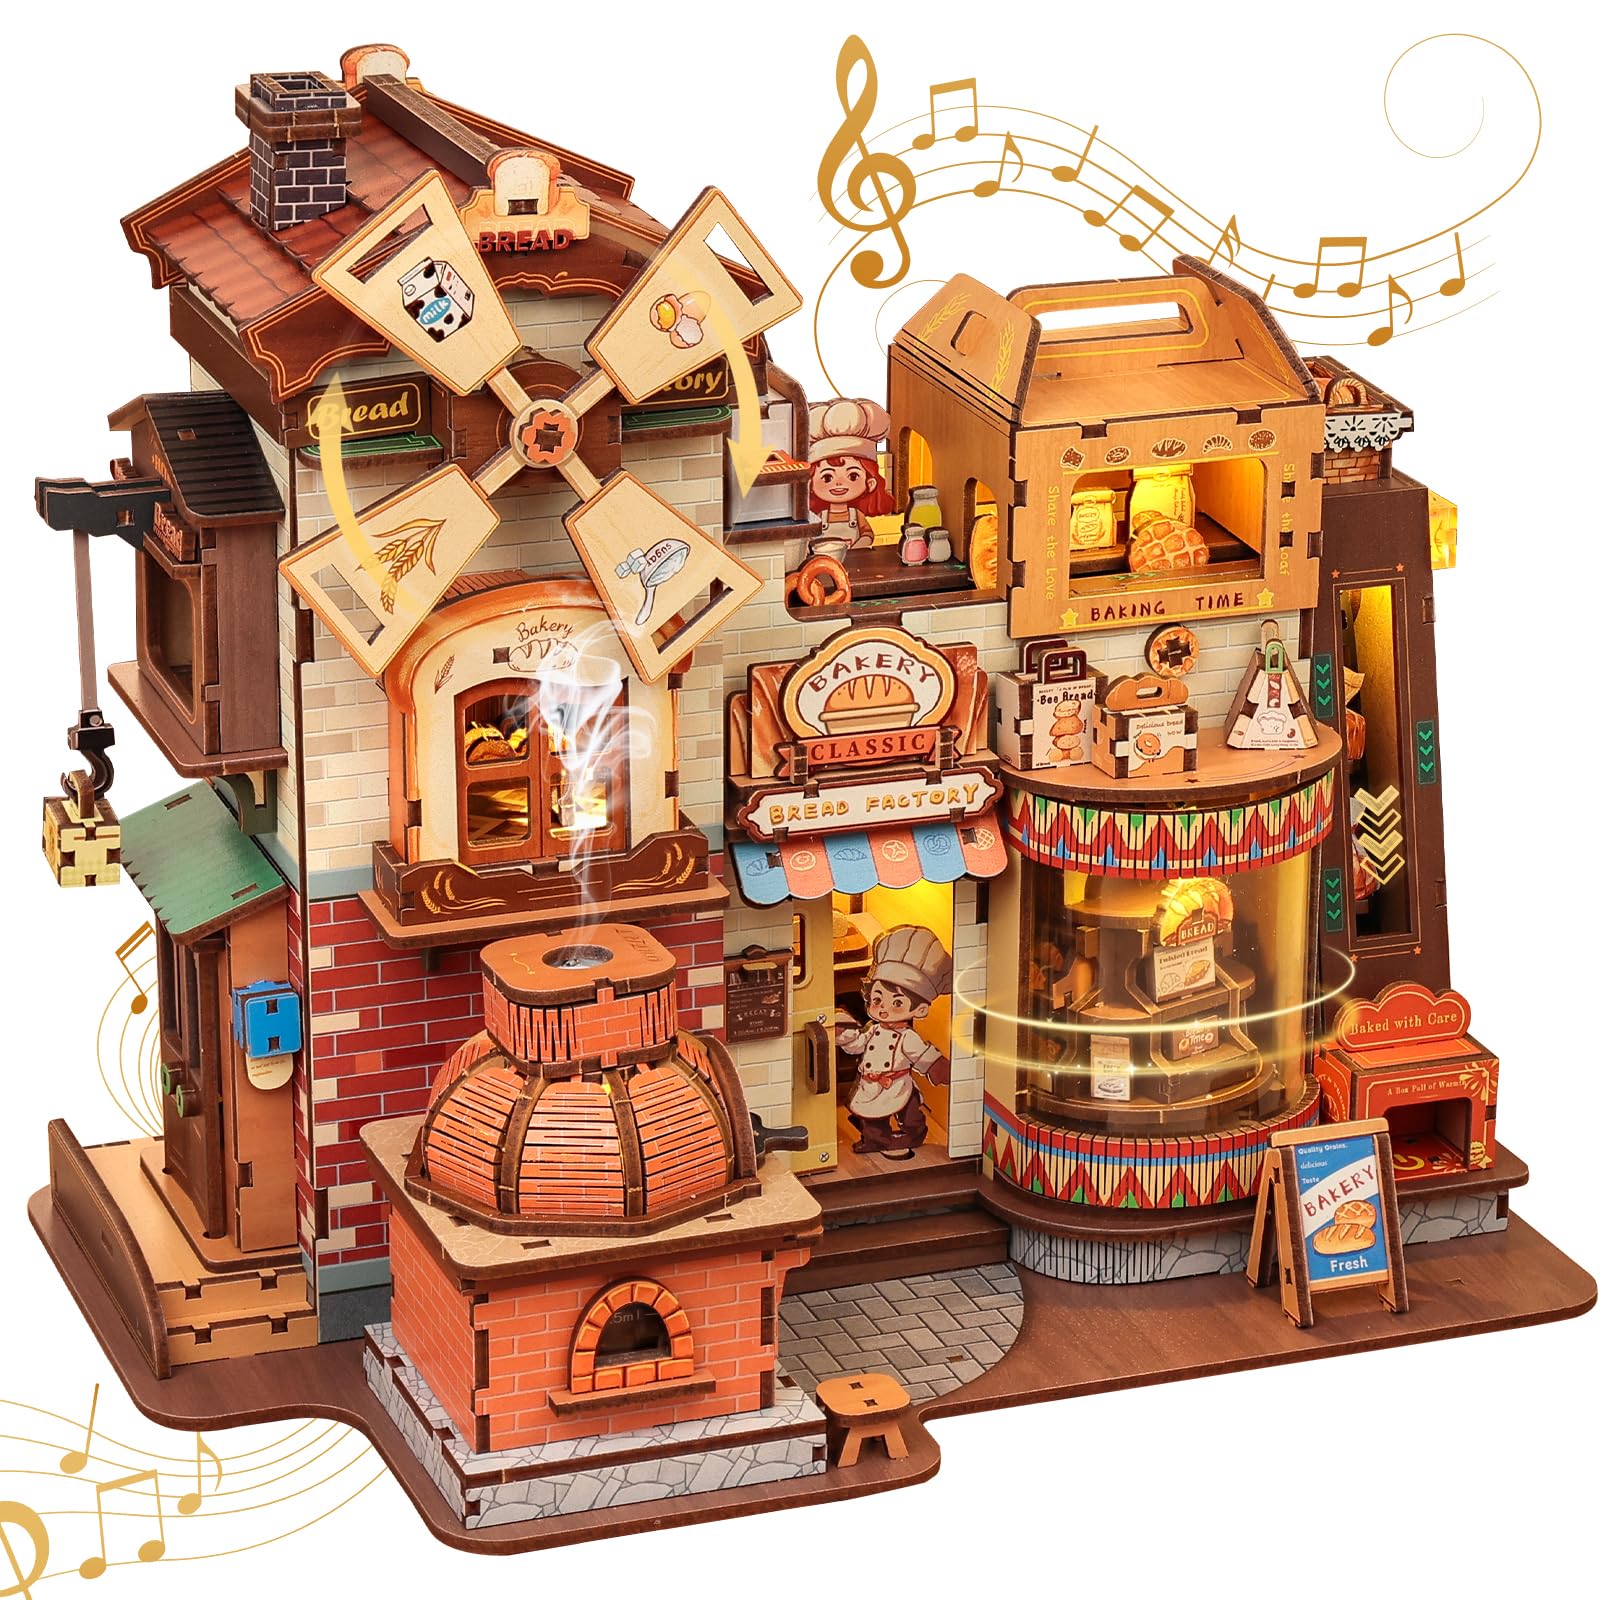
Figure 1: Assembled CUTEBEE Bread Factory Model Kit.
2. Safety Information
- Age Recommendation: This kit is recommended for individuals aged 14 years and older. It contains small parts that may pose a choking hazard for younger children.
- Adult Supervision: For users under 18, adult supervision is recommended during assembly.
- Glue: Liquid silicone glue is required for assembly and is NOT included in the kit. Please ensure proper ventilation when using adhesives and follow the glue manufacturer's safety instructions.
- Electrical Components: Handle LED lights and wiring with care. Ensure the Type-C power connection is dry before use.
3. Package Contents
Before beginning assembly, verify that all components listed below are present in your kit. If any parts are missing or damaged, please contact customer support.

Figure 2: Overview of included components.
- Pre-cut Wooden Sheets (Front Wood Board, Backing Wood Board)
- LED Light Kit
- Music Box Mechanism
- Mist Atomiser
- Acrylic Sheets
- PVC Sheets
- Instruction Manual
- Various miniature decorative elements (e.g., oven, bread display, windmill parts)
- USB Type-C Cable (for power, not included in some kits, please check your packaging)
4. Assembly Instructions
Assembly typically takes 10-12 hours and involves approximately 572 pieces. Follow the step-by-step instructions provided in the included manual carefully. Use the images below as a general guide for the assembly process.
- Preparation: Unpack all components and organize them. Identify the wooden sheets and individual pieces. Refer to the manual for part identification.
- Initial Structure Assembly: Begin by assembling the main structural elements of the bread factory. Carefully detach pieces from the wooden sheets.
- Detailing and Wiring: As you build the structure, integrate the smaller decorative elements. This includes installing the LED lights and routing the wiring according to the manual's diagrams.
- Mechanical Components: Install the music box mechanism, mist atomiser, and any rotating parts (like the windmill and bread display). Ensure they are correctly aligned for proper function.
- Final Touches: Complete the exterior and interior decorations. Apply any remaining stickers or small accessories.

Figure 3: Users engaged in the assembly process.

Figure 4: Example of a detailed assembly step for a miniature toaster.
5. Operating Instructions
The CUTEBEE Bread Factory model features interactive elements controlled by a touch switch and powered via a Type-C port.

Figure 5: Location of the touch switch and Type-C power port.
- Power Connection: Connect the model to a power source using a Type-C USB cable (not always included).
- First Click: Tap the designated touch switch once. The LED lights will illuminate, and the rotating elements (e.g., windmill, bread display) will begin to move.
- Second Click: Tap the touch switch a second time. The mist atomiser will activate, producing a gentle mist, and the music playback function will start.
- Third Click: Tap the touch switch a third time. All active functions (lights, rotation, mist, music) will turn off.

Figure 6: Visual guide to the touch switch operation.

Figure 7: The model displaying its illuminated features in different lighting conditions.
6. Maintenance
- Cleaning: Gently dust the model with a soft, dry cloth or a soft brush to remove accumulated dust. Avoid using wet cloths or harsh cleaning agents.
- Storage: Store the model in a dry environment, away from direct sunlight, high humidity, and extreme temperature fluctuations to prevent warping or fading of the wooden components.
- Handling: Handle the assembled model with care, especially delicate parts, to prevent accidental damage.
7. Troubleshooting
- Lights/Rotation/Mist/Music Not Working:
- Ensure the Type-C USB cable is securely connected to both the model and a working power source.
- Verify that the touch switch is being pressed correctly according to the operating instructions.
- Check all wiring connections during assembly to ensure they are firm and correctly installed.
- Parts Not Fitting: If you encounter difficulty fitting parts, do not force them. Refer to the instruction manual's diagrams for correct orientation and ensure any excess material from the laser-cut sheets has been removed.
- Missing or Damaged Parts: If any parts are missing or damaged upon opening the kit, please contact customer support immediately for assistance.
8. Specifications
| Feature | Detail |
|---|---|
| Model Number | CB-EAHB501-DE5 |
| Brand | CUTEBEE |
| Material | Wood |
| Dimensions (L x W x H) | 27 cm x 17 cm x 22 cm (10.6 in x 6.8 in x 9 in) |
| Number of Pieces | 572 pcs |
| Assembly Time | 10-12 hours (approx.) |
| Age Recommendation | 14+ Years |
| Power Source | Type-C USB (cable not always included) |
| Features | LED Lights, Mist Atomiser, Music Playback, 360° Rotation |
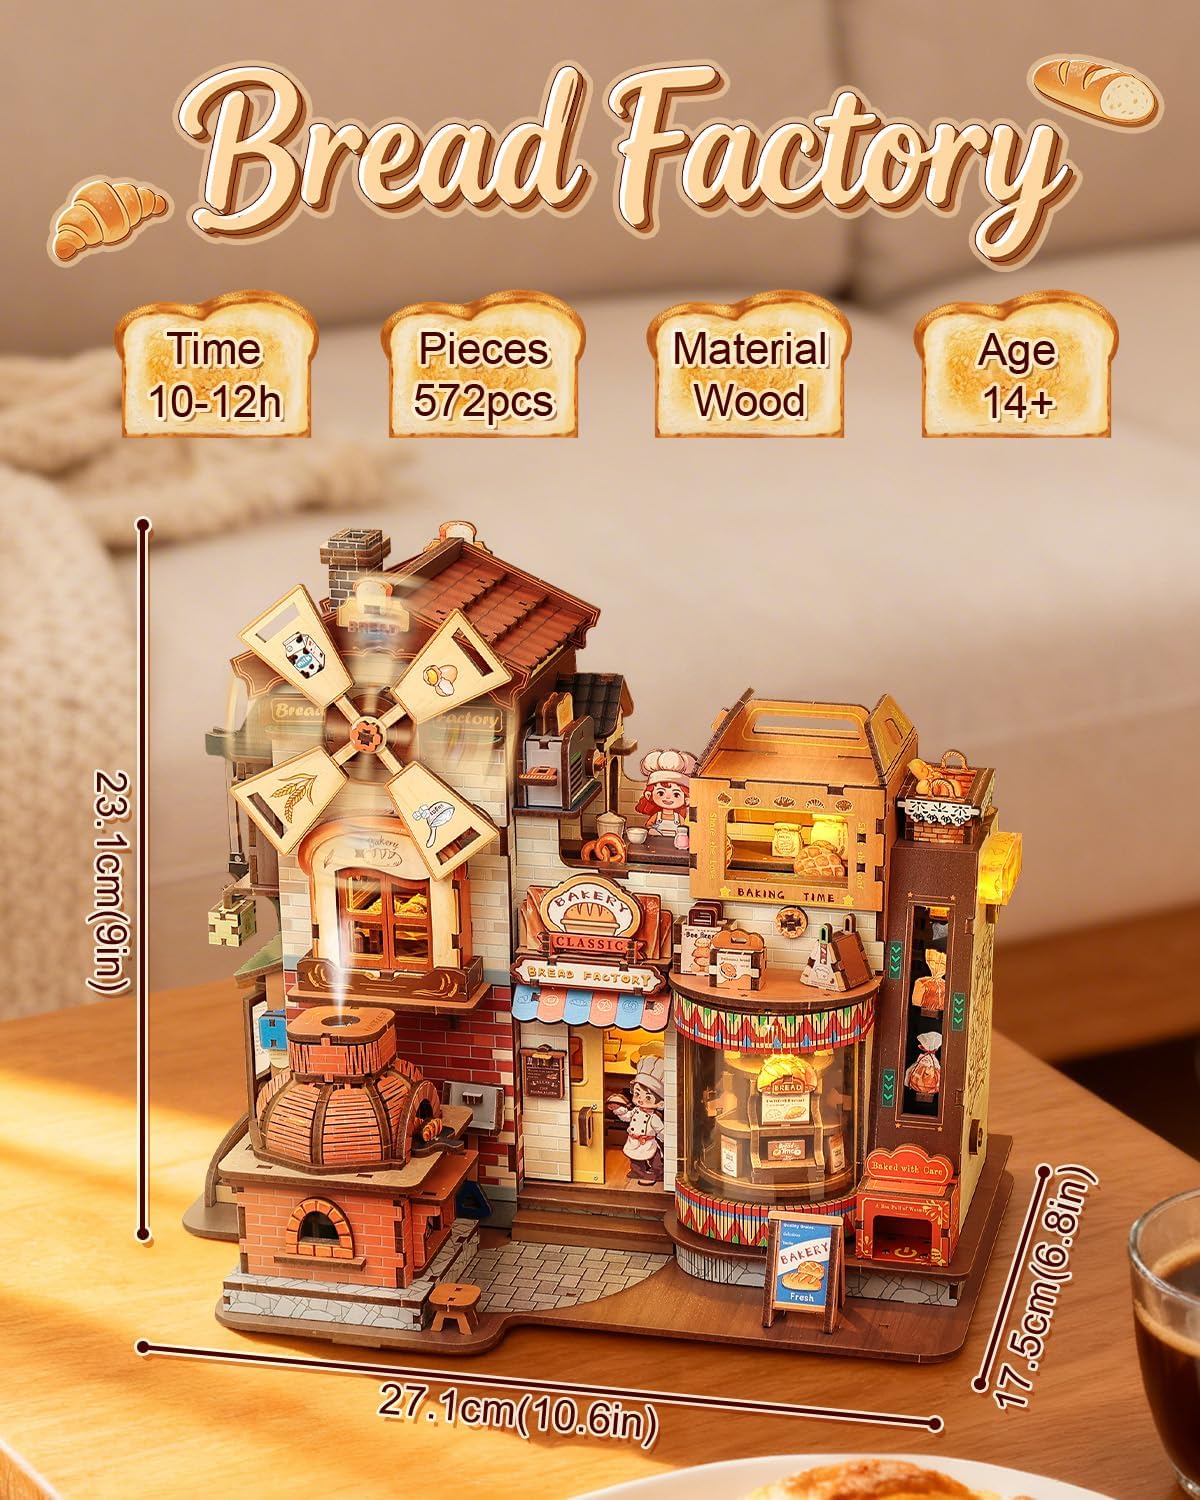
Figure 8: Key product specifications and features.
9. Warranty and Support
Each CUTEBEE miniature house kit undergoes a 100% inspection before shipment to ensure all parts are complete. If you encounter any problems during assembly or have questions about the product, please do not hesitate to contact our customer support team. We are committed to providing prompt assistance and resolving any issues you may experience.
For support, please refer to the contact information provided on your product packaging or the retailer's website.
